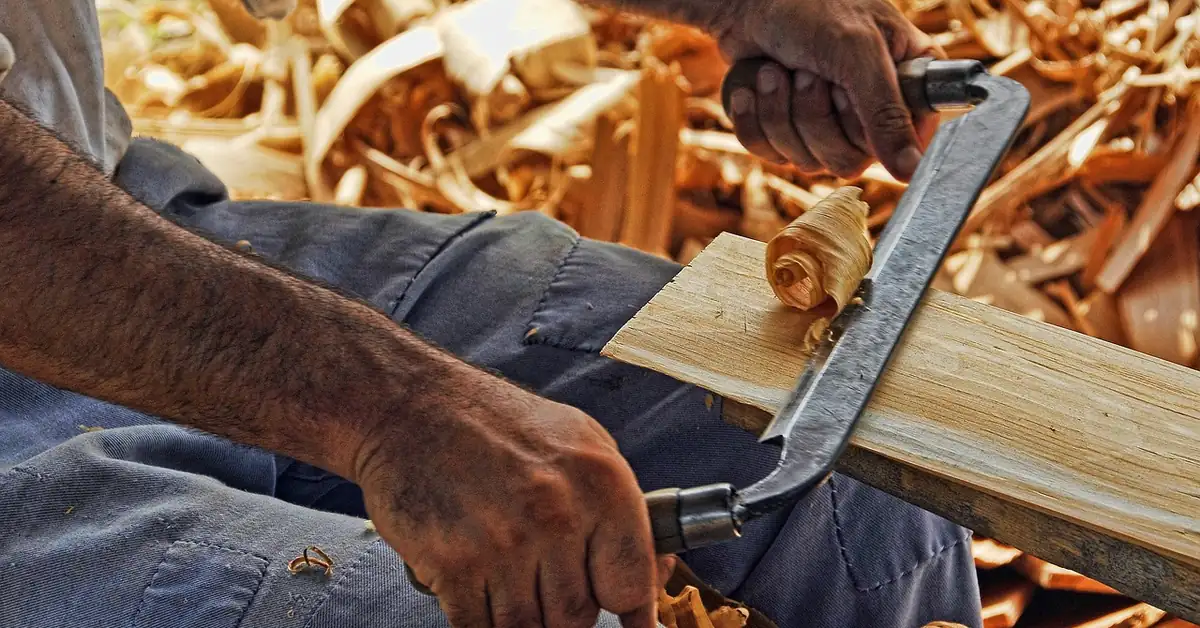
How to Use Wood Filler on Trim (Filler vs. Caulk + Drying Times)
Wood filler fixes nail holes and gaps in trim before you prime and paint, but it must fully cure first or sanding will pull it back out. DAP’s own data shows shallow fills need 2-6 hours to dry, while fills over 1/4 inch deep need up to 36 hours. This guide covers prepping the surface, applying and sanding filler correctly, and when caulk beats filler at mitered corners.
First, What Exactly is Wood Filler?
Best Wood Filler Kit Pick
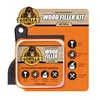
Gorilla All Purpose Wood Filler Kit – $11.97
Comes with an 8 oz tub, a 3-inch putty knife, and a sanding block — the exact toolkit this guide’s tools section recommends, in one box.
- Best for: First-time DIYers who don’t already own a putty knife or sanding block
- Why we picked it: Water-resistant, paintable, and sandable — matches the water-based type this guide recommends for trim
- Main drawback: The included 8 oz tub is best for several small holes, not a whole room of trim
Compare more wood filler options
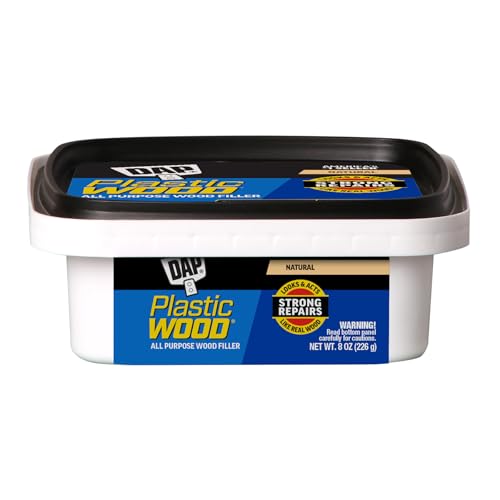
 Option 1 DAP Plastic Wood-X – $4.97
|
 Option 2 Gorilla Wood Filler 16 oz – $9.39
|
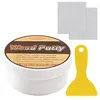 Option 3 SEISSO Wood Putty for Trim – $14.99
|
As an Amazon Associate we earn from qualifying purchases.
Think of wood filler as a cosmetic fix for wood. It’s a paste-like substance designed to fill holes, cracks, gouges, and other imperfections in wooden surfaces. When it dries, it hardens into a solid material that can be sanded, primed, and painted. Unlike wood putty, which stays pliable and is used after finishing, wood filler is meant to be applied before you prime and paint. Using it correctly is the secret behind professional-looking trim work. It creates a smooth, continuous surface, making all those nail holes from your brad nailer and annoying gaps simply disappear.

Choosing the Right Wood Filler for Your Trim
Walking down the hardware store aisle can be overwhelming with so many options. Most wood fillers for interior trim fall into one of two main categories: water-based or solvent-based. For trim that will be painted, a water-based filler is almost always the best choice because it’s easy to use, cleans up with water, and has low odor.
Here’s a simple breakdown to help you choose the perfect filler for your project:
| Feature | Water-Based Wood Filler | Solvent-Based Wood Filler | Two-Part Epoxy Filler |
|---|---|---|---|
| Best For | Interior trim, small holes, cracks (will be painted) | Interior/Exterior projects, larger repairs, areas with some moisture | Major structural repairs, rotted wood, exterior use |
| Drying Time | Fast (15-60 minutes) | Moderate (1-4 hours) | Varies (can be slow, needs mixing) |
| Cleanup | Easy (soap and water) | Requires mineral spirits or acetone | Requires special solvents before it cures |
| Flexibility | Low (can crack with wood movement) | Moderate | High (very durable and flexible) |
| Odor | Low odor | Strong chemical smell | Strong chemical smell during mixing |
For filling nail holes in brand new or existing painted trim inside your home, a high-quality, paintable water-based wood filler is your best friend. It’s forgiving, effective, and perfect for beginners.
Your Simple Toolkit: Tools & Materials
You don’t need a professional workshop for this task. Gathering these few simple tools beforehand will make the job go smoothly and quickly. You likely have most of these at home already.
- Paintable Wood Filler: Choose a good quality water-based filler.
- Flexible Putty Knife: A 1-inch or 1.5-inch knife is perfect for trim work.
- Sandpaper: You’ll need a medium grit (like 120 or 150) and a fine grit (220). A sanding sponge is great for this.
- Tack Cloth or Damp Rag: For cleaning up dust.
- Painter’s Tape (Optional): Helps protect surrounding surfaces.
- Primer: A good quality latex primer.
- Paint: The matching paint for your trim.
- Safety Gear: A dust mask and safety glasses are essential, especially for sanding.
The Step-by-Step Guide to Perfect Trim
Follow these six steps in order and you’ll have flawless trim with no wasted filler or repeat sanding.
Step 1: Prep the Area Like a Pro
A great finish starts with great prep. Before you open your can of wood filler, make sure the surface is ready. Use a damp cloth to wipe down the trim, removing any dust, grease, or grime. If you’re filling nail holes, check to ensure the nail heads are slightly below the wood surface. If one is sticking up, use a nail set and a hammer to gently tap it in about 1/16 of an inch. Any loose splinters or paint chips around the hole should be gently scraped away. A clean, stable surface helps the wood filler bond properly.
Step 2: Apply the Wood Filler
This is where the magic happens. Scoop a small amount of wood filler—about the size of a pea—onto the tip of your clean putty knife. Press the filler firmly into the hole or crack. The key is to apply pressure to ensure the filler gets deep into the imperfection. Then, holding the putty knife at a 45-degree angle, scrape it across the hole to remove the excess, leaving a thin layer of filler slightly raised above the surface. This is called “overfilling,” and it’s important because wood filler often shrinks a tiny bit as it dries. Overfilling ensures you’ll have enough material to sand it down perfectly flush later.
Step 3: Let it Dry (Patience is Key!)
Now, step back and let the wood filler do its thing. Drying time is crucial. If you try to sand it too early, you’ll just pull the soft filler right out of the hole. Check the instructions on your product’s container for the recommended drying time; deeper holes or more humid conditions take longer, so don’t guess — read the label. You’ll know it’s ready when it’s hard to the touch and doesn’t feel cool or damp. The process of wood drying involves the evaporation of moisture, a principle well-documented by resources like the U.S. Forest Products Laboratory. Be patient—a proper cure is essential for a durable repair.
📊 Depth changes drying time more than you’d think: DAP’s technical data sheet for Plastic Wood-X shows shallow fills up to 1/8 inch are ready to sand in as little as 2 hours, but fills 1/4 inch or deeper need up to 36 hours to fully cure. — Source: DAP Plastic Wood-X Technical Data Sheet
Step 4: Sand it Smooth for a Flawless Finish
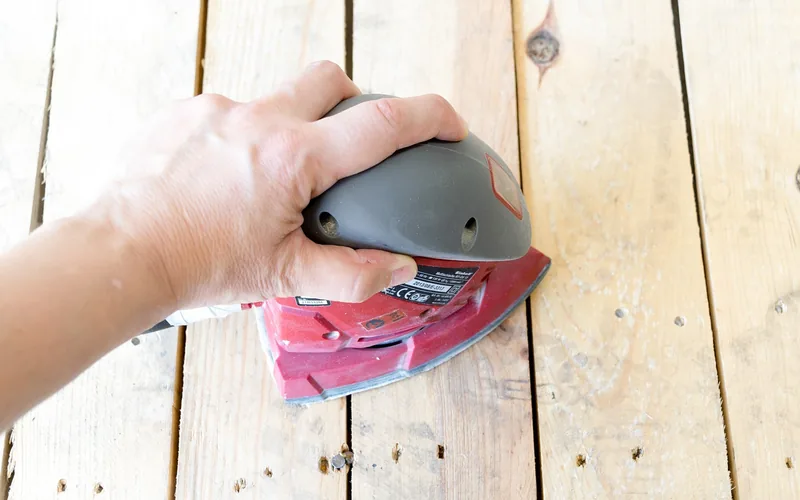
Once the filler is completely dry and hard, it’s time to make it disappear. Wrap a piece of 150-grit sandpaper around a sanding block or use a sanding sponge. Sand the filled spot with light, gentle pressure. Your goal is to smooth the raised filler down until it is perfectly level with the surrounding trim. Use your fingertips to feel the surface; you shouldn’t be able to feel a bump or a dip. Once it feels smooth, switch to a 220-grit sandpaper for a final, ultra-smooth finish. Remember to wear your dust mask during this step!
Step 5: Clean, Prime, and Get Ready to Paint
You’re almost at the finish line! After sanding, there will be a fine layer of dust. Use a tack cloth or a slightly damp rag to wipe the entire area clean. Dust is the enemy of a smooth paint job. Next, apply a thin coat of primer over the filled spots. Don’t skip this step! Primer seals the porous wood filler, ensuring that the final coat of paint will have an even sheen and won’t look dull or blotchy over the patched areas. Let the primer dry completely according to the can’s instructions.
Step 6: Paint for a Perfect Match
This is the final step. Apply your trim paint over the primed spots. You may need two thin coats to achieve a perfect blend with the rest of the trim. Feather the edges of your paint strokes to avoid visible lines. Once it’s dry, step back and check your work — the nail holes and gaps should be gone, and the trim should look clean and continuous.
Common Mistakes to Avoid (And How to Fix Them)
Even the simplest jobs have a few common pitfalls. Knowing what they are ahead of time will help you avoid them. Here are a few things to watch out for:
- Under-filling: Not putting enough filler in the hole. This creates a divot after sanding because the filler shrinks slightly. Always overfill just a little bit.
- Sanding Too Soon: If the filler is still soft, sanding will create a gooey mess and pull the filler out. Always wait for it to be rock hard.
- Using Too Much Filler: Applying a huge glob of filler over a tiny hole creates a lot more sanding work for you. Use only what you need.
- Forgetting to Prime: Skipping the primer will result in “flashing,” where the patched spot looks duller than the rest of the painted trim.
- Using the Wrong Product: Using a non-paintable or non-sandable filler will ruin your finish. Always read the label!
Here’s a quick guide for fixing things if they go wrong:
| Problem | Easy Solution |
|---|---|
| The filler left a small divot after drying. | Apply a second, thin layer of filler over the first, let it dry, and sand again. |
| The filled spot is still visible after painting. | This is likely due to skipping primer or not sanding enough. Lightly sand the area, re-prime, and then repaint. |
| The filler cracked after drying. | This usually happens if the gap was too large or subject to movement. Scrape out the cracked filler, and use a flexible, paintable caulk for gaps between trim and walls. For large holes in wood, consider a two-part epoxy wood filler. |
Wood Filler vs. Wood Putty: Clearing Up the Confusion
People often use the terms “wood filler” and “wood putty” interchangeably, but they are very different products designed for different jobs. Getting this right will save you a lot of headaches.
Wood filler is applied to bare wood before staining or painting. It dries hard and is sandable, creating a seamless part of the wood surface itself. It’s meant for fixing imperfections on unfinished projects.
Wood putty is applied after a finish (like paint or varnish) has been applied. It doesn’t harden, remaining slightly oily and flexible. It’s designed to fill nail holes on finished projects and typically comes in colors to match wood stains. It cannot be sanded effectively.
Here’s a simple table to highlight the differences:
| Feature | Wood Filler | Wood Putty |
|---|---|---|
| When to Use | Before sanding, priming, or painting. | After the final finish has been applied. |
| Hardness | Dries hard like wood. | Stays soft and pliable. |
| Sandable? | Yes, easily sandable for a smooth finish. | No, it will gum up sandpaper. |
| Best Use Case | Filling holes and cracks on unfinished wood or projects you intend to paint. | Filling nail holes on finished or stained wood trim. |
Wood Filler vs. Caulk: Which One for Trim Gaps?
Wood filler and caulk solve two different problems on trim, and mixing them up is one of the most common reasons a repair fails. Wood filler is a rigid, sandable material meant for gaps within a single piece of wood — nail holes, gouges, and cracks. Caulk is a flexible, paintable sealant meant for seams between two separate pieces — trim meeting a wall, or two boards meeting at a corner.
The distinction matters most at miter joints. An overlapping or outside-corner miter is really a seam between two boards that expand and contract independently with humidity, so it needs caulk — wood filler there will crack loose the first time the trim moves. A gouge or nail hole in the middle of a single board is a true wood filler job, since there’s no seam to flex. Picture frame miters (where four mitered pieces meet at 90-degree corners) usually need a thin bead of caulk at the seam and filler only for any leftover nail holes.
“On outside-corner miters I caulk the seam first and let it skin over before I ever touch it with filler — filler applied over a caulk line never sands clean, and you end up chasing a soft ridge with every pass of sandpaper.”
As part of a broader wood care and maintenance routine, checking which of your trim’s gaps are seams versus true holes before you buy anything will save you a wasted tube of the wrong product.
Frequently Asked Questions (FAQ)
Can you stain wood filler?
Some wood fillers are labeled as “stainable,” but getting a perfect color match can be tricky. The filler is a different material than the wood, so it absorbs stain differently. For painted trim, this is not an issue. If you plan to stain, always test the filler and stain on a scrap piece of wood first.
How long does wood filler take to dry?
Drying time depends on the type of filler, the size of the repair, and the humidity. Per DAP’s technical data for its Plastic Wood-X filler, shallow fills up to 1/8 inch are ready to sand in as little as 2 hours, while fills 1/4 inch or deeper need up to 36 hours. Always follow the manufacturer’s instructions on the packaging.
What’s the best wood filler for large holes in trim?
For very large or deep holes, a two-part epoxy wood filler is your best choice. It’s incredibly strong, durable, and won’t shrink or crack like standard fillers might in a large application. For gaps between trim and the wall, a flexible, paintable caulk is a better option.
Do I really have to sand wood filler?
Yes, absolutely. Sanding is the key to making your repair invisible. It smooths the filler so that it is perfectly flush with the wood surface. Without sanding, you will see a noticeable bump on your trim even after painting.
Can I use my finger to apply wood filler?
While it’s tempting for small holes, it’s not recommended. A putty knife gives you much better control, allows you to press the filler firmly into the hole, and creates a flatter surface. This results in less sanding and a more professional finish. Plus, some fillers contain chemicals you don’t want on your skin—check out OSHA guidelines on Hazard Communication to better understand safety data sheets for products you use.
Why did my wood filler crack after it dried?
Cracking usually happens for one of two reasons: the filler was applied too thickly in one go on a deep hole (apply in thin layers instead), or the gap is actually a seam between two pieces of trim that expand and contract — which needs flexible, paintable caulk instead of rigid filler. See the filler-versus-caulk comparison above for how to tell the two situations apart.
Can I use wood filler on exterior trim?
Yes, but you must choose a product specifically rated for exterior use. Exterior wood fillers are designed to withstand moisture, temperature changes, and UV exposure. Using an interior-only filler outside will cause it to fail quickly.
Conclusion: A Beautiful Finish is Within Your Reach
Using wood filler isn’t a complex, technical skill reserved for professional carpenters. Prep the surface, overfill slightly, let it fully cure using the drying times above (not a guess), then sand and prime before you paint. Follow those steps in order and those nail holes and gaps disappear for good.
Sponsored / affiliate links. As an Amazon Associate I earn from qualifying purchases. I may earn additional commission from eligible campaigns.