How to Find the Center of a Circle for Drilling: Quick & Accurate Guide
To find the center of a circle for drilling, draw two chords across the circle and construct a perpendicular bisector from each — the point where the bisectors cross is the exact center.
That geometry trick works on wood, paper, or metal, but it’s not the only option. A compass, a shop-made template, or even folding a paper tracing of the circle can get you to the same center point, and which one makes sense depends on the tools you already have on hand and how precise the hole needs to be for your drilling project.
Below you’ll find the tools worth keeping nearby, three reliable methods for locating the center, and the mistakes that most often throw a drilled hole off-center. If your workpiece is a rectangular board or panel rather than a circle, the diagonal-line method in how to find the center of a piece of wood is faster than any circle-based technique.
Tools Needed
Best Center Finder Pick
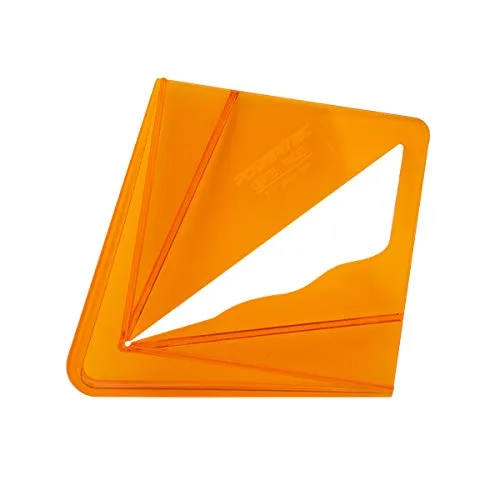
POWERTEC Plastic Center Finder Tool
A dedicated centering tool that locates the center of round stock in seconds, without any drawing or measuring.
- Best for: quickly centering dowels and round stock before drilling
- Why we picked it: skips the chord-and-bisector steps entirely for round workpieces
- Main drawback: only works on true circles/cylinders, not irregular shapes
Compare more center-finding options
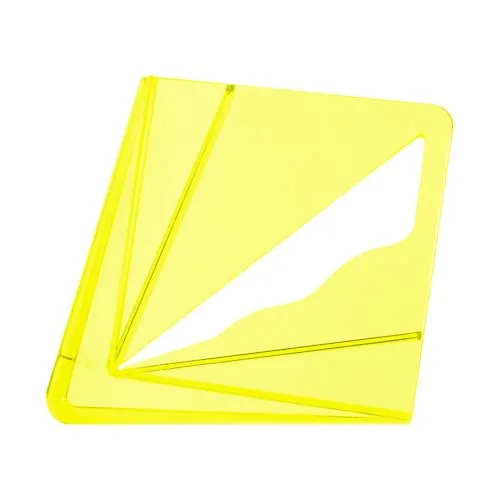 Option 1 Savannah Center Finder
|
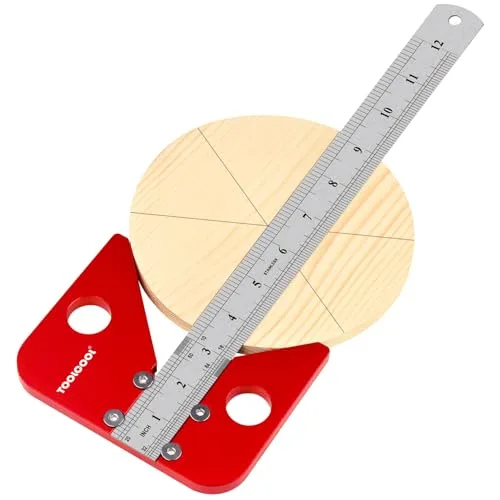 Option 2 TOOLCOOL Circle Center Finder
|
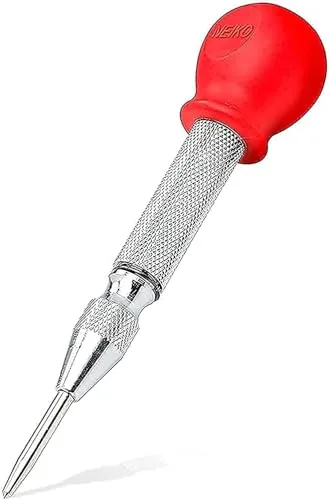 Option 3 NEIKO Automatic Center Punch
|
As an Amazon Associate we earn from qualifying purchases.
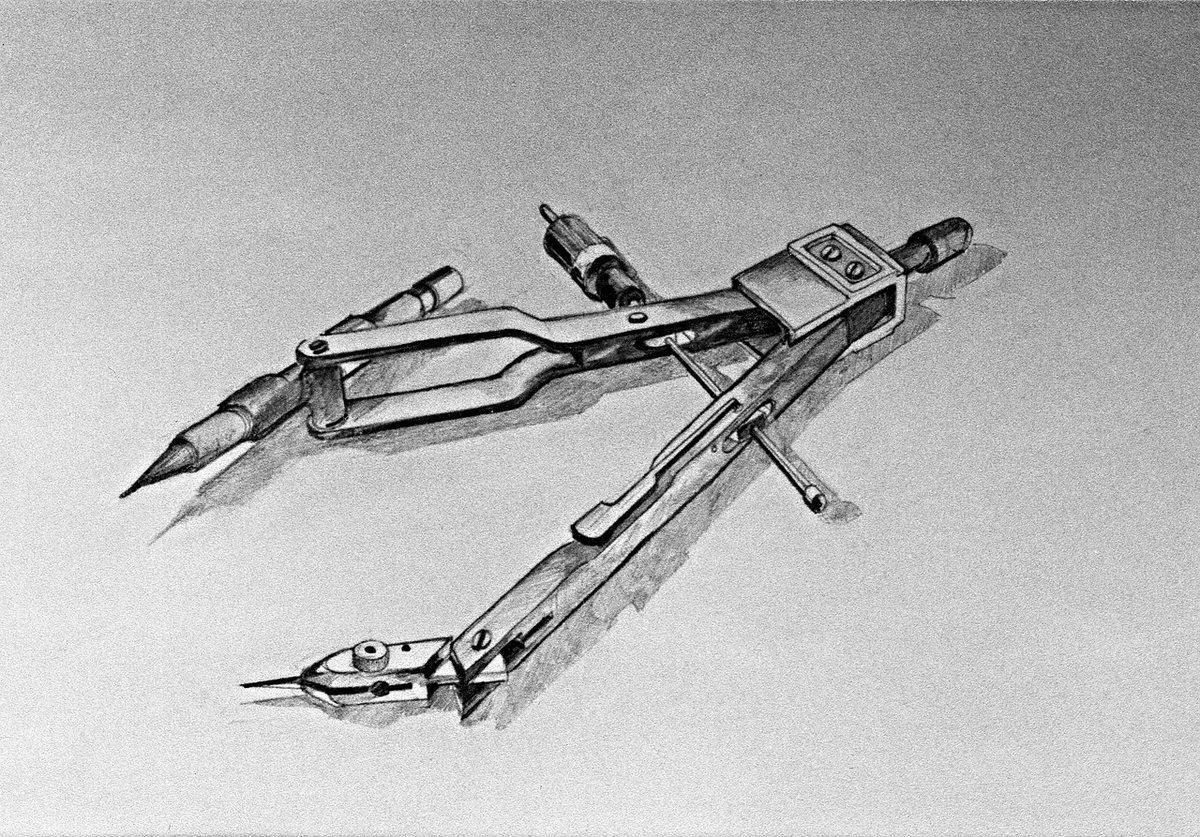
Measuring instrumentslike a ruler or tape measure help find the circle’s edges. A compasscan mark the exact middle by drawing arcs from different points.
Marking tools such as a pencil or a fine-tip marker show the center clearly on the surface. Keep the mark small and neat so it stays visible without smudging.
Drilling equipment includes a drill with the right size bit for the hole you need. A drill press or guide helps keep the hole straight and precise. Safety gear like goggles protects your eyes during drilling.
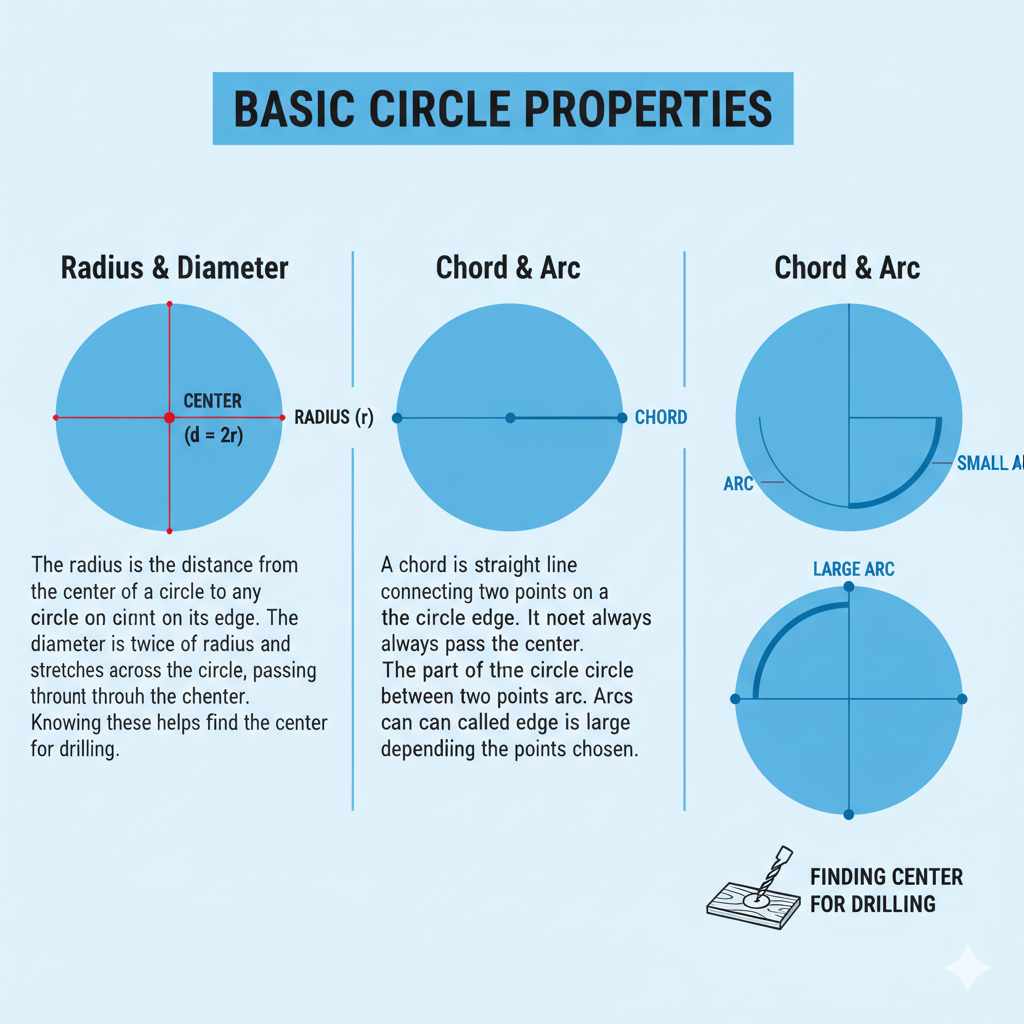
Basic Circle Properties
The radiusis the distance from the center of a circle to any point on its edge. The diameteris twice the radius and stretches across the circle, passing through the center. Knowing these helps find the center for drilling.
A chordis a straight line connecting two points on the circle’s edge. It does not always pass through the center. The part of the circle between two points on the edge is called an arc. Arcs can be small or large depending on the points chosen.
Methods To Locate The Center
Start by drawing two straight chords across the circle using a ruler. Then, find the midpoint of each chord by measuring and marking its center.
Use a compass to draw perpendicular bisectors from these midpoints. The point where the two bisectors cross is the center of the circle.
This method is simple and works well on paper or wood surfaces before drilling.
Another way uses a template or jig. These tools have holes or guides made to fit the circle size. Place the template over the circle and align it carefully.
The center hole or mark on the template shows exactly where to drill.
This method saves time and ensures accuracy for repeated work.
If you don’t have a compass or straightedge handy, the paper-folding method works just as well for a paper or thin cardboard circle. Fold the circle in half and crease it firmly, unfold, then fold it in half again in the opposite direction. Unfold once more, and the two crease lines cross at the exact center — no measuring required. Trace your circle onto paper first, find the center this way, then transfer the marked point back onto the workpiece.
Step-by-step Drilling Preparation
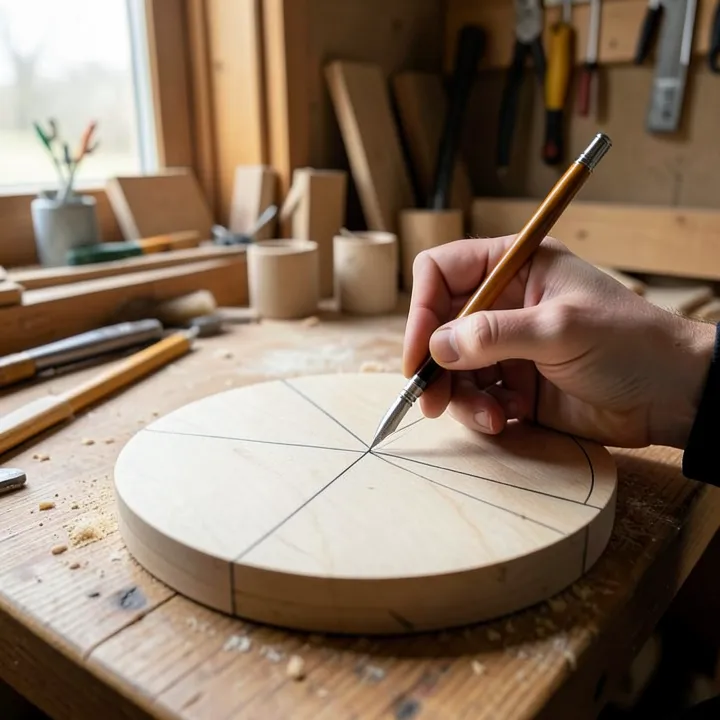
Start by finding the center pointon the circle. Use a ruler or compass to measure the diameter. Mark the exact middle with a pencil or marker. This spot is where the drill will go.
Next, secure the workpiece. Clamp it down to stop any movement. A stable piece is safer and helps make a clean hole. Avoid holding it by hand while drilling.
Finally, set the drill. Choose the right drill bit size for the hole needed. Adjust the drill speed to low or medium for better control. Position the bit on the marked center point before starting.
Tips For Accuracy
Double-checking measurementshelps avoid mistakes. Measure the circle’s diameter twice. Mark the spot clearly with a pencil. Use a ruler or caliper for better precision. Small errors can cause big problems when drilling.
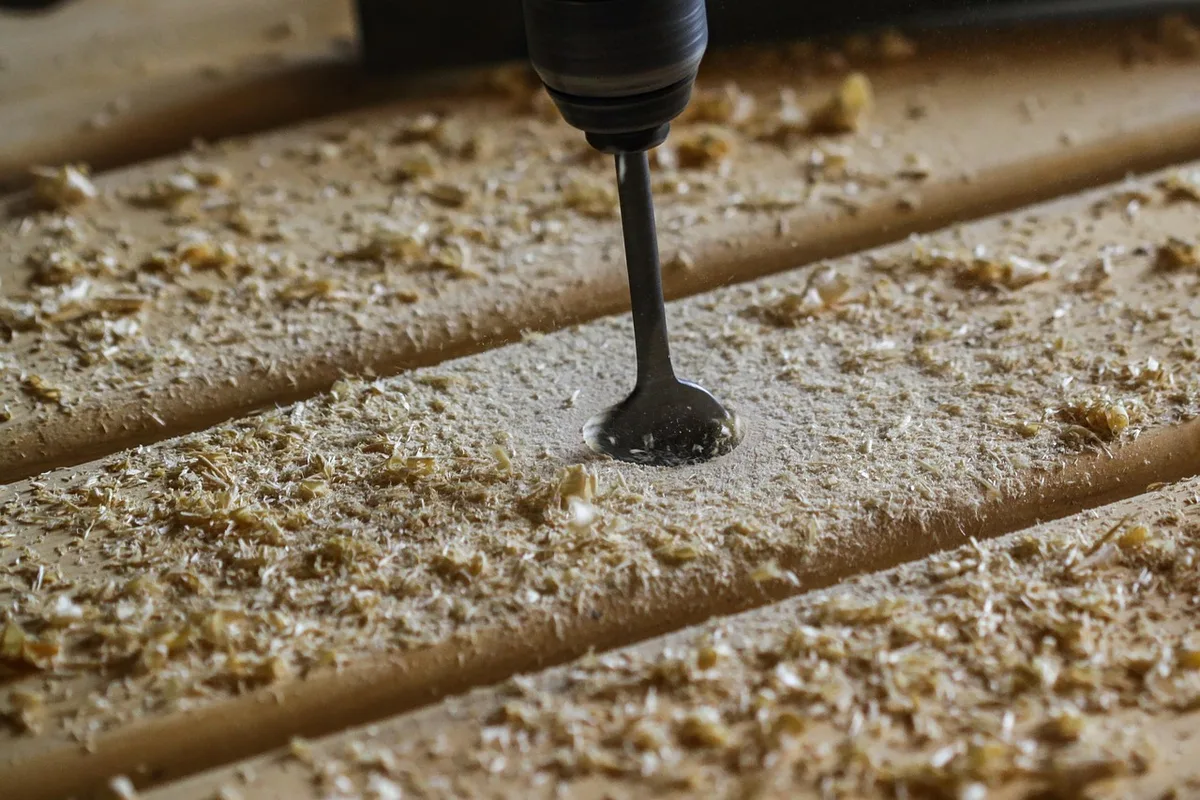
Using clamps and guideskeeps your drill steady. Clamp the circle firmly to the work surface. Use a center drill or a guide block to keep the drill bit straight. This helps prevent the drill from slipping or making uneven holes.
Avoiding common mistakesis key to success. Don’t guess the center—always measure carefully. Avoid drilling at an angle. Make sure the drill bit is sharp. Wear safety glasses to protect your eyes.
Troubleshooting Common Issues
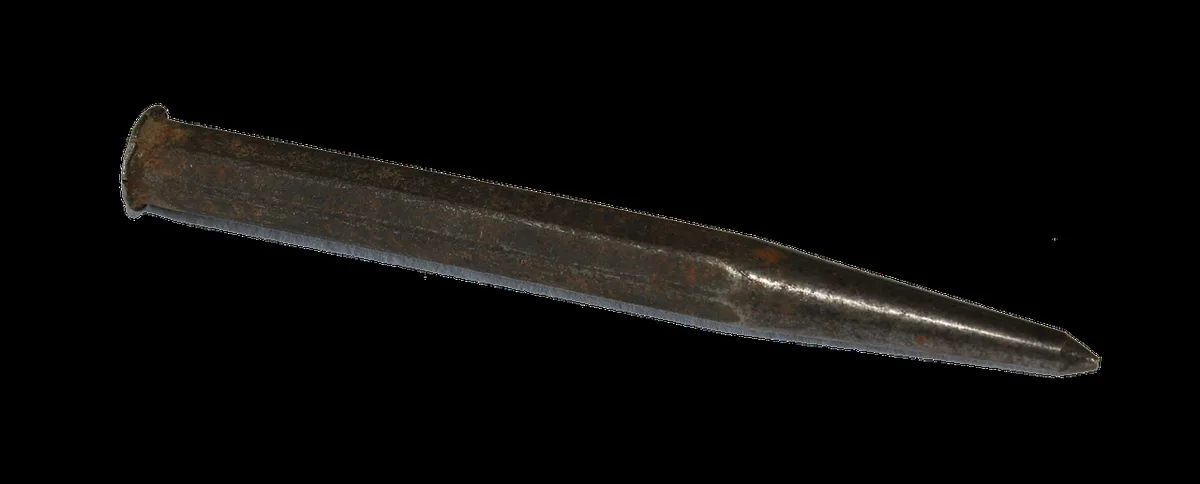
Misaligned drillinghappens when the drill bit is off-center. This causes holes that do not match the circle’s center. Using a center punchhelps keep the drill steady and accurate.
Center mark smudgingcan make the drill miss the spot. To avoid this, use a sharp pencil or fine marker to make the mark. Cover the mark with tape to protect it during drilling.
Uneven circle edgesshow the center was not found correctly. Check the circle’s outline carefully before drilling. Use a compass or a template to draw a smooth, even circle.
Frequently Asked Questions
How Do I Find The Center Of A Circle For Drilling?
To find the center, draw two chords on the circle. Then, draw perpendicular bisectors of each chord. The intersection point is the circle’s center, perfect for accurate drilling.
What Tools Are Needed To Locate A Circle’s Center?
You need a ruler, compass, pencil, and a protractor or square. These tools help draw chords, bisectors, and measure angles precisely for finding the center.
Can I Find The Center Without Special Tools?
Yes, by folding a paper circle in half twice, the folds intersect at the center. This simple method works if you don’t have measuring tools.
Why Is Finding The Center Important For Drilling?
Drilling at the center ensures balance and precision. It prevents damage to the material and improves the stability of the drilled hole.
Conclusion
Finding the center of a circle for drilling is simple with the right steps. Use a ruler and compass to mark equal points. Draw lines connecting these points to locate the center. This method helps drill accurately and avoid mistakes.
Taking time to measure carefully saves material and effort. Practice these steps to build your confidence in drilling tasks. Precision makes every project look better and last longer. Keep tools ready and work patiently for best results.
Sponsored / affiliate links. As an Amazon Associate I earn from qualifying purchases. I may earn additional commission from eligible campaigns.