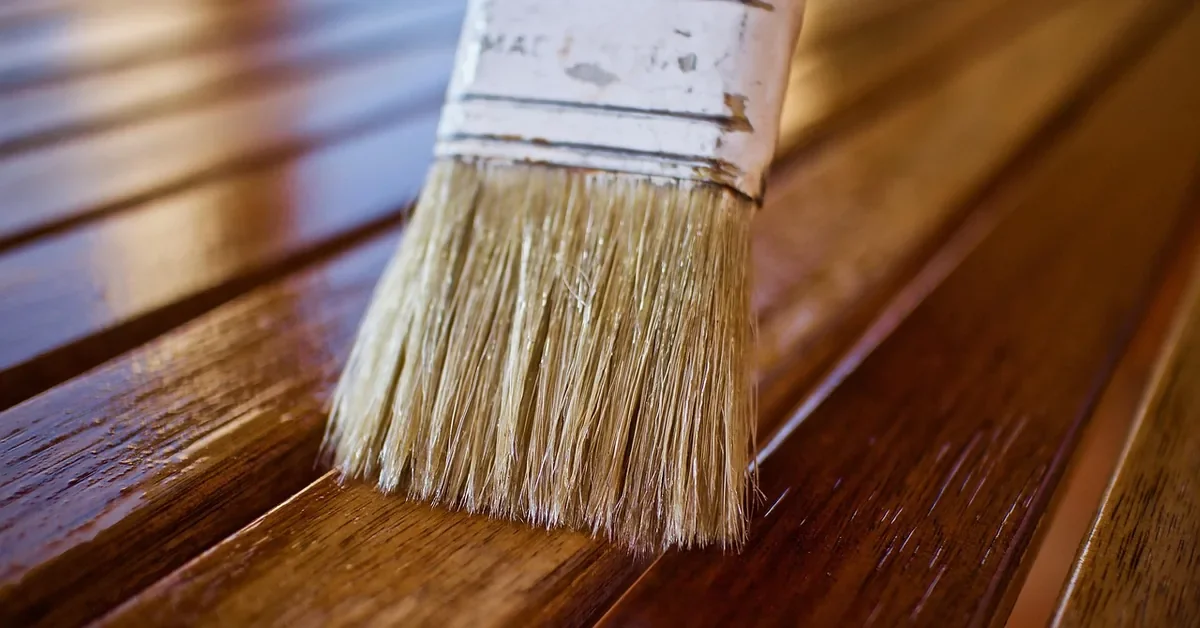
How to Varnish Wood: Best Type by Project (+ Drying Times)
Varnishing wood means sanding to 220-grit, then brushing on 2-3 thin, even coats that dry hard and clear over the surface – but oil-based, water-based, and spar varnish each cure on a different schedule. Using the wrong type outdoors leads to cracking within a season. This guide covers picking the right varnish, prepping the wood, applying it without drips, and how long to let each type cure.
Choosing the Right Type of Varnish
Not all varnishes are built the same, and picking the right one determines how long the finish lasts. Check our full wood finishing guide if you’re still deciding between varnish and another finish entirely. Here’s a breakdown of the four types you’ll run into, and what each is actually good for.
Oil-Based Varnishes
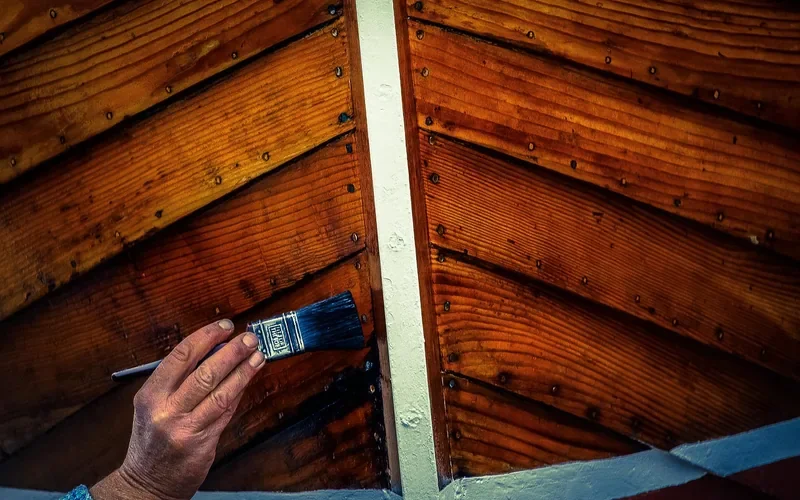
These are the classic workhorses. They offer excellent durability and a rich, warm tone to the wood. Because they are oil-based, they tend to level out beautifully, minimizing brush strokes.
- Pros: Very durable, excellent protection, beautiful warm amber tone, good for high-traffic areas.
- Cons: Longer drying times, strong odor (requires good ventilation), can yellow over time, requires mineral spirits for cleanup.
- Best For: Floors, tabletops, outdoor furniture, anything needing maximum protection.
Water-Based (Acrylic or Polyurethane) Varnishes
These have grown incredibly popular, and for good reason! They dry much faster, have a low odor, and clean up with just soap and water, making them super beginner-friendly. They tend to dry clear, preserving the natural color of the wood.
- Pros: Fast drying, low odor, easy cleanup with water, dries clear, less prone to yellowing.
- Cons: Can be less durable than oil-based options (though modern formulas are excellent), may show brush strokes more if applied incorrectly.
- Best For: Indoor furniture, cabinets, decorative items, projects where quick drying and low odor are priorities.
Spar Varnish
Originally formulated for the masts of sailing ships (hence “spar”), this varnish contains UV inhibitors and extra flexibility so it moves with the wood instead of cracking. It’s the only type built to survive direct sun and rain long-term. See our spar urethane vs. polyurethane comparison if you’re deciding between the two for an outdoor tabletop.
- Pros: Excellent UV protection, flexible (resists cracking), good for outdoor use.
- Cons: Can be softer than other varnishes, may take longer to cure fully, often has a yellow tint.
- Best For: Outdoor furniture, boat brightwork, doors exposed to direct sunlight.
Pre-Catalyzed and Conversion Varnishes
These are more professional-grade finishes, often used in commercial furniture making. They offer exceptional hardness, chemical resistance, and durability. While they can offer a fantastic, long-lasting finish, they often require specialized application and ventilation due to their potency and curing agents.
- Pros: Extremely hard and durable, excellent chemical resistance, fast curing.
- Cons: Potentially toxic fumes, requires specialized application (e.g., spray equipment), not typically recommended for beginners in a home setting.
- Best For: High-wear surfaces in commercial settings, custom cabinetry where extreme durability is paramount.
Best Spar Varnish Pick
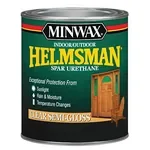 |
Minwax Helmsman Spar Urethane, Quart, Semi-Gloss – $23.54 The spar varnish option from the comparison above – built-in UV blockers and flexible resin for the outdoor and boat-brightwork uses this guide covers.
|
Essential Tools and Materials You’ll Need
Once you’ve picked a varnish, gather the rest of the supplies below before you start – having everything on hand keeps you from stopping mid-coat.
- Selected Varnish: (As discussed above!)
- Sandpaper: A range of grits – usually starting around 120-150 for initial prep, then 180-220 for smoothing between coats.
- Sanding Block or Orbital Sander: For even sanding.
- Tack Cloth or Microfiber Cloth: For wiping away dust.
- Good Quality Brushes: Natural bristles for oil-based varnish, synthetic for water-based. Consider foam brushes for a very smooth finish without much effort.
- Paint Rollers (Optional): Small foam rollers can be great for large, flat surfaces.
- Paint Tray or Container: To pour your varnish into.
- Gloves: To protect your hands.
- Safety Glasses: Always protect your eyes!
- Respirator Mask: Especially important for oil-based varnishes or when sanding.
- Drop Cloth or Plastic Sheeting: To protect your work area.
- Clean Rags: For wiping up drips.
- Mineral Spirits (for oil-based) or Water (for water-based): For cleaning up tools.
Preparing Your Wood for Varnish
A properly prepped surface is what makes varnish adhere well and look flawless. Skipping this step leads to a less durable finish and visible imperfections later.
Step 1: Clean the Surface
Your wood needs to be perfectly clean. Dust, dirt, grease, and old finishes will all interfere with the new varnish. Use a damp (not wet!) cloth to wipe down the wood. For any stubborn grease, you might need a mild detergent or degreaser, followed by a clean water wipe.
Step 2: Sand, Sand, Sand!
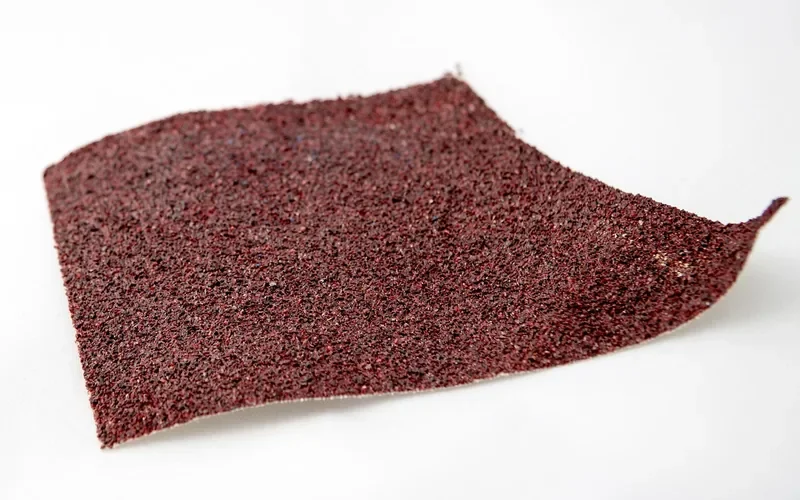
Start with a medium-grit sandpaper (around 120-150 grit) to remove any rough spots, old finishes, or mill marks. Always sand in the direction of the wood grain. If you’re using an orbital sander, move it slowly and evenly across the surface.
Once you’ve gone over it with the coarser grit, move to a finer grit (180-220). This smooths out the scratches left by the previous sandpaper, creating a silky surface ready for finish.
Step 3: Dust Off the Evidence
After sanding, your wood is covered in fine dust. This is where the tack cloth or a clean, dry microfiber cloth comes in. Wipe the surface thoroughly, going with the grain. A tack cloth is slightly sticky and is excellent at picking up microscopic dust particles that regular cloths might miss. Repeat this until you’re absolutely sure there’s no dust left.
Pro Tip: For water-based varnishes, vacuuming up dust first can sometimes be helpful, but always follow up with a tack cloth or microfiber. For oil-based, avoid any solvents that might leave a residue.
Applying the Varnish
Now for the exciting part – applying the varnish! The key is thin, even coats: three thin coats beat one thick, gloopy one every time. For a closer look at brush technique and how to fix drips as you go, see our step-by-step varnish application guide.
Step 1: Stir, Don’t Shake
If you shake the varnish can, you’ll introduce tiny air bubbles. These bubbles can pop as the varnish dries, leaving little craters in your finish. Gently stir the varnish with a stirring stick to mix the ingredients without creating froth. If you see any skin on top, carefully lift it out.
Step 2: The First Coat
Pour a small amount of varnish into your paint tray or a clean container. Dip your brush (or foam brush) about a third of the way into the varnish. Don’t overload it!
Start applying the varnish in long, even strokes, following the direction of the wood grain. If you’re varnishing a flat surface, start at one edge and work your way across. Overlap each stroke slightly to avoid missed spots.
Work quickly but deliberately. If you’re using an oil-based varnish, you’ll have more time to work with it. For water-based, it dries faster, so aim for smooth, continuous strokes.
As you finish a stroke, lightly drag the brush over the area again to catch any drips or thick spots. The goal is a thin, consistent film of varnish.
Step 3: Drying Time
Varnish needs time to dry. The can will specify times for “touch dry,” but for successful recoating you need to let it harden enough that sanding won’t gum up the paper. Always follow the manufacturer’s recommendations – they vary significantly by product.
Typical Drying Times (Approximate):
| Varnish Type | Touch Dry | Recoat Time | Full Cure |
|---|---|---|---|
| Oil-Based | 4-12 hours | 12-24 hours | 7-30 days |
| Water-Based | 30-60 minutes | 2-4 hours | 7-14 days |
| Spar Varnish | 4-12 hours | 12-24 hours | 7-30 days |
Note: Drying and curing times can be affected by temperature, humidity, and ventilation. Always check your product’s label for precise information.
📊 Minwax’s own spec sheet for Helmsman Spar Urethane calls for a 4-hour recoat window, a full 24-hour cure before use, and 3 coats on exterior or bare wood – Source: Minwax, 2026
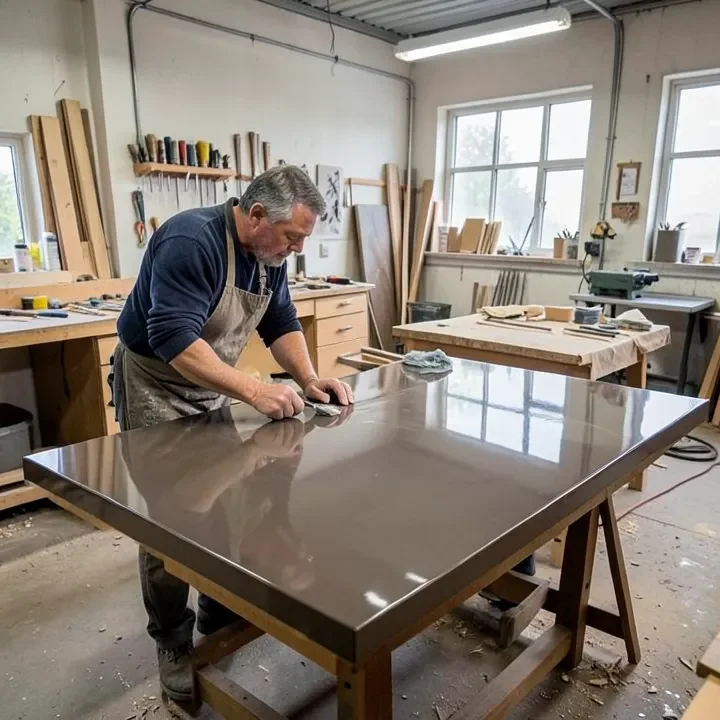
“Humidity settling on uncured varnish is what dulls and clouds a finish – it’s why he never starts a coat outdoors after about 2 p.m. on a summer day.”
Step 4: The Second Coat (and Beyond)
Once the first coat is dry to the touch and feels no longer tacky, it’s time for the magic of sanding between coats. This step is crucial for achieving a super smooth, professional finish. Use a very fine-grit sandpaper (220-320 grit) or a synthetic scouring pad.
Lightly sand the entire surface. You’re not trying to remove the varnish, just to knock down any minor imperfections, dust nibs (those tiny bits of dust that landed during drying), or slight brush marks. The surface might look dull and cloudy after sanding – this is normal.
After sanding, use your tack cloth or microfiber cloth again to remove all the dust. Then, apply your second coat of varnish, just like you did the first.
Most projects will benefit from 2-3 coats. For high-wear surfaces like tabletops or floors, you might want to go for 4-5 coats. Always allow adequate drying time between each coat, and lightly sand and clean before applying the next.
Curing and Caring for Your Varnished Wood
Once the final coat is on, there’s still curing to consider. Varnish can feel dry to the touch quickly but takes much longer to reach full hardness. Giving it that time is essential for long-term performance.
Let It Cure
Respect the cure time. For about 7 to 30 days (depending on the varnish type and conditions), treat your varnished item gently – avoid placing heavy objects on it, sliding things across the surface, or exposing it to excessive moisture.
For furniture, this means not putting it into service immediately. For outdoor items, keep them protected from heavy rain during this critical period, per the cure times in the table above.
Buffing for Brilliance (Optional)
If you want a satiny finish rather than a high gloss, you can buff the final coat after it has fully cured (after the 7-30 day period).
Use a very fine-grit polishing pad (like steel wool grade #0000) or a polishing compound designed for wood finishes. Work in gentle, overlapping motions following the grain to flatten the surface slightly for a soft sheen.
Ongoing Care
Once your varnish is fully cured, keep it looking its best:
- Clean gently: Use a soft, damp cloth. Avoid abrasive cleaners or scouring pads, which can scratch the varnish.
- Wipe up spills: Don’t let liquids sit on the surface for extended periods, as even cured varnish can be damaged by prolonged exposure to certain substances.
- Use coasters and placemats: This is always a good idea for tabletops and furniture to prevent scratches and water rings.
- Avoid harsh chemicals: Stick to mild soap and water for cleaning.
Troubleshooting Common Varnish Woes
Even the best of us run into a little hiccup now and then. Here are some common issues and how to fix them:
- Drips and Runs: Usually caused by applying the varnish too thickly or not spreading it evenly. If caught while still wet, you can often smooth them out with your brush. If dry, sand them down smooth and reapply varnish to that area.
- Brush Marks: Can happen if you used too much pressure, applied the varnish too unevenly, or used the wrong type of brush. Sand lightly with fine-grit paper and apply a thinner, more even coat next time.
- Sticky Surface: This often means the varnish hasn’t dried or cured properly – usually from too thick a coat, poor ventilation, high humidity, or low temperatures. Wait longer, ensure good airflow, and if necessary, gently scrape off the sticky section and re-varnish.
- Cloudiness or Haze: In humid conditions, varnish (especially oil-based) can “blush” or turn cloudy – the same humidity issue described above. Ensuring good ventilation and not varnishing in damp environments or late in the day helps prevent this. If it happens, a gentle buff with a polishing compound can help.
- Dust Nibs: Tiny specks of dust embedded in the finish. The solution is always to lightly sand with fine-grit paper and wipe clean between coats.
Most minor imperfections can be sanded out and corrected with another thin coat.
Frequently Asked Questions (FAQs)
Do I need to prime wood before varnishing?
No. Priming is for painting. Varnish is designed to work directly on the wood surface after proper preparation (cleaning and sanding). Some very specific situations or wood types might benefit from a seal coat, but for standard varnishing, prep sanding is enough.
How many coats of varnish are usually needed?
For most indoor projects, 2 to 3 coats is sufficient. For surfaces that get a lot of use or are exposed to moisture and UV rays, like tabletops, doors, or outdoor furniture, 3 to 5 coats provide better protection.
Can I varnish over an existing paint or stain?
Yes, but only if the existing finish is sound and stable. Clean it thoroughly and lightly sand it to give the varnish something to grip. If it’s chipped or peeling, remove the old finish first.
How do I varnish curved or irregularly shaped objects?
The technique is the same: thin, even coats. Use a high-quality brush that can get into nooks and crannies. Work from the top down, letting gravity help you spread the varnish, and watch for areas where it might pool.
What’s the difference between varnish and polyurethane?
Polyurethane is a type of synthetic resin that’s a key ingredient in many modern varnishes. The terms are often used interchangeably, especially for water-based finishes. “Varnish” is the broader term for a liquid coating that dries to a hard, protective film; polyurethane is a specific resin that makes a varnish perform well.
Can I use varnish outdoors?
Yes, but you need the right type. Spar varnish is specifically designed for outdoor use due to its UV resistance and flexibility. Regular interior varnishes won’t hold up to sun and weather and may crack or peel.
My varnish dried to a sticky texture. What did I do wrong?
This usually happens when varnish is applied too thickly, in poor drying conditions (too cold, too humid), or with inadequate ventilation. The surface has sealed over, trapping solvents underneath.
What time of day is best for varnishing outdoors?
Morning through early afternoon, on a dry day. Starting a coat too late means evening humidity and dew can settle on the still-tacky finish before it hardens, leaving it cloudy or textured – a common cause of the haze described above.
Sponsored / affiliate links. As an Amazon Associate I earn from qualifying purchases. I may earn additional commission from eligible campaigns.