How to Stop a Door From Sticking
To stop a sticking door, find the rub point, then fix the hinges, strike plate, or weatherstripping before you plane or sand. If the gap changes with humidity, start with hinge adjustment. Skipping diagnosis wastes time, can damage the door, and may leave a larger gap than needed. This guide shows you how to read the rub pattern, test the cause, and choose the least invasive repair first.
What you’ll need


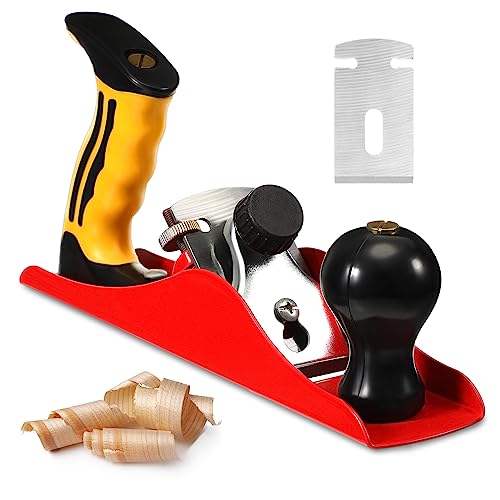
- Screwdriver or drill/driver
- Longer replacement screws
- Silicone spray or dry PTFE
- White lithium grease
- Hand plane or jack plane
- Sandpaper, 120-150 grit
- Pencil
- Masking tape
Door sticking diagnosis table
| Symptom | Likely cause | Fastest test | Safest first fix | When to stop and call a pro |
|---|---|---|---|---|
| Top-edge rub near the latch side | Top hinge drop, loose screws, or an out-of-square frame | Open the door slowly and look for a tight reveal at the top corner | Tighten top and middle hinge screws; use longer screws if the wood is stripped | If the frame is racked or the door still scrapes after hinge correction |
| Bottom-edge rub on the latch side or threshold | Seasonal swelling, floor contact, or sagging hinges | Slide a thin card under the bottom edge and check where it drags | Check hinge screws first; then remove only the high spot with sanding or planing | If the door needs major removal or the floor/threshold is the actual cause |
| Latch-side rub through the middle | Strike plate misalignment or loose latch hardware | Close the door without turning the handle and watch where the latch hits | Reposition or tighten the strike plate; test latch engagement again | If the lock needs realignment or the latch still binds on an exterior door |
| Sticking after painting | Paint bridges at the edge, jamb, or hinge knuckles | Look for fresh paint ridge lines where the door meets the stop | Cut the paint line and remove only the excess film | If the paint has locked the door to the stop or hardware |
| uPVC or composite door drags or will not latch cleanly | Hinge height, side-to-side, or compression setting is off | Check whether the handle lifts easily but the door still scrapes or misses the keeper | Adjust the hinges and check keeper alignment before touching the lock | If the multipoint mechanism binds, the handle feels forced, or the door needs professional realignment |
Start at the rub mark, then match the symptom to the cause before removing any wood. Tighten loose hinge screws, check the strike plate, and look for weatherstripping that is over-compressed. If the gap changes with the season, choose the smallest fix that still lets the door close freely.
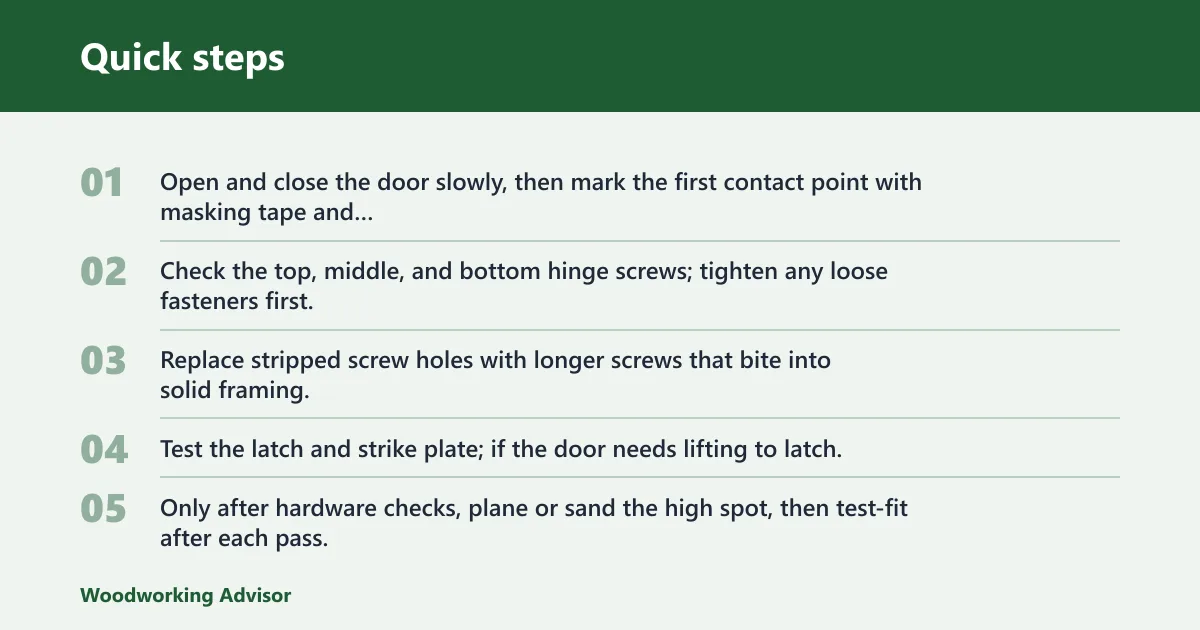
- Open and close the door slowly, then mark the first contact point with masking tape and a pencil.
- Check the top, middle, and bottom hinge screws; tighten any loose fasteners first.
- Replace stripped screw holes with longer screws that bite into solid framing.
- Test the latch and strike plate; if the door needs lifting to latch, adjust the strike or hinge alignment.
- Only after hardware checks, plane or sand the high spot, then test-fit after each pass.
A common first-timer mistake is shaving the full edge because one corner rubs. If only a high spot of about 2 mm is touching, remove that point alone and recheck. That keeps the reveal closer to the original fit and lowers the chance of a loose door when winter shrink-back arrives.
If that didn’t work, try this next
- Lubricate the hinge pins or mechanism with silicone spray or dry PTFE.
- Use white lithium grease only on the hinge parts or lock mechanism that need a heavier film.
- Wipe away excess product so dust does not build on moving parts.
- If the door still sticks, move to frame, jamb, or edge correction rather than forcing the handle.
If the door drags as it swings open, the problem is often hinge drop or loose screws before it is a wood-removal issue. A top hinge that has shifted can pull the latch-side edge into the jamb, and longer screws can draw the hinge back into firmer wood. Exterior doors need extra care because hinge security also affects resistance to forced entry.
- Check the top hinge first, then the middle and bottom hinges for movement at the leaf or screws.
- Drive longer replacement screws through the top hinge into framing if the screw holes are stripped.
- Lift the door slightly while closing it; if it suddenly opens and shuts cleanly, hinge drop is likely.
- Retest after each screw adjustment before touching the edge.
Say your front door closes only if you lift the handle side by about 3 mm, which often points to hinge sag. That usually points to hinge sag rather than a door that needs planing right away. Correct the hinge before cutting the edge so you do not weaken a door that already needs secure latch engagement.
How to stop a door from sticking at the top
Top-edge rubbing usually means the door has dropped on its hinges or the opening is out of square. A tight top reveal at the latch side with a wider gap near the hinge side points to frame movement or hinge wear, while a bent reveal across the whole top can signal racking. Start with hardware, then trim only the true high spot if wood swelling is the cause.
- Measure the reveal at the top corner and compare it with the hinge side.
- Check whether the top hinge or middle hinge has loose screws, then tighten them.
- Fit longer screws if the hinge is pulling away from soft or stripped wood.
- If the top edge still catches, remove a thin layer only from the marked high spot with a hand plane or 120-150 grit sandpaper.
The reveal on a well-fitting door is often described as about nickel thickness, and This Old House recommends keeping it about 1/8 to 3/16 inch wide. Leave as much of that gap as possible, because seasonal expansion can reduce it again in summer. (Thisoldhouse)
Heat often makes wood doors expand, so summer sticking is common. The safest response is to check whether the rub appears only in warm, damp weather and whether it disappears after a dry spell. If the door closes well in cooler months, avoid aggressive removal that could create a winter gap.
- Compare the current reveal with the gap in cooler weather, if you know it.
- Check weatherstripping for over-compression before touching the door edge.
- Adjust hinges first if the gap changed across the frame.
- Only then sand or plane the marked high spot, one pass at a time.
Picture a bedroom door that sticks only on damp afternoons and closes normally after a dry night. That pattern points to moisture-related swelling, not a permanent alignment fault. In that case, the least invasive fix is usually hinge adjustment plus minimal edge removal, if any is needed at all.
uPVC and composite doors need a different approach from timber doors. Adjust height, side-to-side position, and compression on the hinges before touching the lock or keeper. If the handle feels forced, or the multipoint locking mechanism resists, stop and call a professional for realignment rather than forcing the hardware.
- Check whether the door lifts or drops unevenly on the hinge side.
- Adjust hinge height and side-to-side position before changing the strike or lock.
- Test the compression setting so the seal closes without crushing the gasket.
- If the multipoint lock still misses the keepers, stop and book a realignment.
The MLA advises lubricating uPVC locking mechanisms every three months, and it says not to use traditional WD40 on multipoint mechanisms. Use a lubricant intended for the lock parts, not a dust-attracting product. If the handle or lock binds, do not force it.
How to stop a door from sticking at the bottom
Bottom-edge rubbing can come from floor contact, threshold contact, or seasonal swelling in the door itself. First, confirm where the drag happens. If the bottom edge only catches during humid weather, wood expansion is the likely cause; if the contact is constant, hinge sag or an uneven floor is more likely.
- Slide paper or thin card under the bottom edge to find the exact contact point.
- Check hinge screws before shaving any wood.
- Remove only the marked high spot with a jack plane or 120-150 grit sandpaper, then test-fit.
- Stop as soon as the door clears, because winter shrink-back can add extra clearance later.
This Old House notes that humidity commonly makes doors swell in summer, and that the minimum amount should be removed because the door may shrink in winter. That is the right order here. If the bottom would need a large cut to clear, stop and inspect the threshold or floor level instead.
How to stop a door from sticking after painting
After painting, sticking usually comes from paint bridges at the jamb, stop, hinge knuckles, or the door edge itself. Do not force the door through a fresh paint line. Cut the bond first, then remove only the surplus film so the door keeps its fit and the hardware keeps moving freely.
- Inspect the edge where the door meets the stop and look for fresh ridges of paint.
- Run a sharp utility blade along the seam to cut the paint bridge.
- Open and close the door gently to confirm whether paint, not hardware, was the only cause.
- If paint buildup remains on one edge, sand just that film with 120-150 grit paper.
If the door still binds after the seam is cut, check the hinge knuckles and latch area for paint buildup. Remove the excess film, not the whole edge. A full-edge trim can leave the door loose once the paint cures and the humidity drops.
Common mistakes
- Planing before checking hinge screws, strike alignment, and seasonal movement.
- Removing too much wood on a door that may shrink back in winter.
- Using a dust-attracting product on hinges or a locking mechanism.
- Forcing a front door handle or lock when the latch is misaligned.
- Ignoring torn, folded, or over-compressed weatherstripping that is creating friction.
Keep the reveal close to its original width, and stop as soon as the door clears cleanly. On an exterior door, that protects both alignment and security. On a timber door, it also leaves room for seasonal movement.
Frequently asked questions
How to stop a door from sticking due to humidity
Start with hinge screws and reveal gaps, because humidity often makes a timber door swell rather than shift the frame. If the sticking appears only in warm, damp weather, remove the least material possible and recheck after each pass so winter shrink-back does not leave a loose fit.
How to stop a door from sticking after painting: cut the paint line
Cut the paint line at the stop, edge, and hinge knuckles before you touch the wood. If the door still drags, sand only the paint ridge with 120-150 grit paper. Do not force a fresh painted edge through the jamb, or the finish can tear and bind again.
How do I stop my front door from sticking?
For a front door, start with hinge screws, strike alignment, and weather seal compression before you remove wood. Exterior doors also need security in mind, so use longer screws where holes are stripped and stop if the lock or keeper is involved. Do not force the handle through resistance.
Sponsored / affiliate links. As an Amazon Associate I earn from qualifying purchases. I may earn additional commission from eligible campaigns.