How to Fix a Bowed Wood Table Top (4 Methods + Batten Fix)
A bowed wood table top usually flattens by dampening the concave side and clamping it flat for 24 hours to a week, depending on severity — but a veneered top can’t safely take the heat-gun method solid wood can. Left alone, the bow typically worsens as humidity swings continue. This guide covers the moisture, heat, and clamping methods for each severity level, plus the batten technique that stops a bow from coming back.
Quick Answer
For a mild bow (under 1/8″ gap under a straightedge), dampen the concave side and clamp the top flat on a level surface for 24 to 72 hours. For a moderate or severe bow, add gentle heat with a damp towel and clamps for 3 to 7 days. If the bow keeps returning, screw hardwood battens across the underside every 12 inches through elongated screw holes so the wood can still move. Never use a heat gun on a veneered or laminate top — the glue bond can blister.
Tools and Materials You’ll Need
Best Clamps for Flattening a Table Top
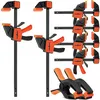
HORUSDY 8-Pack Bar Clamps (6″ & 12″) – $32.29
A mixed 6″/12″ set covers both the cauls-and-towel method above and holding battens flat while you drive screws — no need to buy two separate clamp sizes.
- Best for: Small to mid-size tabletops needing multiple clamping points
- Why we picked it: One-handed quick-release works well when you’re re-tightening clamps daily during the multi-day heat method
- Main drawback: 150 lb load limit is light-duty — not enough force for a badly cupped, thick slab top
Compare more clamp options
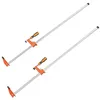 Option 1 VEVOR 2-Pack 36″ Clamps – $21.16
|
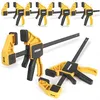 Option 2 EQUIPTZ 6-Pack Combo (12″&6″) – $34.99
|
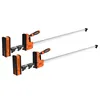 Option 3 JORGENSEN 50″ Parallel Clamps – $107.99
|
As an Amazon Associate we earn from qualifying purchases.
- Bar or hand-screw clamps (see recommendations below)
- Spray bottle or damp cloth
- Heat gun, clothes iron, or heat lamp (solid wood only)
- Straight edge or level
- 3/4-inch hardwood strips for battens (permanent fix)
- Drill with a bit sized for elongated screw holes
- Sandpaper (120 to 220 grit) and a sanding block
- Wood sealer or polyurethane finish
- Safety goggles and gloves
What Causes a Bowed Table Top, and How Bad Is Yours?
Bowing happens when one face of a solid-wood or plywood top absorbs or loses moisture faster than the other, so the wetter side expands and pulls the panel toward the drier face. It’s one of the most common wood maintenance issues on tables stored near a heat source, on a concrete floor without a vapor barrier, or in a room with big humidity swings between seasons.
To check how bad it is, lay a straightedge or level across the width of the top. A gap under 1/8 inch is a mild bow. A gap of 1/8 to 1/4 inch is moderate. Anything over 1/4 inch — or a top that rocks on its own legs — is severe enough that battens should be part of the fix, not just moisture or heat alone.
Fix a Mild Bow: Moisture and Weight (24 to 72 Hours)
For gaps under 1/8 inch, mist the concave (indented) side lightly with a spray bottle — don’t soak it. Set the top on a flat, level surface and stack evenly distributed weight on it: books, paint cans, or anything heavy you have on hand.
Leave it 24 to 72 hours in a dry space, checking once a day. As the wood dries, it relaxes back into shape. Recheck with a straightedge before assuming it’s done — a bow that’s still there after 72 hours needs the heat-and-clamp method below, not more waiting.
Fix a Moderate or Severe Bow: Heat, a Damp Towel and Clamps (3 to 7 Days)
For gaps over 1/8 inch, moisture alone usually isn’t enough. Wet a thick towel and lay it over the concave side, then place straight boards (cauls) across the top and clamp from underneath so the boards press down evenly — this spreads the pressure instead of denting the wood.
Aim a heat lamp at the damp towel, or set the table in direct sun. Re-wet the towel and re-tighten the clamps once a day for 3 to 4 days, up to a week or more for a severe bow. If you use a clothes iron instead of a heat lamp, keep it on medium heat with no steam, and keep it moving — resting it in one spot risks scorching the wood.
Solid Wood Only
Skip the heat-gun, iron, or heat-lamp method on a veneered or laminate table top. The heat can soften the adhesive layer under the veneer, causing it to bubble or delaminate — a repair no amount of clamping can undo. For veneered tops, stick to the moisture-and-weight method above and add battens underneath instead of applying direct heat.
Permanently Fix a Bowed Table Top: Add Battens Underneath
Moisture and heat fix the bow you have today; battens keep it from coming back. This is the step most quick tutorials skip, and it’s the difference between a table that stays flat and one that bows again next winter.
- Measure and cut battens: Cut straight hardwood strips about 2 inches longer than the table’s width.
- Space them every 12 inches: Lay the battens across the underside of the tabletop, spaced roughly every 12 inches along its length.
- Drill elongated screw holes: Drill oval-shaped holes through each batten, not round ones, so the screws can slide slightly as the wood expands and contracts with the seasons.
- Screw the battens down snug, not tight: Drive screws through the elongated holes into the tabletop, leaving them snug rather than fully torqued so the wood underneath can still move.
- Recheck with a straightedge: Confirm the top reads flat before flipping it back over and reattaching legs or a base.
📊 Keeping indoor relative humidity between 30% and 50% keeps most solid wood at roughly 6% to 9% equilibrium moisture content — the stable range that resists bowing in the first place. Source: USDA Forest Products Laboratory, Wood Handbook Ch. 4 (2021)
Which Fix Should You Use? Method Comparison
| Method | Time | Permanent? | Best For |
|---|---|---|---|
| Moisture + weight | 24–72 hours | No, needs upkeep | Mild bow, under 1/8″ |
| Heat + damp towel + clamps | 3–7 days | No, needs upkeep | Moderate to severe bow, solid wood only |
| Battens underneath | Added after flattening | Yes, long-term | Any bow, especially one that keeps returning |
Finishing After Flattening
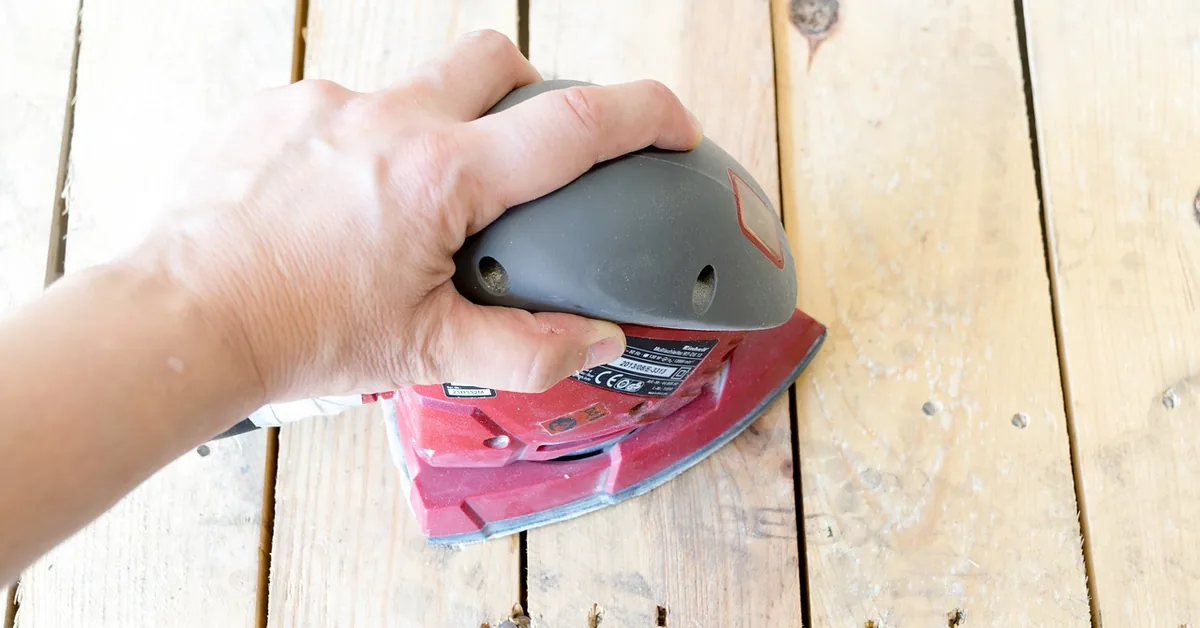
Once the top reads flat, sand it starting with coarse grit and working up to 220, always in the direction of the grain, using a sanding block for even pressure. Clean off all dust before finishing — leftover grit under a sealer telegraphs through as a rough finish.
Apply a wood sealer or polyurethane to both faces of the top, not just the show side. If the original finish is already damaged from the bow or the clamping process, repairing the furniture finish first gives the new sealer something even to bond to; a lacquer topcoat also protects against the exact moisture exposure that caused the bow to begin with.
“I’ve had the best luck sealing both faces of a flattened tabletop, not just the show side — leaving the underside bare is one of the most common reasons a repaired top bows again within a season.”
How to Prevent a Wood Table Top From Bowing Again
Keep indoor humidity between 30% and 50% with a humidifier or dehumidifier as the seasons change. Apply a wood conditioner every few months to both faces, keep the table out of direct sunlight and away from heat vents, and always use coasters and trivets rather than setting drinks or hot dishes straight on the wood.
Common Mistakes When Fixing a Bowed Table Top
- Soaking instead of misting: Over-saturating the wood raises the grain and can cause cracking when it dries too fast. A light mist is enough.
- Drilling round holes for battens: Round holes lock the wood in place and fight its natural movement, which usually cracks the top within a year. Elongated holes are not optional.
- Applying direct heat to veneer or laminate: This is the fastest way to turn a bowed top into a delaminated one. Use moisture and battens instead.
- Skipping the recheck: A bow can look fixed by eye and still fail a straightedge test. Always recheck before finishing or reassembling.
Frequently Asked Questions
How long does it take to fix a bowed table top?
A mild bow usually flattens in 24 to 72 hours with moisture and weight. A moderate to severe bow takes 3 to 7 days using heat, a damp towel, and clamps, re-tightened daily. Adding battens for a permanent fix is a same-day step once the top is already flat.
What causes wood table tops to bow?
Wood table tops bow when one face absorbs or loses moisture faster than the other, causing uneven expansion. Humidity swings, poor storage, inadequate support underneath, and wood that wasn’t fully dried before construction all contribute.
Can I fix a bowed table top myself?
Yes. Assess the severity with a straightedge first, then use moisture and weight for a mild bow or heat plus clamps for a moderate to severe one. For a lasting fix, add hardwood battens with elongated screw holes across the underside afterward.
Will a bowed table top get worse if I don’t fix it?
Yes, in most cases. Each humidity swing pulls the bow a little further in the same direction, and a top left unsupported can eventually crack at the point of greatest stress. Addressing it while the gap is still under 1/4 inch is far easier than waiting.
Can a veneer or laminate table top be fixed the same way as solid wood?
No, not with heat. Veneer and laminate tops can still use the moisture-and-weight method and battens underneath, but a heat gun, iron, or heat lamp risks softening the adhesive layer and causing the veneer to bubble or peel away entirely.
What tools do I need to fix a bowed table?
Gather a straightedge, a spray bottle, bar or hand-screw clamps, and a heat source such as a heat lamp or clothes iron for solid wood. For a permanent fix, add a drill, hardwood strips for battens, and a sealer or polyurethane finish.
Fixing a bowed table top is straightforward once you match the method to the severity: light moisture and weight for a mild bow, heat and clamps for a stubborn one, and battens underneath so it doesn’t come back. Recheck with a straightedge at every stage, and skip direct heat entirely on a veneered or laminate top. A flattened, resealed table top holds its shape for years when the humidity around it stays reasonably steady.
Sponsored / affiliate links. As an Amazon Associate I earn from qualifying purchases. I may earn additional commission from eligible campaigns.