Wood Repair: How to Fix Cracks, Gaps, Warping, Rot, Dents and Water Damage
Repair cracks under about 1/8 inch with filler, gaps with backer rod and sealant, warping after drying and fastening, and replace wood when rot is deeper than about 1/4 inch or the piece feels soft. Bad repairs trap moisture, spread decay, and fail fast. This guide shows how to identify cracks, gaps, warping, rot, dents, and water damage, then choose repair, dry-time checks, or replacement.
Wood repair triage matrix


| Damage type | Likely cause | Safe DIY fix | Required prep | When to replace | Red-flag symptoms |
|---|---|---|---|---|---|
| Cracks | Drying shrinkage, seasonal movement, fastener stress | Fill shallow cracks with wood filler on painted or minor interior work; use exterior acrylic latex caulk with silicone for hairline exterior seams | Stop water entry, clean out loose fibers, confirm the wood is dry | Crack opens with movement, splits through a load path, or keeps reopening after sealing | Edges crumble, crack widens after fixing, or the board flexes when pressed |
| Gaps | Seasonal expansion and shrinkage, poor fit, trim separation | Use backer rod plus sealant for larger gaps; use caulk for narrow seams; reattach loose trim with construction adhesive and brad nails into studs where needed | Remove dust, dry the wood, check for loose fasteners or failed adhesive | Gap keeps growing, joint moves, or the board has lost its shape | Joint flexes, trim pulls away again, or the gap is tied to water damage |
| Warping | Moisture imbalance, poor fastening, sun exposure, swelling from leaks | Dry the board first, then fasten and glue if the bend is slight and the material is still sound | Fix the moisture source, dry fully, check for hidden rot, prefit fasteners | Twist or cup returns after fastening, or the piece will not sit flat without force | Face no longer lies flat, fasteners pop, or the warp follows a leak line |
| Rot | Long-term moisture, hidden leak, failed paint or sealant | Use wood hardener on remaining sound fibers, then two-part wood repair epoxy for shaped rebuilds; remove damaged wood with an oscillating tool first | Dry the wood, expose the full extent, scrape or cut back all soft material | Softness is deep, structural members are affected, or the board fails the screwdriver test | Soft, spongy, discolored, or crumbling wood; a screwdriver sinks about 1/8 inch or more |
| Dents | Impact, dropped tools, furniture hits, pressure marks | Steam shallow dents in solid wood with a damp cloth and hot iron; use wood filler for small holes and gouges on painted surfaces | Check material type, sand lightly only after the grain has risen and dried | Fiber breakage is deep, surface is missing, or the board is MDF or composite trim | Fibers are crushed through the thickness, veneer lifts, or the dent is in a glue line |
| Water damage | Leak, overflow, wet weather intrusion, poor flashing or sealant | Stop the source, dry the wood, then repair with filler, caulk, epoxy, or replacement based on remaining strength | Use a moisture meter, not touch alone; allow the proper dry time before any patch | Moisture remains high, fibers stay soft, or damage has spread beyond a local patch | Staining, swelling, mold odor, peeling paint, or ongoing softness after drying |
| Mixed damage | Water plus movement, rot plus cracking, warp plus loose trim | Prioritize source control, dry the wood, remove soft material, then decide between filler, epoxy, patch, or replacement | Map every symptom before patching anything | Any structural softness, repeated failure, or multiple damaged faces | Crack plus staining, warp plus rot, loose trim plus wet substrate |
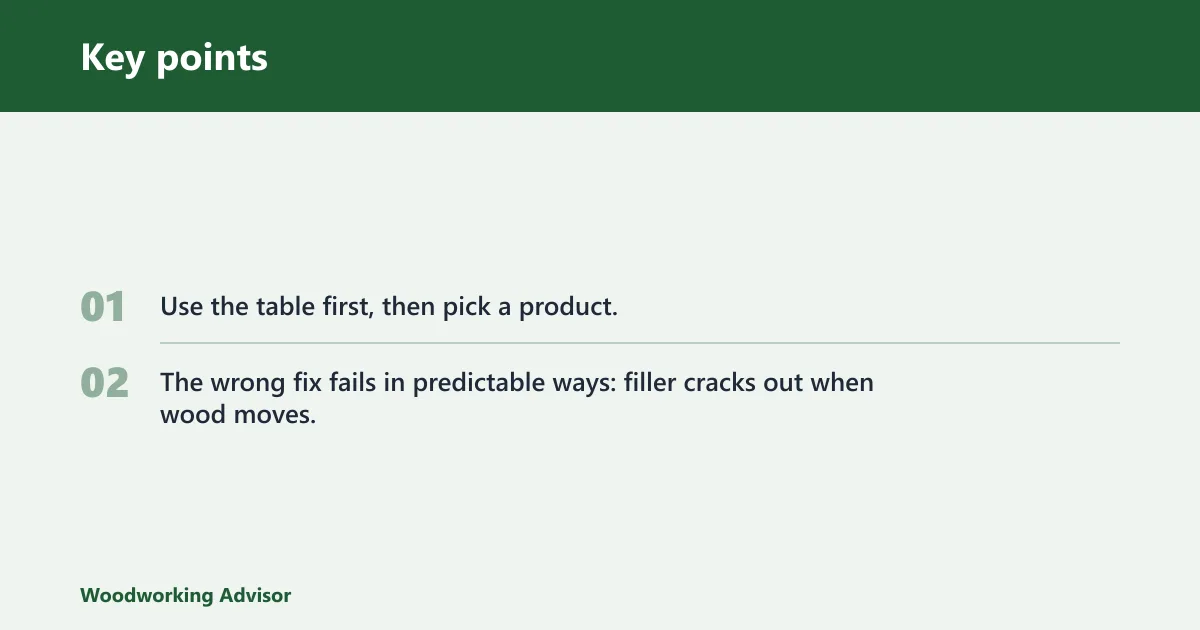
Use the table first, then pick a product. The wrong fix fails in predictable ways: filler cracks out when wood moves, epoxy lifts from damp fibers, and a cosmetic patch on warped stock can peel apart as soon as the board shifts again.
How do you tell cosmetic damage from repairable failure?
Cosmetic damage stays shallow and stable. If the surface is cracked, dented, or slightly gapped but the wood is dry and firm, you can often repair it. If the piece feels soft, flexes, or keeps changing shape, treat it as a structural or moisture problem first.
Quick visual checks by damage type
Hairline cracks, shallow dents, and small holes are usually cosmetic. Wider splits, swelling, dark staining, crumbling edges, and separation at joints point to a deeper issue. On trim and siding, look for paint failure, softened edges, and discolored wood around the defect.
For trim, furniture, and boards, ask one question: does the damage stop at the surface, or has the wood changed shape or strength? If the answer is shape or strength, cosmetic patching alone is the wrong move.
Screwdriver test for soft wood
Use a screwdriver to probe suspicious spots. A 1/8 inch penetration threshold is commonly treated as a warning sign that DIY repairs may not be safe. If the tool sinks that far into a spot that should be firm, the wood may be too soft for a simple patch.
Soft or spongy wood can signal a need for professional help. That is especially true on subflooring, load-bearing framing, stair parts, and exterior siding where failure can spread beyond the visible area.
When movement means replacement
Movement changes the answer. If a crack opens and closes with temperature or foot traffic, or a board springs back after fastening, you are dealing with active stress, not a static defect. A patch over moving wood usually fails because the substrate keeps working.
Say your porch trim has a 3-inch crack near a corner where rain hits, and the board feels firm. That is a repair candidate after drying and sealing. If the same board sounds hollow, flexes, and the screwdriver test bites easily, replacement is the safer call.
How do you fix cracks and gaps in wood without making them worse?
Small cracks and gaps need the right material for the right location. Use filler for shallow, stable surface defects on painted wood. Use caulk or a sealant system for exterior seams, where movement and weather exposure matter more than a hard cosmetic patch.
Hairline cracks on exterior painted wood
For small wood siding cracks, exterior acrylic latex caulk with silicone is a common fix. Greater Boston Contractors says small wood siding cracks can be fixed with exterior caulk, and that fits narrow seams where flexibility matters more than a rigid fill.
Clean out loose paint and dust, then apply the sealant to a dry surface. Caulk helps block water intrusion, but it is not a rot repair. If the crack edges are soft or the board has swelled, stop and inspect for hidden damage first.
Trim seams and board gaps
For trim or board gaps, use backer rod for deeper spaces, then sealant over it. Backer rod gives the caulk the right depth and shape so the joint does not sink or split. On loose trim, construction adhesive can help reattach the piece, with brad nails into studs where needed.
That approach works best when the board is still straight and the gap is from separation, not decay. If the trim has pulled away because the substrate is wet or rotted, fastening it back without fixing the cause only hides the problem for a short time.
When caulk is the right stopgap
Use caulk when you need to block water and accommodate small movement. It is a stopgap for minor exterior cracks, not a cure for structural defects. Interior painted trim also accepts filler or caulk well, but stained wood usually needs a cleaner wood-to-wood repair if the flaw is visible.
Do not pack filler into a moving joint and expect it to hold. If a crack keeps reopening, the problem is movement or moisture, not missing material.
How do you choose the right repair for a dining table crack?
The right fix depends on how wide the split is, whether the wood is still sound, and whether the crack runs through a joint or loose plank. For a hairline to very small crack, a clamp-and-glue repair may be enough; wider openings often need a stronger mechanical solution, and some damaged tops are better rebuilt than patched.
The dining table crack guide explains how to judge the damage, compare glue, splines, and Dutchman-style repairs, and avoid fixes that reopen or show badly after finishing. That makes it easier to protect the table’s strength and keep the repair as discreet as possible.
How to Assess and Repair a Cracked Wooden Door Panel
The right fix depends on what kind of crack you have. This guide explains how to tell a surface check from a full split, when glue and clamping are enough, and when a deeper repair is needed to keep the panel stable and the finish from failing again. It also shows why active movement, edge damage, or rot changes the repair plan.
If you’re dealing with a door panel crack, the cracked wooden door panel article breaks down the repair choices in practical terms, including when to reinforce the split and when a temporary fix or replacement makes more sense. That matters because the wrong repair can reopen, telegraph through paint, or weaken the door over time.
How to Repair a Crack in a Butcher Block Countertop
If a butcher block crack is still narrow and stable, the fix usually starts with cleaning out debris, gluing the split, clamping it closed, and blending the finish so the repair holds up in use. The supporting guide explains how to tell whether the crack is a simple surface split or a more serious structural failure, so you can choose the least invasive repair instead of making the damage worse.
It also covers when a repair is not worth saving, what filler or epoxy makes sense for different crack types, and how to reseal the countertop after the fix. That matters because butcher block moves with moisture and temperature, and a rushed patch can reopen fast. See the full butcher block crack repair guide for the decision points and repair steps.
How do you repair dents, gouges, and shallow surface damage?
For shallow dents and small gouges, the easiest repair is often surface restoration, not rebuilding. Steam can raise compressed fibers in solid wood. Wood filler works better for missing material on painted surfaces and minor interior repairs. Match the fix to the depth, not just the look.
Steam method for solid wood dents
Hods recommends steam for dents in stained or natural solid wood trim. Place a damp cloth over the dent and apply a hot iron in short passes. The moisture and heat help compressed fibers swell back toward their original shape.
Steam dent repair does not work on MDF or composite trim. Those materials do not have solid wood fibers to recover, and the heat can worsen edge swelling or surface breakdown. If the dent is in veneer, test carefully because the top layer can lift.
When wood filler is the better choice
Use wood filler for shallow dents, gouges, and small holes on painted surfaces and minor interior repairs. It is sandable and paintable, which makes it practical where the finish will hide the repair. It is not a structural fix, and it should not bridge active movement.
After it cures, sand it flush, then prime and paint. If the hole is deeper than a cosmetic defect or the wood is soft underneath, filler alone can sink, crack, or fall out later.
What not to steam or fill
Do not steam water-damaged MDF, composite trim, or rotten wood. Do not fill a dent that exposes soft fibers unless you have first removed the damaged material and stabilized the area. If the substrate is unstable, the patch only hides a larger failure.
A common first-timer mistake is to skim filler over a crushed exterior sill and then paint it the same day. The surface may look better for a while, but hidden softness lets the repair fail again as soon as the board moves or takes on moisture.
How do you repair warped wood or loose trim?
Warped wood is a movement problem first. Dry the piece fully, then decide whether fasteners and adhesive can pull it back into place. Loose trim often responds to construction adhesive plus brad nails into studs. If the board will not sit flat, replacement is usually the better outcome.
When fastening and adhesive can pull it back
Light cupping or minor bowing can sometimes be corrected if the wood is still sound and the warp is shallow. That only works after the moisture source is fixed and the material has dried. Fasteners can hold the piece while adhesive resets the bond line.
This is most useful on trim that has lifted away from a wall or framing, not on badly twisted stock. If the board has taken a permanent set, the force needed to flatten it may crack the finish or pull the fasteners loose again.
Construction adhesive plus brad nails into studs
Apply construction adhesive where the trim meets the substrate, press it into place, then pin it with brad nails into studs where possible. The nails provide immediate hold while the adhesive cures. Wipe squeeze-out before it hardens, then fill and finish the nail holes.
This approach works best on solid, dry material. If the trim is swollen from water or soft at the back, fastening it down can trap moisture and create a hidden decay pocket.
When warping means replacement
Replace the piece if the warp returns after drying and fastening, if the board no longer fits its opening, or if it rocks because the center has a twist. Furniture parts, exterior trim, and flooring pieces that depend on a flat profile often need replacement once the shape changes permanently.
For subflooring, warping plus softness is especially serious. A board that flexes under load is not a cosmetic problem. It needs a strength check, not a surface repair.
Repairing a Split Wood Chair Seat
A split chair seat needs the right fix for the way it failed: a clean crack in solid wood can often be glued and clamped, but a loose joint, crumbling edge, or deep split may need epoxy, splines, or even replacement. The supporting guide on chair seat repair walks through how to tell those cases apart so you do not rely on a repair that will reopen under body weight.
It also explains how to choose the repair method, clamp the seat correctly, and reinforce the area before putting the chair back into use. That matters because seat failures are load-bearing problems: a fix that looks neat but lacks strength can spread the crack, loosen the frame, or create a bigger failure later.
When is rotted wood too far gone to repair?
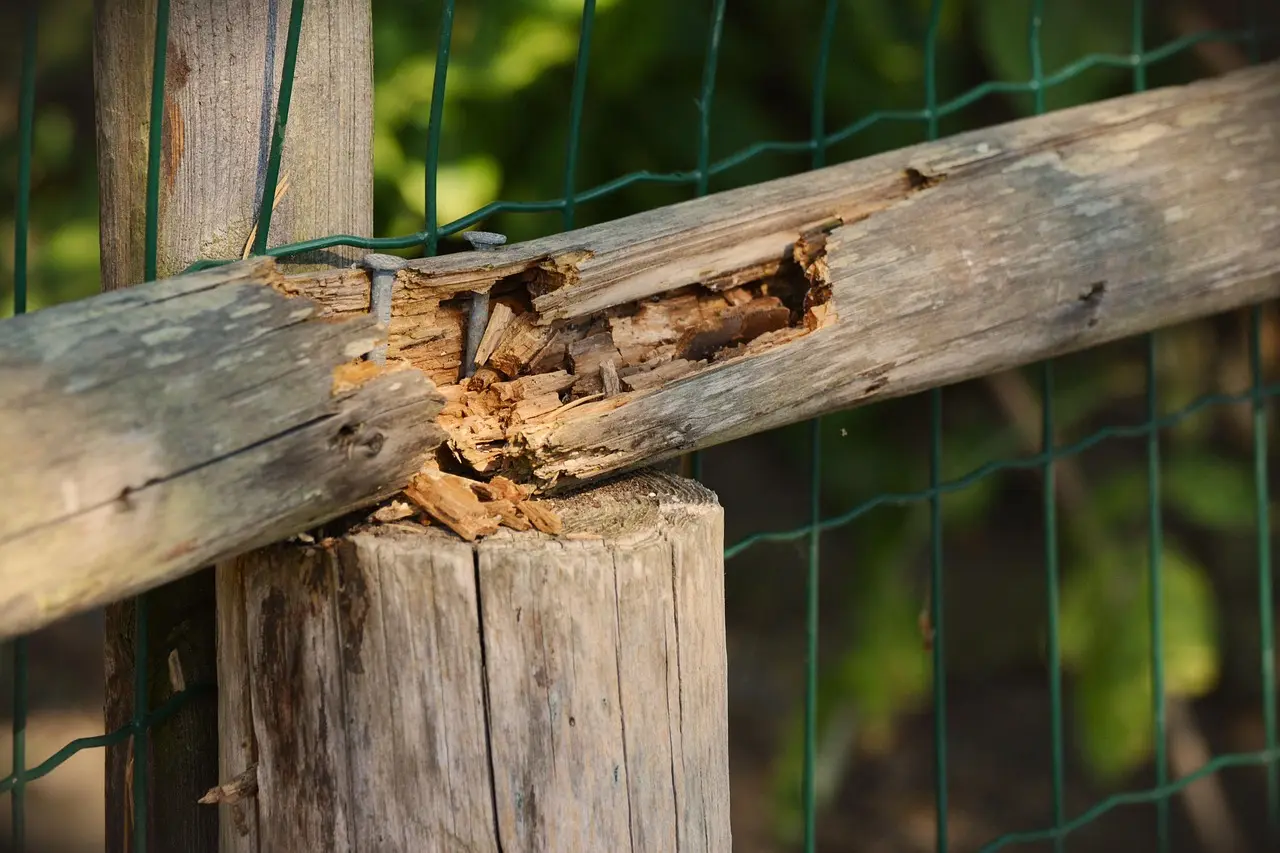
Rot is too far gone when the remaining wood cannot hold fasteners, the screwdriver test shows deep softness, or the damaged area extends beyond a small local section. If the wood feels spongy, crumbles, or keeps breaking back as you remove it, replacement or a larger patch is safer than filler.
Removing damaged wood with an oscillating tool
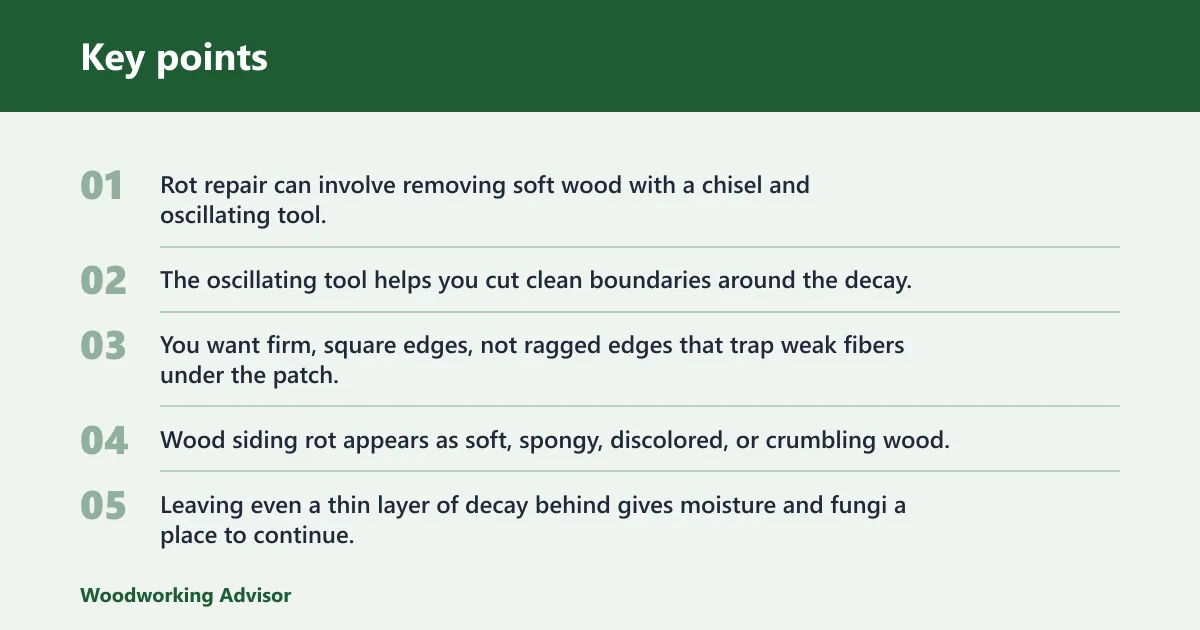
Rot repair can involve removing soft wood with a chisel and oscillating tool. The oscillating tool helps you cut clean boundaries around the decay, which matters for trim and siding repairs. You want firm, square edges, not ragged edges that trap weak fibers under the patch.
Wood siding rot appears as soft, spongy, discolored, or crumbling wood. Cut back until you reach sound material. Leaving even a thin layer of decay behind gives moisture and fungi a place to continue.
Using wood hardener before epoxy
Wood hardener is used on remaining sound fibers when the surface is softened or partially rotted. It is a prep step before epoxy repair. The goal is to stabilize what is left so the repair bond has something solid to grip.
Two-part wood repair epoxy is used for rotted or structurally important sections. It can be layered and shaped before full cure, and it is paintable and moisture resistant. One sourced description says it is harder than the original wood and resistant to shrinkage, which is why it works where ordinary filler would fail.
Dutchman patch versus full replacement
A Dutchman patch is recommended when filler is not enough. It is a localized section replacement for trim, and it works best when the profile can be matched with clean crosscuts. This is a better choice than a blob of filler when the missing area has real shape or edge detail.
If the rot reaches too far into the member, the section no longer supports a patch. That is the replace line for many trim pieces and almost all structural members. Epoxy can rebuild a local void, but it should not be used to pretend a failing beam or joist is sound.
How do you repair water-damaged wood after it dries?

Water-damaged wood should be fully dry before any patch, and you should verify that dryness with a moisture meter rather than touch alone. Water damage can trap moisture inside wood fibers for weeks or months, so a surface that feels dry may still hold water deeper inside.
Drying and source control
Stop the moisture source first. Then dry the wood long enough for the interior to catch up with the surface. Competitor guidance puts the first 24–48 hour window on the critical response, while minor water damage may need 3–5 days of drying time. Hardwood floors may need 7–14 days of drying time minimum.
Damaged wood siding may need 24–48 hours to dry before repair, but that is not a guarantee of full dryness. Conditions, thickness, and the extent of wetting all affect the timeline. Check the material, not the calendar alone.
Moisture meter checks before repair
A moisture meter is more reliable than touch alone after water damage. Use it on several points around the damaged area, including nearby sound wood, so you can compare readings. If the meter still shows elevated moisture, wait longer before filling, sealing, or painting.
Say a window casing looks dry after a leak, but the lower corner still reads higher on a moisture meter than the rest of the trim. That corner should stay open to dry longer. If you seal it too soon, you can trap moisture and set up another failure.
Sanding, priming, and finish decisions
After the wood is dry and stable, choose the repair based on the remaining damage. Sand lightly if the surface is sound and dry. Prime before paint on filler, epoxy, or patched areas. For stained wood, refinishing may be possible if the damage stayed shallow and the color match is acceptable.
Can water-damaged wood be sanded and refinished? Yes, if the wood is dry, firm, and not stained through with decay or mineral marks that will show after finishing. If the fibers are raised only at the surface, sanding can level them. If the wood is soft or swollen, sanding will not solve the problem.
Should you use wood filler, epoxy, or replace the board?
Choose wood filler for shallow cosmetic defects. Choose epoxy when the wood still has enough structure to support a bonded rebuild, especially in rot repair or shaped trim work. Replace the board when the damage is deep, moving, or structurally important enough that a patch cannot restore strength.
Use wood filler when the repair is cosmetic
Wood filler is best for shallow dents, gouges, and small holes. It sands and paints well, so it fits interior trim, cabinet parts, and painted surfaces. It is the wrong choice for rot, movement-prone joints, or large voids that need edge support.
Use epoxy when strength and moisture resistance matter
Two-part wood repair epoxy is the better option for rotted or structurally important sections that still have a solid perimeter. It can be built up in layers and shaped before full cure, which makes it useful where the missing area has to carry some load or hold detail.
Epoxy still needs clean prep and dry wood. If the substrate is damp or the decay continues underneath, the repair can lift or fail at the edges.
Replace when the part cannot hold shape or fasteners
Replace the board when rot is deeper than 1/4 inch, when the piece feels soft, or when the screwdriver test shows unsafe penetration. That threshold is especially important for subflooring, framing, stair parts, and exterior members that must carry load or resist weather.
For trim and siding, replacement may also be the smarter choice when the profile is badly distorted, the decay runs far beyond one section, or a patch would require so much shaping that it no longer makes sense.
How do you choose a wood filler that actually takes stain well?
Choosing the right filler matters because many products absorb stain differently than the surrounding wood, leaving patches, halos, or flat-looking repairs. The supporting guide explains which filler types work best for shallow touch-ups versus deeper voids, and how to match your choice to the wood species, stain type, and repair size. If you need a fast answer, the article breaks down when a stainable water- or solvent-based filler is enough and when a tinted epoxy is the safer option for a cleaner finish.
For a practical side-by-side overview, see wood filler staining guide.
How to Decide Whether a Live Edge Slab Crack Should Be Stabilized or Filled
A live edge slab crack is not always a simple fill-and-forget repair. The right fix depends on whether the crack is moving, how wide it is, and whether the wood around it is still sound. The supporting guide on live edge slab cracks explains how to choose between epoxy fill, bow-tie reinforcement, or walking away from a failing section.
That matters because the wrong repair can reopen as the slab shifts, telegraph through the finish, or leave a weak spot under use. The article breaks the problem into practical checks so you can judge crack behavior, pick a repair that matches the damage, and reduce the chance of the crack spreading later.
How do you stop wood cracks from coming back?
Cracks return when the wood keeps moving or keeps getting wet. The repair only lasts if you control moisture, use the right product for the joint, and leave room for seasonal change. A rigid filler in a moving seam is one of the fastest ways to create a repeat crack.
Fix the cause, not only the surface
Check for leaks, missing flashing, failed caulk, or poor drainage. Exterior cracks often come back because water keeps entering the same spot. Interior cracks can return if the board is still drying unevenly or if the piece is pinned too tightly across grain movement.
Match the repair to movement
Use flexible sealant for seams that expand and contract. Use filler where movement is minimal and the defect is cosmetic. On exterior painted wood, caulk helps block water intrusion; on larger gaps, backer rod plus sealant creates a more stable joint than caulk alone.
Painted versus stained surfaces also matter. Painted repairs can hide filler and caulk more easily. Stained or natural wood demands a cleaner color match and a smoother boundary, which is why localized patching or replacement often gives a better result than a heavy fill.
Frequently asked questions
How do you fix cracks in wood without making them worse?
First make sure the wood is dry and the crack is not part of a moving joint. Use filler only for shallow, stable cracks on painted or minor interior work. For exterior hairline seams, use paintable exterior acrylic latex caulk with silicone, which flexes better and helps keep water out.
What is the best way to fill gaps in wood trim or boards?
Use backer rod plus sealant for larger gaps, and use construction adhesive with brad nails to reattach loose trim when the board has pulled away from the wall. If the gap comes from rot or swelling, do not fill it until you fix the moisture source and verify the wood is dry.
How do you repair warped wood without replacing it?
Dry it fully, then see whether fastening and adhesive can bring it back into plane. Light warping may respond to construction adhesive and brad nails into studs or a flat substrate. If the warp returns, the board has twisted, or the piece will not lie flat without force, replacement is the safer move.
Can you fix dents in wood with steam?
Yes, if the dent is shallow and the material is solid wood. Use a damp cloth and a hot iron to raise compressed fibers. Do not use this method on MDF or composite trim, and do not expect it to work if the surface is broken or the dent is tied to hidden rot.
Can water-damaged wood be sanded and refinished?
Sometimes. The wood must be dry, firm, and free of active decay before sanding. If the damage is only raised grain or minor staining, sanding and refinishing can work. If the fibers are soft, swollen, or discolored through the thickness, repair or replacement comes first.
Sponsored / affiliate links. As an Amazon Associate I earn from qualifying purchases. I may earn additional commission from eligible campaigns.