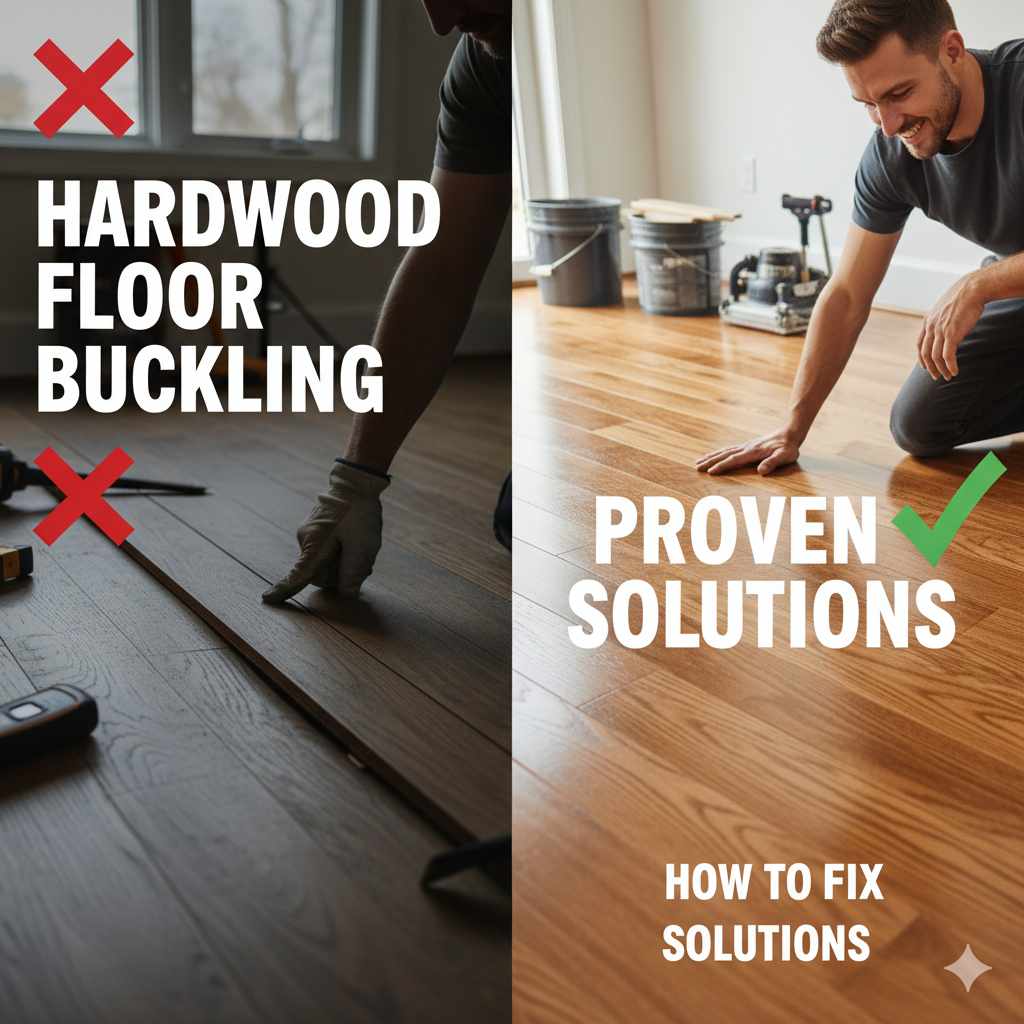
How to Fix Hardwood Floor Buckling: Proven Solutions
Fixing hardwood floor buckling involves identifying the cause and implementing targeted solutions. Typically, moisture or improper installation leads to this issue. Solutions range from drying out the area and releasing pressure to more involved repairs like relaminating or replacing planks, all achievable with beginner-friendly DIY steps.
Seeing your beautiful hardwood floors start to lift and ripple – that’s a frustrating sight! This phenomenon, known as buckling, happens when the wood planks expand and push against each other or fixed objects, creating waves. It can make a room look untidy and even become a tripping hazard. But don’t worry, most hardwood floor buckling issues can be fixed with some patience and the right approach. We’ll walk through how to identify the cause and apply proven solutions, making your floors look smooth and lovely again. Let’s get your floors back in shape!
Understanding Hardwood Floor Buckling
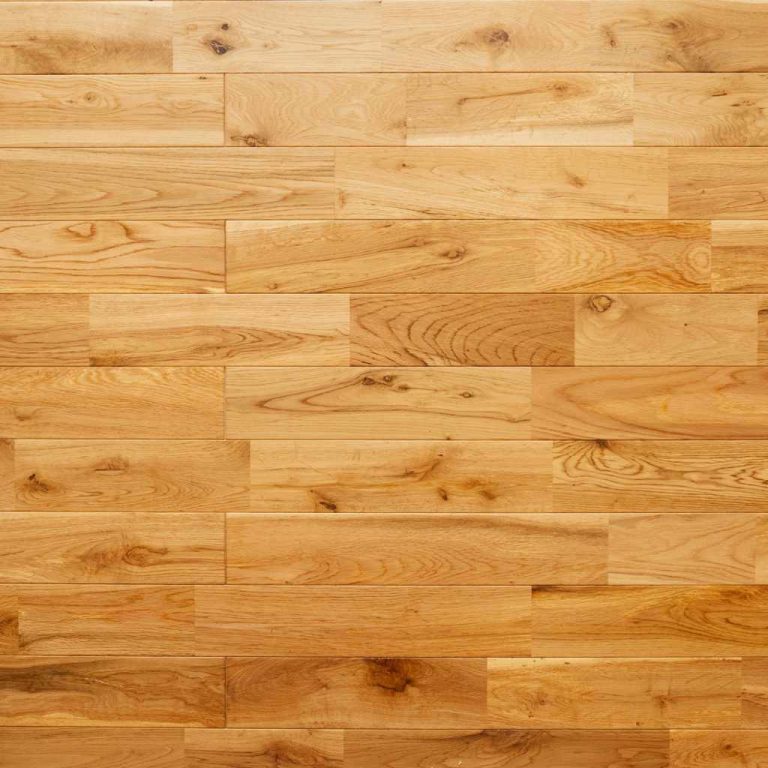
Hardwood floors are a fantastic choice for their beauty and durability. However, wood is a natural material that reacts to its environment. Its most common reaction is to expand when it absorbs moisture and contract when it dries out. When this expansion or contraction is restricted, it can lead to buckling. This means the planks swell up, pushing against walls, cabinets, or even other planks, causing them to warp upwards.
Several factors can contribute to buckling:
- Excess Moisture: This is the most frequent culprit. Spills, leaks from appliances, high household humidity, or even flooding can saturate the wood.
- Improper Installation: Hardwood floors need expansion gaps around the perimeter of the room. These gaps allow the wood to expand and contract naturally. If these gaps are missing or too small, the wood has nowhere to go when it swells.
- Subfloor Issues: A damp or uneven subfloor can also contribute to buckling.
- Extreme Temperature Changes: While less common, rapid and significant temperature shifts can sometimes cause wood movement.
Identifying the root cause is the first and most critical step in fixing your buckling hardwood floors. Once you know why it’s happening, you can choose the most effective solution.
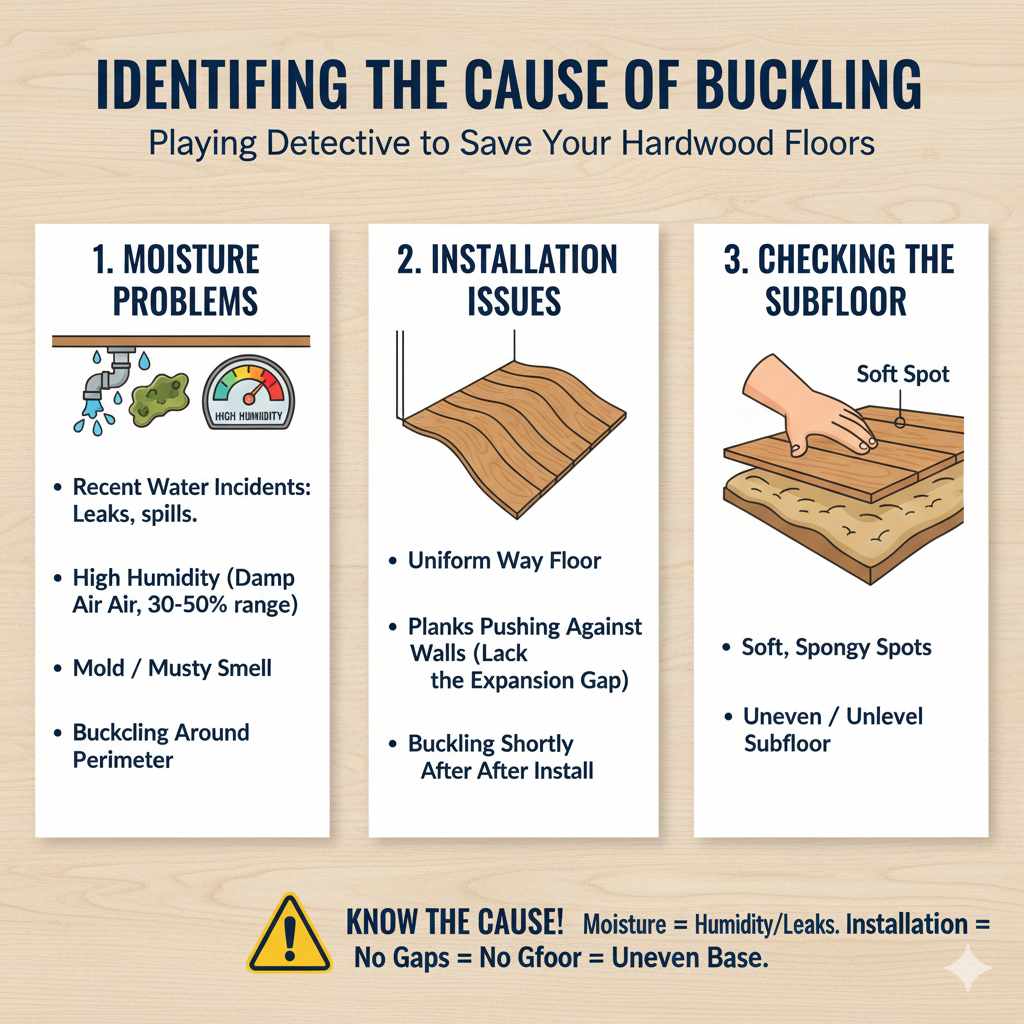
Step 1: Identify the Cause of Buckling
Before you grab any tools, let’s play detective to figure out what’s causing your hardwood floor to buckle. This will save you time and ensure you’re using the right fix.
Signs of Moisture Problems
If you suspect moisture is the cause, look for these clues:
- Recent Water Incidents: Did a pipe burst? Was there a significant spill? Is there a leaky appliance nearby?
- High Humidity Levels: Does the air in the room feel damp? This is especially common in basements, bathrooms, or kitchens. You can measure humidity with a simple hygrometer, aiming for a range between 30% and 50%. Woodworking and home improvement guides, like those from This Old House, often discuss humidity’s impact.
- Mold or Mildew: The presence of mold or a musty smell is a strong indicator of persistent moisture.
- Buckling Around the Perimeter: Often, moisture problems will cause buckling to start near walls or where water might enter a room.
Signs of Installation Issues
If moisture doesn’t seem to be the issue, incorrect installation is likely the culprit:
- Uniform Buckling: The entire floor might be wavy, not just in one specific area.
- Buckling Near Walls: If planks are pushing directly against the wall trim, it points to a lack of expansion space.
- Recently Installed Floor: If the buckling appeared shortly after the floor was laid, it’s a strong sign of installation error.
Checking the Subfloor
Sometimes, the issue lies beneath the surface:
- Soft Spots: If parts of the floor feel soft or spongy, the subfloor might be compromised by moisture or wear.
- Unevenness: The subfloor might not be level, causing stress on the hardwood planks.
Once you have a good idea of the cause, you can move on to the solutions.
Step 2: Address Moisture-Related Buckling
If moisture is the root cause, your first priority is to eliminate the water source and dry out the wood. This might involve simple steps or more involved repairs.
Immediate Actions for Spills and Minor Leaks
For fresh spills, act fast:
- Blot Immediately: Use absorbent cloths or paper towels to soak up as much liquid as possible.
- Use a Fan: Place fans around the affected area to speed up drying.
- Dehumidifier: Run a dehumidifier in the room to pull moisture from the air and the wood.
Dealing with Persistent Moisture Issues (Appliances, High Humidity)
If the moisture source is ongoing, like a faulty appliance or consistently high humidity, you’ll need to fix that first:
- Repair or Replace Leaking Appliances: Ensure dishwashers, refrigerators, or plumbing are not leaking.
- Improve Ventilation: Use exhaust fans in bathrooms and kitchens. Consider adding vents if humidity is a persistent problem in certain areas.
- Professional Moisture Testing: For stubborn dampness, especially in basements, consider professional moisture testing of the concrete slab. The EPA offers great resources on controlling humidity in homes.
Drying Out the Buckled Floor
Once the moisture source is addressed, it’s time to dry the floor. This takes patience.
- Continue Fans and Dehumidifiers: Keep these running consistently for several days, or even weeks, depending on the severity.
- Increase Airflow: Open windows on dry days (if outdoor humidity isn’t too high) to help circulate air.
- Monitor Progress: Watch the buckled areas. You should notice them gradually flatten out as the wood dries and contracts.
It’s important to note that some slight cupping or buckling might remain even after drying. If the wood has been wet for a long time or expanded significantly, it may not return to its original flat state without further intervention.
Step 3: Address Installation-Related Buckling
If your floor buckles due to a lack of expansion space, the solution involves creating that much-needed room for movement.
Creating Expansion Gaps
This is the most common fix for installation-related buckling.
- Locate Fixed Obstructions: Identify walls, cabinetry, or other permanent fixtures that the floor planks are pressing against.
- Remove Baseboards: Carefully pry off the baseboards and shoe molding along the affected walls. This can usually be done with a pry bar and a putty knife to protect the wall.
- Cut a Small Gap: Using a router with a straight bit or a jamb saw set to a shallow depth, carefully cut a small expansion gap (typically 1/8 to 1/4 inch) along the perimeter of the wall where the floor is buckling. Be cautious not to cut into any plumbing or electrical wires. Always ensure you are cutting away from yourself and wearing safety glasses.
- Check for Other Restrictions: Ensure no other objects are restricting the floor’s movement.
- Reinstall Baseboards: Once the gaps are created and the floor has had a chance to settle, reattach the baseboards and shoe molding. You might need to use slightly longer nails for reinstallation.
Realigning and Relaminating Planks (Advanced)
In some cases, planks might be excessively tight or have been glued down improperly. This is a more advanced repair.
- Loosen Planks: If the floor is only slightly buckled and not due to moisture, you might be able to gently tap planks back into place after creating expansion gaps.
- Relaminating: For floors glued down, if planks have separated from the subfloor due to expansion, a professional might need to inject adhesive into the void.
- Replacing Planks: Severely damaged or permanently warped planks may need to be removed and replaced. This is a job best suited for experienced DIYers or professionals.
Remember, flexibility is key with hardwood. Proper gaps are essential for its long life.
Step 4: Dealing with Subfloor Issues
If the subfloor is the problem, it needs to be addressed before you can expect your hardwood to lay flat.
Repairing Moisture-Damaged Subflooring
If your subfloor has been damaged by water:
- Remove Damaged Sections: Carefully remove the affected hardwood planks over the damaged area. Then, cut out and remove the compromised sections of the subfloor.
- Dry Thoroughly: Ensure the entire area, including joists, is completely dry. Use fans and dehumidifiers.
- Replace Subfloor: Install new plywood or OSB subflooring of the same thickness as the original. Ensure it’s properly secured to the joists.
- Reinstall Hardwood: Once the new subfloor is in place and dry, you can reinstall the hardwood planks.
Leveling an Uneven Subfloor
If the subfloor is simply uneven:
- Assess the Unevenness: Use a long, straight level to identify low and high spots.
- Add Shims: For minor dips, you can carefully glue and screw shims (thin pieces of wood) to the subfloor to raise low areas.
- Grind Down High Spots: For minor high spots, a floor grinder might be used. This is generally a professional job due to dust and precision required.
- Self-Leveling Compound: For more significant unevenness, a self-leveling compound can be poured over the subfloor to create a smooth, flat surface. Follow the manufacturer’s instructions carefully for application.
The integrity of your subfloor is crucial for the performance and longevity of your hardwood flooring. Don’t skip this step if you suspect an issue.
Tools and Materials You Might Need
Depending on the solution, here are some common tools and materials you might encounter:
| Tool/Material | Purpose | Notes for Beginners |
|---|---|---|
| Moisture Meter | Measures the moisture content in wood. | Essential for diagnosing moisture issues. Easy to use. |
| Hygrometer | Measures ambient humidity. | Helps determine if your home’s humidity is too high. |
| Fans / Dehumidifier | Aid in drying out wood and reducing moisture. | Crucial for dealing with water damage. |
| Pry Bar & Putty Knife | To carefully remove baseboards and trim. | Use the putty knife to protect walls from damage. |
| Router with Straight Bit | To cut expansion gaps. | Safety First! Wear safety glasses. Practice on scrap wood first. |
| Jamb Saw (Optional) | For cutting expansion gaps precisely. | Can be more comfortable for precise cuts near walls. |
| Wood Shims | To level minor subfloor imperfections. | Used with wood glue and screws. |
| Screws / Nails | For reattaching trim or securing subfloor repairs. | Use appropriate lengths. |
| Wood Glue | For securing shims or in certain subfloor repairs. | Use a strong construction adhesive if needed. |
| Masking Tape | To mark areas or protect surfaces. | Useful for protecting finished edges. |
| Replacement Subfloor (Plywood/OSB) | For repairing damaged subflooring. | Ensure it’s the same thickness as original. |
| Safety Glasses | Always wear these! | Protect your eyes from dust and debris. |
| Work Gloves | Protect your hands. | Good for handling tools and materials. |
Gathering the right tools beforehand will make the repair process much smoother. Always prioritize safety, especially when using power tools.
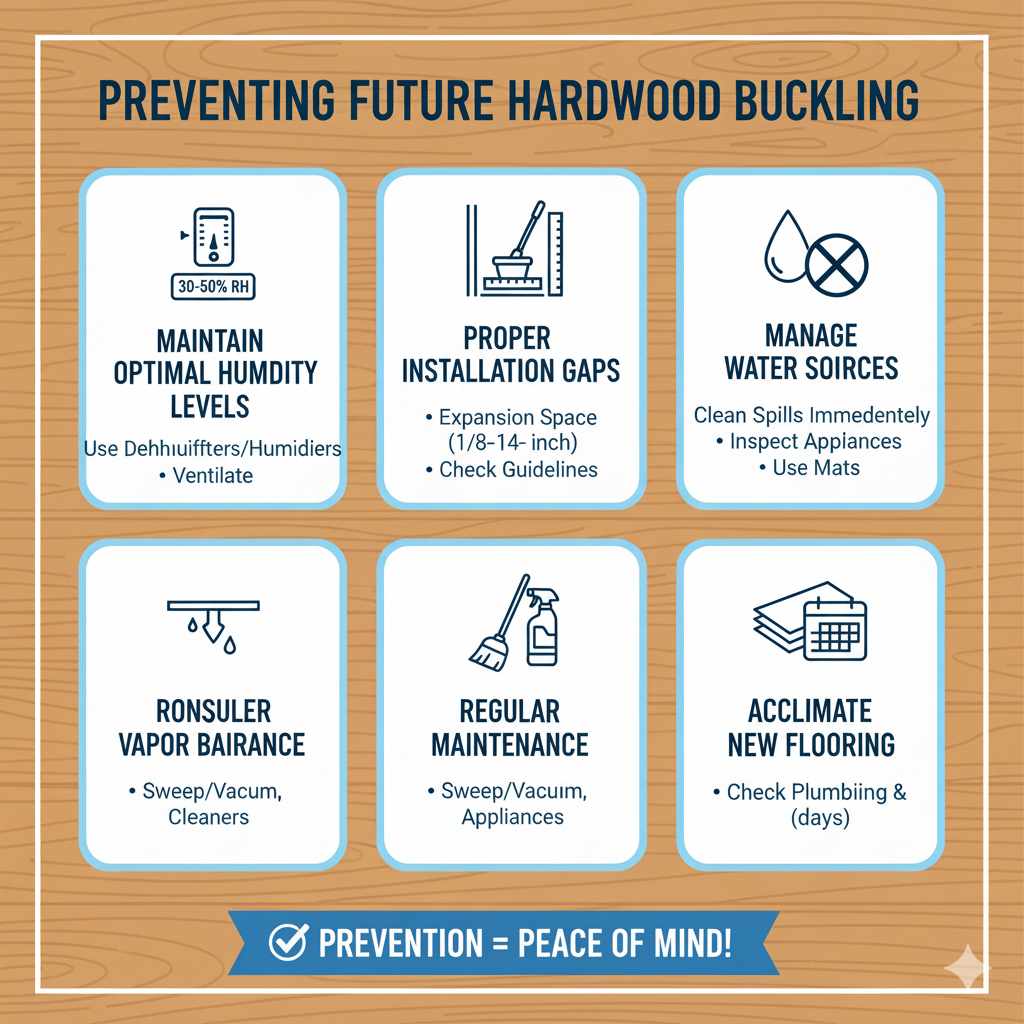
Preventing Future Hardwood Floor Buckling
Once you’ve fixed your buckling floors, you’ll want to make sure it doesn’t happen again! Prevention is always easier than repair.
Maintain Optimal Humidity Levels
This is the most significant factor in keeping your floors flat:
- Use Dehumidifiers/Humidifiers: In humid climates or seasons, use a dehumidifier. In very dry climates, especially during winter heating months, a humidifier can add needed moisture back into the air.
- Monitor Humidity: Keep a hygrometer in your home and aim for a consistent relative humidity between 30% and 50%.
- Ventilate Properly: Use exhaust fans in kitchens and bathrooms when cooking or showering.
Ensure Proper Installation Gaps
When installing new hardwood floors or having them installed:
- Verify Expansion Space: Always ensure there’s an adequate expansion gap (typically 1/8 to 1/4 inch per linear foot of flooring) around the perimeter of the room, including against fixed walls, cabinets, and doorways.
- Check Manufacturer Guidelines: Different types of wood and installation methods may have specific requirements.
Manage Water Sources
Be vigilant about water:
- Clean Spills Immediately: Don’t let water sit on the floor.
- Inspect Appliances: Regularly check plumbing for leaks, especially around dishwashers, refrigerators, and sinks.
- Use Mats: Place mats at entryways to catch moisture from shoes.
Regular Maintenance
Keep your floors clean and well-maintained:
- Sweep or Vacuum Regularly: Remove dirt and grit that can scratch the finish and potentially damage the wood over time.
- Use Appropriate Cleaners: Stick to hardwood floor cleaners recommended by the manufacturer. Avoid excessive water when mopping.
By following these preventive measures, you can enjoy your beautiful hardwood floors for years to come, free from the frustration of buckling.
Frequently Asked Questions (FAQ)
Q1: How long does it take for hardwood floors to flatten out after drying?
A1: It can take anywhere from a few days to several weeks for hardwood floors to flatten out after drying, depending on the severity of the moisture exposure, the type of wood, and the surrounding humidity levels. Patience is key.
Q2: Can I fix buckling hardwood floors myself?
A2: Yes, many common causes of buckling, especially moisture-related issues and lack of expansion gaps, can be fixed with DIY methods. However, if the damage is extensive or you’re uncomfortable with power tools, it’s best to consult a professional.
Q3: What is the ideal humidity level for hardwood floors?
A3: The ideal relative humidity for hardwood floors is generally between 30% and 50%. Maintaining this range helps prevent excessive expansion and contraction, which can lead to buckling or gapping.
Q4: My basement has high humidity. Will this affect my hardwood floors upstairs?
A4: Yes, high humidity in a basement can significantly affect the moisture content of the wood throughout your home, including upstairs floors. It’s crucial to address basement humidity issues to protect your entire house.
Q5: Should I replace my buckling hardwood floors?
A5: Not necessarily. In many cases, buckling can be repaired by addressing the underlying cause and allowing the wood to dry and acclimate. Replacement is usually a last resort for severely damaged or permanently warped floors.