How to Get a Square Edge on Wood: 4 Methods That Work
Get a square edge on wood with a table saw, jointer, or hand plane, depending on how much material you need to remove and how flat the board already is. A cut off by even a degree or two will show as a visible gap in a glue-up or butt joint. This guide covers table saw squaring, jointer setup, hand-plane technique, and checking your work with a try square.
Introduction To Precision Woodworking
Best Combination Square Pick
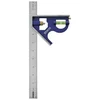
IRWIN Combination Square, 12-Inch – $12.99
This guide’s “Measuring For Perfection” and “Checking Your Work” sections both come down to one tool: a square that confirms 90° is actually 90°. This combination square also doubles as a marking gauge and depth gauge for the marking steps covered above.
- Best for: Checking a board for a true 90° or 45° edge before and after cutting
- Why we picked it: Stainless steel rule stays readable and rust-free in a shop, and the sliding head locks for repeat marking
- Main drawback: Cast body can go out of true if dropped — check it against a known-square edge before first use
Compare more combination square options
 Option 1 Arrow 12-Inch Combo Square – $14.39
|
 Option 2 WEN ME144L Aluminum Square – $12.69
|
 Option 3 Klein Tools 935CSEL – $29.97
|
As an Amazon Associate we earn from qualifying purchases.
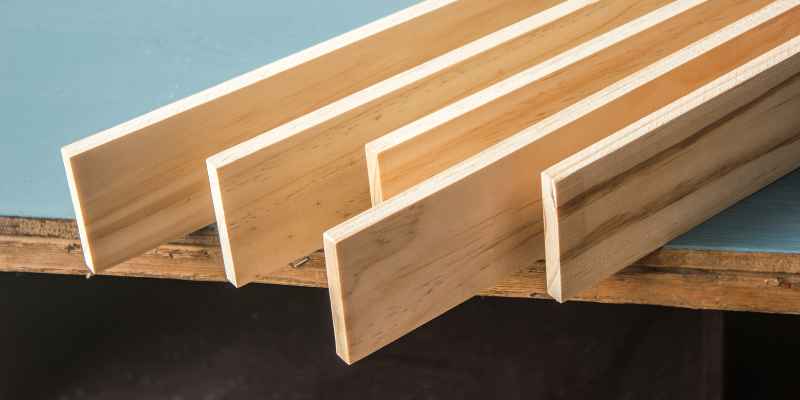
Square edges are crucial in woodworking. They ensure that pieces fit together nicely. A precise square edge makes your work look professional. It improves the overall strength of the structure.
To achieve this, you need some essential tools:
| Tool | Purpose |
|---|---|
| Square | Check and mark right angles |
| Saw | Cut wood accurately |
| Planer | Flatten and smooth edges |
| Chisel | Clean up corners and edges |
Selecting The Right Wood
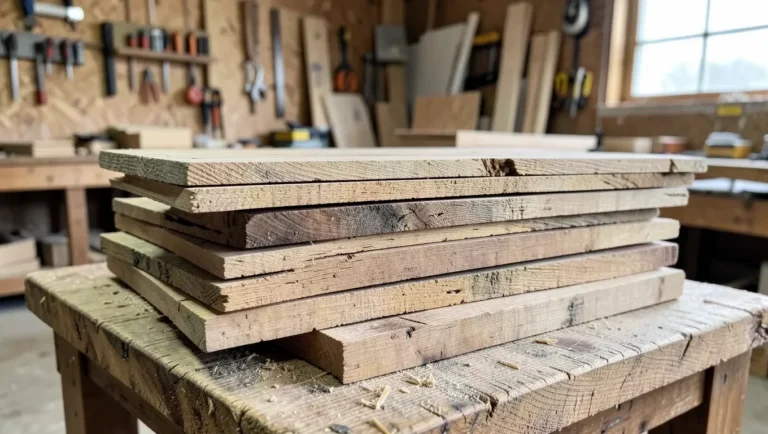
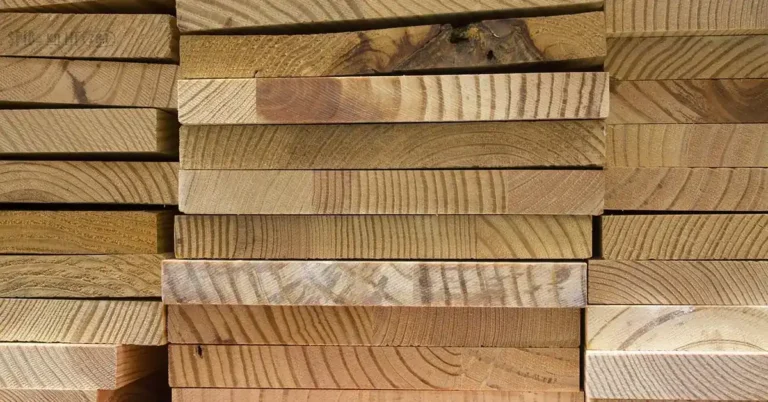
Choosing the right wood is key for a square edge. Quality lumber has several important traits. First, check the wood grain. A straight and tight grain gives better results.
Texture also plays a role. Smooth textures are easier to work with. Rough textures may lead to uneven edges. Always select wood without knots or defects. Defects can affect the final look.
Different wood types offer unique benefits. Hardwoods are strong but may be harder to cut. Softwoods are easier to shape but less durable. Understand your project needs before selecting wood.
Measuring For Perfection
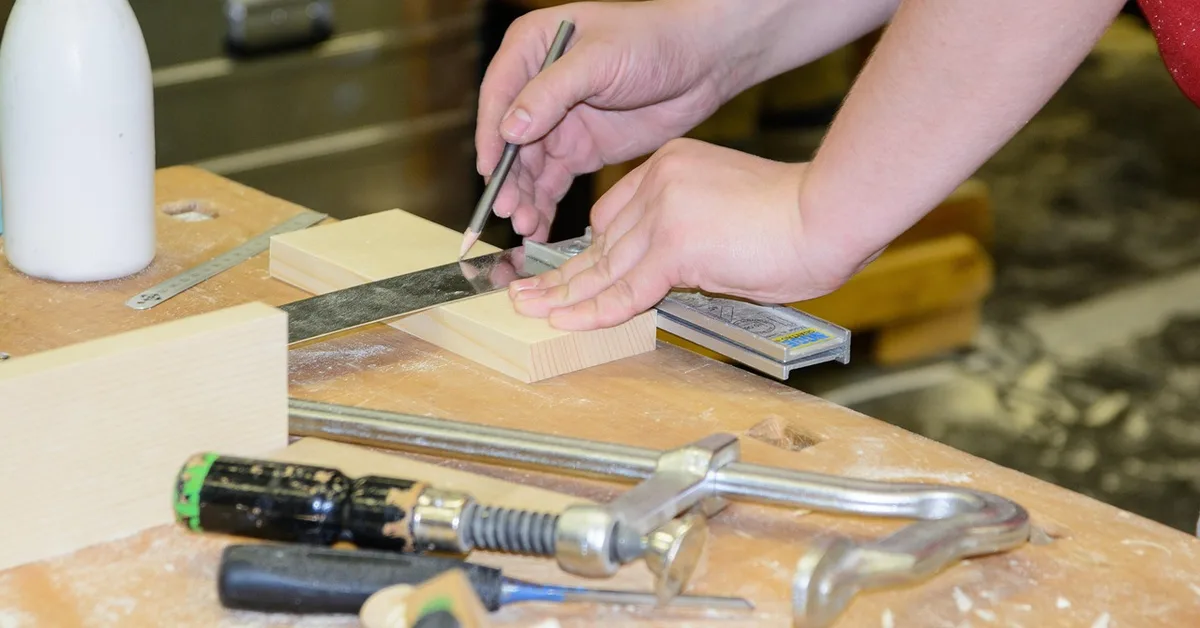
Measuring with a try square is essential for accuracy. This tool helps ensure perfect corners and edges. Place the square against the wood. Adjust until it sits flat and straight.
Check the measurement at both ends. This ensures the wood is truly square. It’s important to use the right side of the try square. The blade should be flush with the wood’s edge.
Precision tools like the try square make woodworking easier. They help avoid mistakes that can waste time and materials. A little effort in measuring leads to great results.
Marking The Wood Accurately
Marking the wood accurately is very important for a square edge. Choose the right marking tools for the best results. A sharp pencil or a marking knife works well. These tools create precise lines.
Use a straight edge or a ruler to guide your markings. This helps ensure your lines are straight and clear. A square can also help check angles accurately.
For clear lines, apply light pressure when marking. Too much pressure can lead to mistakes. Always double-check your measurements before cutting.
Cutting Techniques
Using a hand saw is a common way to achieve a square edge. Hold the saw at a 45-degree angle to the wood. Start with a light cut to guide the saw. Apply steady pressure while cutting through the wood. Keep your eyes on the line for better accuracy.
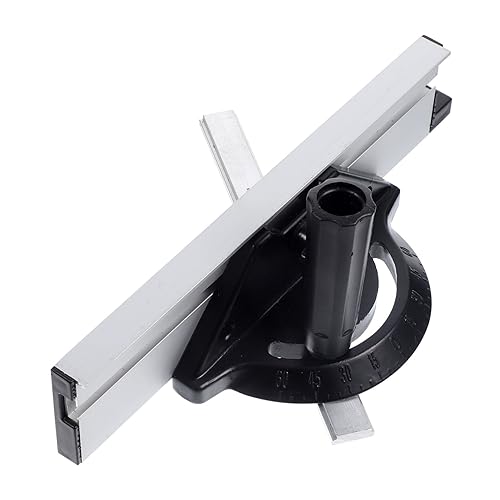
For power saws, precision is key. Set the blade depth to match the wood thickness. Use a miter gauge to ensure straight cuts. Always secure the wood with clamps to prevent movement. This will help create a clean, square edge.
Achieving Flat Surfaces
Achieving a flat surface is important for woodworking. Hand planing is a great method. Use a hand plane to shave off small amounts of wood. Start with the edges before moving to the center. Keep the plane at an angle for best results.
Using a jointer also helps create a flat edge. A jointer has sharp blades that cut wood evenly. Pass the wood through the jointer to remove bumps and curves. Make sure the wood is secure while using the machine. Always check your work for flatness.
Fine-tuning With Sanding
Choosing the right tool is essential for achieving a square edge. Sanding blocks offer great control for precise work. They are ideal for small projects or intricate details. Power sanders speed up the process but can be less accurate.
For the best results, use a grit progression. Start with a rough grit like 80 to remove imperfections. Then move to 120 grit for a smoother finish. Finally, finish with 220 grit for a perfectly smooth surface. This method ensures an even and polished edge.
| Grit Level | Purpose |
|---|---|
| 80 | Remove rough spots |
| 120 | Smooth out surface |
| 220 | Final polish |
Checking Your Work
Check your work carefully after cutting. A framing square helps ensure accuracy. Place the square against the edge of the wood. Make sure it lines up correctly.
If the square does not fit perfectly, some issues may arise. The wood might be warped or uneven. Always measure twice before cutting to avoid errors. Use a sharp blade for clean cuts. A dull blade can create rough edges.
| Common Issues | Solutions |
|---|---|
| Warped Wood | Use clamps to hold it flat while cutting. |
| Dull Blade | Replace or sharpen the blade before cutting. |
| Incorrect Measurements | Always double-check measurements before cutting. |
Finishing Touches
To achieve a perfect square edge, sealing and protecting are crucial steps. Use a high-quality wood sealer to guard against moisture. This helps maintain the sharp edge and prevents damage. Apply the sealer evenly along the edges for best results.
For final inspection, check each edge closely. Look for any uneven areas or imperfections. Small adjustments may be needed to ensure a smooth finish. Use sandpaper to smooth out any rough spots. This will give the wood a clean and polished look.
Regular checks during the process ensure a great outcome. Taking time for adjustments can make a significant difference. A well-finished edge enhances the overall appearance of the project.
Advanced Tips And Tricks
Warped wood can be a challenge in woodworking. Identify the warp early to make corrections. Use a moisture meter to check the wood’s moisture content. High moisture can cause warping.
To fix warped wood, try these methods:
- Apply heat: Use a heat gun to soften the wood.
- Moisten the wood: Lightly spray water on the warp area.
- Clamp it down: Use clamps to hold the wood flat as it dries.
For a long-lasting fix, consider these secrets:
- Store wood properly: Keep it in a dry area.
- Use straight boards: Choose high-quality, straight wood for projects.
- Check humidity: Maintain low humidity levels in your workspace.
Maintaining Your Tools
Sharpening blades is essential for achieving a square edge on wood. Use a sharpening stone or honing guide. Always maintain a consistent angle while sharpening. This helps keep blades sharp and effective.
Storing tools properly extends their life. Store blades in a dry place to prevent rust. Use blade guards to protect edges. Clean tools after use to remove any debris.
Regular maintenance keeps tools in top shape. Check blades for damage before each use. Replace dull blades promptly for the best results.
Frequently Asked Questions
How Can I Achieve A Square Edge On Wood?
To achieve a square edge on wood, use a table saw or a jointer. Ensure the wood is stable and securely clamped. Measure accurately before cutting. You can also use a hand plane for finer adjustments. Always check your work with a square tool for precision.
What Tools Do I Need For Squaring Edges?
Essential tools for squaring edges include a table saw, jointer, or a router. A hand plane can also help achieve a smooth finish. A square tool is crucial for checking accuracy. Additionally, clamps will keep your wood secure during the process.
Is It Difficult To Square Edges On Wood?
Squaring edges can be easy with the right tools and techniques. Beginners may find it challenging at first, but practice improves skill. Understanding your tools and techniques is key. Once mastered, squaring edges will become a quick and simple task in woodworking.
Can I Square Edges Without Power Tools?
Yes, you can square edges without power tools using hand tools. A hand plane or chisel can effectively create a square edge. Measuring accurately is crucial. Additionally, a square tool will help ensure precision. While it takes more time, it is entirely feasible.
Conclusion
Achieving a square edge on wood enhances both aesthetics and functionality. By using the right tools and techniques, anyone can master this skill. Regular practice will lead to better results. Remember, precision is key. With patience and attention, your woodworking projects will stand out with clean, professional edges.
Happy woodworking!
Sponsored / affiliate links. As an Amazon Associate I earn from qualifying purchases. I may earn additional commission from eligible campaigns.