How to Glue a Mortise and Tenon Joint for Strength
For the strongest result, aim for a snug hand-pressure fit, brush glue on the tenon cheeks and mortise walls, clamp only until the shoulder closes, and switch to epoxy for loose or oily stock. Too tight starves the joint; too loose creeps, weakens, and can fail under load. This guide covers fit targets, adhesive choice, clamp pressure, sequence, and cleanup.
What you’ll need
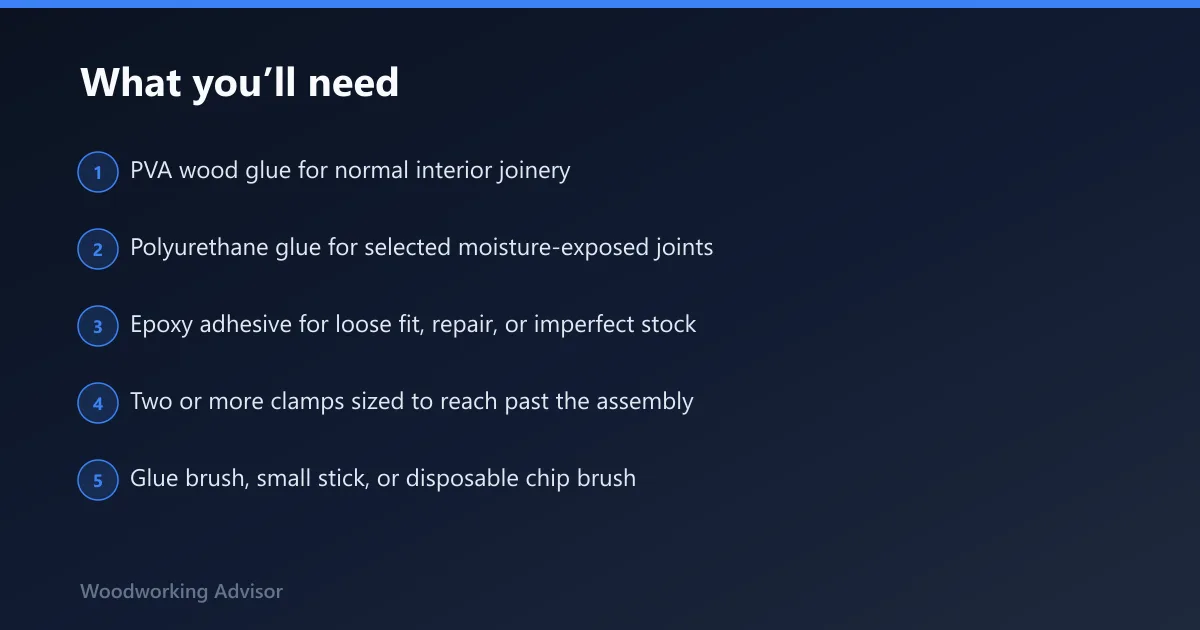


- PVA wood glue for normal interior joinery
- Polyurethane glue for selected moisture-exposed joints
- Epoxy adhesive for loose fit, repair, or imperfect stock
- Two or more clamps sized to reach past the assembly
- Glue brush, small stick, or disposable chip brush
- Rag or paper towels for squeeze-out cleanup
- Mineral spirits only if the epoxy system calls for it
- Wax paper or packing tape to keep clamps from sticking
- Square, marking gauge, and dry-fit marks
According to How to Make a Mortise and Tenon Woodworking Joint – Why the Mort… — Popular Mechanics says it is "one of the strongest woodworking joints" for 90-degree assemblies.
How to glue a mortise and tenon joint for maximum strength
A mortise and tenon joint puts one wood end into a matching opening in another piece. Popular Mechanics calls it “one of the strongest woodworking joints” for 90-degree assemblies, and I see it used often in furniture and other woodworking projects. The strength comes from clean shoulder contact, long grain contact, and correct glue coverage, not from flooding the joint.
Why the joint is strong when the fit is right
The mortise carries the tenon, the shoulder registers against the mating face, and the glue bonds wood-to-wood on the long-grain surfaces that actually touch. A half-thickness tenon is a common rule of thumb, and a tenon length of 4 to 5 times the tenon thickness gives enough bonded area without turning the joint into a forced fit. Pins or wedges can add mechanical lock-up after glue-up.
Where glue helps and where the geometry does the work
Glue increases resistance to racking and helps the joint stay closed over time, but the geometry does the heavy lifting. If the shoulder seats cleanly and the tenon fills the mortise without bottoming out, the joint resists side load far better than glue alone. Clamp pressure only keeps that contact in place while the adhesive cures.
What usually makes a glue-up fail
Most failures come from one of five issues: too much glue in a blind mortise, too little contact area from a sloppy fit, poor shoulder seating, excessive clamp pressure that squeezes out the bond line, or using the wrong adhesive for the wood condition. Polyurethane foam is not a substitute for contact. It can foam out of the joint and leave weak spots.
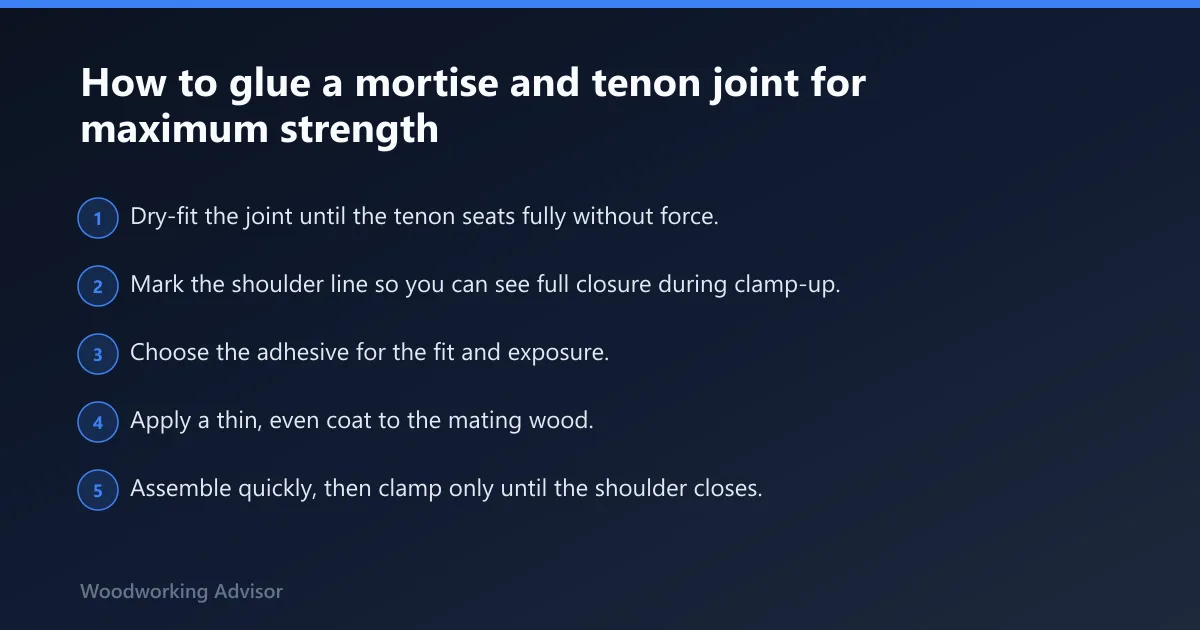
- Dry-fit the joint until the tenon seats fully without force.
- Mark the shoulder line so you can see full closure during clamp-up.
- Choose the adhesive for the fit and exposure.
- Apply a thin, even coat to the mating wood.
- Assemble quickly, then clamp only until the shoulder closes.
- Wipe squeeze-out at the correct stage for that glue.
- Leave the joint clamped for the full cure window.
Should you glue both the mortise and tenon, or just one side?
Glue the mating wood surfaces that actually contact, which usually means the tenon cheeks and the mortise walls, but do not flood the cavity. A thin film on both faces can help with full wet contact, while excess glue may trap air, create hydraulic lock, and stop the tenon from seating. The shoulder must still close cleanly.
Exact glue pattern that works
Brush a light coat on the tenon cheeks first. Then add a light coat inside the mortise walls, especially in blind joints where the cavity can starve the bond if one side is dry. If the fit is normal, a thin wet sheen is enough. The goal is a continuous bond line, not puddles.
Why too much glue is a problem
Overfilling a blind mortise compresses trapped glue and air as the tenon enters. That hydraulic lock can keep the shoulder off the face even when the clamp is tight. It can also force glue away from the contact surfaces, which weakens the bond instead of improving it.
How tight should a mortise and tenon fit before gluing?
The tenon fit should be snug but not force-fit, and it should allow full seating without bottoming out. A joint that needs pounding to assemble is usually too tight for reliable glue-up because it can scrape off adhesive and prevent the shoulder from closing. A loose joint is a different problem and often needs repair, not more clamp pressure.
Fit quality decision table
| Fit quality | Best adhesive | Clamp strategy | Cleanup method |
|---|---|---|---|
| Tight fit | PVA | Light clamp pressure only until the shoulder closes | Wipe a small bead after gel-up, then leave alone |
| Normal fit | PVA | Moderate clamp pressure, just enough to seat fully | Wipe squeeze-out with a damp rag while still wet |
| Slightly loose fit | Epoxy | Snug clamp pressure to hold alignment, not force closure | Tool away excess after partial set, then final scrape |
| Gap-prone fit | Epoxy or recut | Clamp only for alignment if the joint is worth saving | Remove squeeze-out after gel stage; clean secondary squeeze |
Fit by feel
On a good fit, the tenon can be pushed home by hand pressure or a light mallet tap, and the shoulder comes home without fighting. If the dry-fit already feels spongy or wobbly, glue will not fix the geometry. If it stops short, the tenon is probably bottoming out or the mortise has debris.
Do mortise and tenon joints need clamps?
Clamps are usually needed for full holding power with PVA and for most glue-ups where the joint must stay fully seated during cure. They do not create strength by themselves. Their job is to keep the wood in contact while the adhesive bonds. Clamp pressure should seat the shoulder without crushing fibers or squeezing the joint dry.
How much clamp pressure is enough
Use enough pressure to close the shoulder line and keep the parts from shifting. If squeeze-out disappears everywhere, pressure may be too high. If the shoulder remains open, pressure is too low or the joint is misfit. A small, even bead along the seam is a better sign than a dry joint or a glue bath.
Cleanup timing by adhesive
PVA wipes clean with a damp rag while still wet, but do not flood the joint with water. Polyurethane is best left until it skins, then trimmed after it cures because wet wiping can smear foam into the grain. Epoxy is best cleaned at the gel stage with a scraper or the solvent recommended by that system.
When should you use PVA, polyurethane, or epoxy?
PVA is a common choice for wood-to-wood bonding in normal indoor joinery. Polyurethane needs moisture to cure and can fill crevices and pores, but it expands as it dries and can foam out of the joint. Epoxy is often a better choice for structural repairs, gap filling, and imperfect joints where the fit is not sound enough for standard wood glue. (familyhandyman.com)
PVA for standard indoor work
PVA wood glue, also known as white glue or carpenter’s glue, is polyvinyl acetate. It works on wood and other porous materials, needs clamping for full holding power, and is water-soluble when wet. Some formulations are waterproof when dry, but not all are. For a clean, snug mortise and tenon, it is still the default.
Polyurethane for selected moisture-exposed jobs
Polyurethane glue makes sense when moisture exposure matters and the joint surfaces are sound but not perfectly dry. It can bridge small pores, yet the foaming action does not equal strength. Use it only when the assembly and cleanup plan account for expansion, because excess foam can push parts out of alignment.
Epoxy for loose fits and repairs
Epoxy is the better call when the tenon is slightly loose, the mortise is worn, or the stock has minor irregularity. It can fill gaps that PVA cannot handle well, and in many repair situations it is stronger than standard wood glue because it keeps bonded material in contact even where the fit is imperfect. If the gap is large, re-cutting is usually the better fix.
Common mistakes that weaken a mortise and tenon glue-up
The most common failures are predictable. They come from bad fit, bad timing, or the wrong adhesive for the joint condition. A mortise and tenon can be strong, but only when the shoulder seats, the glue line stays thin, and the clamping stage supports the geometry instead of fighting it.
- Avoid glue starvation by coating both mating wood surfaces lightly.
- Avoid hydraulic lock by not flooding blind mortises.
- Avoid crushed fibers by stopping clamp pressure when the shoulder closes.
- Avoid weak alignment by checking the shoulder on all sides before final tightening.
- Avoid foam-related weak bonds by not treating polyurethane expansion as strength.
- Avoid bottoming out by checking tenon length before glue day.
If that didn’t work, try this next
- Disassemble at the first sign of a stopped shoulder and clean the mortise bottom with a chisel or drill bit set to depth control.
- If the tenon is only slightly loose, rebuild it with epoxy and clamp just enough to center the parts.
- If the gap is obvious across the shoulder line, recut the tenon or remake the mortise instead of adding more glue.
- If the stock is oily or resinous, wipe the bonding faces with a solvent suited to the wood species, then switch to epoxy.
Prevention
Dry-fit every mortise and tenon before the glue comes out. Mark the shoulder line, check bottoming out, and rehearse clamp placement so the actual assembly stays calm and fast.
When should you add pins or wedges to a mortise and tenon joint?
Use pins or wedges when the design needs mechanical lock-up, such as load-bearing furniture or joints that may see repeated movement. They are useful after the glue has the parts aligned, and they help prevent withdrawal. They are not a substitute for a bad fit, and they are unnecessary on many simple interior joints.
When they help most
Pins are useful when the joint must resist pull-out in addition to racking. Wedges are useful in through-tenons where the tenon can be split and flared to lock the joint. Both work best when the base glue-up is already sound. They add retention, not forgiveness.
Can you glue a loose mortise and tenon joint after assembly?
Yes, but only when the looseness is slight and the geometry still closes correctly. Epoxy is the best repair adhesive for that situation because it can fill minor gaps and keep the joint bonded where PVA would leave voids. If the fit is very loose, the better fix is to recut or remake the joint rather than rely on filler.
Repair versus remake
If the shoulder can still seat and the tenon still carries load, epoxy may save the part. If the mortise walls are blown out, the tenon is badly undersized, or the joint racks visibly when dry-fitted, repair glue is only a patch. Re-cutting gives a stronger result and less future movement.
What makes a mortise and tenon joint fail after glue-up?
Failure usually comes from poor contact, not from the idea of the joint itself. A shoulder that never seated, glue squeezed away by excess pressure, or a loose fit that was left uncorrected can all lead to racking, creep, or withdrawal. Seasonal movement and moisture changes can make a weak glue-up show itself later.
Exterior furniture changes the equation
For exterior mortise and tenon furniture, choose a moisture-tolerant adhesive and allow for movement. PVA can work only in certain waterproof formulations, and even then the joint design must keep water out as much as possible. Epoxy is often the safer repair adhesive for imperfect outdoor joints, especially where standing moisture or open grain is expected.
Frequently asked questions
How much glue do you put on a mortise and tenon joint?
Use enough to leave a thin, even wet sheen on the tenon cheeks and mortise walls. If glue is pooling in the mortise, there is too much. If the wood looks dry after assembly, there was not enough coverage or the joint was too tight.
Should you use PVA, polyurethane, or epoxy for a mortise and tenon joint?
Use PVA for normal interior work, polyurethane for selected moisture-exposed assemblies, and epoxy for loose, imperfect, or repaired joints. PVA wants a snug fit. Polyurethane needs moisture and can foam. Epoxy is the better choice when the fit is not ideal.
Sponsored / affiliate links. As an Amazon Associate I earn from qualifying purchases. I may earn additional commission from eligible campaigns.