How to Glue Wood Joints for Outdoor Use Without Failures
Use a waterproof exterior adhesive such as polyurethane or epoxy, but only on tight joints, bare wood, and after 24–72 hours of cure before weather exposure. I’ve seen bad outdoor glue work fail because of moisture, finish left on the bond line, weak clamping, and poor joint shape, and fixing it often takes more time and money than the original build. This guide shows the joint-and-surface workflow I use for furniture, planters, gates, and trim that must hold outside.
What you’ll need

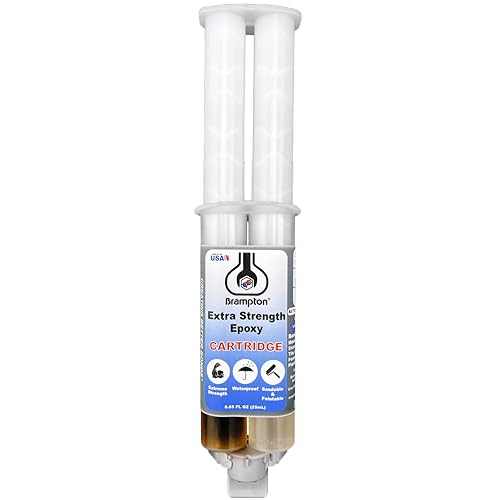

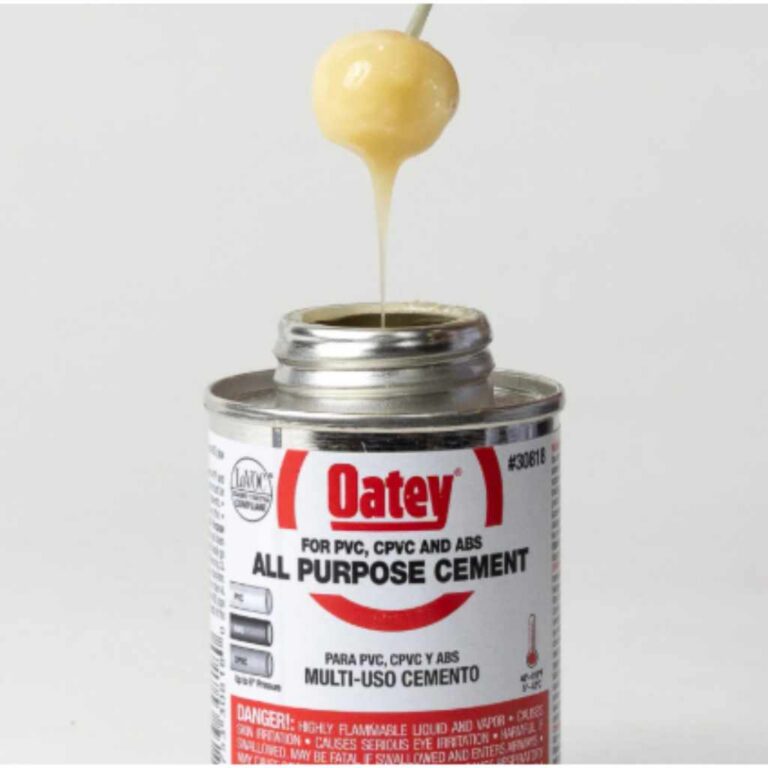
- Waterproof wood glue for exposed outdoor joints
- Polyurethane glue for fully waterproof bonding where some squeeze-out cleanup is acceptable
- Exterior PVA glue labeled water resistant or exterior
- Two-part epoxy for gaps, repairs, and mixed-material joints
- Liquid hide glue for furniture repair work with longer open time
- Clamps sized for the joint, plus cauls if the parts want to bow
- Wax paper to catch drips and reduce clamp marks
- Masking tape for protecting nearby finish
- Scraper, chisel, sanding block, and dust brush
- Moisture meter, or a way to verify the stock is dry and stable
- Clean rags and denatured alcohol for surface cleaning where appropriate
According to Wood Glue: The Best Wood Glue and How to Glue Wood Together — For polyurethane glue, Titebond recommends clamping wood for at least 45 minutes. (source)
Which glue should you use for outdoor wood joints?
Pick the adhesive from exposure and joint quality, not from the label alone. For most outdoor assemblies, I use waterproof wood glue on tight, bare-wood joints; polyurethane when I need a fully waterproof bond; epoxy when gaps, damage, or mixed materials are part of the repair; and I leave regular interior PVA out of outdoor work.
Match the glue to the job
| Adhesive | Best use | Limits |
|---|---|---|
| Waterproof wood glue | Outdoor furniture, trim, and tight-fitting joints | Rated for outdoor use, but not continuous submersion |
| Polyurethane glue | Completely waterproof bonds, especially when bonding wood to metal, glass, or some plastics | Messy foaming; up to 15 minutes open time is common |
| PVA exterior glue | Common outdoor assemblies with normal weather exposure | Water resistant or exterior-rated, but not for continuous submersion |
| Liquid hide glue | Furniture repair where longer open time helps alignment | Long curing time; not the first choice for wet-service outdoor work |
| Epoxy | Gaps, damaged joints, and mixed materials | Two-part mix; needs careful proportioning |
Use the exposure level as the filter
Rain, sun, then drying out again calls for exterior-rated glue on a tight joint. Standing water pushes you into better joint design and usually epoxy or polyurethane. Ground contact is another step up, because moisture can move into end grain over long periods. Continuous submersion is generally outside the range of what normal wood glues are meant for.
How do you prepare wood before gluing outdoor joints?
Prepare the wood so the adhesive touches raw fibers, not dirt, finish, or moisture. Outdoor failures usually start before the clamp comes out, often with damp stock or a bond line left dirty. Dry the wood, strip any finish from the glue line, and test the fit before opening the bottle so the joint closes fully while the glue is still usable.
Prep the bond line, not the whole project
Wood glue is usually PVA and is made to sink into wood fibers. That only works when the surface is clean and bare. Glue does not bond well to varnish or stains, and the same problem shows up with wax, oily residue, and sanding dust packed into the joint.
Handle end grain with respect
End grain drinks adhesive and loses strength when the joint depends on it. For outdoor work, I favor joints with long grain contact. If end grain cannot be avoided, seal the layout with epoxy or change the design so the load lands on more than one glue line.
Prefinished parts need special treatment
When gluing prefinished wood, remove the finish only from the bond line. Use masking tape to protect the surrounding finish, then scrape or sand back to bare wood where the glue needs to bond. If the finish stays in the joint, the glue is bonding to a coating instead of wood.
How do you glue an outdoor wood joint?
Dry fit first, then glue only raw wood, clamp with even pressure, and leave the joint alone for the full cure time. Outdoor assemblies fail when the setup is rushed. Tight fit matters more than heavy clamp pressure, and cleanup matters because hardened squeeze-out can hide a weak bond line.
- Confirm the joint type and exposure before choosing the adhesive.
- Remove finish, wax, and dust from the bond surfaces.
- Check the wood for stable dryness and repair any soft or rotten material first.
- Apply glue to raw wood only, keeping it off finished faces.
- Assemble within the adhesive open time and seat the joint fully.
- Clamp with even pressure, not brute force.
- Wipe or scrape squeeze-out before it hardens.
- Leave the joint undisturbed until the full cure time has passed.
Clamp with control, not force
Clamp time changes with the glue and the load on the joint. Unstressed joints are commonly clamped for 30 minutes to 1 hour. Stressed joints need 24 hours. For polyurethane glue, clamp for at least 45 minutes. More pressure is not always better; too much can starve the joint. (familyhandyman.com)
Use wax paper where clamps can hurt the work
Wax paper under bar clamps or pipe clamps helps prevent clamp marks and catches glue drips. I use it on painted or finished parts, and it keeps dried squeeze-out from locking the clamp foot to the piece.
How do you keep glue from failing in wet weather?
Keep moisture from reaching the bond line, choose a glue that matches the exposure, and build the joint so water sheds instead of sitting. Outdoor glue failures are usually a system problem, and I mean that literally: the wood, the joint shape, the finish, and the clamp work all have to line up. Even a good adhesive fails if the joint traps water, the wood swells, or the finish blocks adhesion.
Choose for intermittent exposure, not constant wetting
Yellow exterior glue works for outdoor projects, but not for continuous submersion. Waterproof wood glue is suitable for outdoor use, but it is still not the best choice for joints that stay soaked. Polyurethane glue is completely waterproof, but its foaming can create cleanup issues if the fit is sloppy.
Build the joint to shed water
Edge glue-ups on outdoor panels need good drainage and protected end grain. Load-bearing mortise-and-tenon joints need tight shoulders and enough long grain contact to resist movement. End grain joints fail sooner because they drink moisture and offer less glue area than long grain faces.
If that didn’t work, try this next
- Remove the part and inspect the bond line for finish, stain, or wax contamination.
- Switch to epoxy if the joint has gaps, damaged fibers, or mixed materials.
- Redesign the joint so water cannot sit on the glue line.
- Add mechanical reinforcement if the part is load-bearing and repeatedly wets out.
Outdoor joint failure checklist and pass/fail inspection
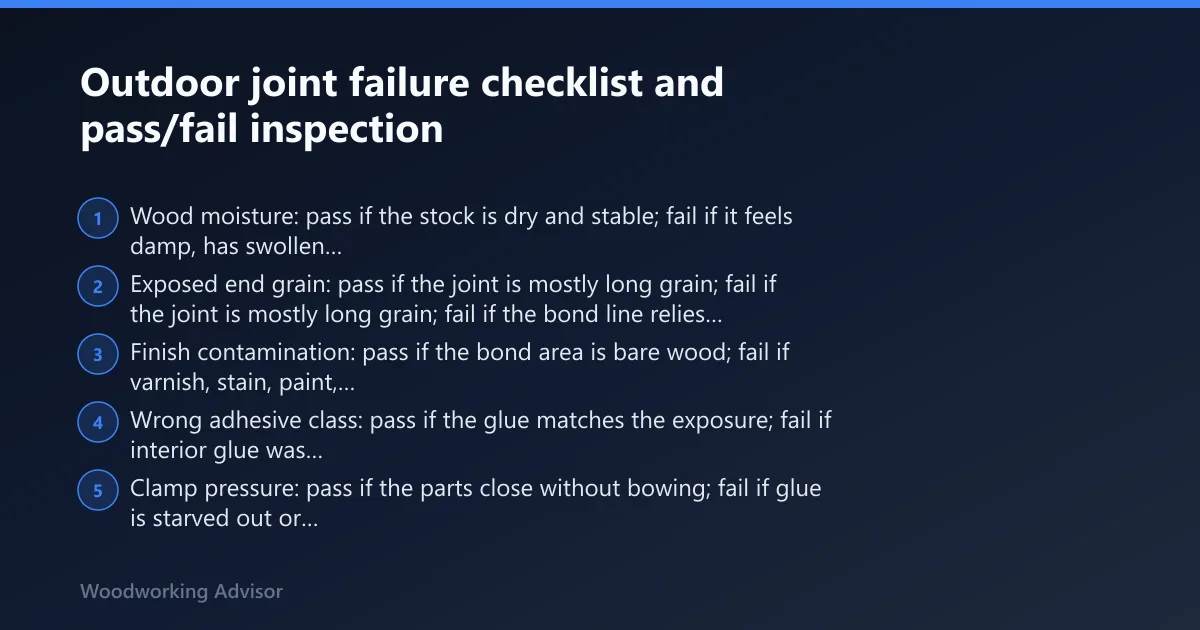
Use this checklist before a fresh glue-up and again when a repair has already failed. It maps the common failure modes to a direct fix. The fastest way to stop repeat failures is to identify which part of the system was wrong: moisture, end grain, finish, adhesive class, clamp pressure, or cure time.
Step-by-step failure checklist
- Wood moisture: pass if the stock is dry and stable; fail if it feels damp, has swollen joints, or shows seasonal movement. Fix by drying or replacing the parts before gluing.
- Exposed end grain: pass if the joint is mostly long grain; fail if the bond line relies on end grain. Fix by redesigning the joint or using epoxy.
- Finish contamination: pass if the bond area is bare wood; fail if varnish, stain, paint, or wax remains. Fix by scraping or sanding back to clean wood.
- Wrong adhesive class: pass if the glue matches the exposure; fail if interior glue was used outside. Fix by moving to exterior-rated glue, polyurethane, or epoxy as needed.
- Clamp pressure: pass if the parts close without bowing; fail if glue is starved out or the joint skates under pressure. Fix by easing pressure and using cauls.
- Under-cure time: pass if the joint stayed untouched for the full cure window; fail if it was handled early. Fix by reclamping and allowing full cure before exposure.
| Inspection item | Pass sign | Fail sign | Action |
|---|---|---|---|
| Moisture | Dry, stable stock | Damp feel, swelling, loose fit | Dry, replace, or redesign |
| Bond surface | Bare wood only | Finish, wax, or dust visible | Scrape or sand clean |
| Adhesive choice | Matches outdoor exposure | Interior glue used outside | Switch adhesive class |
| Clamping | Even pressure, full contact | Starved joint or shifted parts | Reset and reclamp |
| Cure | Full cure before use | Part moved too soon | Reclamp and wait longer |
Common mistakes
Most outdoor glue failures come from a small set of repeat mistakes. Interior glue outside is the obvious one. Less obvious are gluing over varnish, treating squeeze-out as proof of strength, and using the wrong repair method after a joint has already failed.
- Using regular white or yellow interior glue outside
- Bonding over stain, varnish, paint, or wax
- Choosing polyurethane for a sloppy joint and accepting the foam as if it were strength
- Overclamping until the glue is squeezed out of the joint
- Reusing a failed joint without removing contaminated fibers
- Putting a repaired piece back outside before full cure
Repair vs. fresh assembly
If the joint has already failed, do not just add more glue. Remove the old adhesive, clean back to sound wood, and decide whether the joint shape still makes sense outdoors. If the parts are distorted, rotten, or repeatedly wet, replacement is usually faster than trying to save a weak layout.
Frequently asked questions
Do outdoor wood joints need clamps?
Yes. Clamp the joint so the faces meet fully and stay put through cure. Unstressed joints are commonly clamped for 30 minutes to 1 hour, while stressed joints need 24 hours. Polyurethane glue should stay clamped for at least 45 minutes.
How long should outdoor wood glue cure before use?
Use the adhesive’s full cure window, not just the clamp window. Polyurethane can take several hours to cure in some cases, and outdoor assemblies should not be exposed to weather until they are fully cured. For loaded joints, waiting longer is safer than rushing the piece back into service.
Can PVA glue be used outside?
Yes, if it is labeled exterior or water resistant and the joint is not meant for continuous submersion. Regular white and yellow interior glue is not for outdoor use. For wetter exposure, move to polyurethane or epoxy, especially where water can sit on the joint.
How do I glue prefinished wood for outdoor projects?
Remove finish only from the bond line, then mask the surrounding area before assembly. Glue does not stick well to varnish or stains, so the adhesive needs raw wood contact. Wax paper under the clamps helps keep drips off the finish and reduces clamp marks.
Sponsored / affiliate links. As an Amazon Associate I earn from qualifying purchases. I may earn additional commission from eligible campaigns.