Clamps Squeezing Out Too Much Glue: Fix the Pressure
If clamps are squeezing out lots of glue, the fix is usually less glue or a tighter joint fit; tighten only until the parts close and a thin bead appears, then stop. Ignore that, and you can starve the joint, pull parts out of line, and leave a bond that fails later. I check for glue load, clamp force, and fit before every glue-up, because the seam tells the truth faster than the bench top does.
This guide is part of our Wood glue essentials: types, uses, and cure times series.
What you’ll need before the glue-up


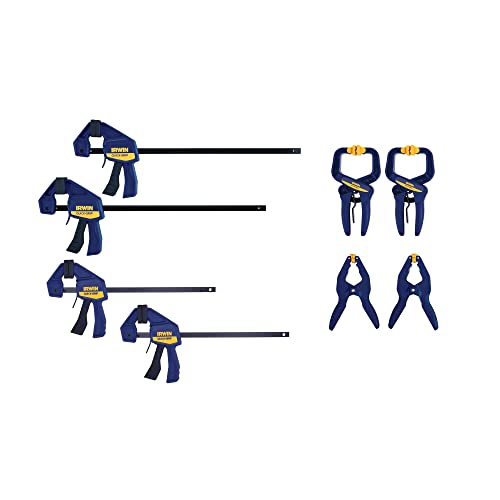
- Bar clamp for edge joints and panel glue-ups; choose enough reach and jaw capacity to span the work without forcing the clamp at an angle.
- Pipe clamp for furniture assembly and long assemblies; its adjustable length gives high clamping force, so it can overdo pressure fast.
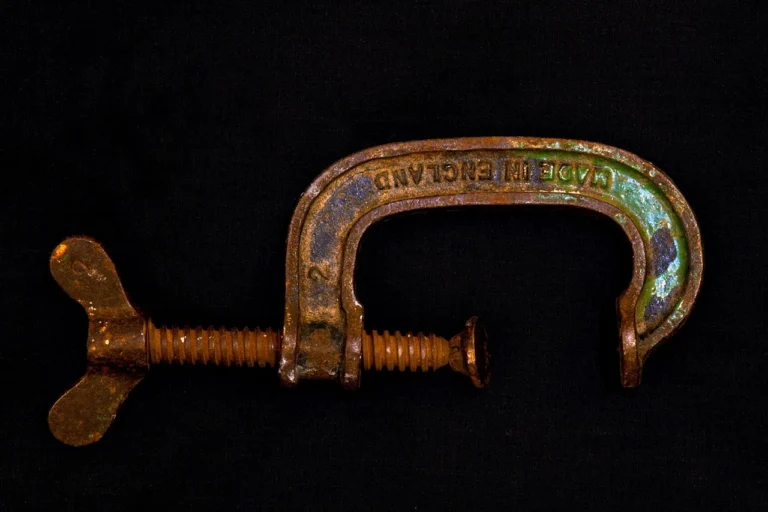
- F-clamp or C-clamp for small repairs and localized pressure; useful, but easy to create point pressure.
- Cauls for wide panels or parts that want to bow; waxed or tape-wrapped so they do not stick.
- PVA wood glue for standard wood-to-wood joints.
- Wax paper or packing tape to protect cauls and clamp faces.
- A flat dry assembly surface, a rag, and a fully test-fit joint.
Why your glue is squeezing out so much
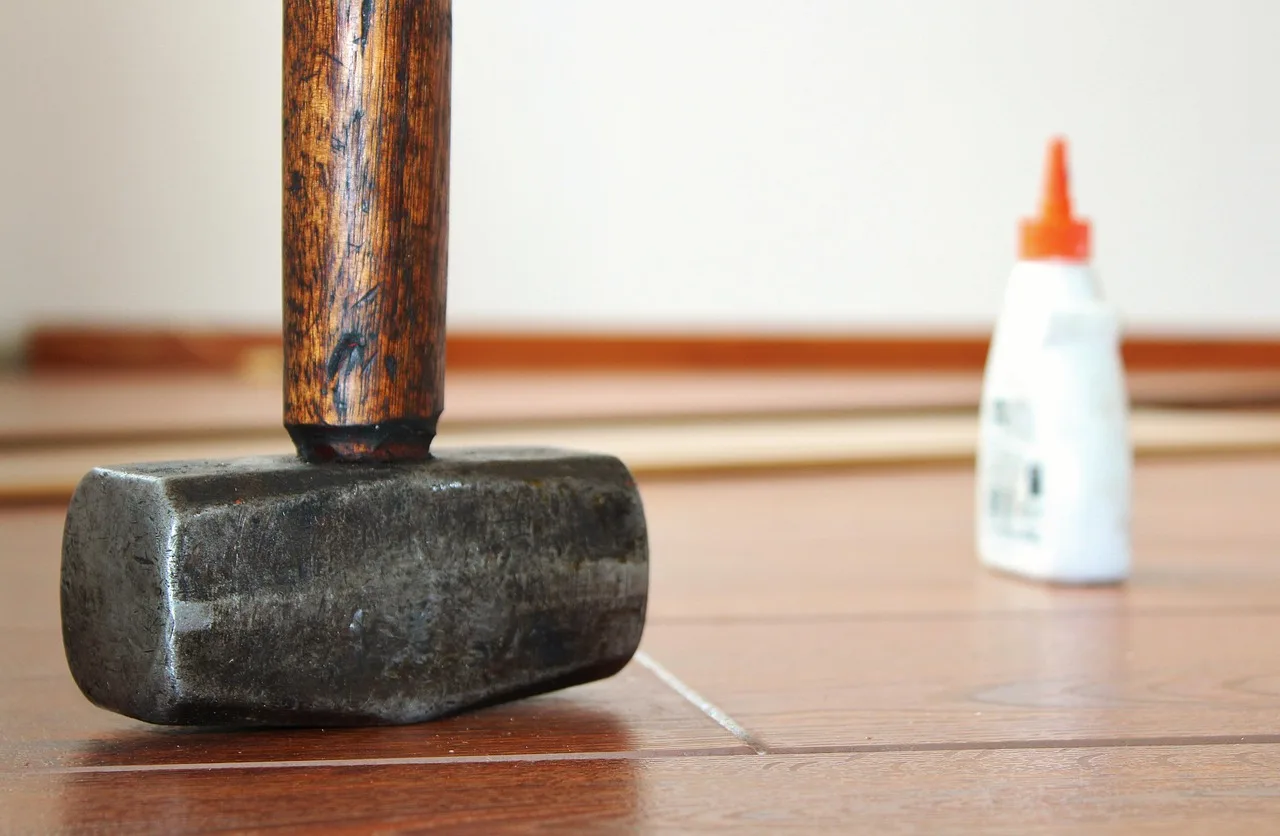
Heavy squeeze-out often suggests too much glue, too much clamp pressure, or both. With PVA wood glue, aim for a thin, continuous film between faces, not a dry seam and not a bead that floods out under force. A little squeeze-out is normal. A pasted-up seam is a warning.
What heavy squeeze-out usually means
If the seam oozes heavily along its full length, the joint may be loaded with glue or pressed harder than it needs. If the bead appears only at the edges but the seam looks dry, the parts may already be starved. The glue line should end up thin, not crushed dry.
How to tell excess glue from excess pressure
Excess glue usually leaves a broad wet bead and cleanup mess. Excess pressure usually shows a thin or missing glue line, squeezed-off glue at the edges, and a seam that looks dry before the clamp comes off. A bad fit can mimic both. The seam itself tells the better story than the puddle on the bench.
When squeeze-out is normal and when it is a warning
Squeeze-out often forms a narrow bead along the joint after the parts close. A warning sign is glue blasting out before the faces are aligned, or glue disappearing so fast that the seam looks pale and dry. That is often a glue-starved joint, not a cleanup problem.
What to do before the clamp goes on
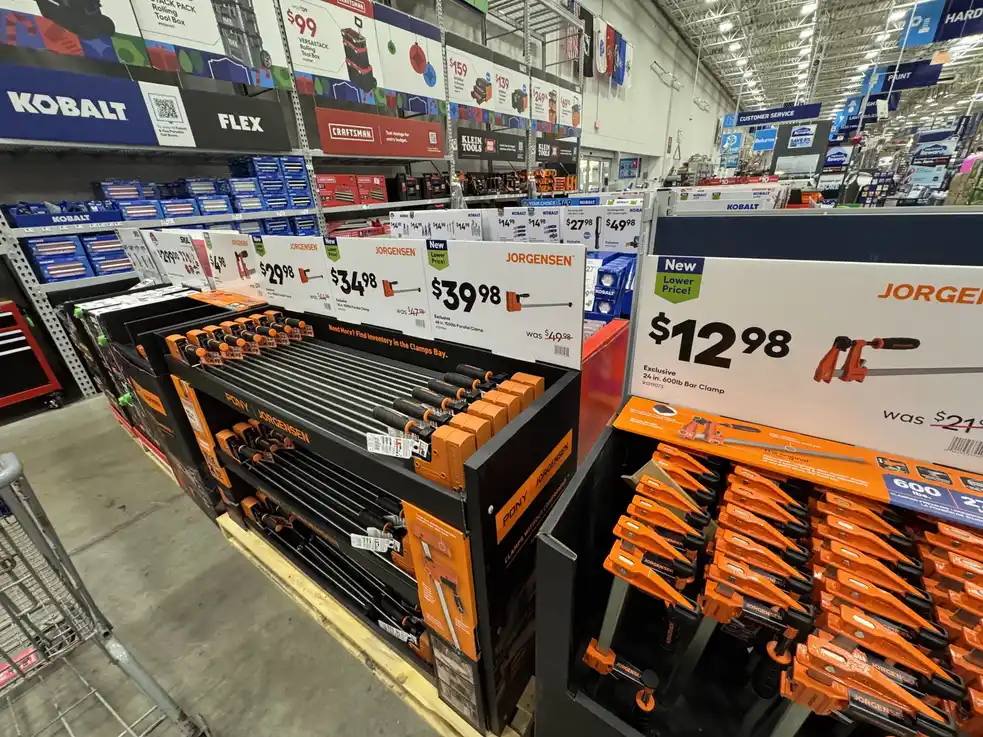
Start with a clean dry fit. Clamp pressure cannot fix gaps, twisted edges, or parts that fight each other. A well-fit joint needs less force and leaves a better glue line. If the parts need force to meet, the clamp is doing joinery’s job.
- Dry-fit the joint and mark the mating faces.
- Check for twist, gap, or proud edges before glue enters the picture.
- Lay out clamp positions so pressure lands over the joint, not beside it.
- Wrap cauls with wax paper or packing tape where glue may touch them.
Why cauls matter on wide panels
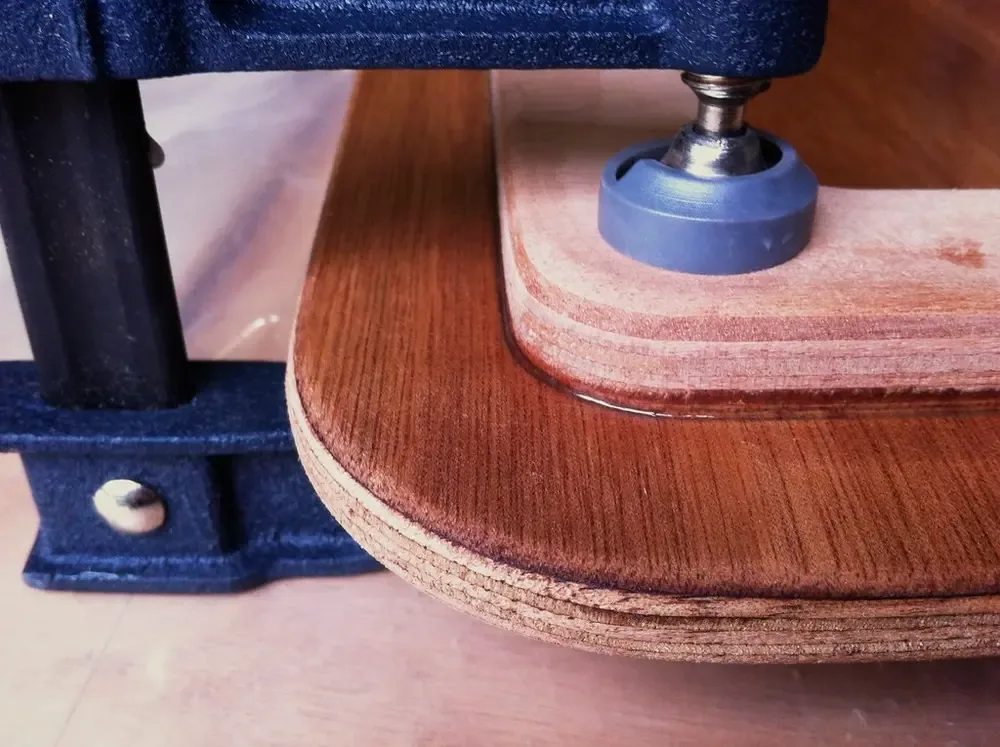
Cauls spread pressure across a wider area and can help keep panels flatter. On edge-glued panels, they reduce bowing and keep the glue bead more even. They are especially useful when bar clamps or pipe clamps would otherwise pull the board into a curve.
How tight should clamps be on a wood glue joint?
Clamps should be snug, not crushing. Tighten until the parts close fully and a thin bead appears, then stop. If you keep turning after that point, the clamp may push adhesive out of the joint faster than it can wet the wood fibers. Joint type changes the target pressure more than clamp brand does.
Snug pressure versus crushing pressure
Snug pressure closes the seam without distorting the stock. Crushing pressure leaves witness marks, bends thin parts, or forces the glue line dry. On chair parts and thin stock, less pressure is usually safer. On panel work, enough pressure plus cauls is better than maxing out one clamp.
When to stop tightening and check the seam
Stop when the joint closes cleanly and the squeeze-out becomes a thin, continuous line. Then check for slip. If the parts move while you tighten, back off and realign before adding more force. A clamp that keeps tightening after closure is often causing the problem.
Diagnose the symptom before you change the clamp
Read the seam before touching the clamp again. Heavy squeeze-out points one way. A dry seam points another. Joint slip and bowing point elsewhere. The visible symptom tells you whether the next fix is less glue, less pressure, more clamp area, or a better fit.
| Visible symptom | Most likely cause | Clamp adjustment | Next test |
|---|---|---|---|
| Heavy squeeze-out | Too much glue or too much pressure | Reduce glue film; stop tightening at seam closure | Clamp a scrap lap or edge joint and watch the bead |
| Dry seam | Glue-starved joint from over-tightening or too little glue | Use less force; add a slightly fuller glue film | Check for a thin, continuous line after clamping |
| Joint slip | Clamp pressure moved the parts during closure | Tighten in stages and realign before final snugging | Mark reference lines and recheck after 5 minutes |
| Bowed panel | Uneven clamp force or no cauls | Add cauls; balance clamp positions face to face | Check flatness with a straightedge after clamping |
| Uneven bead | Uneven spread of PVA wood glue or bad fit | Apply a thinner, more even film | Dry-fit again and inspect contact across the full edge |
Troubleshooting matrix: symptom, cause, fix, next test
Use the symptom first. Then match the fix to the clamp type and the joint. Bar clamps suit long edges and panels. Pipe clamps can press hard enough to overdo it. F-clamps and C-clamps are useful for small repairs, but they can create point pressure if the pads land on a narrow area.
Heavy squeeze-out
Likely cause: excess glue, excess clamp pressure, or both.
Clamp adjustment: apply only enough pressure to close the seam; do not keep tightening after the bead appears.
Next test: make a short scrap glue-up and stop at the first continuous bead.
Dry seam or glue-starved joint
Likely cause: too much pressure or too little glue.
Clamp adjustment: back off the clamp and apply a thinner, more even film of PVA wood glue to both faces.
Next test: open the test joint after clamping and look for a thin wet line, not dry wood.
Joint slip
Likely cause: tightening moved the parts before the glue grabbed.
Clamp adjustment: align the parts first, then snug in small steps while watching the reference marks.
Next test: mark a pencil line across the joint and confirm it stays aligned after five minutes.
Bowed panel
Likely cause: force concentrated in the middle or at too few points.
Clamp adjustment: add cauls and balance clamp placement top and bottom.
Next test: check the panel with a straightedge before the glue cures.
Uneven bead
Likely cause: uneven spread or poor fit along the edge.
Clamp adjustment: spread glue evenly across both mating faces and recheck the dry fit.
Next test: clamp a narrow offcut and inspect the glue line after cleanup.
How to fix too much squeeze-out on the next glue-up
Apply glue evenly to both faces, then assemble once. Do not flood the joint. PVA wood glue needs a thin, continuous film. Use enough clamps to close the assembly, but let the joint type set the pressure. Bar clamps help on long edges; pipe clamps bring high force; F-clamps and C-clamps suit small repairs where force can be controlled.
- Spread glue thinly and cover the full mating surface.
- Bring the parts together and align them before final tightening.
- Tighten each clamp until the seam closes and a thin bead shows.
- Add cauls on wide panels to keep them flat.
- Wipe the bead while it is still wet, but do not chase every trace.
If that didn’t work, try this next
If the joint still looks dry, back off pressure on the next glue-up and add slightly more glue. If the panel bows, use cauls and move the clamps farther apart. If the parts slip, reduce clamp force in the first minute and hold alignment with light, even pressure instead of a hard crank.
Do you need more clamps or less pressure?
Sometimes the problem is clamp count. Sometimes it is clamp force. If the joint opens at the middle, you may need another clamp or a caul to spread load. If the seam closes easily but the glue disappears, you need less pressure. More clamps do not fix a crush fit.
When clamp count is the problem
Long edge glue-ups and wide panels often need more contact points, especially with bar clamps or pipe clamps. If gaps appear between clamps, add one rather than over-tightening the existing pair.
When clamp pressure is the problem
If the seam closes but the glue line goes pale and dry, pressure is too high. This is common with pipe clamps and overenthusiastic F-clamps. Stop at closure, not after the handles strain.
Common mistakes
Using force to fix a bad fit is the biggest one. If the joint needs muscle, the mating surfaces need work. Ignoring joint slip is another. Once the parts move, the glue line no longer tells the truth.
- Skipping cauls on wide panels, then blaming the clamp for bowing.
- Using an F-clamp or C-clamp on a small repair with too little pad area.
- Leaving glue cleanup for later and letting squeeze-out harden in the seam.
- Tightening pipe clamps until the joint looks dry.
- Ignoring a weak-looking glue line after cleanup.
Prevention: dry-fit first, mark alignment lines, and choose clamp positions before the glue opens the clock.
How long should you leave clamps on wood glue?
Leave clamps in place until the joint no longer shifts under light hand pressure. For most PVA wood glue work, that means enough time for the seam to hold its shape before removal, not just until the squeeze-out appears set on the surface. Do not use clamp time to compensate for a bad fit.
Frequently asked questions
Why is so much glue squeezing out when I clamp wood joints?
That usually means the glue film is too heavy, the clamp pressure is too high, or both. Tighten only until the seam closes and a thin bead appears. If the bead keeps growing, stop and reduce either the spread of glue or the clamp force on the next glue-up.
How tight should clamps be on a wood glue joint?
Snug enough to close the joint, not tight enough to crush it. A good test is whether the seam closes and leaves a thin, continuous line without bending the stock. Pipe clamps and F-clamps can get aggressive fast, so stop at closure and inspect the seam.
Can too much clamping pressure weaken a glue joint?
Yes. Too much pressure can push adhesive out and leave a glue-starved joint with little or no usable film between the faces. The result may look clean after wipe-down but fail later. If the seam looks dry, the clamp setting was probably too high.
How do I stop glue squeeze-out without starving the joint?
Use a thin, even glue coat on both faces, then stop tightening as soon as the parts close. On wide panels, add cauls so pressure spreads out instead of concentrating in one line. Wax paper or packing tape on the cauls keeps cleanup simple.
Do I need more clamps or just less pressure?
If gaps show between clamp locations, add clamps. If the seam is closing but turning dry, use less pressure. Long edge glue-ups often need more clamp points, while small repairs usually benefit from finer control. Bar clamps suit long work; pipe clamps can overpress quickly.
What kind of glue line is normal for PVA wood glue?
Normal is thin and continuous, with a visible line after cleanup but no dry gap in the seam. It should not look flooded, and it should not look starved. Species, grain, and joint type change the look a bit, but a healthy glue line still reads as even.
Sponsored / affiliate links. As an Amazon Associate I earn from qualifying purchases. I may earn additional commission from eligible campaigns.