How to Glue a Biscuit Joint Correctly for Cabinets
Spread glue in both slots and on the biscuit, keep it thin, assemble the parts within 5 to 10 minutes, then clamp until the joint closes and stays flush. I have seen bad glue-ups leave cabinet parts out of line, swollen biscuit pockets, starved joints, and gaps that show through paint or veneer. This guide covers where biscuits help in cabinets and shelving, which glue to use, how much to apply, clamp order, cleanup, and the limits of biscuit strength.
What you’ll need


- Biscuit joiner with the correct slot setting for #0, #10, #20, or FF biscuits
- Compressed beech biscuits sized for the joint
- PVA wood glue or aliphatic resin glue for most indoor cabinet work
- Polyurethane glue for moisture exposure or uneven gaps
- Epoxy adhesive for wet areas or wider gaps that need filling
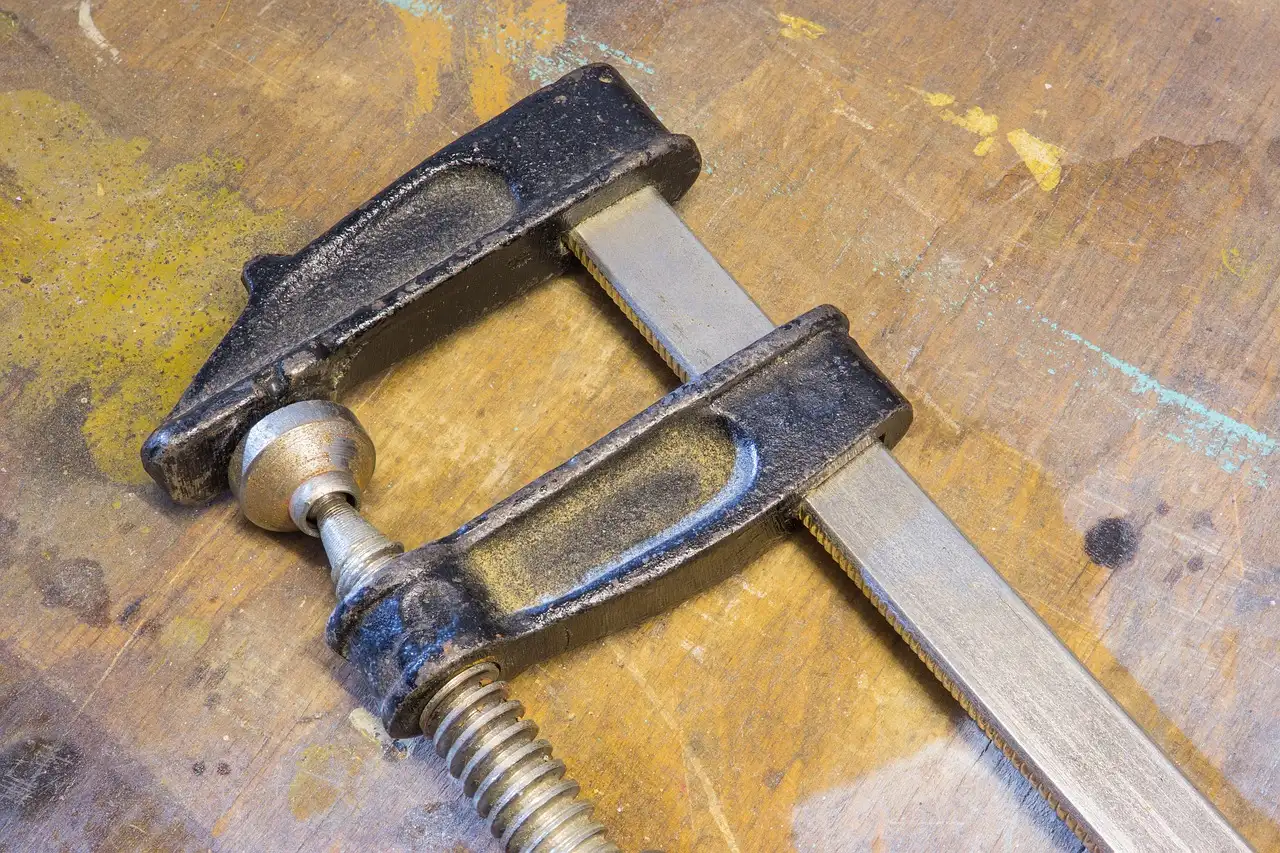
- Bar clamps, parallel clamps, or light cauls for panel and carcass assembly
- Layout pencil, square, and tape measure
- Brush, small glue bottle, or applicator for controlled spread
- Vacuum, compressed air, or a dry brush for slot cleaning
- Damp rag for wet PVA cleanup and a plastic scraper for cured squeeze-out
According to Using a Biscuit Joiner Correctly — Biscuit joints use compressed beech wafers about 4mm thick.
How do you glue a biscuit joint correctly?
Glue a biscuit joint by dry fitting the parts, cleaning the slots, brushing glue on both slot walls and the biscuit, then clamping the assembly until the joint is flush and steady. The biscuit mainly lines up the parts. The glue line and clamp pressure do the holding.
What a biscuit joint does in cabinets and shelving
A biscuit joint uses oval, dried-wood biscuits inserted into matching slots. In cabinet and casework work, that biscuit mainly helps alignment across an edge joint. Woodwiki also treats biscuits as structural reinforcement in miter joints, where a tight fit can add a little extra support.
In cabinet face frames, shelf nosings, and edge-joined panels, the biscuit helps keep surfaces even while the glue cures. It does not replace proper joinery where the part carries load over a long span.
Where biscuits help most and where they do not
Biscuits are useful on edge joints, face frames, and mitered trim where you need lateral registration. They are less useful in end grain, weak butt joints, and wide shelving spans that need mechanical support from a better joint design.
For shelving, treat the biscuit as an alignment aid. If the shelf is long, heavily loaded, or subject to sag, the joint geometry and supports matter far more than the biscuit itself.
What you’ll need
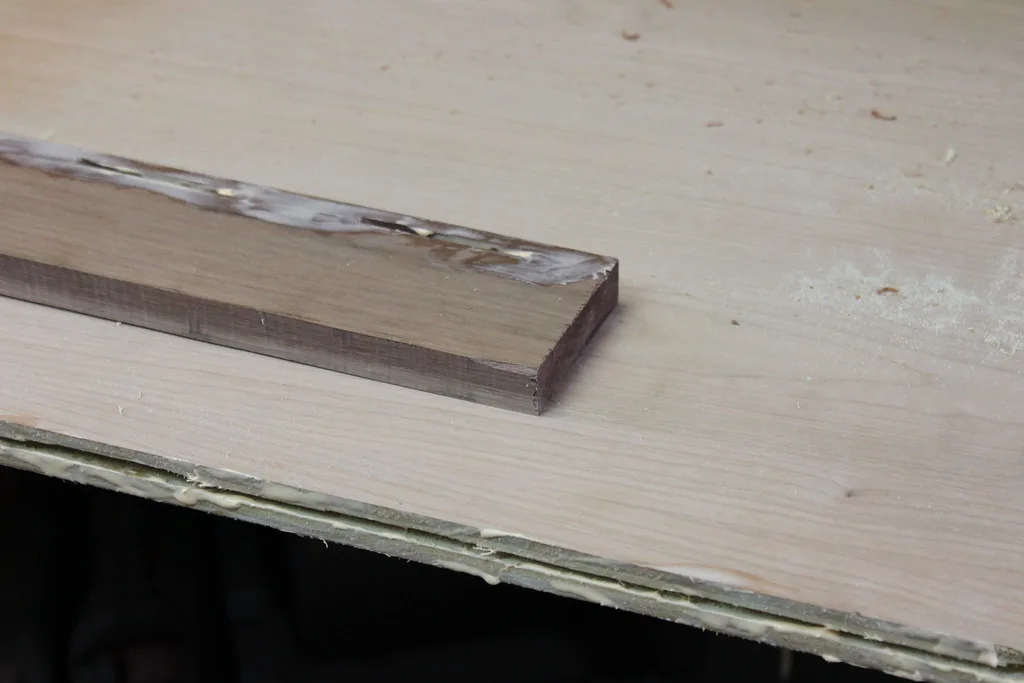
Start with the right tool and a dry fit. A biscuit joiner cuts matching slots, and the slot leaves about 1/16 inch of lateral float, which gives you a little room to line up the parts before clamping.
Use the biscuit size that matches the stock thickness and the layout. Common sizes may include #0, #10, #20, and FF. Keep a cleanup rag nearby, because glue choice changes when and how you should wipe squeeze-out.
What glue is best for biscuit joints in cabinets?
PVA wood glue is the usual choice for most cabinet biscuits because it bonds porous wood and works well with clamps. Aliphatic resin glue is a fast-setting woodworking glue with similar everyday use. For kitchens, baths, or damp shelving, move to a moisture-resistant glue only when the exposure calls for it.
PVA and aliphatic resin for most indoor work
PVA wood glue is polyvinyl acetate. It bonds wood, paper, and other porous materials, and it cleans up well when wet. Aliphatic resin glue is a carpenter’s glue variant that usually sets faster than standard PVA, which helps when a cabinet side needs steady pressure sooner. (familyhandyman.com)
For face frames, shelf fronts, and dry interior carcasses, these are usually the best fit. They give predictable open time, simple cleanup, and enough working time to close a biscuit joint without rushing.
Polyurethane and epoxy when conditions change
Polyurethane glue bonds wood, stone, metal, plastic, and other materials. It expands as it dries, so it can fill small gaps, but it can also foam into places you did not want. Use it when moisture exposure or tricky fit calls for that behavior, not as a routine default.
Epoxy adhesive is often used as a gap-filling, water-resistant choice when the joint has wider voids or may see wet conditions. It takes longer to cure than PVA, so plan for a longer clamp period and a slower workflow. For ordinary indoor cabinets, it is usually more than you need.
| Joint type | Recommended glue | Failure risk |
|---|---|---|
| Cabinet face frame edge joint | PVA wood glue or aliphatic resin glue | Low if clamped and aligned before set |
| Shelf nosing or edge banded shelf front | PVA wood glue | Low to moderate if the surface is dry and square |
| Kitchen or bath cabinet part with moisture exposure | Type II PVA, polyurethane glue, or epoxy adhesive | Moderate if the wrong glue is used |
| Wide carcass panel with slight gap | Epoxy adhesive | Moderate if the gap is larger than the biscuit can control |
| End grain butt joint | None as a primary joint; biscuits only for alignment | High if biscuits are treated as the structure |
| Miters on trim or frame parts | PVA, aliphatic resin, or epoxy depending on exposure | Low to moderate, depending on fit and clamp pressure |
How do you glue a biscuit joint step by step?
Dry fit first, then clean the slots, add glue to the slot walls and biscuit, assemble before the glue starts to grab, clamp until the joint closes, and clean squeeze-out at the right stage. A biscuit joint usually fails from rushing, dust, or too much glue in the slot.
- Dry fit the parts and confirm that the faces line up.
- Mark the matching faces and slot centers so the biscuit joiner cuts aligned slots.
- Remove dust from the slots and biscuit faces with a brush or vacuum.
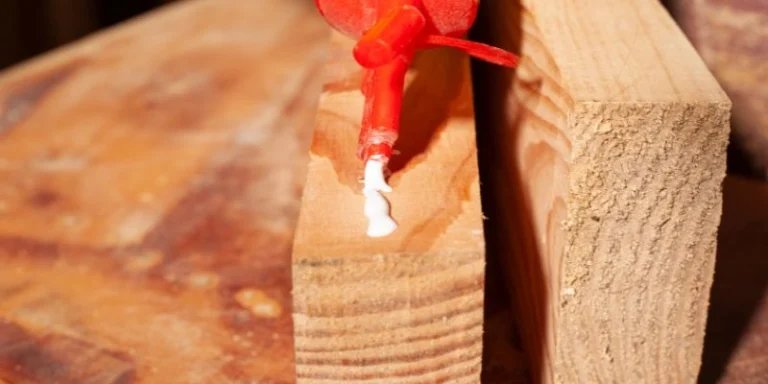
- Spread glue on the slot walls and a light coat on the biscuit; do not pool glue in the cavity.
- Insert the biscuit and assemble the parts within the glue’s open time.
- Clamp until the joint closes, the faces are flush, and the parts stop shifting.
- Wipe wet squeeze-out before it hardens; scrape cured residue only after it sets.
How much glue should I put in a biscuit joint?
Use enough glue to wet the slot walls and the biscuit without flooding the cavity. The joint needs coverage, not a puddle. Too little glue can starve the joint; too much can create hydraulic pressure, force parts apart, and make cleanup harder than it should be.
A thin coat on both mating surfaces is usually enough. The biscuit should be damp with glue, not dripping. If the slot is fully coated and the biscuit can still slide in without resistance from a glue plug, the amount is about right.
How do I stop biscuits from swelling too soon?
Keep the biscuit dry until the moment of assembly, then work fast. Biscuits swell from moisture in the glue, and Woodwiki notes a 5–10 minute assembly window before swell can lock the joint. The fix is simple: dry fit, glue, assemble, and clamp without delay.
Do not soak the biscuit. Do not leave it sitting in a glue puddle while you hunt for clamps. If polyurethane glue is used, follow the product’s moisture guidance and apply only a light dampening when the maker calls for it.
Do biscuit joints need clamps?
Yes. Biscuit joints almost always need clamps in cabinet and shelving work because the biscuit aligns the parts, but the glue and clamp pressure provide the hold. A tight-feeling slot still does not replace pressure while the adhesive cures.
How much pressure is enough
Apply enough pressure to close the joint and bring the faces flush. If the clamps crush the assembly, the glue line can starve and the biscuit can stop doing its alignment job. If the parts still drift under pressure, the setup or slot cutting is off.
For face frames and shelf fronts, use just enough clamp force to hold the seam closed and the pieces level. Add cauls if needed to keep broad parts from bowing under the clamp pads.
How long should biscuit joints stay clamped?
Keep biscuit joints clamped until the glue reaches its initial hold, then leave them undisturbed through the recommended cure window for the glue you chose. PVA and aliphatic resin usually release sooner than polyurethane or epoxy, but full handling strength still takes time.
Clamp time and open time by glue type
Standard PVA usually gives enough open time for layout and clamping, then needs clamps until it grabs. Aliphatic resin often sets faster, which can help on small cabinet parts. Polyurethane often benefits from a steadier clamp window because it can expand as it cures. Epoxy takes the longest.
For any of them, the safer rule is the same: keep the joint clamped until it no longer creeps under light hand pressure, then leave it alone until the adhesive has cured enough for handling.
Common mistakes
Most biscuit joint failures come from overclamping, too much glue, biscuit swell timing, or dirty slots. Cabinets show the mistake fast because a face frame seam or shelf edge stays visible after finish goes on.
Overclamping and glue starvation
Too much clamp pressure can squeeze out the glue line and leave a dry seam. If the parts look clean but the joint feels hollow or weak after cure, the glue may have been forced out before it could bond.
Too much glue and trapped squeeze-out
Flooding the slot creates mess and can force alignment issues. For PVA, it is best to wipe wet squeeze-out with a damp rag before it skins over. For polyurethane and epoxy, let the excess reach the right stage first, then trim or scrape it clean after it cures.
Loose slots, dust, and poor alignment
If the slot is dusty, the glue bonds dust instead of wood. If the parts are not aligned during dry fit, the biscuit will not rescue the layout later. Clean the slot, check the faces, and correct the setup before glue touches wood.
If that didn’t work, try this next
- Check the slot fit with a dry biscuit and confirm the joiner setting.
- Clean out all dust with a brush and vacuum before regluing.
- Reduce glue quantity to a thin coat on both slot walls.
- Reset clamp pressure so the joint closes without crushing the seam.
- Switch to a more moisture-resistant glue only if the cabinet or shelf will live in a damp area.
Prevention: label the matching faces before cutting slots, then dry fit every cabinet pair or shelf edge before glue comes out. That one step prevents most misalignment and keeps the assembly moving within the glue’s open time.
Cabinet and shelving biscuit-joint decision table
Use biscuits where they help alignment and joint registration. Choose the glue by exposure, not by habit. A good cabinet joint is the one that fits the load, the environment, and the assembly time you actually have.
| Joint type | Recommended glue | Failure risk |
|---|---|---|
| Face frame stiles and rails | Aliphatic resin glue | Low if clamped square |
| Case side to top or bottom panel edge alignment | PVA wood glue | Low if the slot is clean and the parts are flat |
| Shelf nosing on solid wood or plywood | PVA wood glue or Type II PVA in humid rooms | Low to moderate if the shelf carries heavy loads |
| Kitchen or bath cabinet detail with occasional moisture | Type II PVA, polyurethane glue, or epoxy adhesive | Moderate if you choose a glue with poor moisture resistance |
| Wide carcass panel seam | PVA for dry indoor use; epoxy for larger gaps | Moderate if the panel needs more than alignment support |
| Long-span shelving joint | Biscuits only as alignment aids, with stronger joinery for structure | High if the biscuit is treated as the main support |
Frequently asked questions
Should I wet biscuit joints before using polyurethane glue?
Only if the adhesive directions call for moisture and only with a light touch. Too much water can swell the biscuit before assembly and make alignment harder. A barely damp surface is safer than soaking the slot or biscuit.
Can biscuit joints add strength to shelving and cabinet joints?
They add limited reinforcement, mainly in aligned edge joints and some miters. They do not turn a weak butt joint into a strong shelf support. For load-bearing shelving, use biscuits for registration and rely on proper joinery for the real structure.
Sponsored / affiliate links. As an Amazon Associate I earn from qualifying purchases. I may earn additional commission from eligible campaigns.