How to Glue Crown Molding in Place for Light-Duty Jobs
Use glue only for lightweight crown molding on flat, stable walls with short runs and no spring-back; if the profile is heavy, the room is humid, or you have long spans, add a few brads or support points. Weak adhesion lets joints open, corners sag, and the molding peel off later, often after the caulk fails first. This guide shows the adhesive choice, surface prep, and a simple glue-only versus glue-plus-fastener decision path.
This guide is part of our Wood glue essentials: types, uses, and cure times series.
What you’ll need

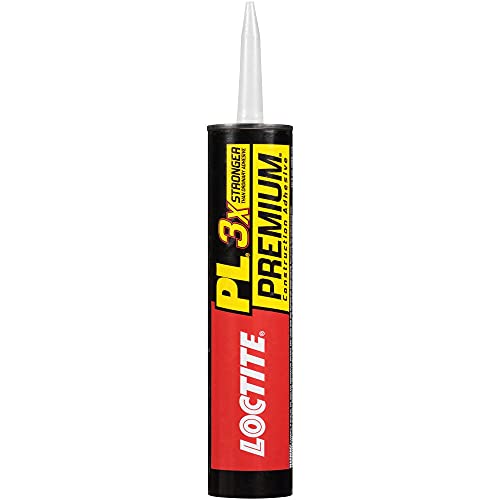

- Construction adhesive suitable for trim-to-drywall contact
- Wood glue (PVA) is generally best for porous wood-to-wood joints.
- Finishing nails or brad nails for temporary hold where framing is available
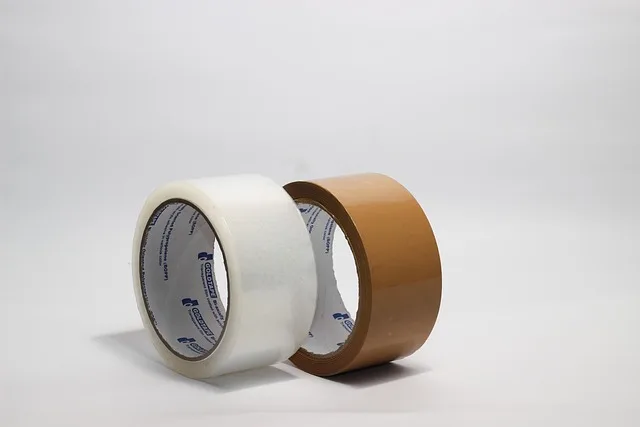
- Masking tape for light positioning help
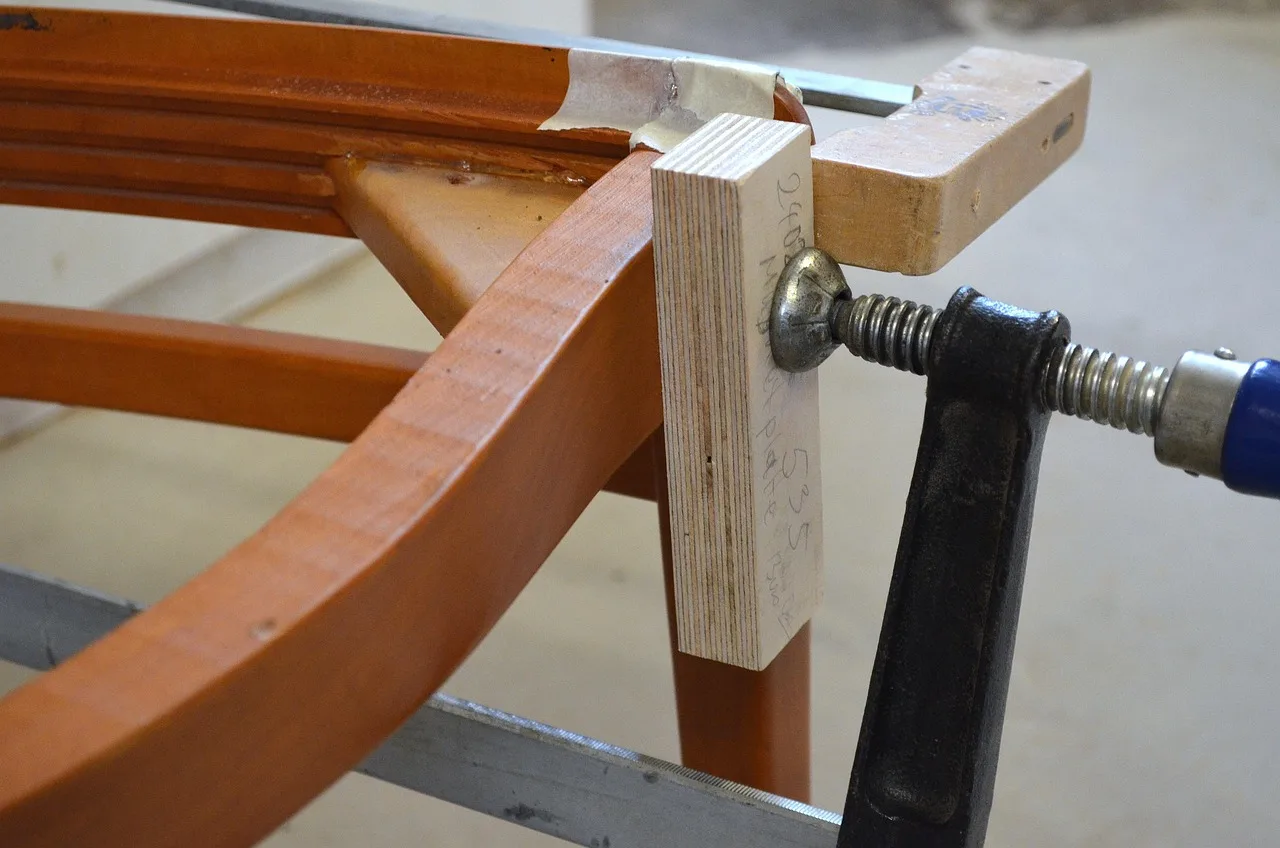
- Temporary support blocks or a helper for long pieces
- Miter saw for 45-degree crown cuts
- Caulk or drywall compound for gaps after cure
- Filler, sanding block, and 150-grit sandpaper
- Dust brush or vacuum for the wall and trim back edges
- Measuring tape and pencil
According to nucrownmouldings.com — Nu Crown recommends one gallon of drywall compound or sealant for about 60 feet.
What glue-only crown molding can and cannot do
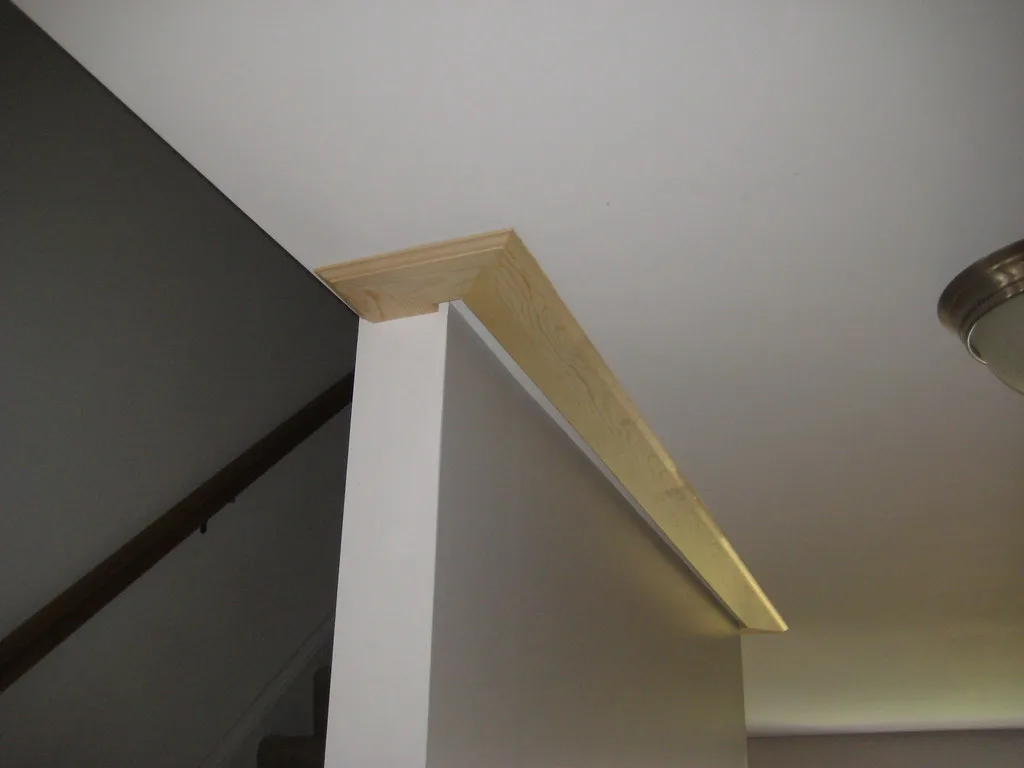
Glue-only can work for small, light-duty crown in favorable conditions, such as clean drywall, short runs, and minimal movement. It is a weak plan for heavy profiles, long spans, dusty paint, or any wall and ceiling line that moves out of plane. First comes slip, then open joints, then corner pop-out.
Light-duty versus standard install
Light-duty crown has less visual weight and a smaller bonding demand. Standard crown has more mass and more spring force at the corners, which pushes adhesive off the wall before cure. Built-up crown can be easier to install than single-piece crown, but that does not make every built-up run safe for glue alone.
What fails first
Slip happens when the piece slides down before the adhesive grabs. Sag shows up on long runs or warm rooms when the crown slowly bows away from the line. Open joints show up at butt joints and miters, and corner pop-out shows up when inside or outside corners try to spring back after placement.
When glue-only is acceptable on drywall
Glue-only is acceptable on sound drywall when the back edges have full contact, the finish is clean, and the run is short enough to hold by tape or hand pressure until set. It is a poor choice on dusty paint, crumbly texture, bowed drywall, or any surface that gives the adhesive only a small contact strip.
How to decide between glue-only and glue plus fasteners
Use profile size first, then surface quality, then room temperature. If any one of those is marginal, add brads, support nails, or temporary blocks. That gives the adhesive time to cure without letting the piece creep, especially on long pieces that are harder to align and more likely to move.
| Crown profile weight | Surface condition | Room temperature | Safest hold method |
|---|---|---|---|
| Small, light-duty | Clean drywall, flat line, sound paint | Stable and moderate | Construction adhesive plus masking tape |
| Small to medium | Mostly flat, minor waviness, light dust removed | Stable but warm | Construction adhesive plus a few brads at framing |
| Medium profile | Uneven drywall or long spans | Variable | Construction adhesive plus brads and temporary support blocks |
| Heavy visual profile | Any questionable bond surface | Warm or humid | Do not rely on glue alone; use fasteners and support points |
Construction adhesive belongs on the rail and molding back edges where the piece meets drywall and trim. Wood glue belongs only on porous wood-to-wood joints, such as a preassembled return or a tight butt joint between wood pieces. Caulk is for filling, not holding.
- Measure the full run, mark a level reference line on the wall and ceiling, and dry-fit every piece before the first bead of adhesive goes on.
- Square the corner with a framing square, or note the exact angle if the room is off 90 degrees.
- Cut the miters on the miter saw, then sneak up on fit with paper-thin shavings.
- Brush or vacuum dust from the drywall face, ceiling line, and the back edges of the crown before you spread adhesive.
- Apply construction adhesive to the back edges and bearing surfaces.
- Add wood glue only to porous wood-to-wood joints that will actually clamp together.
- Set the piece, press it to the line, and hold with masking tape, support nails, or a few brads.
- Wipe squeeze-out before it skins over, then brace long sections until they stop creeping.
What adhesive should I use for light-duty crown molding?
Use construction adhesive for the main bond to drywall, plaster, or trim back edges. Use wood glue only where both mating surfaces are porous wood. Do not use wood glue for drywall-only bonding, and do not treat caulk as an adhesive. For light-duty work, the safest bond is usually adhesive plus temporary hold.
Construction adhesive
Construction adhesive is the better choice for the rail and molding back edges because it tolerates small gaps and grabs uneven surfaces better than PVA. It still needs support during cure. On painted drywall, the paint film can be the weak layer, so clean the surface well and avoid depending on a dusty finish.
Wood glue (PVA)
Wood glue works for wood, paper, and other porous materials. It will not bond metal, glass, or plastic. It is water-soluble when wet and waterproof when dry, so it is best for trim-to-trim joints, not for attaching crown to drywall. If the joint cannot be clamped or braced, PVA is the wrong choice. (familyhandyman.com)
Masking tape and support nails
Masking tape is useful for short, light pieces and for holding a line while the adhesive sets. Support nails can pin a piece in place at corners or ends, then be removed or left to be filled if the job allows. Clean removal matters on fresh paint, so pull tape slowly and at a low angle.
How to hold crown molding in place while the glue sets
Masking tape, a few brads, and temporary support blocks are the practical answers for one-person installation. The goal is not strength; it is keeping the piece from slipping until the adhesive cures. Long runs usually need at least one extra support point, because gravity and spring force show up fast on narrow trim edges.
- Tape the wall line first so the crown has a visible placement edge.
- Set the first end and pin it lightly with a brad where framing is available.
- Press the middle into the adhesive and hold it with tape or a support block.
- Work toward the next corner, checking that the bottom edge stays on the line.
- Add a second temporary fastener if the piece starts to creep or lift at the corner.
Short blocks cut to length can help prop the lower edge or press the molding against the ceiling line during installation. That is often cleaner than overdriving nails into narrow trim. Built-up crown may need fewer hands because the base pieces create a wider landing area.
How do you know the bond is holding?
Watch the joint line for movement during the first minutes after placement. If the piece slips, gaps widen, or corners spring back, the bond likely needs more support or cure time. Catching that early is better than discovering it after caulk and paint hide the problem.
| Condition | Safe to proceed | Fix before paint |
|---|---|---|
| Piece stays on the reference line | Yes | None |
| Small slip at one end | No | Add a brad or support block, then reset |
| Open butt joint or miter gap | No | Recut, re-fit, and re-bond the joint |
| Corner spring-back | No | Add temporary hold and verify the cut angle |
| Adhesive dusted by dirty wall paint | No | Clean, scrape, and reapply adhesive |
If that didn’t work, try this next
- Pull the piece off before the adhesive fully sets.
- Scrub both contact surfaces with a dry brush, then vacuum the dust away.
- Reset the piece with brads at framing and tape at the unsupported span.
- If the wall is bowed, shim or block the low spots before rebonding.
How to glue crown molding to crooked walls
Crooked walls need the crown to follow the surface, not fight it. Dry-fit first, then use the adhesive to bridge minor waves while support nails or blocks hold the shape in place. Built-up crown can be easier to install than a single heavy piece because the contact area is broader and more forgiving.
Measure, sketch, and dry-fit
Measure the run, mark a reference line, and dry-fit every piece before glue goes near the wall. Test-fit each piece before glue goes on. Corners are often not exactly 90 degrees, so a flat 45-degree assumption can leave a visible gap when the wall is out of square.
Cut the corners and fit the joints
Set the miter saw for 45-degree cuts, then adjust with paper-thin shavings until the joint closes cleanly. Match left and right cuts for inside and outside corners. Check butt joints and short return pieces before final bonding, because a poor joint is harder to disguise after the adhesive cures.
Should I use caulk or adhesive on crown molding joints?
Use adhesive for structure and caulk or drywall compound for appearance. Caulk can fill small gaps, hide hairline flaws, and usually paints well after it cures. It does not hold the molding on the wall, and it should never be the main bond on a crown run.
After installation
Once the adhesive has set, fill gaps, sand lightly with 150-grit sandpaper where needed, then prime and paint. Nu Crown lists drywall compound or Alex Flex Moulding and Trim Sealant for finishing, and one gallon of drywall compound or sealant covers about 60 feet. That is finishing material, not structural support.
Common mistakes
Dusty drywall, bowed walls, and overconfident glue-only installs cause most problems. Another common mistake is using too much adhesive on narrow trim edges, which creates squeeze-out without adding real holding power. Long pieces are another trap; they move before cure unless they are supported.
- Do not trust caulk to hold a loose corner.
- Do not use wood glue on drywall.
- Do not skip the dry-fit on a long run.
- Do not leave dust or chalky paint on the bond surface.
- Do not paint until the piece has stopped moving.
Prevention: mark the run, pre-cut the corners, and keep temporary supports ready before the first bead of adhesive goes on. That cuts the time between placement and hold, which is where most slips start.
Frequently asked questions
Can you glue crown molding instead of nailing it?
Yes, but only for lightweight crown on clean, stable walls with short runs. On anything wider, heavier, or more uneven, add brads or support points so the adhesive is not carrying the whole job while it cures. Glue-only is the exception, not the default.
Do I need nails with construction adhesive for crown molding?
Not always, but a few brads or support nails are smart when the run is long, the wall is bowed, or the room is warm. They stop slip while the adhesive cures. On short, light pieces, masking tape may be enough if the surface is sound.
Will wood glue work on crown molding installed on drywall?
No. Wood glue is best on porous wood-to-wood joints, and it will not bond drywall reliably. If the crown touches drywall, use construction adhesive for the main bond and reserve wood glue for fitted trim joints that can be clamped or braced.
What is the easiest way to install crown molding on crooked walls?
Dry-fit the pieces, then use construction adhesive plus temporary support where the wall dips or bows. Small shims, brads, or blocks can hold the profile while the adhesive takes up minor gaps. Recut any corner that opens after the first test fit.
When is glue not enough for crown molding installation?
Glue is not enough when the profile is heavy, the spans are long, the surface is dusty or weak, or the room is warm enough to slow your handling. Any visible slip during test placement means the run needs more support before paint goes on.
Sponsored / affiliate links. As an Amazon Associate I earn from qualifying purchases. I may earn additional commission from eligible campaigns.