Mirror Adhesive Glue: Right Type to Use (Avoid These)
Mirror adhesive glue means mirror mastic or 100% silicone sealant – never Liquid Nails, cyanoacrylate super glue, or methacrylate, which attack the mirror’s silver backing. Using the wrong product causes cloudy patches or full bond failure within weeks, not years. This guide covers which adhesives are safe, how to space the glue beads for airflow, and when a mirror needs mechanical clips instead of adhesive alone. Gluing a mirror to a wood surface specifically? See how to glue a mirror to wood.
Introduction To Mirror Adhesive Glue
Best Mirror Mounting Clips Pick

16-Pc Metal Mirror Holder Clips, J-Type Stainless Steel – $9.99
Adhesive alone often is not enough for mirrors 2 feet by 2 feet or larger – this kit adds mechanical support so the mirror stays put while the mastic or silicone fully cures.
- Best for: frameless mirrors 2ft x 2ft and larger that need backup support
- Why we picked it: stainless steel J-clips won’t corrode behind a bathroom mirror the way painted metal can
- Main drawback: clips are visible around the mirror edge, so they suit a utility or garage install better than a frameless designer mirror
As an Amazon Associate we earn from qualifying purchases.
Mirror adhesive glue plays a crucial role in mirror installation. It ensures a strong bond between the mirror and the wall. Using the right adhesive prevents mirrors from falling or breaking.
Benefits of using mirror adhesive glue include:
- Strong bond: Keeps mirrors secure for a long time.
- Easy application: Simple to use with minimal mess.
- Quick drying: Reduces wait time before hanging mirrors.
- Water-resistant: Perfect for bathrooms and other humid areas.
- Versatile: Suitable for various surfaces, including wood and drywall.
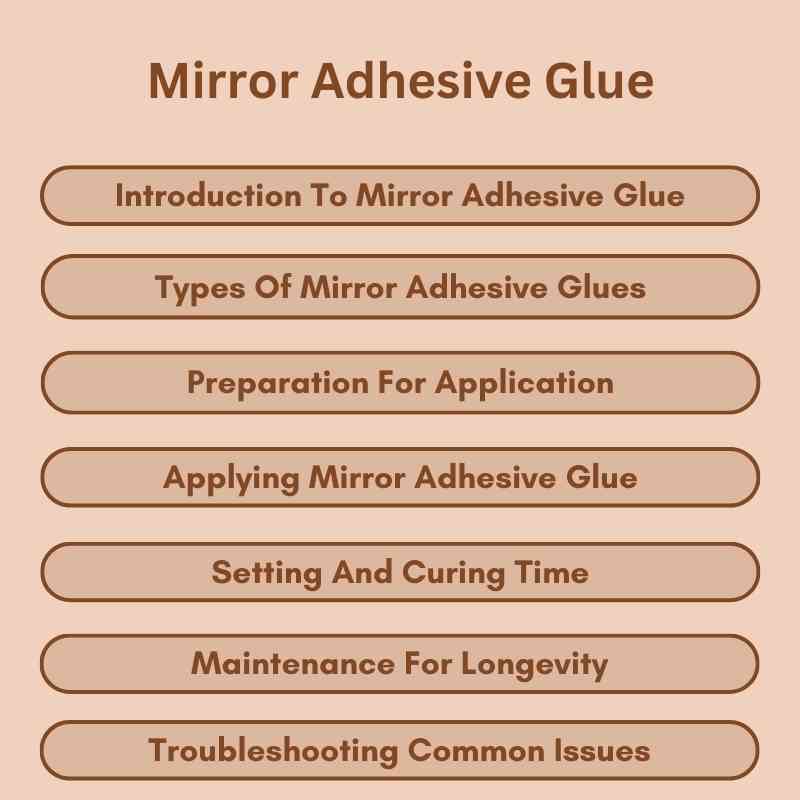
Types Of Mirror Adhesive Glues
Acrylic adhesives are great for quick bonding. They dry clear and are easy to use. These adhesives work well on glass and plastic surfaces.
Silicone-based adhesives are flexible and waterproof. They can handle temperature changes without breaking down. This makes them perfect for outdoor mirror installations.
Epoxy resins offer a strong bond. They are durable and resistant to chemicals. Mixing the resin and hardener creates a tough adhesive suitable for heavy mirrors.
Which Adhesives Will Damage a Mirror’s Backing?
Polyurethane construction adhesives (Liquid Nails and similar products), cyanoacrylate super glue, and methacrylate adhesives will delaminate a mirror’s silvered backing over time. The damage often does not show up right away – it appears weeks later as black spots or a cloudy edge that spreads inward from the frame.
Stick to two adhesive families instead: mirror mastic (a solvent-free, non-corrosive adhesive sold specifically for mirrors at glass shops and most home centers) or 100% silicone sealant. Both cure flexible, which lets the mirror move slightly with normal building settling instead of cracking.
📊 Apply a 1/4-inch bead of adhesive every 4 to 6 inches vertically down the mirror’s back rather than one solid sheet of glue – the gaps let trapped air and moisture escape, which is the most common cause of early bond failure. Source: PPG Liquid Nails Mirror Installation Guide, 2026
“Mirrors 2′ x 2′ and over must have physical fasteners like mirror clips”
Preparation For Application
Clean the surface thoroughly before applying mirror adhesive glue. Use a mild cleaner and a soft cloth. Avoid harsh chemicals that can damage the surface.
For measuring and cutting the mirror, use a measuring tape for accurate dimensions. Mark the mirror with a pencil before cutting. A glass cutter will help achieve a clean edge.
Safety is essential during this process. Always wear safety goggles to protect your eyes. Use gloves to avoid cuts from sharp edges. Keep the workspace tidy to prevent accidents.
Applying Mirror Adhesive Glue
Start by cleaning the surface where the mirror will go. Use a glass cleaner or isopropyl alcohol for best results. Make sure the area is dry and free of dust.
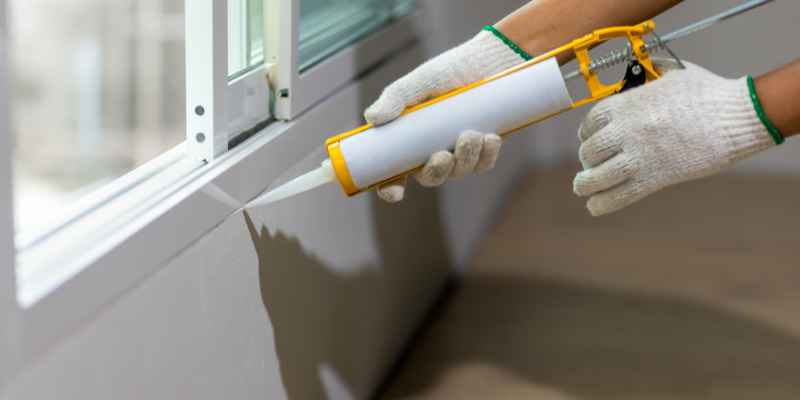
Next, apply the mirror adhesive glue evenly on the back of the mirror. Use a caulking gun for a smooth application. Place small dots of glue for better support.
Press the mirror firmly against the wall. Hold it for a few seconds to ensure it sticks well. Use tape to hold the mirror in place if needed.
Wait for the glue to fully cure before removing any support. This may take several hours, so be patient.
Common mistakes to avoid include:
- Not cleaning the surface properly.
- Using too much glue, which can cause mess.
- Forgetting to let the glue cure fully.
- Ignoring the manufacturer’s instructions.
Setting And Curing Time
For ideal curing, keep the temperature between 60°F and 80°F. High humidity can slow down the process. Ensure good ventilation for better results.
To speed up the curing process, use a fan to increase air circulation. A heat lamp can also help, but keep it at a safe distance. Avoid applying too much glue, as thicker layers take longer to cure.
Check the manufacturer’s instructions for specific curing times. Each product may have unique requirements. Following these tips ensures a strong bond for your mirror.
Maintenance For Longevity
To ensure longevity of mirror adhesive glue, keep the mirror surface clean. Use a soft cloth and a gentle cleaner. Avoid harsh chemicals that can damage the mirror.
Regular inspections help catch any issues early. Look for signs of peeling or bubbling. Addressing these problems quickly can prevent larger repairs.
Perform minor repairs and adjustments as needed. If the mirror shifts, reapply the adhesive. Make sure to follow the manufacturer’s instructions for the best results.
Troubleshooting Common Issues
Adhesive failure can happen for several reasons. Temperature changes may weaken the bond. Moisture can also affect adhesive strength. Ensure surfaces are clean and dry before applying glue.
To remove and reapply adhesive, use a scraper or solvent. Carefully lift the mirror off the wall. Clean both the mirror and wall surfaces. Apply a fresh layer of adhesive evenly.
Preventing streaks and cloudiness is essential for a clear finish. Always use a high-quality adhesive designed for mirrors. Apply the adhesive in a thin layer to avoid excess buildup. Allow sufficient drying time before cleaning the surface.
Innovations And Future Trends
New eco-friendly adhesive options are changing the market. These products use natural materials that are safe for the environment. Many brands now offer solutions that are both strong and sustainable.
Advancements in bonding technology have led to better performance. New adhesives bond quickly and hold strong even under pressure. Many are also resistant to heat and moisture, which makes them ideal for various projects.
| Type of Adhesive | Features | Benefits |
|---|---|---|
| Water-Based | Non-toxic, easy to clean | Safe for indoor use |
| Silicone Adhesives | Flexible, waterproof | Great for outdoor projects |
| Bio-Based Adhesives | Made from renewable resources | Reduces carbon footprint |
Conclusion: Ensuring A Durable And Shiny Mirror
Choosing the right mirror adhesive glue is essential for a successful project. The right glue ensures a strong bond and keeps your mirror in place. Always check the manufacturer’s recommendations before selecting an adhesive.
Prepare the surface by cleaning it well. This helps the glue stick better. Apply the glue evenly to avoid any bubbles. Use a caulking gun for precise application. Allow the glue to cure fully according to the instructions.
Consider using a mirror adhesive specifically designed for this purpose. These adhesives resist moisture and temperature changes. This helps maintain the mirror’s clarity and prevents it from falling. Always follow safety precautions while handling glue.
Frequently Asked Questions
What Is Mirror Adhesive Glue?
Mirror adhesive glue is a specialized adhesive designed for bonding mirrors to various surfaces. It provides a strong, durable hold while ensuring that the mirror remains securely in place. This type of glue is formulated to be moisture-resistant and is ideal for both indoor and outdoor applications.
How Do I Apply Mirror Adhesive Glue?
To apply mirror adhesive glue, first clean both surfaces thoroughly. Then, apply the adhesive evenly on the back of the mirror. Press the mirror firmly against the wall or surface, ensuring it’s level. Allow the adhesive to cure according to the manufacturer’s instructions for optimal strength.
Can I Use Regular Glue For Mirrors?
Using regular glue for mirrors is not recommended. Regular adhesives may not provide the necessary strength or moisture resistance needed for mirrors. They can also damage the mirror backing, leading to peeling or discoloration over time. It’s best to use a specific mirror adhesive glue for safety and durability.
How Long Does Mirror Adhesive Glue Take To Dry?
Mirror adhesive glue typically takes about 24 hours to cure fully. However, the initial set time is usually much quicker, allowing you to handle the mirror gently. Always check the manufacturer’s instructions for specific drying times, as they can vary by product.
Does Silicone Work as Mirror Adhesive?
Yes, 100% silicone sealant is one of the two adhesive types safe for mirrors, along with mirror mastic. Avoid acetic-cure silicone formulas sold for kitchen and bath caulking that list vinegar-smelling cure chemistry on the label – the acetic acid released while curing can attack the mirror’s silver backing. Look for a neutral-cure or mirror-rated silicone instead.
How Far Apart Should Mirror Adhesive Beads Be?
Space adhesive beads about 4 to 6 inches apart in vertical lines down the back of the mirror, using a bead roughly 1/4 inch thick. Leaving gaps between beads lets trapped air and moisture escape instead of getting sealed behind the glass, which is a common cause of bond failure within the first few months.
Do Large Mirrors Need More Than Adhesive?
Yes. Mirrors measuring 2 feet by 2 feet or larger need mechanical support – mirror clips, or L or J hooks – in addition to adhesive. The hardware holds the mirror’s weight while the adhesive cures and keeps it from sliding down the wall if the bond ever weakens.
Conclusion
Choosing the right mirror adhesive glue is crucial for successful installations. Quality adhesive ensures a strong bond and longevity. Always follow manufacturer instructions for best results. Whether for home decor or DIY projects, the right glue can make all the difference.
Invest wisely, and enjoy your beautifully mounted mirrors for years to come.
Mirror backing is more sensitive to certain solvents than plain glass, so don’t substitute a standard glass adhesive here. If your project uses clear glass rather than a mirror, see our separate comparison for clear glass instead.
Sponsored / affiliate links. As an Amazon Associate I earn from qualifying purchases. I may earn additional commission from eligible campaigns.