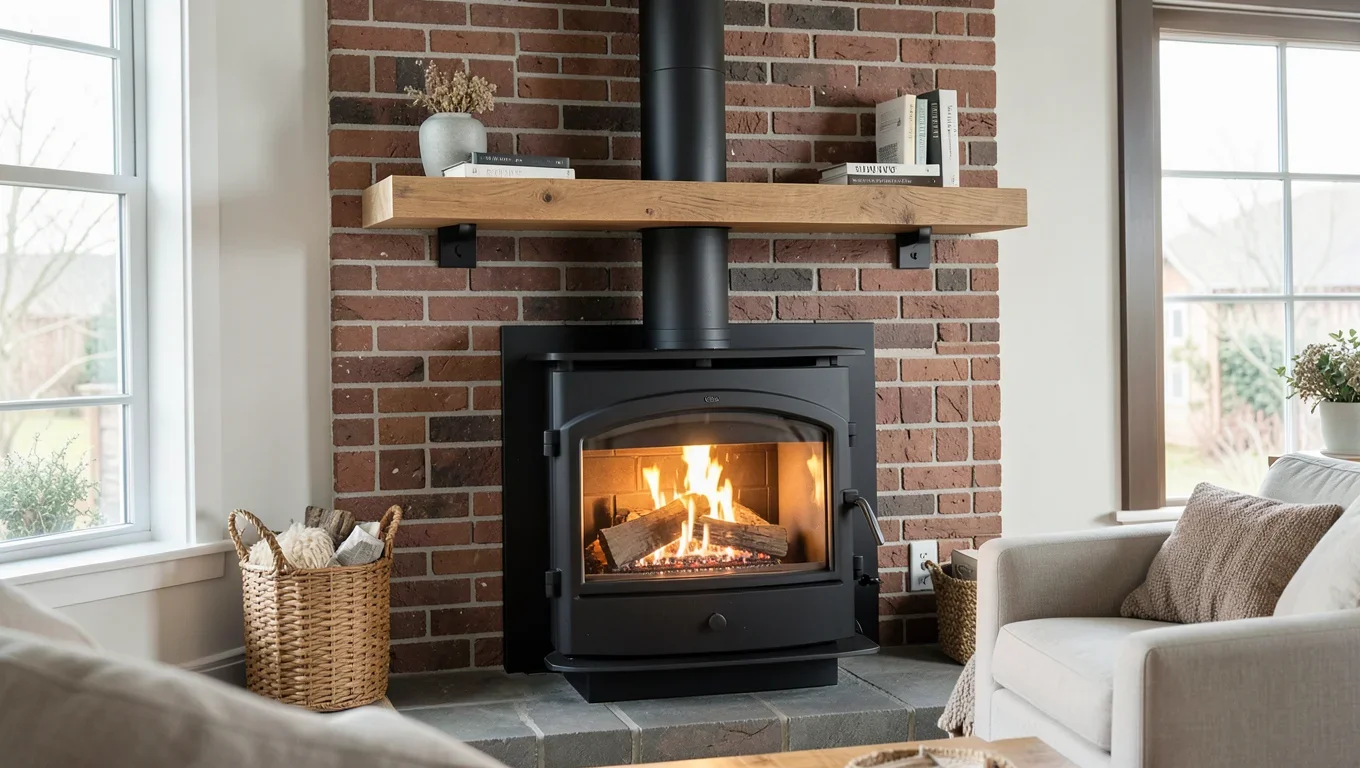
Wood Burning Stove With Brick Surround: Clearances & Ideas
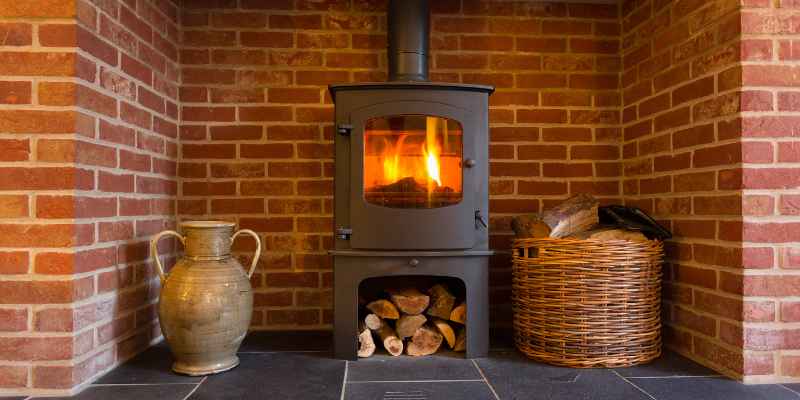
A wood burning stove set into a brick surround is one of the most popular hearth upgrades, and for good reason: brick is genuinely non-combustible near the firebox, it stores and slowly releases heat long after the fire dies down, and it suits almost any home style. But brick alone does not make an installation safe. The stove itself, its flue pipe, and anything combustible nearby — including a wood mantel shelf above the surround — still have to sit outside a minimum clearance distance set by the stove’s listing and by NFPA 211, not just “close to brick is fine.” This guide covers the real clearance numbers most brick-surround articles skip, how to tell whether your setup needs a heat shield, how to add a wood mantel above the stove safely, and how to plan and build the brick surround itself.
Quick Answer
For an unlisted wood stove, the baseline clearance to any combustible wall or ceiling is 36 inches on every side, brick surround or not. A UL-listed stove can sit closer — follow the exact distance on its own data plate — and an approved ventilated heat shield can legally cut that 36-inch baseline down to as little as 18–24 inches.
How Close Can a Wood Stove Be to a Brick Surround? Real Clearance Numbers
For an unlisted (uncertified) wood stove, NFPA 211’s general clearance rule for residential room heaters is 36 inches to any combustible wall or ceiling, measured on every side. That number does not change just because brick is standing between the stove and the wall — clearance is measured to the nearest combustible material, so if there is wood framing or drywall behind or beside the brick, that framing is still the governing surface unless the brick assembly itself is built as a full code-rated non-combustible wall with the correct air gap behind it.
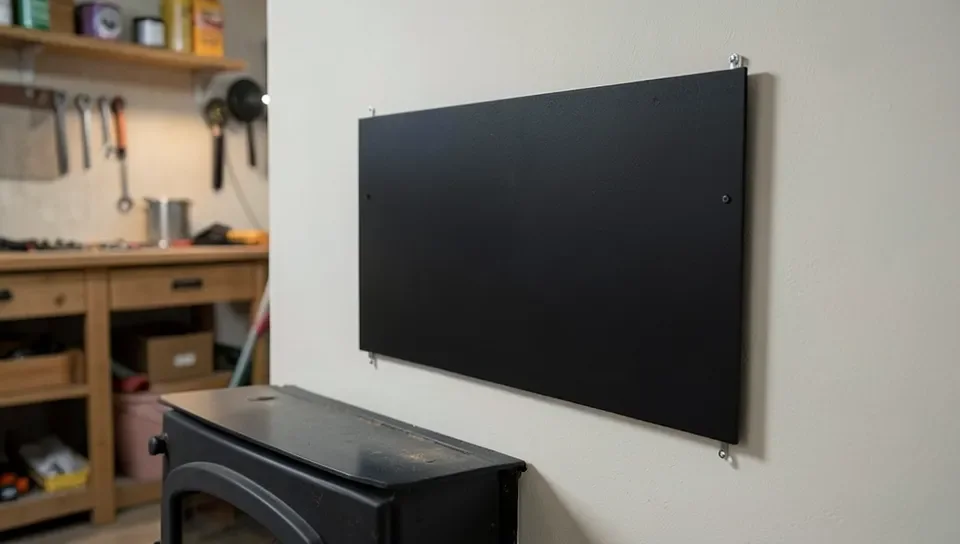
A UL-listed and labeled stove is different: it was tested with a specific clearance printed on its own data plate and owner’s manual, and that number — not the 36-inch baseline — is what you follow. NFPA 211 also has a defined path for reducing clearance further with approved shielding: a spaced, ventilated non-combustible panel mounted with a real air gap behind it can bring that 36-inch baseline down to as little as 18 inches for a wall or 24 inches for a ceiling, but never to zero, and never without the ventilation gap that makes the reduction legal in the first place.
📊 Unlisted wood stoves need a minimum 36 inches of clearance to any combustible wall or ceiling; a listed and labeled stove instead follows the lesser distance printed on its own data plate. — Source: Purdue University Extension, FNR-100 Wood Stove Safety Guidelines
Best Wood Stove Heat Shield Pick
 |
Imperial Group USA Stove Board, 28" x 32" – $74.99 A ventilated, non-combustible wall panel sized to sit behind a wood stove — exactly the kind of approved shielding that lets NFPA 211’s 36-inch baseline clearance be legally reduced, the way this guide’s clearance section explains.
|
As an Amazon Associate we earn from qualifying purchases.
Brick Is Non-Combustible — But That’s Not the Whole Safety Picture
Brick, stone, and tile are accepted as non-combustible surfaces directly around a firebox, which is exactly why brick surrounds are so common: they can sit much closer to the heat source than drywall or wood paneling, and their thermal mass keeps radiating warmth for a while after the fire dies down. What brick does not do is exempt anything behind, beside, or above it from its own clearance requirement. Brick conducts and radiates real heat, and a stud wall or wood trim sitting directly behind a thin brick veneer with no air gap can still reach dangerous temperatures over repeated burns — a slow-building risk that’s easy to miss because the brick face itself never looks hot. If you’re unsure how much heat your stove is actually putting into the surrounding structure, it’s worth checking how hot a wood burner can realistically get before you finalize the surround design.
Adding a Wood Mantel Above a Brick-Surrounded Stove — Do It Safely
This is where most brick-surround guides get it wrong. Masonry fireplace mantels follow a separate, more forgiving code table: any combustible trim needs a minimum of 6 inches from the firebox opening, with additional clearance required the further the trim projects outward. That 6-inch rule applies to a true masonry fireplace with an integrated firebox — it does not apply to a freestanding wood stove that happens to sit in front of or inside a brick surround.
A freestanding stove’s mantel clearance is governed by the stove’s own top/ceiling clearance instead — the same 36-inch baseline, listed-unit data-plate distance, or shielded-reduction numbers covered above. Using the fireplace’s 6-inch rule to place a mantel over an actual wood stove is the single most common mistake in these installs, and it can put a wood shelf dangerously close to an appliance that was never tested for that distance. Measure vertical clearance from the hottest point of the stove or its flue pipe to the underside of the mantel, meet the stove’s real listed clearance (or 36 inches if the stove is unlisted or its documentation is missing), and don’t drill mounting brackets into the brick until that number is confirmed. For the mantel shelf material itself, a hardwood like ash holds up well to the heat cycling a spot above a stove goes through, as long as the clearance is right in the first place.
“When we frame a mantel shelf above any wood-burning appliance, we measure from the stove’s data-plate clearance first and only decide the shelf’s thickness and height after that — the brick surround underneath the mantel has no bearing on that number.”
Choosing the Right Brick for Your Surround
Firebrick belongs on any surface that touches the firebox directly or sits inside the stove itself — it’s dense, rated for sustained extreme heat, and reflects heat back into the fire rather than absorbing it. Standard clay or concrete masonry brick is the right choice for the visible surround further out, where the job is mostly about heat resistance at a normal wall-surface temperature plus the look you want.
- Color: match your room’s palette for a blended look, or pick a contrasting brick to make the surround a deliberate focal point.
- Size and pattern: a herringbone lay reads as more formal and detailed; a stacked bond (straight vertical or horizontal joints) reads cleaner and more modern.
- Texture: smooth-faced brick is easier to keep clean of soot; a rougher, tumbled texture hides minor soot staining between cleanings.
If you want more layout inspiration once the clearance and material questions are settled, this collection of corner wood stove setups is a good next stop — a corner placement is also one of the most space-efficient ways to keep a stove at a safe distance from two walls at once in a smaller room.
Installation: Professional vs. DIY, and the Code Basics
A brick surround and stove install touches structural, fire-safety, and often permit requirements at the same time, which is why many local codes require a licensed installer or at least a post-install inspection before the stove is used. If you do take on the masonry and stove-pipe work yourself, confirm your specific clearance numbers from the section above before you set anything permanently, and pull a permit if your jurisdiction requires one — skipping that step can also void a stove’s warranty and complicate a home sale later.
- Confirm clearance first: check your stove’s data plate or NFPA 211’s 36-inch baseline before laying out the brick.
- Gather materials: masonry saw, trowel, level, chalk line, firebrick and standard brick, mortar, stove pipe, pipe adapter, pipe elbow, and chimney cap.
- Build the surround: line the firebox area with firebrick, then lay the visible surround brick in your chosen pattern, keeping the planned air gap where a heat shield is required.
- Install the stove and pipe: set the stove on its rated hearth pad, connect the pipe with the correct clearances, and cap the chimney.
- Get it inspected: have a qualified inspector or chimney sweep confirm clearances and draft before regular use.
Maintaining Your Brick Surround and Stove
Wipe down the brick and stove exterior monthly to keep soot from building up, and clean the stove’s glass with a proper glass cleaner once it’s fully cooled. Check the brick surround itself for cracked mortar joints or loose bricks each season — heat-cycling stress is what causes most of the cracking, and a heat-resistant mortar repair now is far cheaper than a full re-lay later. Have the chimney and flue professionally inspected and swept at least once a year; creosote buildup, not the brick surround, is the leading cause of chimney fires in stoves that otherwise meet every clearance number in this guide.
Frequently Asked Questions
How close can a wood stove be to a brick surround?
An unlisted wood stove needs a minimum of 36 inches from any combustible wall or ceiling under NFPA 211’s general clearance rule, and the brick surround itself doesn’t reduce that number. A listed and labeled stove can sit closer, but only to the exact distance printed on its own data plate, and an approved ventilated heat shield can legally cut the 36-inch baseline down to as little as 18–24 inches.
Is brick a good heat shield for a wood stove?
Yes — brick is non-combustible and has real thermal mass, so it’s an accepted surface close to a wood stove’s firebox and it helps store and slowly release heat. It does not, however, remove the clearance requirement for any wood framing, trim, or mantel behind or above it.
Can I put a wood mantel above a wood stove with a brick surround?
Only if it meets the stove’s own top clearance — typically 36 inches for an unlisted stove, or the distance on a listed stove’s data plate — not the more lenient 6-inch fireplace-mantel rule, which applies only to true masonry fireplaces, not freestanding stoves.
Why put firebrick inside a wood stove?
Firebrick lines the firebox to reflect heat back into the fire instead of absorbing it into the stove’s metal, which raises combustion temperature, burns fuel more completely, and protects the stove’s walls from long-term heat damage.
Do I need a heat shield behind a wood stove that already has a brick surround?
If the brick surround is built as a full code-rated non-combustible wall assembly with the correct air gap, a separate heat shield usually isn’t required. But if the stove still can’t meet its listed or NFPA 211 clearance to the nearest combustible material behind the brick, an approved ventilated heat shield — not more brick alone — is what legally closes that gap.
A wood burning stove with a brick surround earns its popularity honestly — brick really is non-combustible, it holds heat well, and it suits almost any interior style. The part worth getting right is clearance: measure to the nearest combustible material behind the brick, respect your stove’s own listed distance (or the 36-inch NFPA 211 baseline if it’s unlisted), and treat a wood mantel above the stove as its own clearance question rather than an extension of the fireplace-mantel rule. Get those numbers right first, and the brick design decisions become the fun part.
Sponsored / affiliate links. As an Amazon Associate I earn from qualifying purchases. I may earn additional commission from eligible campaigns.