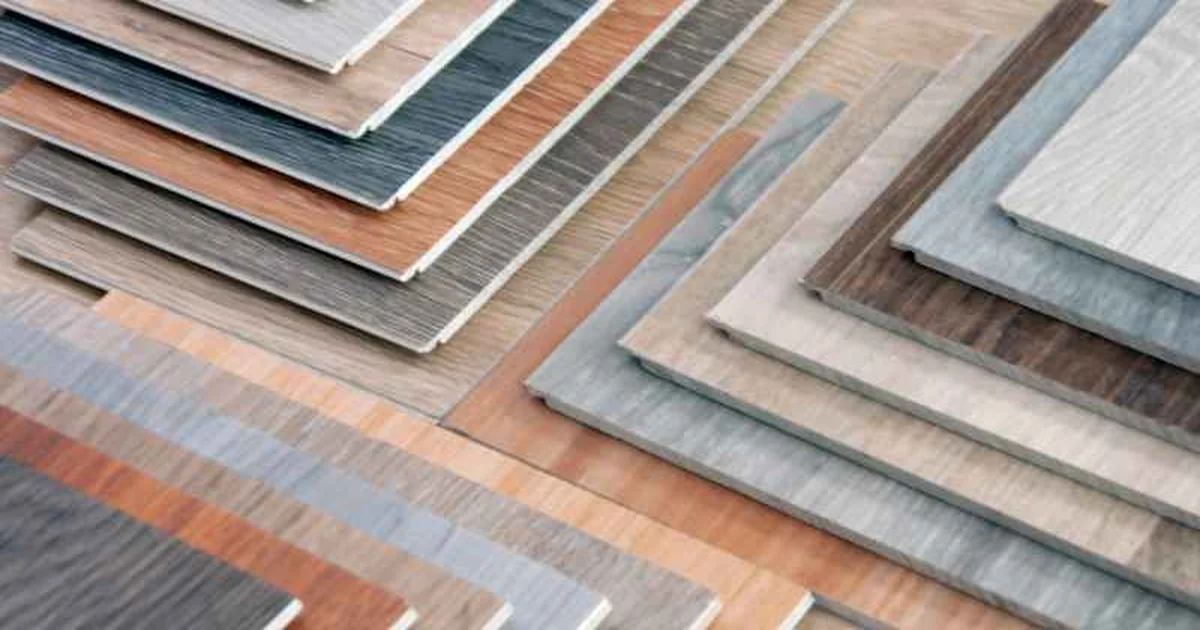
How to Laminate Plywood: Contact Cement, Trimming, and Avoiding Bubbles
To laminate plywood, cut the laminate sheet about 1/2 inch oversized, apply contact cement to both the plywood and the back of the laminate, let both surfaces tack up for 15 to 30 minutes, then press the laminate down and roll it flat with a J-roller before trimming the overhang flush with a router.
This is the process for bonding a plastic laminate sheet (Formica-style or high-pressure laminate) onto a plywood substrate — the standard way to build a laminate countertop, cabinet face, or shop jig top. It’s a different job from gluing multiple plywood panels together, which uses wood glue and clamps instead of contact cement.
The technique itself isn’t complicated, but two things trip up most first-timers: pressing the laminate before the contact cement has actually tacked up (which traps solvent and causes bubbles), and cutting the overhang too close before trimming it flush. Get those two details right and the rest is straightforward.
What You Need to Laminate Plywood
Best Pick For Bonding Laminate To Plywood
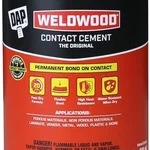 |
DAP Weldwood Original Contact Cement, 32 oz – $21.24 The standard adhesive for bonding plastic laminate sheet to a plywood substrate — coat both surfaces, let them tack up, then press once and it’s bonded.
|
Beyond the laminate sheet and plywood itself, you’ll need contact cement (like the pick above), a notched applicator or foam roller to spread it evenly, a J-roller to press the bonded laminate flat, a router with a flush-trim or laminate-trim bit to cut the overhang, and a file or bevel-trim bit to ease the sharp trimmed edge. A pair of thin wood or metal dowels also helps — more on that below.
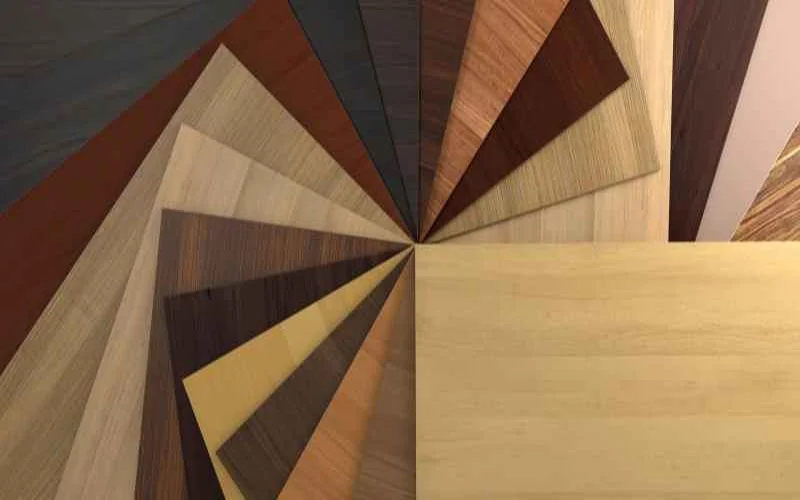
Step-by-Step: Applying Laminate to Plywood
- Cut the laminate oversized. Leave about 1/2 inch of overhang on every edge — you’ll trim it flush later, and it’s much easier to trim excess than to stretch a short piece.
- Coat both surfaces. Apply contact cement to the plywood and to the back of the laminate sheet with a notched applicator or foam roller, covering evenly with no bare spots.
- Let it tack up. Wait 15 to 30 minutes until both coated surfaces are dry to a light touch but still tacky — this is the step most people rush, and it’s the main cause of bubbles and weak spots.
- Use dowels to position it. Lay thin dowels or wood strips across the plywood, set the laminate on top of them, and align it before the cement makes contact — contact cement bonds instantly and can’t be repositioned once it touches.
- Press from the center out. Pull the dowels out one at a time, starting from the middle, pressing the laminate down as you go so air is pushed toward the edges instead of trapped in the middle.
- Roll it flat. Go over the entire surface with a J-roller, working from the center outward, to seat the bond fully and force out any remaining air pockets.
- Trim the overhang. Once the bond has set, trim the excess laminate flush with the plywood edge using a router and a flush-trim or laminate-trim bit.
- Ease the edge. Run a file or a bevel-trim bit along the trimmed edge to soften the sharp corner laminate leaves behind — this edge is sharp enough to cut skin if left square.
Getting a Bubble-Free Bond
Most bubbles trace back to one of two causes: pressing the laminate before the contact cement has actually tacked up, or trapping air because the sheet was pressed from one edge instead of from the center outward. Work in one continuous motion once the laminate touches down — contact cement grabs immediately, so there’s no second chance to lift and reposition a section that’s already bonded. If a small bubble does show up after the fact, see the FAQ below for how to fix it without redoing the whole panel.
Epoxy Resin as an Alternative to Laminate Sheet
If you’d rather skip laminate sheet entirely, epoxy resin is a real alternative worth knowing about. Instead of gluing on a separate material, you flood-coat epoxy directly onto the plywood surface and let it self-level into a thick, glossy, completely seamless finish — no overhang to trim, no visible seam line at all. It costs more per square foot than laminate and takes a full cure cycle (often 24 to 72 hours) rather than the same-day turnaround of a laminate job, so it makes more sense for a statement piece like a kitchen island or bar top than for a quick cabinet face or jig top.
Laminating Multiple Plywood Sheets Together (A Different Job)
If what you actually want is to bond two or more plywood panels together to build up thickness — not apply a laminate surface material — that’s a separate process using wood glue and clamping pressure across the whole panel rather than contact cement. Our guide on joining plywood together covers that technique, including how much clamping pressure and dry time a plywood-to-plywood glue-up needs.
Common Mistakes That Ruin a Laminate Job
- Pressing too early: contact cement that hasn’t finished tacking up traps solvent under the laminate and causes bubbles once it fully cures.
- Skipping the dowel trick: setting the laminate down freehand risks a misaligned bond you can’t correct — contact cement doesn’t allow repositioning.
- Trimming before the bond sets: routing the overhang while the cement is still curing can lift the edge instead of cutting it clean.
- Skipping the edge-ease step: a freshly trimmed laminate edge is sharp enough to cut a finger; always file or bevel it.
Frequently Asked Questions
What Adhesive Should You Use To Laminate Plywood?
Contact cement is the standard choice for bonding plastic laminate sheet to plywood. Unlike wood glue, it bonds instantly on contact once both surfaces have tacked up, which is necessary because you can’t clamp a full laminate sheet the way you’d clamp a glue-up.
How Long Should Contact Cement Dry Before Pressing Laminate?
Most contact cement needs 15 to 30 minutes to tack up at room temperature, until it’s dry to a light touch but still tacky. Check the can’s instructions, since dry time varies by brand and by how thick a coat you applied; pressing too early can trap solvent under the laminate.
Can You Use Epoxy Instead Of Laminate Sheets On Plywood?
Yes, but it’s a different technique with a different result. Epoxy resin is flood-coated directly onto the plywood surface and self-levels into a thick, glossy, seamless finish, while laminate sheet is a separate material glued on top. Epoxy costs more and takes longer to cure, but it skips the seam lines and edge-trimming that laminate sheet requires.
How Do You Fix Bubbles Under Laminate?
For a small bubble, slice it open with a sharp blade along the grain, work fresh contact cement underneath with a thin applicator, and press flat with a J-roller. For a large bubble or one near an edge, it’s usually faster to lift that section and re-glue it than to try to save the original bond.
Is Laminating Plywood The Same As Gluing Plywood Sheets Together?
No. Laminating plywood in this sense means bonding a plastic laminate sheet to a plywood surface for a finished look, like a countertop or cabinet face. Gluing multiple plywood panels together to build up thickness is a different process with different adhesives and clamping — see our guide on joining plywood together for that technique.
Conclusion
Laminating plywood comes down to two things most guides skip: letting the contact cement actually finish tacking up before you press, and pressing from the center outward so air has somewhere to escape. Get the adhesive timing right, use the dowel trick to place the sheet accurately, and trim the overhang once the bond has fully set. If you want a seamless look without a laminate sheet at all, epoxy resin is worth considering — just budget more time and money for it.
Sponsored / affiliate links. As an Amazon Associate I earn from qualifying purchases. I may earn additional commission from eligible campaigns.