How to Lengthen Wooden Table Legs (Risers vs. Wood Splice)
The fastest way to lengthen wooden table legs is to add a set of adjustable wood leg risers or extenders under each leg – no cutting or sanding required. For a permanent fix that looks and feels like part of the original leg, woodworkers cut a scarf joint or dowel splice and glue on a matching length of new wood. Both methods work, but they solve different problems: risers are reversible and fast, a splice is permanent and stronger. Either way, the same rule applies – every leg has to gain the exact same amount of height, or the table will rock.
Two Real Ways to Lengthen Wooden Table Legs
Most tables that feel too short for standing-desk use, a rug, or taller dining chairs can be fixed one of two ways. Screw-in or stacking wood leg risers slide over or under the existing leg and add 2 to 4 inches without any cutting – this is the category of product below. The more skilled route is a scarf joint or dowel splice, where you cut the bottom of the leg at an angle (or drill for dowels), glue on new wood, and clamp it until it cures. A splice takes longer and needs real woodworking tools, but it becomes a permanent part of the leg instead of a separate part that could eventually loosen.
Best Table Leg Riser Pick
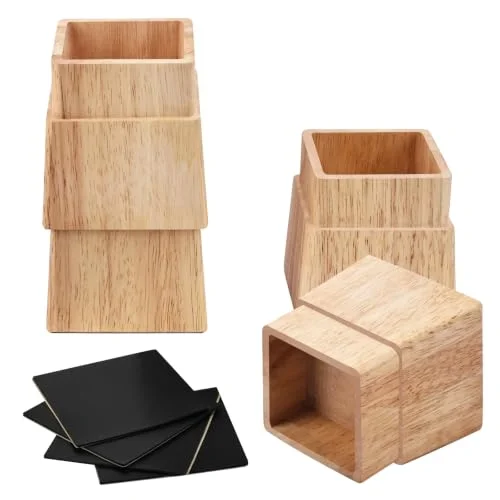 |
Alpeir Adjustable Wood Leg Risers (3 In., Set of 4) – $19.99 A no-cut way to lengthen wooden table legs by about 3 inches while keeping all four corners level.
|
Risers like these are the right call for most people because they are cheap, reversible, and done in minutes per leg. Save the scarf joint or dowel splice for a table you plan to keep permanently, or one where a visible riser under a tapered table leg would look out of place.
Measure Every Leg Before You Touch a Tool
Start by setting the table on a flat floor and measuring the current height at each of the four legs with a tape measure, not just one leg. Older tables are rarely perfectly square, and a leg that is a quarter inch shorter than the others will only get worse once you add height on top of it. Decide on your target height, then subtract the current height to get the exact amount each leg needs to gain. Write that number down for all four legs before you cut or shop for risers – this single step prevents the most common mistake in this project, which is extending one leg more than another and ending up with a worse wobble than you started with.
- Tape measure: for the starting height at each leg
- 4-foot level: to confirm the tabletop is flat before and after
- Pencil and notepad: to record each leg’s number so you don’t rely on memory
- Calipers or a ruler: to measure the leg’s diameter or width for riser or dowel sizing
Method 1: Adjustable Leg Risers and Extenders
Furniture risers are a genuine, common product category built for exactly this job – not a workaround. Most wood versions are hollow cups or stacking sleeves that the existing leg sits inside; some newer designs use a threaded insert so the riser screws directly onto the bottom of the leg. Installation for the cup-style risers used above is simple: set the table on its side, seat each leg into a riser cup, and stand the table back up. For screw-in extenders, you pre-drill a pilot hole into the center of the leg’s end grain and thread the extender in until it seats flush.
Buy risers in a matched set of four so the height and finish are identical on every leg, and check the weight rating before you buy – a dining table that will hold serving dishes and people leaning on the edge needs a higher-rated riser than a side table. Add non-slip pads or felt under the risers if your floor is hardwood or tile so the added height doesn’t turn into a sliding hazard.
Method 2: Cutting a Scarf Joint or Dowel Splice
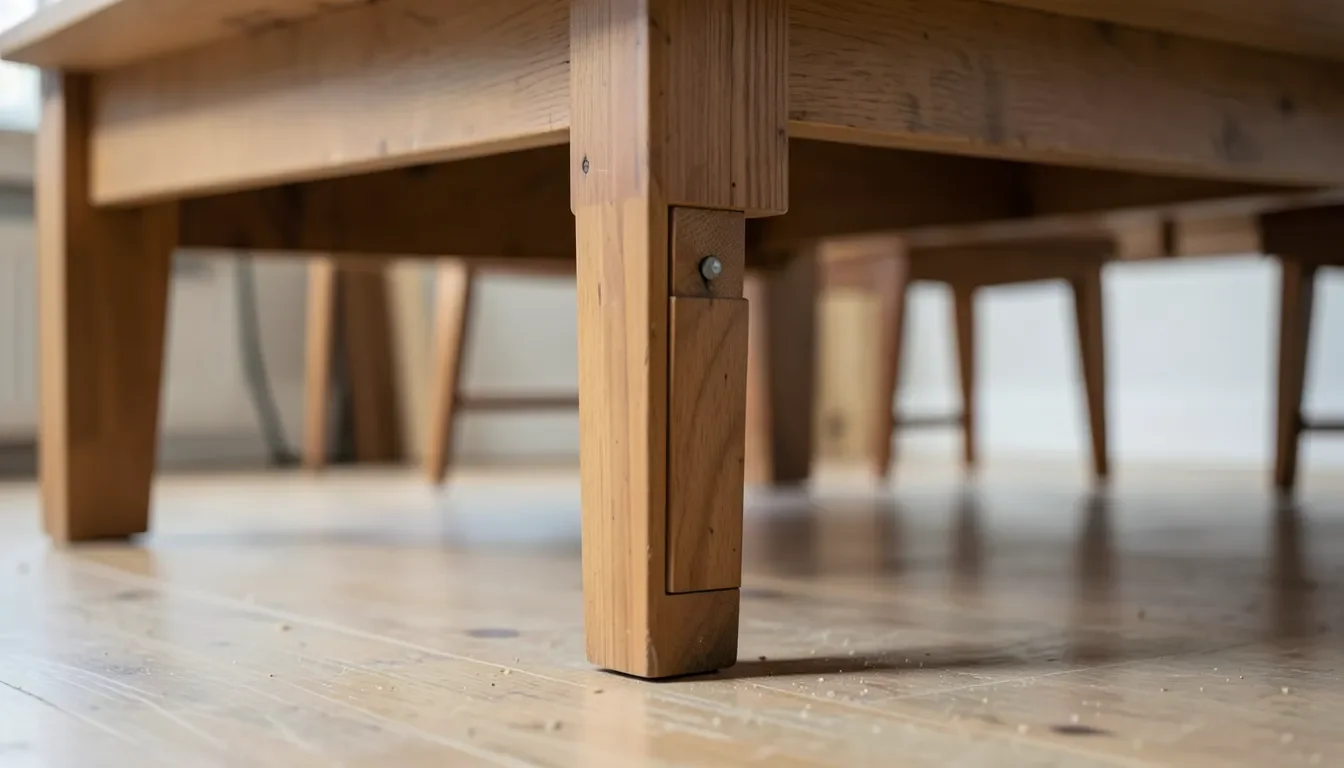
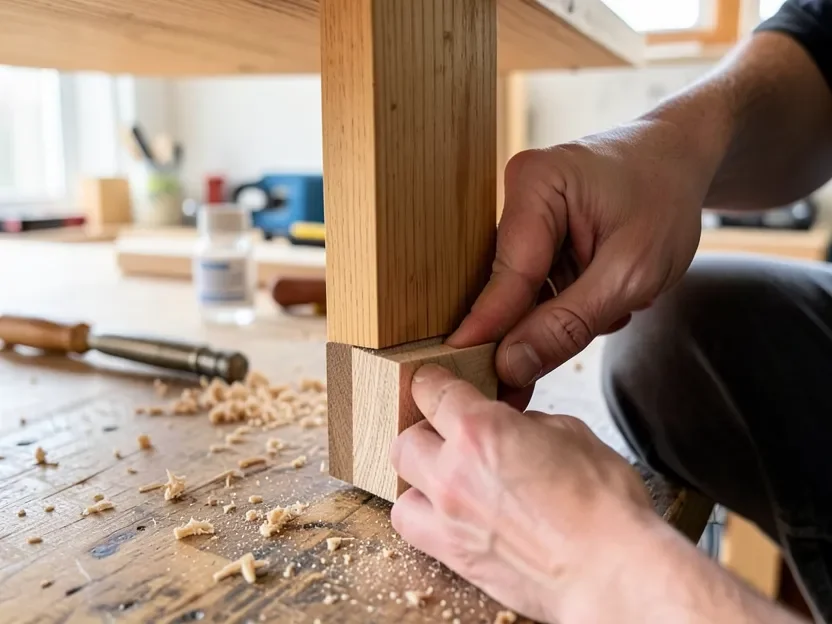
A scarf joint splice adds real wood length to the leg instead of attaching a separate part. Cut the bottom of the existing leg and the new extension piece at matching angles, typically around 6 to 8 inches long on each side of the joint – the longer the angled cut, the more glue surface area and the stronger the bond. Coat both angled faces with wood glue, clamp them together with the grain aligned, and let the joint cure fully (check your glue’s label; most need 24 hours before load-bearing) before standing the table upright.
A dowel splice is a simpler variation for woodworkers without a bandsaw to cut long angled scarfs. Drill matching holes into the bottom of the leg and the top of the new extension piece, insert two or three glued dowels per joint, and clamp the pieces flush while the glue sets. Whichever version you use, dry-fit the pieces first and confirm the extension is cut to the exact length you calculated in the measuring step – this is the technique where a woodworker has to get all four legs extended by the identical amount, since there is no adjustable riser to compensate for a mismatch afterward. The same care about a secure, load-bearing joint applies here as it does when you first attach a table leg to a tabletop.
Why Every Leg Needs the Exact Same Extension
Whichever method you choose, uneven extension is the number one reason a “lengthened” table ends up wobblier than before. A quarter-inch difference between legs is enough to feel on a hard floor. After installing risers or finishing a splice, set the table on a flat surface and check it with a level across the top in both directions, then rock each corner by hand. If one leg is still slightly long or short, a thin adhesive-backed furniture shim under the short leg is an acceptable fine-tune – but it should only be correcting a small margin of error, not doing the main leveling work that the risers or splice should have already handled.
Structural Integrity and Load-Bearing Safety
This isn’t only a cosmetic fix. Every extension point, whether it’s a riser cup, a threaded extender, or a glued splice, becomes a new load-bearing joint that has to carry the table’s full weight plus whatever sits on it, including people leaning on an edge or a corner. A poorly secured extension is a real tip-over or collapse risk, not just an annoyance. For risers, that means checking the manufacturer’s weight rating against how the table will actually be used – a dining table with four people leaning on it at once needs more margin than a side table. For a scarf joint or dowel splice, it means using enough glue surface area and clamp time, and it means not trusting the joint with real weight until the glue has fully cured. Test the table’s stability with moderate pressure before you put it back into daily use, not after.
Finishing the New Leg Length to Match
If you went the splice route, sand the new section with progressively finer sandpaper until the seam is smooth to the touch, then match the stain or paint to the rest of the table. A pre-stain wood conditioner helps new wood absorb stain more evenly so the splice doesn’t end up darker or blotchier than the original leg. Two coats of stain with a clear topcoat sealer will usually get a close match; test the color on a scrap piece of the same wood species first. Risers generally don’t need finishing unless you want to stain them to blend in – most sit low enough that they’re barely visible once the table is upright.
Maintenance After Lengthening Your Table Legs
Check extended legs every few months, more often if the table gets moved or sees heavy use. For risers, confirm the leg is still seated fully in the cup or that a threaded extender hasn’t backed out. For a glued splice, look and feel for any hairline gap opening at the seam, which can signal the joint is starting to work loose under repeated stress. Tighten any screws that have loosened, and re-glue a splice at the first sign of separation rather than waiting for it to fail under load.
Frequently Asked Questions
What is the easiest way to lengthen wooden table legs?
Adjustable wood leg risers or screw-in extenders are the easiest method. They require no cutting, install in minutes per leg, and add anywhere from 2 to 4 inches depending on the product. Choose a set rated for your table’s expected weight and make sure all four legs get an identical riser.
How do you permanently add length to a table leg?
Cut a scarf joint or drill for a dowel splice, glue on a matching piece of wood, and clamp it until the glue fully cures. This becomes a permanent part of the leg rather than a separate attached piece, but it requires basic woodworking tools and all four legs must be extended by the exact same amount to keep the table level.
Will lengthening the legs make my table unstable?
It can if the extension isn’t secured properly or the legs aren’t extended evenly. Every added joint carries real weight, so check the weight rating on risers, use enough glue surface on a splice, and confirm the joint has fully cured before loading the table. Test stability with moderate pressure before returning the table to daily use.
Do all four legs need to be extended the same amount?
Yes. Even a quarter-inch mismatch between legs is enough to feel as a wobble on a hard floor. Measure each leg individually before starting, use identical risers or identically sized splice pieces on every leg, and check the finished table with a level in both directions before calling the job done.
Conclusion
For most tables, a matched set of wood leg risers is the fastest and safest way to add height without touching a saw. Save a scarf joint or dowel splice for a table you’re keeping long-term or where a visible riser would look wrong under the leg style. Whichever method you pick, measure every leg the same way, extend all four by the identical amount, and don’t skip checking the joint’s load-bearing strength before you trust the table with real weight again.
Sponsored / affiliate links. As an Amazon Associate I earn from qualifying purchases. I may earn additional commission from eligible campaigns.