Wooden Toy Boat DIY: How to Make One That Floats
Build a wooden toy boat from scrap stock with a wide hull, rounded corners, and a finish that can handle splash water. A keel-free shape is the safest beginner choice for steady floating. Skinny hulls, heavy add-ons, and poor sealing can make the boat tip, soak up water, and sink fast. This guide covers the cut list, assembly, kid-safe finishing, and a float test that catches problems before you gift it.
What you can build
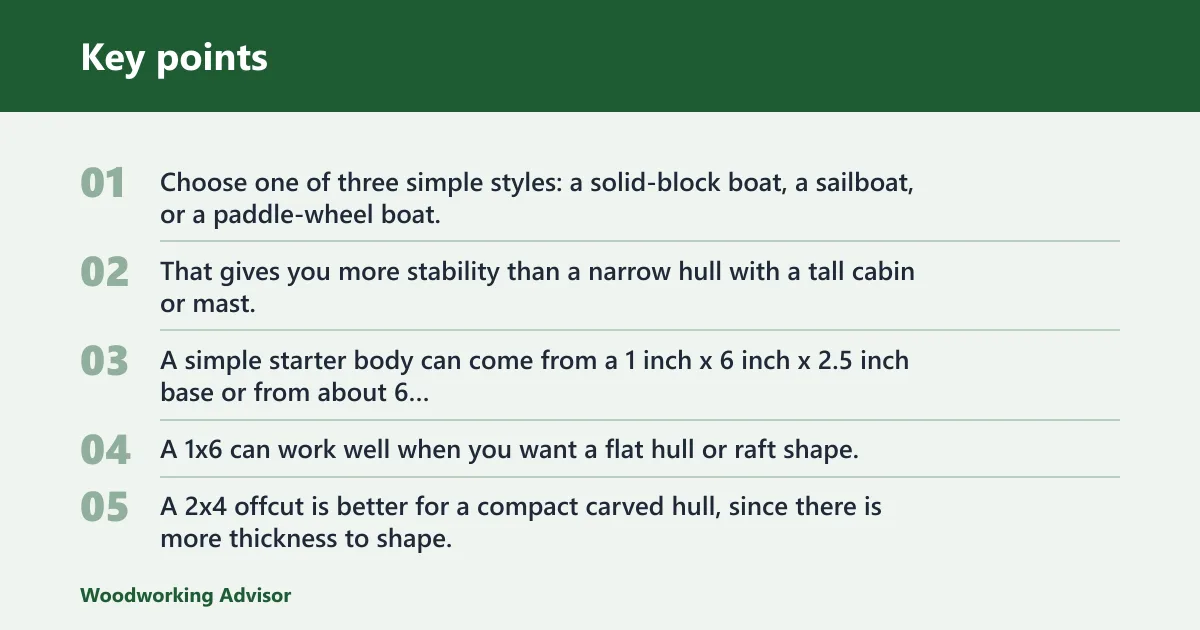


Choose one of three simple styles: a solid-block boat, a sailboat, or a paddle-wheel boat. Keep the first build low and wide. That gives you more stability than a narrow hull with a tall cabin or mast.
A simple starter body can come from a 1 inch x 6 inch x 2.5 inch base or from about 6 inches of 2×4 stock. A 1×6 can work well when you want a flat hull or raft shape. A 2×4 offcut is better for a compact carved hull, since there is more thickness to shape.
If the boat is for bath play, aim for a shallow profile and smooth details. If it is a shelf piece, you can add a taller cabin or a mast without worrying as much about balance.
What you’ll need
- Scrap wood or board stock: pine, poplar, maple, oak, or small hardwood scraps
- Waterproof wood glue for cabin, mast, axle, or wheel parts
- Non-toxic waterproof paint, or a clear finish such as pure tung oil, spar varnish, or food-safe oil/natural wax
- Hand saw, band saw, scroll saw, or jigsaw
- Drill or drill press
- Sandpaper in medium and fine grits
- Dowel or straight twig for a mast, about 8 inches for some builds
- Felt or fabric for a sail
- Thin wood for a paddle wheel, plus a rubber band for drive
- Optional peg-doll drill bit size: 7/8 inch for doll holes
- Optional mast hole size: 3/8 inch
What wood should you use?
Pick straight, dry stock that sands cleanly. Pine and poplar are common beginner choices because they cut quickly and are often easier to shape. Maple and oak are harder, but they hold edges well. Small hardwood scraps also work if the grain is stable and the piece is not twisted.
Wood choice affects both weight and shaping. Heavier woods can stay stable if the hull is wide, but they leave less margin for a thin body and tall add-ons. Softer woods are easier to shape and sand, which helps when you need a smooth hull with rounded edges.
For a first boat, avoid warped offcuts, checking, and stock with loose knots near the bottom edge. Those flaws make sealing harder and can open up around screw or axle holes.
How do you cut the boat body?
Lay out a simple hull or raft shape on the blank, then cut it cleanly and round every corner. The safer float-first choice is a wide body with a flat underside and a gentle taper at the ends. That shape gives you more surface area and less tendency to roll.
- Mark the outline on the 1×6 scrap or the 2×4 offcut.
- Cut the side profile first, then trim the top view if needed.
- Round the bow, stern, and all corners with sanding or carving.
- Sand every corner and edge until it feels smooth to the touch.
- Drill a 3/8 inch mast hole if you plan to add a mast.
- Drill a 7/8 inch hole only if the boat will carry a peg doll.
Keep the hole placement centered side to side unless you intentionally want a sailboat heel or a cabin offset. A centered mast usually floats straighter than one placed near an edge.
Say your 1×6 hull starts to look too tall after shaping. Remove height from the top, not the bottom. That keeps the waterline lower and reduces tipping.
How do you assemble the sail or paddle wheel?
For a sailboat, drill the mast hole, fit a straight dowel or twig, and glue it only after you confirm the angle. For a paddle-wheel boat, build the wheel so the two thin wood pieces sit flush on each side of the boat, with the axle running through the center and the rubber band driving the wheel.
Sail assembly
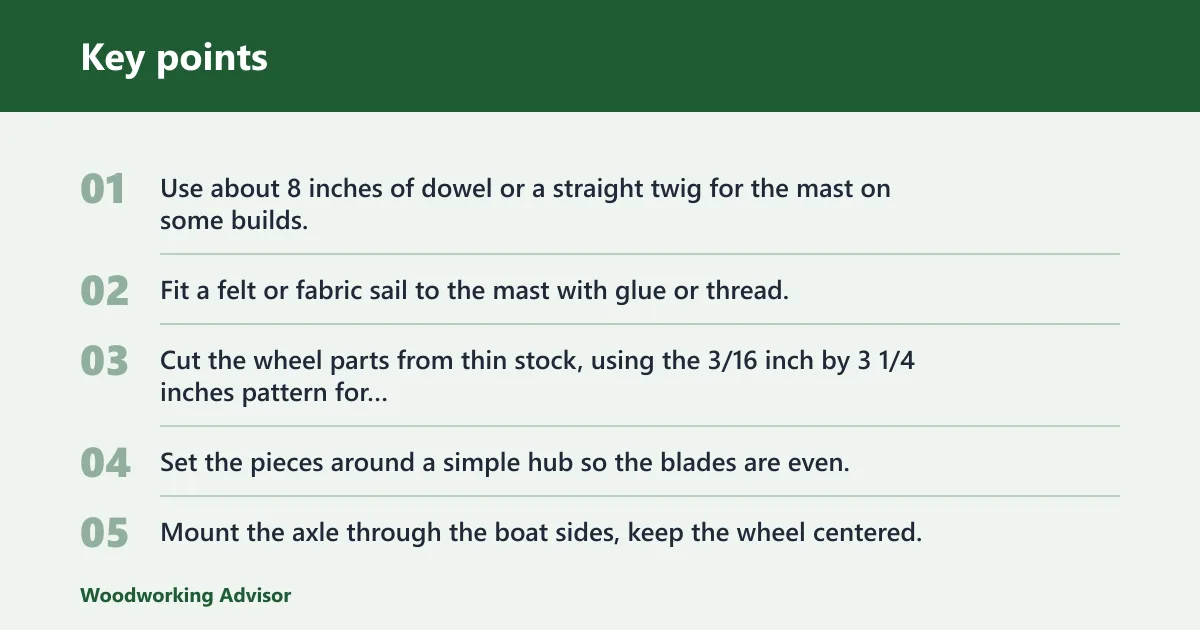
Use about 8 inches of dowel or a straight twig for the mast on some builds. Fit a felt or fabric sail to the mast with glue or thread, then keep the sail small enough that it does not pull the boat over in a breeze or when a child pushes it in water.
Paddle-wheel assembly
Cut the wheel parts from thin stock, using the 3/16 inch by 3 1/4 inches pattern for each blade piece. Set the pieces around a simple hub so the blades are even. Mount the axle through the boat sides, keep the wheel centered, and make sure the rubber band has a clear path from the drive side to the wheel.
Use waterproof wood glue on the hub, mast base, cabin, or axle support parts, then let it cure fully before water use. A weak cure can fail as soon as the boat gets wet.
Suppose the paddle wheel sits 1/8 inch off-center. That can make one side drag and wobble. Recenter the wheel before the glue sets hard, because a binding wheel will waste rubber-band power and lean the boat to one side.
How do you waterproof it?
Choose a finish based on how the toy will be used. For splash play, non-toxic waterproof paint is the most direct choice. For a clear finish, spar varnish can offer stronger water resistance than bare wood. Pure tung oil is often recommended because it is food-grade and non-toxic, but it still needs full cure time before use.
Seal end grain first, because it drinks in more moisture than flat grain. Pay attention to the bow, stern, drilled holes, and the bottom edge. Those are the most common leak points.
- Sand the boat to remove tool marks and sharp edges.
- Brush or wipe on the first coat, including drilled holes and end grain.
- Let the coat dry or cure fully, following the product label.
- Add a second coat to the bottom and other high-wear areas.
- Let the finish cure completely before the first water test.
Do not treat “dry to the touch” as ready for play. For toy use, full cure matters more than surface dryness.
Toy boat floatability and safety checklist

This checklist compares three beginner styles before the boat touches water. Use it to check balance, leak points, and finish choice before the first splash test. A good-looking hull that is top-heavy or poorly sealed will still fail a float test.
| Build style | Estimated difficulty | Likely float performance | Common failure points | Finish recommendation | Pre-water test checklist |
|---|---|---|---|---|---|
| Solid block | Low | Good if wide and shallow | Too much weight, square corners, end grain leaks | Non-toxic waterproof paint or spar varnish | Check rounded corners, centered mass, sealed underside, and dry glue joints |
| Sailboat | Medium | Good if the mast is light and centered | Tipping, mast-hole leaks, sail too large | Spar varnish or non-toxic waterproof paint | Check mast angle, sail size, ballast balance, and a fully cured mast base |
| Paddle-wheel boat | Medium to high | Fair to good if the wheel turns freely | Binding wheel, off-center axle, glue failure, drag from oversized parts | Non-toxic waterproof paint plus sealed axle supports | Check wheel clearance, rubber-band path, axle retention, and side-to-side balance |
- Check that the boat sits level in a dry sink or tub before adding water.
- Check that the bottom is fully sealed, especially at the bow and stern.
- Check that the mast, cabin, and wheel parts do not shift under light finger pressure.
- Check that no sharp edge, splinter, or loose hardware remains exposed.
- Check that the finish is fully cured before the first splash test.
Common mistakes
Boat sits too high or tips easily: the hull is usually too narrow, too tall, or too heavy above the waterline. Trim the top profile lower, widen the body if possible, and keep the sail or cabin small.
Glue lines or holes leak after sealing: the finish probably missed end grain or a drilled opening. Recoat those spots and let them cure again before retesting.
Paddle wheel binds, slips, or sits off-center: the axle or hub is misaligned, or the wheel is rubbing the hull. Refit the axle, widen the clearance slightly, and confirm the rubber band has a straight pull path.
Edges stay sharp or hardware is left exposed: sand the body again and remove or cover any fasteners. Young children can catch skin, lips, or clothing on rough spots fast.
Frequently asked questions
What wood is best for a wooden toy boat?
Pine and poplar are the easiest starter choices because they shape quickly and sand smoothly. Maple, oak, and small hardwood scraps also work if the stock is straight and dry. Avoid warped pieces, because twist and grain movement make sealing and balancing harder.
What tools do I need to make a wooden toy boat?
A hand saw, band saw, scroll saw, or jigsaw can cut the body. A drill or drill press handles mast and axle holes. Add sandpaper, a clamp if needed, and a brush or rag for finish. Keep cutting tools sharp so edges come out cleaner.
How do you waterproof a wooden toy boat?
Use a finish meant for wet use, such as non-toxic waterproof paint, spar varnish, or a fully cured clear oil finish. Seal the bottom and drilled holes first. Pure tung oil is often used as a food-grade, non-toxic option, but it still needs complete cure time.
How do you make a wooden toy boat safe for children?
Round every edge, avoid loose hardware, and use waterproof wood glue that has cured fully before play. For mouth-contact toys, choose a finish labeled for toy or food contact where available, and keep small parts like loose beads or tiny props off the design.
Can I build a wooden toy boat from scrap wood?
Yes. Scrap wood is often the easiest way to keep the project cheap and quick. Choose straight, dry offcuts from pine, poplar, maple, oak, or other small hardwood scraps. Check that the piece is big enough for a stable hull before you cut.
How do you add a sail or paddle wheel to a toy boat?
For a sail, drill a centered mast hole and fit about 8 inches of dowel or a straight twig, then add a small felt or fabric sail. For a paddle wheel, use the 3/16 inch by 3 1/4 inches thin-stock pieces, center the axle, and let a rubber band drive the wheel.
Sponsored / affiliate links. As an Amazon Associate I earn from qualifying purchases. I may earn additional commission from eligible campaigns.