How to Make a Wooden Cross Stand Up: 5 Sturdy Base Methods
To make a wooden cross stand up, give it a base that is wide enough or deep enough for its height. A small cross stands on a slotted wood block or a 12 inch plywood base. A tall cross needs a base about half as wide as it is tall, a heavy weighted box, or a post buried about one third of its length.
Most guides stop at “attach a base”. The problem is that a base that holds a 12 inch cross will not hold a 6 foot one, and the reason is simple math covered below. This guide walks through five base methods, the tip-over numbers behind them, the cuts and joints for the cross itself, a 12 inch tabletop plan, and what to do with a cross that weighs 100 pounds or more.
Which Base Method Fits Your Cross?
Best Ready-Made Cross Stand
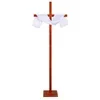 |
AIHSUMC Adjustable Wooden Cross Stand (up to 82 in): about $36 If you want a freestanding cross for a wedding, church event, or yard without cutting and weighting your own base, this ready-made one comes with its own square base.
|
Pick the base from where the cross will live and how tall it is. This table matches the five methods in this guide to the situations they handle well.
| Base method | Best for | Cross height | Portable? |
|---|---|---|---|
| Slotted block or plywood platform | Shelf, table, mantel | Up to about 24 in | Yes |
| Weighted box base | Indoor floor display | Up to about 5 ft | Hard to move once filled |
| Concrete bucket base | Outdoor, temporary, events | Up to about 6 ft in calm weather | No, about 50 lb of concrete |
| Buried post in concrete | Permanent yard or memorial cross | Any, if buried deep enough | No |
| Steel standoff base or pipe flange | Heavy or large crosses, removable displays | Any, if the pad is engineered for it | Flange: yes. Standoff: no |
Making a flat sign instead of a cross? The tipping math differs for a flat panel, and the wooden sign stand guide covers easel, slotted-foot and A-frame builds with wind limits.
Why Tall Crosses Tip: The Numbers
A cross is top-heavy in a specific way: most of its weight sits high, because the crossbar is near the top. The center of gravity of a typical cross (crossbar 60 percent as long as the vertical beam, set one third down from the top, same lumber for both) is about 56 percent of the way up the vertical beam.
A freestanding cross tips when a sideways push at that height exceeds its weight multiplied by half the base width, divided by the height of the center of gravity. Because a cross gets heavier in proportion to its height, a 12 inch wide base tips with roughly the same 3.6 pound push at the center of gravity whether the cross is 3 feet or 8 feet tall. The table below shows the figures for a cross cut from 4×4 pine.
| Cross height | Approx. weight (4×4 pine) | Push to tip, 12 in base | Base width at half the height | Push to tip, that base |
|---|---|---|---|---|
| 36 in | 12 lb | 3.6 lb | 18 in | 5.4 lb |
| 48 in | 16 lb | 3.6 lb | 24 in | 7.2 lb |
| 72 in | 25 lb | 3.6 lb | 36 in | 10.9 lb |
| 96 in | 33 lb | 3.6 lb | 48 in | 14.5 lb |
These are estimates, not engineering values. I assumed 4×4 lumber (3.5 in x 3.5 in actual), pine at about 30 pounds per cubic foot, a crossbar 60 percent of the beam height, and I ignored the weight of the base itself. A real gust also pushes across the whole face of the cross, not at one point. The takeaway still holds: the common 12 inch plywood base is fine for a tabletop piece and far too small for anything taller. If the cross is taller than about 2 feet, widen the base, add mass low down, or go into the ground.
Wood and Tools for a Standing Cross
Choose the wood by where the cross will live. Pine and poplar are easy to cut and fine indoors. For outdoors, cedar resists rot naturally, and pressure-treated lumber rated for ground contact is the choice for any post that goes into the soil. Whatever you pick, buy boards that are straight and dry. Lumber sold as kiln-dried (KD) is dried to 19 percent moisture or less, which keeps shrinkage and warping small after you cut the joint.
| Wood | Best for | Notes |
|---|---|---|
| Pine (kiln-dried) | Indoor crosses, tabletop and wall | Cheap, easy to cut, soft, so it dents |
| Poplar | Painted indoor crosses | Smooth, takes paint well, not for outdoors |
| Oak | Heirloom indoor pieces | Heavy and hard: stable but harder to cut and drill |
| Cedar | Outdoor crosses above ground | Naturally rot resistant, soft, light |
| Pressure-treated pine (ground contact) | Any post set in soil or concrete | Wear a dust mask when cutting; never burn offcuts |
- Miter saw or circular saw for square cuts
- Drill and a bit sized for pilot holes so the screws do not split the ends
- 3 inch exterior-rated screws (deck screws for outdoor use)
- At least two clamps to hold the joint while the glue sets
- Sandpaper in 80, 120, and 220 grit
- Exterior wood glue (water-resistant Type II or Type III) at every joint
- A 4 ft level to check plumb
- Safety glasses, gloves, and a dust mask
Cut and Join the Cross
A well-proportioned cross sets the crossbar about one third of the way down from the top, with the crossbar about 60 percent as long as the vertical beam. For a 72 inch cross that means a 43 inch crossbar centered 24 inches below the top. Common sizes run 8 to 15 inches for a shelf, 24 to 36 inches for a wall, and 60 to 72 inches for a yard.
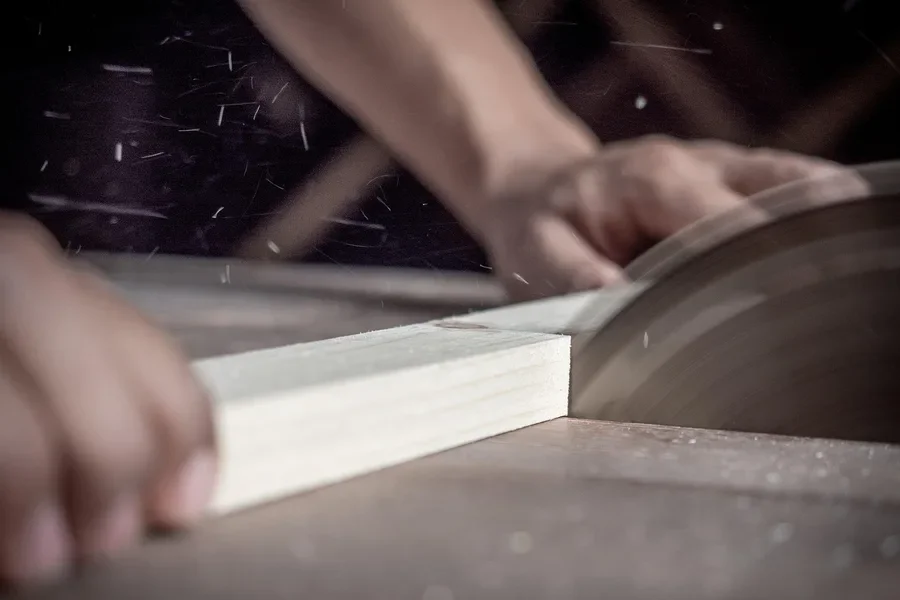
Mark both pieces with a pencil and square, then cut them for clean, square ends. Sand the cut faces before assembly, because the joint is hard to reach afterward.
Join the two beams with a half-lap: mark the width of each beam on the other, then remove half the thickness from each piece so they interlock flush. The overlap gives glue a large surface and keeps the cross flat. If you want the cut depths worked out for your lumber, the half-lap joint calculator does it. Test the fit dry, then spread exterior glue on both faces, clamp, and drive two pilot-drilled 3 inch screws through the joint. Wipe squeeze-out right away and leave the clamps on for at least 2 hours before you move on to the base.
5 Base Methods, Step by Step
1. Slotted Block or Flat Platform Base (Indoor, Tabletop)
For a cross up to about 24 inches, cut a block from 2×4 or 2×6 lumber, about 6 in x 8 in. Mark the beam section on the top, drill two overlapping holes to rough out a slot 1 inch deep, and clean the walls with a chisel until the beam is a snug fit. Glue it in. For a flat plywood platform instead, use 3/4 inch plywood at least 12 in square, center the beam on it, and drive two 3 inch screws up through the underside, plus glue. Per the numbers above, this is as far as a 12 inch base should go.
2. Weighted Box Base (Indoor, Floor Display)
Build a hollow box from 2×6 boards, about 12 in square and 8 in tall, with a 3/4 inch plywood top and a plywood floor. Cut a slot in the top for the beam. Fill the cavity with sand or gravel before closing it, then glue the beam into the slot. The mass sits low, which lowers the combined center of gravity, and the wide footprint adds tip resistance. For floor crosses, make the box at least one third as wide as the cross is tall.
3. Concrete Bucket Base (Outdoor, Portable)
Set the cross in a 5 gallon bucket filled halfway with fast-setting concrete. A 5 gallon bucket holds about 0.67 cubic feet, and concrete weighs roughly 145 pounds per cubic foot, so a half-full bucket adds about 48 pounds. Brace the beam plumb with a level and scrap lumber until the mix sets, and give it 24 hours before moving it. It is stable on calm days for crosses up to about 6 feet, but it is not a permanent anchor, so bring it in or tie it down when strong wind is forecast. Wear gloves and eye protection, since wet concrete is caustic.
4. Buried Post in Concrete (Outdoor, Permanent)
Call 811 (the US utility locating service) a few days before you dig. A common rule of thumb is to bury about one third of the cross, so a 72 inch cross wants about 24 inches in the ground, deeper if your frost line is deeper. Put 4 to 6 inches of gravel in the bottom of the hole for drainage, set the ground-contact post, check plumb on two faces with a level, and brace it. Pour fast-setting concrete, slope the top away from the wood, and let it cure per the bag.
A common myth: that concrete makes a wood post last forever. The opposite can be true. Concrete around wood can hold water against the timber at ground level, which is where rot starts. Use ground-contact lumber, keep gravel under the post, and crown the concrete so water runs off. For a cross you want to last decades, skip burying the wood at all and use the next method.
5. Steel Standoff Base or Pipe Flange (Heavy or Removable)
A galvanized standoff post base holds the end grain of the wood about an inch above a concrete pad, so water cannot sit against it. Anchor the base to the pad with concrete anchors rated for the load, and bolt the cross to the base. For a removable display, bolt a heavy pipe flange to a wide weighted board and fasten the beam to the flange with machine screws. This is the best choice for crosses that are heavy, large, or need to be taken down after an event.
Build a 12 Inch Standing Cross for a Shelf
Here is a simple 12 inch plan from a single 1×2 poplar or pine board (3/4 in x 1-1/2 in actual).
- Cut the vertical beam to 12 in and the crossbar to 7 in (about 60 percent of the height).
- Mark the crossbar position 4 in below the top of the beam, which is one third of the height.
- Cut a half-lap in each piece, 3/8 in deep and 1-1/2 in wide, so the faces sit flush.
- Glue the joint, clamp for an hour, then add one small pilot-drilled screw from the back if you want extra strength.
- Cut a 6 in x 4 in block from a 2×4 and cut a 1 in deep slot, 3/4 in x 1-1/2 in, in the center.
- Glue the cross into the slot, sand, and finish with oil or clear coat.
Heavy and Large Crosses
A cross that weighs 100 pounds or more, such as an 8 foot church cross, is a different job. Do not rely on a screwed-on platform. Hold the cross at the bottom with a deep buried post, or a steel standoff base on a reinforced concrete pad sized for the load. Public or church installations should be reviewed by a qualified contractor, because wind load on a tall cross is real and a falling cross is dangerous.
Finish a Standing Cross for Outdoor Use
Unfinished wood outdoors cracks and grays within a season. For a natural look, apply two coats of spar urethane, which flexes with temperature swings, and sand lightly with 220 grit between coats. For color, use exterior primer and two coats of exterior paint, or a stain topped with a clear wood sealer. Seal the end grain at the bottom of the post, since it absorbs water fastest, and re-coat every 2 to 3 years.
Frequently Asked Questions
How do you stabilize a wooden cross?
Match the base to the cross height. Tabletop crosses stand on a slotted wood block or a wide plywood base. Floor-standing crosses need a weighted box base or a base about half as wide as the cross is tall. Outdoor crosses are most stable when the bottom third of the post goes into the ground or onto a steel standoff base anchored to concrete.
What materials do you need to make a wooden cross?
You need two boards (a vertical beam and a crossbar), exterior wood glue, 3 inch wood screws, a saw, a drill, clamps, and sandpaper. For the base add plywood or 2×6 lumber, and for a buried post add fast-setting concrete, gravel, and a level.
Can a wooden cross stand outdoors?
Yes. Use ground-contact pressure-treated lumber or a naturally durable wood like cedar, finish every face including the end grain, and anchor the cross in the ground or to a concrete pad. A cross that simply sits on a small base will blow over in the first strong wind.
How tall should a wooden cross be?
It depends on where it goes: about 8 to 15 inches for a shelf or table, 24 to 36 inches for a wall, and 5 to 6 feet for a yard or garden. Churches and memorials often go taller, which calls for engineered footings rather than a simple base.
What is the best wood for a freestanding cross?
Kiln-dried pine or poplar works indoors. Outdoors, use cedar or ground-contact pressure-treated pine. Oak looks great and its weight helps stability, but it is harder to cut and drill. Avoid MDF and particleboard, which hold screws poorly and swell when wet.
Conclusion
Making a wooden cross stand up comes down to base width, mass, and depth. A slotted block handles a shelf cross, a wide weighted box handles an indoor floor cross, and anything outdoors should go into the ground or onto a steel base. Use the tip-over table to check your own design before you cut, and finish every face of the wood so the cross stays standing for years.
Sponsored / affiliate links. As an Amazon Associate I earn from qualifying purchases. I may earn additional commission from eligible campaigns.