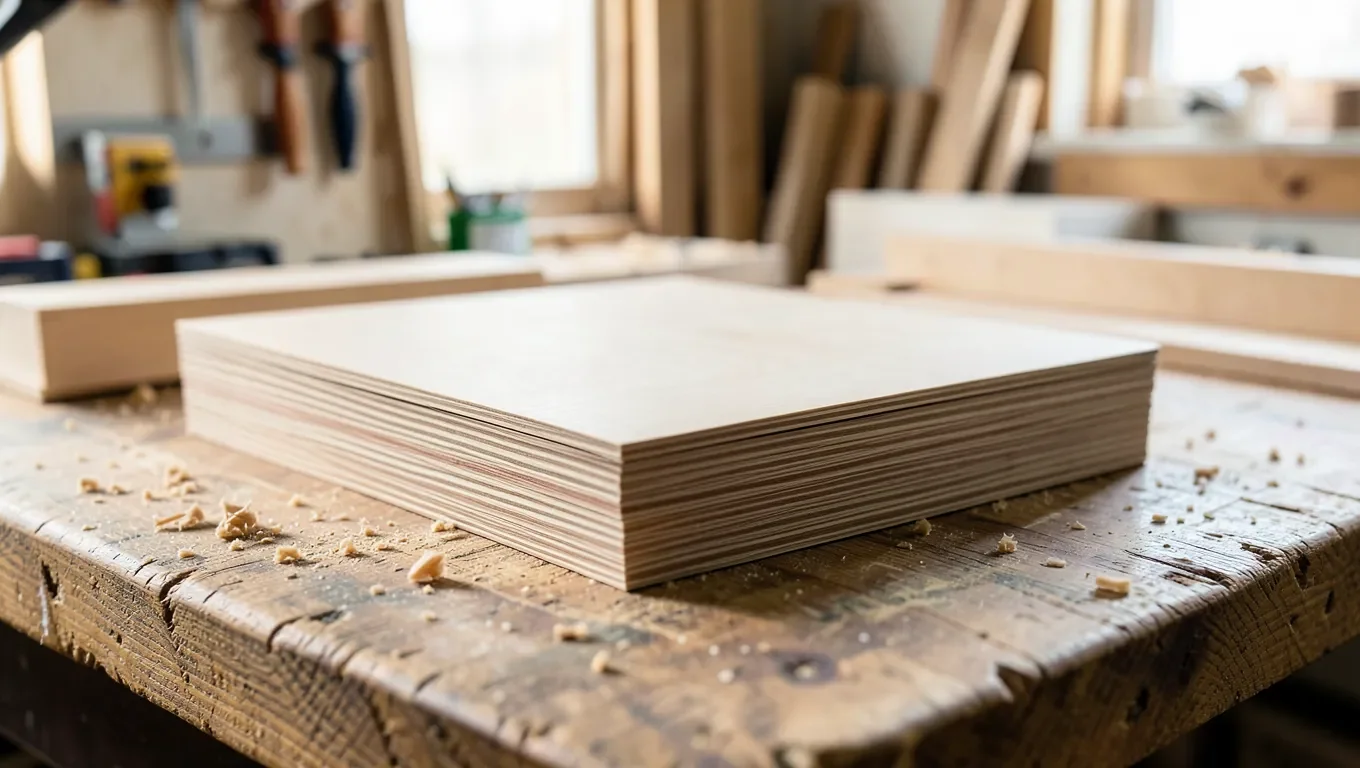
How to Make Your Own Plywood: A Real DIY Veneer-Press Guide
To make your own plywood, glue thin wood veneer sheets together with the grain of each layer turned 90 degrees from the one beneath it, then clamp or press the stack under even pressure until the glue cures. A vacuum bag gives the most even pressure; a stack of clamped caul boards is the cheaper shop-built alternative.
Most guides skip the part that actually matters for a first attempt: scale. A home shop can turn out a genuinely strong, void-free veneer panel up to roughly 2 by 4 feet with clamps and cauls, or larger with a vacuum bag setup — but a full 4×8 sheet is a different job. Commercial plywood is bonded in a multi-opening hot press that applies hundreds of pounds per square inch across the whole sheet at once, which is why factory sheets stay flat and void-free edge to edge. Trying to match that with hand clamps over an 8-foot span almost always leaves weak spots where the pressure drops off between clamps. This guide sticks to what a hobbyist can reliably pull off: real, usable veneer plywood at a size your bench can actually press.
What DIY Plywood Actually Is (And Isn’t)
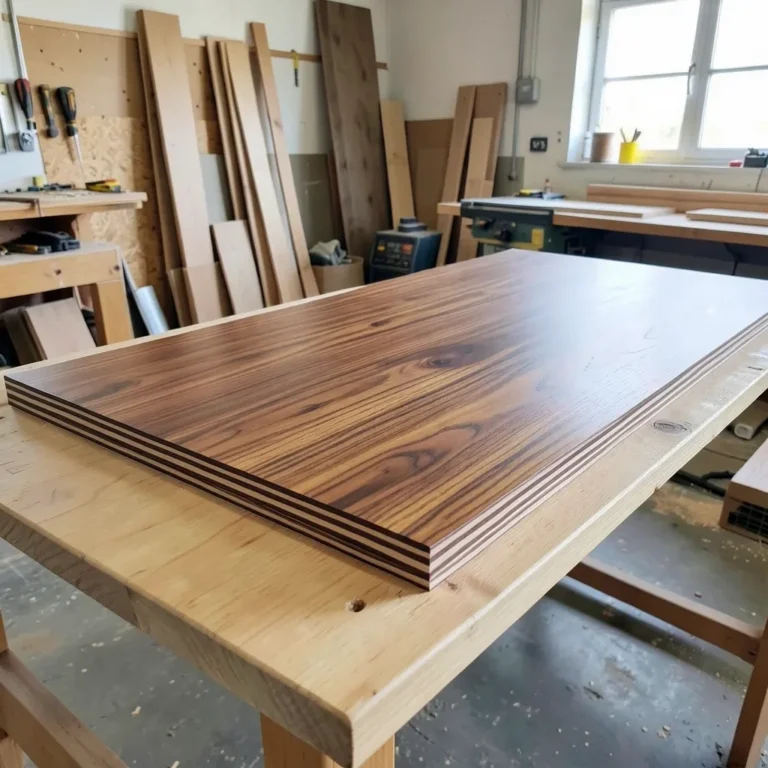
Plywood, homemade or factory-made, is the same idea: thin layers of wood veneer glued together with the grain direction alternating layer to layer. That cross-graining is what makes plywood resist the warping and splitting that a solid board of the same thickness would be prone to — each layer’s grain fights the wood movement of the layer next to it. When you build your own, you’re doing the same lamination by hand instead of in a factory press, which means smaller panels, longer glue-up sessions, and more attention to even pressure than a commercial sheet ever needs.
Best Glue For Veneer Glue-Ups
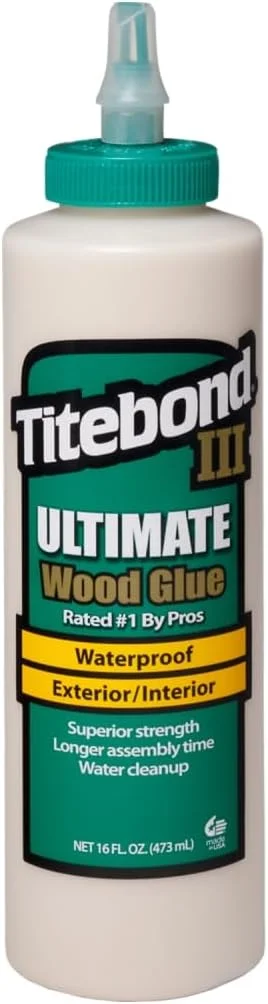 |
Titebond III Ultimate Wood Glue, 16 oz – $9.58 A one-part, water-cleanup PVA that passes the ANSI/HPVA Type I waterproof test and gives a longer open time than standard yellow glue — useful when you’re laying up several veneer sheets before the clamps go on.
|
Materials And Tools You’ll Actually Need
Before you start gluing, get everything laid out on the bench — a veneer glue-up moves fast once the adhesive is spread, and hunting for a clamp mid-glue-up is how you end up with a lopsided panel.
| Item | Notes |
|---|---|
| Wood veneer sheets | Commercial veneer runs roughly 1/42″ to 1/28″ thick. Buy it pre-cut, or resaw your own on a bandsaw with a fence if you own one thick enough to spare. |
| Wood glue | PVA (Titebond I/II/III) for indoor projects, cold-press veneer glue for slower-tack multi-sheet layups, or polyurethane if you’re bagging with a vacuum press. |
| Cauls or a vacuum bag | Two flat, slightly overbuilt boards plus enough clamps to space every 6–8″, or a vacuum bag/pump setup for more even pressure over a larger panel. |
| Glue spreader or roller | A notched spreader or a cheap foam roller gets glue on evenly — brushing tends to leave thick and thin spots. |
| Straightedge and utility knife or fine-tooth saw | For trimming veneer sheets square before glue-up and trimming the panel edges after. |
| Sandpaper, 120 through 220 grit | For smoothing the panel after it comes out of the clamps. |
| PPE | Gloves, eye protection, and a dust mask when sanding or cutting. |
Step 1: Choose And Prepare Your Veneer
Pick a species based on what the panel needs to do, not just what looks nice. Birch and maple veneer sand and finish predictably and are the easiest to source in consistent thickness. Oak and other open-grained hardwoods look striking but show glue squeeze-out and sanding marks more readily. Whatever you choose, buy or cut a couple of extra sheets — veneer splits and chips easily, and you want spares on hand rather than a mismatched panel because one sheet cracked mid-glue-up.
Cut each veneer sheet a little oversized — about half an inch larger than your final panel dimensions on each side. You’ll trim the panel to exact size after it’s glued and cured, and that oversize margin gives you room to correct for any slight shifting that happens under clamp pressure. Keep the sheets flat and stacked between two boards while you work through the rest of prep; veneer left loose in a dry shop will cup within a day.
Step 2: Pick The Right Glue For The Job
This is where most first attempts go wrong, and it’s rarely about glue strength — it’s open time. Standard PVA wood glue grabs in a matter of minutes, which is fine for a two-board edge joint but a problem when you’re spreading adhesive across three, five, or seven veneer sheets before you can get clamps or a vacuum bag on. By the time you’ve spread the last layer, the first layer’s glue may already be past its open assembly time and losing bond strength.
A slower PVA like Titebond III, a dedicated cold-press veneer glue, or a polyurethane adhesive (commonly used with vacuum bags because it foams slightly to fill minor gaps between layers) all buy you more working time. For larger panels or anyone doing this regularly, urea-formaldehyde resin is the traditional veneer-shop choice because of its long open time and rigid glue line, though it requires more careful mixing and ventilation than a PVA straight from the bottle.
Step 3: Layer With Alternating Grain
Lay your first veneer sheet grain-side however you want the panel’s face to run — this becomes your reference direction. Every layer after that alternates 90 degrees from the one below it. Use an odd number of plies (3, 5, or 7) rather than an even number; an odd count keeps the same grain direction on the top and bottom face, which balances the panel and is a big part of why it resists cupping as it dries and ages. An even-ply stack with mismatched face grain is far more likely to warp over time because the two outer faces are pulling against the panel differently.
Spread glue evenly on both faces of each interior layer — not just one side — and stack the sheets in order as you go rather than gluing everything first and stacking after. Glue that sits too long before the layers meet starts to skin over and won’t bond as well.
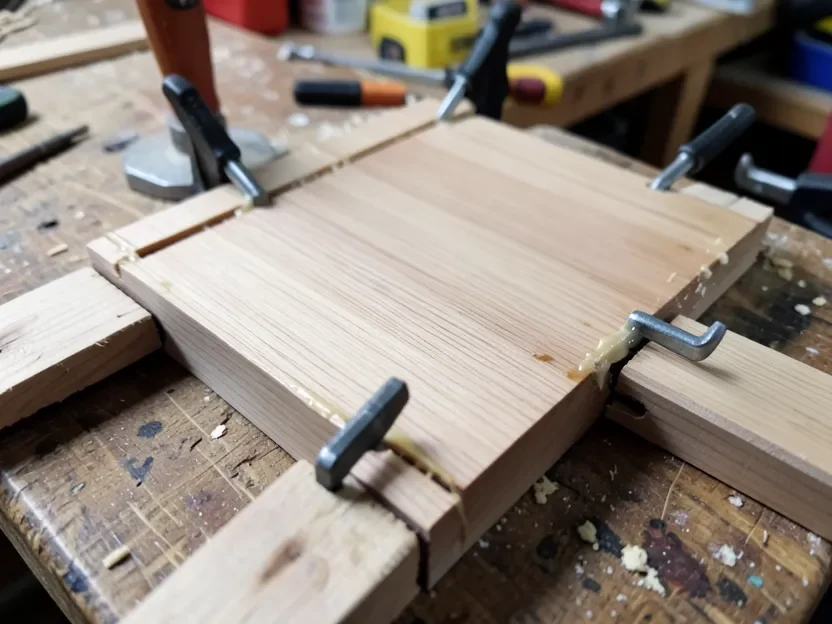
Step 4: Press It — Vacuum Bag Vs. Clamped Cauls
A vacuum press pulls roughly 13–14 psi of even pressure across the entire panel at once, since it’s using atmospheric pressure through a sealed bag rather than point pressure from individual clamps. That evenness is the main reason vacuum-pressed panels come out flatter and with fewer weak spots than clamped ones, especially past about 2 feet in any direction. You don’t need an expensive commercial vacuum press to get this: a basic setup built from a vinyl bag, a manifold, and a repurposed refrigerator compressor or an inexpensive vacuum pump gets you most of the benefit for a fraction of the cost.
Clamped cauls are the lower-cost starting point and work well for smaller panels. Use two boards slightly larger than your panel, ideally with a very slight curve or convexity so the clamps push pressure outward from the center rather than just at the clamp points. Space clamps every 6 to 8 inches along the edges — wider spacing than that and you’ll get a starved glue line (too little glue held under pressure, leaving a weak bond) in the gaps between clamps, which is the single most common reason a DIY panel delaminates later.
Leave the panel clamped for at least the glue manufacturer’s minimum clamp time, then let it sit unclamped for the glue’s full cure time — commonly about 24 hours for PVA — before you sand, trim, or put any stress on the joint. Full bond strength isn’t there yet at the point the clamps come off.
Step 5: Trim, Sand, And Finish
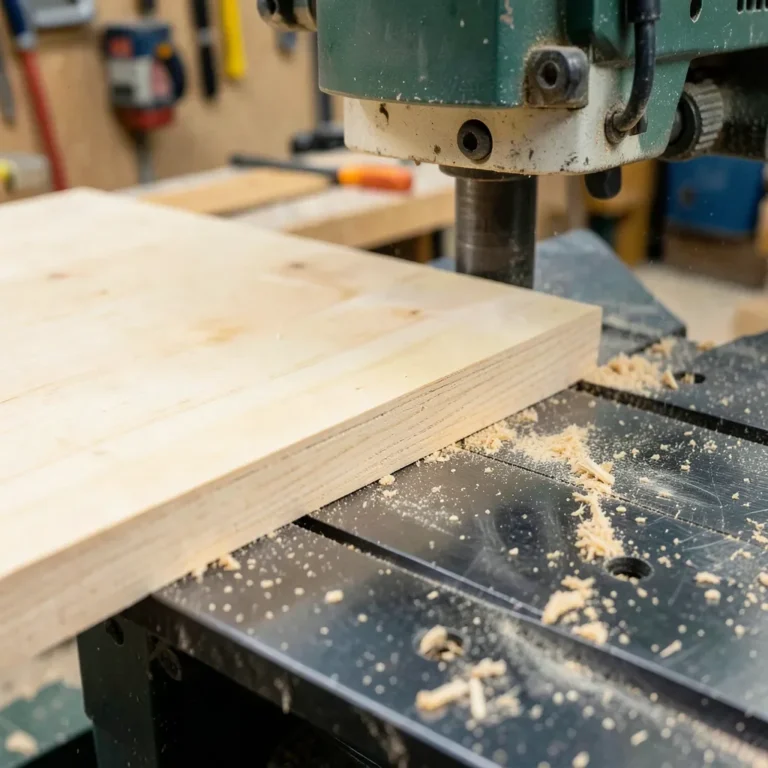
Once cured, trim the oversized edges down to your final dimensions with a sharp saw, cutting slowly through the face veneer to avoid tearing it out. Sand starting around 120 grit to knock down any glue squeeze-out and high spots, then move up to 180 or 220 grit for the final surface, always sanding in the direction of the face grain.
Seal the finished panel the same way you would any plywood surface that needs protecting — a wipe-on finish or polyurethane works well over most veneer species. If you want to compare how your homemade panel’s construction stacks up against commercial veneer-core sheets, our guide to veneer core plywood versus MDF and particleboard core covers how the different core types perform.
Real Cost And Size Expectations
Don’t go into this expecting guaranteed savings over store-bought plywood — that’s not usually the real payoff. Shop-built veneer panels using purchased veneer sheets and glue commonly run in the ballpark of $2 to $4 per square foot in materials, which is close to or sometimes higher than a comparable sheet of hardwood plywood off the shelf once you count wasted veneer and glue. The actual advantage is control: you can match a species, grain pattern, or exact thickness that no lumberyard stocks, or use up veneer scraps you already have.
On size, keep your first few panels at 2 by 4 feet or smaller if you’re using clamped cauls. That’s a size you can realistically keep under even pressure edge to edge with a reasonable number of clamps. A vacuum bag setup stretches that up to roughly 4 by 4 feet or a bit larger depending on your bag and pump. A full 4×8 sheet is outside what either method reliably delivers at home — that’s industrial-press territory, and attempting it with hand tools is the most common reason first-time DIY plywood turns out warped or delaminated at the edges.
Mistakes That Ruin A DIY Panel
Uneven clamp pressure is the number one failure mode — it shows up as a spongy, hollow-sounding spot when you tap the panel, which means the glue never actually bonded there. Skipping the alternating grain direction is the second most common mistake; a panel with every layer running the same way behaves like solid wood and will cup or crack along the grain exactly like a solid board would. Using an interior-only PVA on a panel that will see moisture or outdoor exposure is the third — check that your glue is actually rated waterproof (Type I) if the panel won’t stay dry, not just “water resistant.”
Frequently Asked Questions
Can I Make A Full 4×8 Sheet Of Plywood At Home?
Not reliably. Factory plywood is bonded in a hot press that applies even pressure across an entire 4×8 sheet at once. Hand clamps or even a home vacuum bag struggle to hold that much surface area under consistent pressure, so a full sheet made at home is much more likely to have weak or delaminated spots than a panel kept to roughly 2×4 feet or smaller.
What Glue Should I Use For Homemade Plywood?
A slow-tack PVA like Titebond III, a dedicated cold-press veneer glue, or polyurethane if you’re using a vacuum bag. Standard fast-grab yellow glue can set up before you finish spreading it across several veneer sheets, which weakens the bond on the layers you glued first.
Do I Need A Vacuum Press To Make Plywood?
No. A vacuum press gives more even pressure and lets you press larger or slightly curved panels, but a well-built pair of clamped caul boards with clamps spaced every 6–8 inches will bond a small panel just as well. A vacuum setup becomes worth building once you’re regularly pressing panels larger than about 2 feet in any direction.
Why Does DIY Plywood Need Alternating Grain Direction?
Wood expands and contracts far more across the grain than along it. Turning each veneer layer 90 degrees from the one beneath it means each layer’s cross-grain movement is restrained by the layer next to it, which is what keeps the finished panel flat instead of warping the way a solid board of the same thickness would.
How Long Does Homemade Plywood Need To Cure Before I Can Use It?
Most PVA glues need roughly 30 minutes to an hour of clamp time before the joint can hold its shape unclamped, but full bond strength typically isn’t reached until about 24 hours after gluing. Wait the full cure time before trimming, sanding, or putting the panel under load.
Conclusion
Making your own plywood is a genuinely useful shop skill once you match the method to a realistic panel size — alternating grain direction, an adhesive with enough open time for the number of layers you’re using, and even pressure across the whole panel are the three things that actually determine whether it holds together. Start with a small panel using clamped cauls, get a feel for your glue’s open time, and scale up to a vacuum bag setup once you’re pressing panels regularly.
Sponsored / affiliate links. As an Amazon Associate I earn from qualifying purchases. I may earn additional commission from eligible campaigns.