How to Remove Scratches From Wood Veneer (Without Sanding Through)
For light scratches on wood veneer, rub the area with walnut meat or a 1:1 mix of olive oil and white vinegar, or fill it with a color-matched touch-up marker or wax stick. Skip aggressive sanding – modern veneer is typically only 0.4 to 0.8mm thick (about 1/64 to 1/32 inch), so sanding through it to the substrate underneath can’t be undone.
Veneer scratch repair isn’t the same job as fixing solid wood, even though most general “wood furniture scratch” advice online treats them identically. Veneer is a thin slice of real wood glued to a substrate (plywood, MDF, or particleboard), so the safe repair depends heavily on how deep the scratch actually goes, not just how it looks.
This guide covers how to check scratch depth on veneer specifically, the household and product fixes that work for each depth, and exactly how cautious to be before any sandpaper touches the surface.
Why Veneer Scratches Need a Different Fix Than Solid Wood
Solid wood furniture can usually take a real sanding – there’s an inch or more of material to work with. Veneer can’t. Modern decorative veneer runs about 0.4–0.8mm thick (roughly 1/64 to 1/32 inch), and even older furniture with thicker sliced veneer rarely exceeds 1/16 inch. That’s a hard limit: sand past it and you expose the substrate underneath, which almost never matches the wood grain or color and can’t be sanded back — the panel has to be re-veneered or replaced. If you’re not sure your piece is veneer rather than solid wood, run a fingernail across an edge or check underneath for a different-colored substrate before you start.
Multi-Tone Veneer Touch-Up Pick
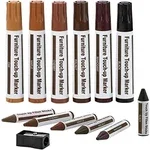 |
DAIXISM 13-Piece Furniture Touch-Up Marker & Wax Stick Kit – $9.98 Six wood-tone markers plus matching wax fill sticks — the exact color-matching range this guide’s light and medium scratch fixes call for, without touching sandpaper.
|
If your piece turns out to be solid wood rather than veneer, the sanding limits below don’t apply — see our wood furniture scratch repair guide for the full depth-by-depth process on solid stock.
Step 1: Figure Out How Deep the Scratch Actually Goes
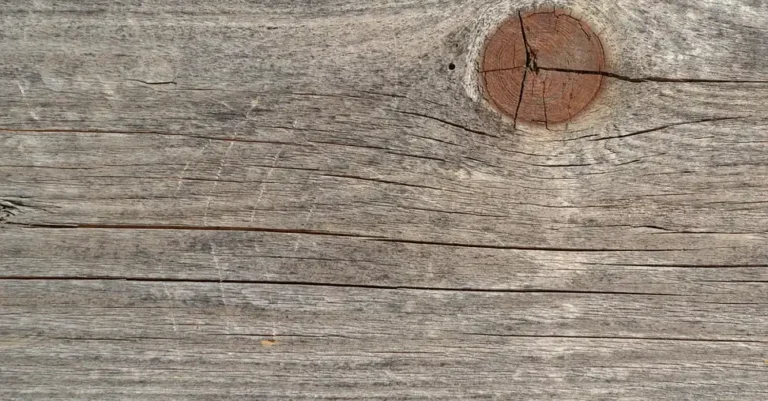
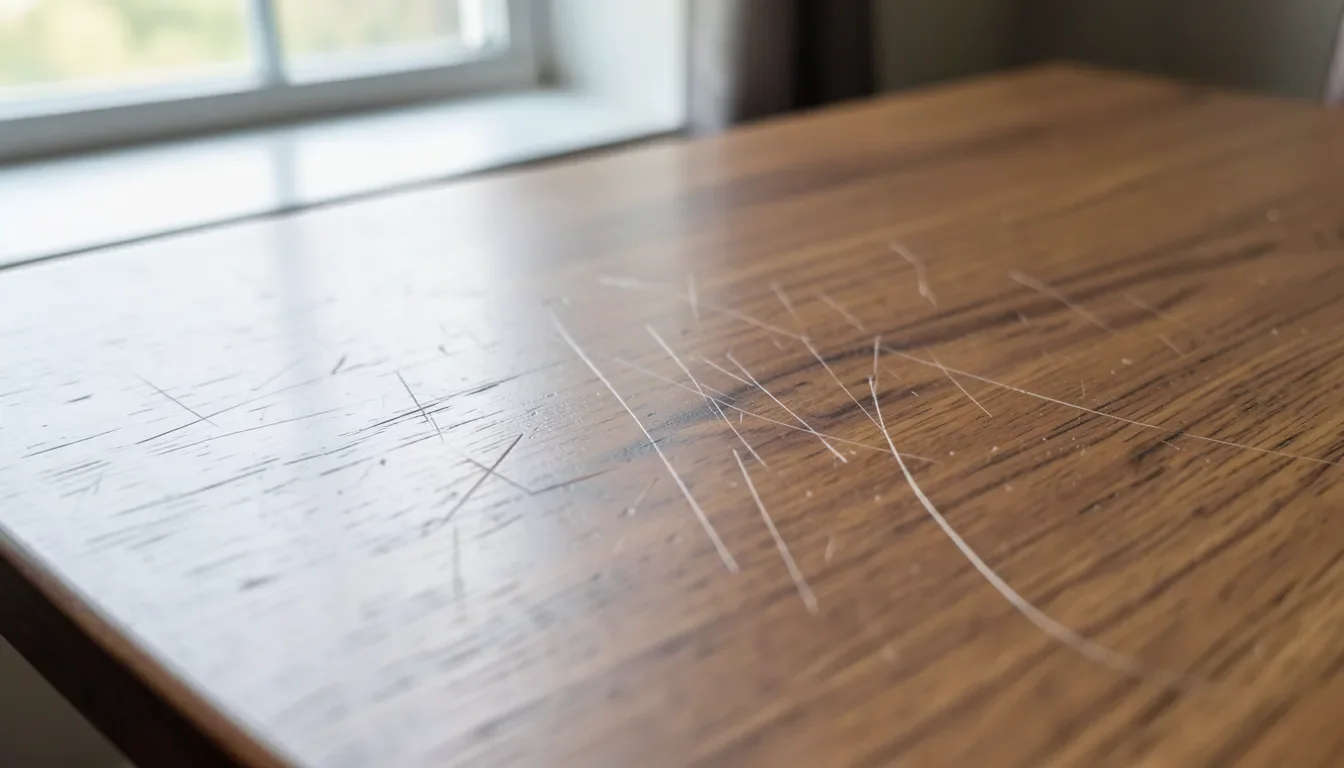
Run a fingernail across the scratch. If your nail glides over it without catching, the damage is only in the finish (wax, lacquer, or polyurethane) and hasn’t reached the wood itself — that’s the easiest category to fix. If your nail catches or drags, the scratch has cut into the veneer layer. Look closely at the color inside the scratch: if it’s the same tone as the surrounding wood, you’re still within the veneer. If you see a lighter, darker, or differently textured strip at the bottom of the scratch, you’ve likely reached the substrate, and no amount of sanding will fix that — only a wood filler matched as closely as possible, or professional re-veneering, will.
Fixing Light Surface Scratches (Finish Intact)
The walnut trick: break open a raw walnut and rub the meat directly over the scratch, going with the grain. The natural oils in the nut fill and darken the fine line enough to make light scratches far less visible within a minute or two of rubbing. It’s a genuine old refinisher’s trick, not folklore — it works because walnut oil behaves like a very mild wood-toned filler, but it’s cosmetic only and won’t hold up on a scratch that’s actually reached bare wood.
Oil and vinegar polish: mix equal parts olive oil and white vinegar in a small bowl. Apply with a soft cloth, rubbing in the direction of the grain, then buff dry. The vinegar’s mild acidity helps lift surface grime while the oil re-saturates the wood’s color, which is often enough to blend a shallow scratch into the surrounding finish.
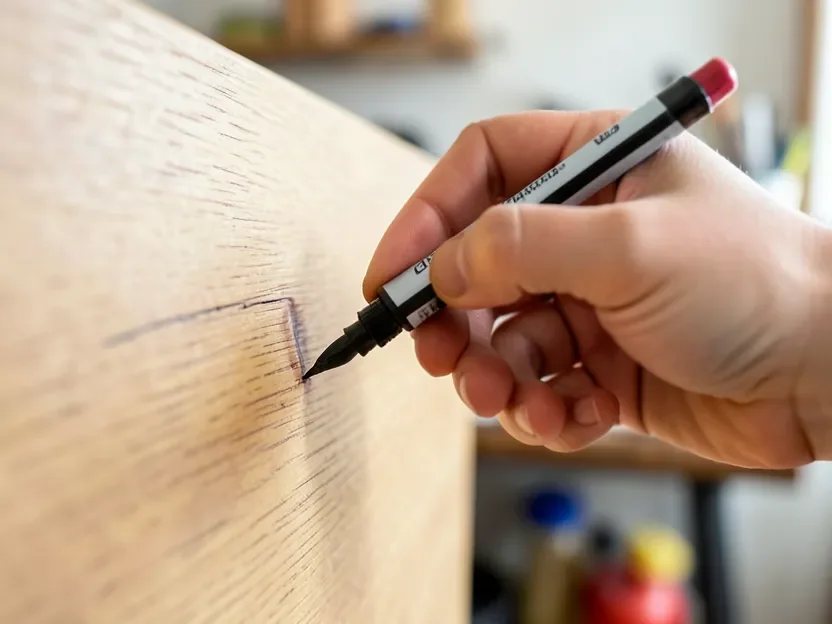
Color-matched touch-up marker: for scratches that show a thin pale line rather than responding to oil, a stain-matched touch-up marker (see the pick above) draws color directly into the scratch line. Test on a hidden edge first, since veneer finish tone can vary slightly piece to piece.
Fixing Deeper Scratches That Reach Bare Wood
If the fingernail test catches and the scratch shows raw wood or a color break, start with the wax fill stick rather than the marker — it builds up the scratch’s depth instead of just tinting the surface. Warm the stick slightly between your fingers, press it into the scratch, and scrape off the excess flush with a plastic card. For a scratch wide or deep enough that the wax stick alone looks patchy, a small dab of color-matched wood filler followed by a stain touch-up gets closer to invisible.
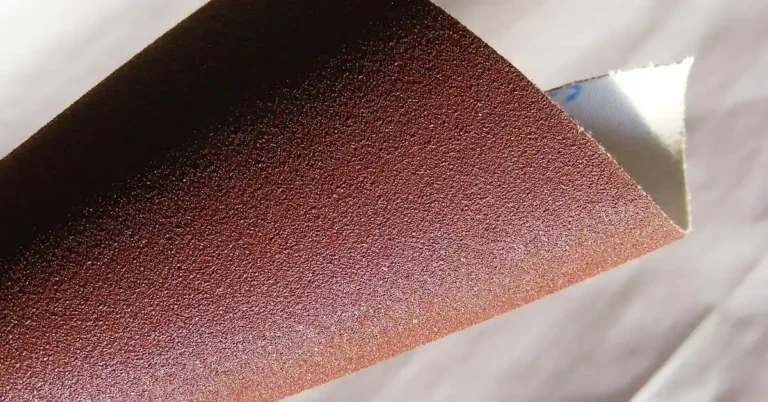
If you do need to sand: this is the step where veneer thickness matters most. Use at least 220-grit sandpaper (never anything coarser), sand by hand only — no power sander — and work strictly in the direction of the grain with light, even pressure. Stop and wipe the area clean every few strokes to check your progress; the moment you see any change in color or texture, stop immediately, because that’s your first sign you’re approaching the substrate. On furniture with unknown or older veneer, a couple of light passes is usually the ceiling, not a starting point. Finish by matching stain and a thin topcoat to blend the repaired spot with the surrounding sheen.
Preventing Future Scratches on Veneer Furniture
Dust with a soft, dry or barely damp cloth rather than anything abrasive, and skip general-purpose cleaning sprays that aren’t labeled safe for finished wood. Felt pads under lamps, phones, and decor prevent the slow scuffing that adds up over months. Coasters and placemats matter more on veneer than solid wood, since there’s less material underneath to buff out later if a repair goes wrong. Keep humidity relatively stable in the room — veneer that dries out too fast is more prone to the substrate glue line telegraphing through the surface, which shows up looking like fine surface cracking even without a physical scratch.
When to Call a Pro (or Replace Instead of Repair)
Call in a furniture refinisher if you see multiple deep scratches across a large area, any spot where the veneer has actually lifted or bubbled away from the substrate, or a scratch on a piece valuable enough that a visible DIY patch would hurt it more than help. If the veneer is water-damaged as well as scratched, deal with that first — our water-damaged veneer repair guide covers bubbling and peeling separately. And if you’re weighing a full refinish instead of spot repair, our wood veneer refinishing guide walks through how much sanding thin veneer can actually tolerate across an entire surface.
Frequently Asked Questions
How do you fix a scratch in wood veneer?
Check the depth first with a fingernail test. For light scratches that only affect the finish, rub with walnut meat or a 1:1 mix of olive oil and white vinegar, or use a color-matched touch-up marker. For deeper scratches that show bare wood, use a wax fill stick or color-matched wood filler, and only sand lightly with fine-grit paper if absolutely necessary.
How thick is wood veneer, and why does it matter for repairs?
Modern decorative veneer is typically only 0.4 to 0.8mm thick (about 1/64 to 1/32 inch), and older furniture with thicker sliced veneer usually tops out around 1/16 inch. That thinness means aggressive sanding can cut straight through to the substrate underneath, which is why veneer repairs rely much more on fillers, markers, and light hand-sanding than solid wood repairs do.
Is it safe to sand wood veneer?
Only with caution. Use 220-grit or finer sandpaper, sand by hand (never with a power sander), work in the direction of the grain, and stop as soon as you notice any color or texture change. A couple of light passes is usually the safe limit — sanding through veneer to the substrate can’t be undone without re-veneering or replacing the piece.
Does the walnut trick actually work on veneer scratches?
Yes, for light surface scratches. Rubbing raw walnut meat over the scratch releases natural oils that fill and darken the fine line, making it much less visible. It’s a real, longstanding refinisher’s trick, but it’s a cosmetic fix — it won’t hold up on a scratch deep enough to have reached bare wood.
Bottom Line
Most veneer scratches are a finish-level fix, not a sanding job — walnut meat, an oil-vinegar polish, or a color-matched marker handles the majority of them. Save sanding for scratches that genuinely reach bare wood, and even then keep it light, fine-grit, and hand-only. Given how thin veneer actually is, that caution is the difference between a repair you can’t see and a bare patch you can’t fix.
Sponsored / affiliate links. As an Amazon Associate I earn from qualifying purchases. I may earn additional commission from eligible campaigns.