How to Repair an MDF Table Top: Fix Chips and Water Damage
A chipped or water-stained MDF table top is fixable in an afternoon with wood filler, sandpaper, and a fresh coat of sealer — full replacement is only necessary if the core has swollen and crumbled. Left alone, an exposed edge keeps wicking moisture and the damage spreads. This guide covers cleaning the damaged spot, filling it, sanding it flush, and resealing so it stays fixed.
Are you staring at scratches, water stains, or chips on your MDF table top, wishing for a magic solution? The good news is, you don’t need to be a DIY expert to breathe new life into your beloved furniture.
Repairing an MDF table top can be surprisingly simple, and with just a few basic tools and materials, you can make it look as good as new. Imagine the satisfaction of transforming your table with your own hands, saving money, and extending its life.
In this guide, you’ll discover easy and effective steps to repair that worn-out surface and restore its original beauty. Ready to turn frustration into creativity? Let’s dive into the process and give your MDF table top the makeover it deserves.
Tools And Materials Needed
Best Filler for MDF Chip Repair
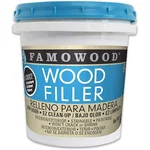 |
FamoWood Latex Wood Filler (Pint) Fills chips and gouges flush without the shrinking or cracking this guide warns solvent-based fillers can cause on MDF edges.
|
Most of this repair uses tools you probably already have in a junk drawer. For sanding, keep three grits on hand: 80-grit for shaping cured filler down close to the surface, 150-grit for the mid-stage smoothing pass, and 220-grit for the final blend before primer — skipping straight from 80 to 220 leaves visible swirl marks that show through paint. A flexible putty knife (1.5″ to 2″ works for most chips) spreads filler without gouging the surrounding MDF, and a two-part wood filler like the FamoWood pick above sands cleaner than a single-part patching compound because it doesn’t stay gummy at the edges.
For finishing, an oil-based or shellac-based primer (BIN or similar) matters more on MDF than on solid wood — a water-based primer can re-swell the raw fibers at a sanded repair spot before it dries, which telegraphs as a slightly raised patch under the paint. A tack cloth removes sanding dust that a regular rag leaves behind, and a dust mask is worth wearing since MDF dust is finer than sawdust from solid lumber and irritates the airways more.
Credit: www.reddit.com
Assessing Damage
Not every mark needs the same fix, and treating a surface scratch like a structural crack wastes filler and time. A scratch that only broke the laminate or paint layer but didn’t reach the fiber core is cosmetic — run a fingernail across it, and if you can’t catch an edge, a light fill-and-blend is enough. Clean the area with a barely-damp cloth first, since MDF dust sitting in the scratch will trap air bubbles under the filler and leave a pinhole once it dries.
A crack that goes through to the core is a different problem, because MDF has almost no long fibers to bridge the gap the way solid wood does — once the resin bond fails, the two sides won’t re-glue at full strength without a filler acting as the bridge. A polyurethane or PVA-based wood glue works if the crack is hairline and you can clamp it closed; anything wider than about 1/16″ holds better with a two-part epoxy filler forced into the gap, since glue alone shrinks as it cures and can pull the crack open again after a few weeks.
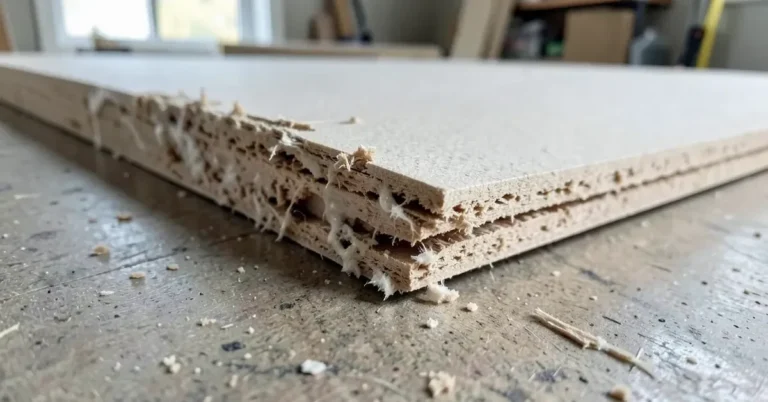
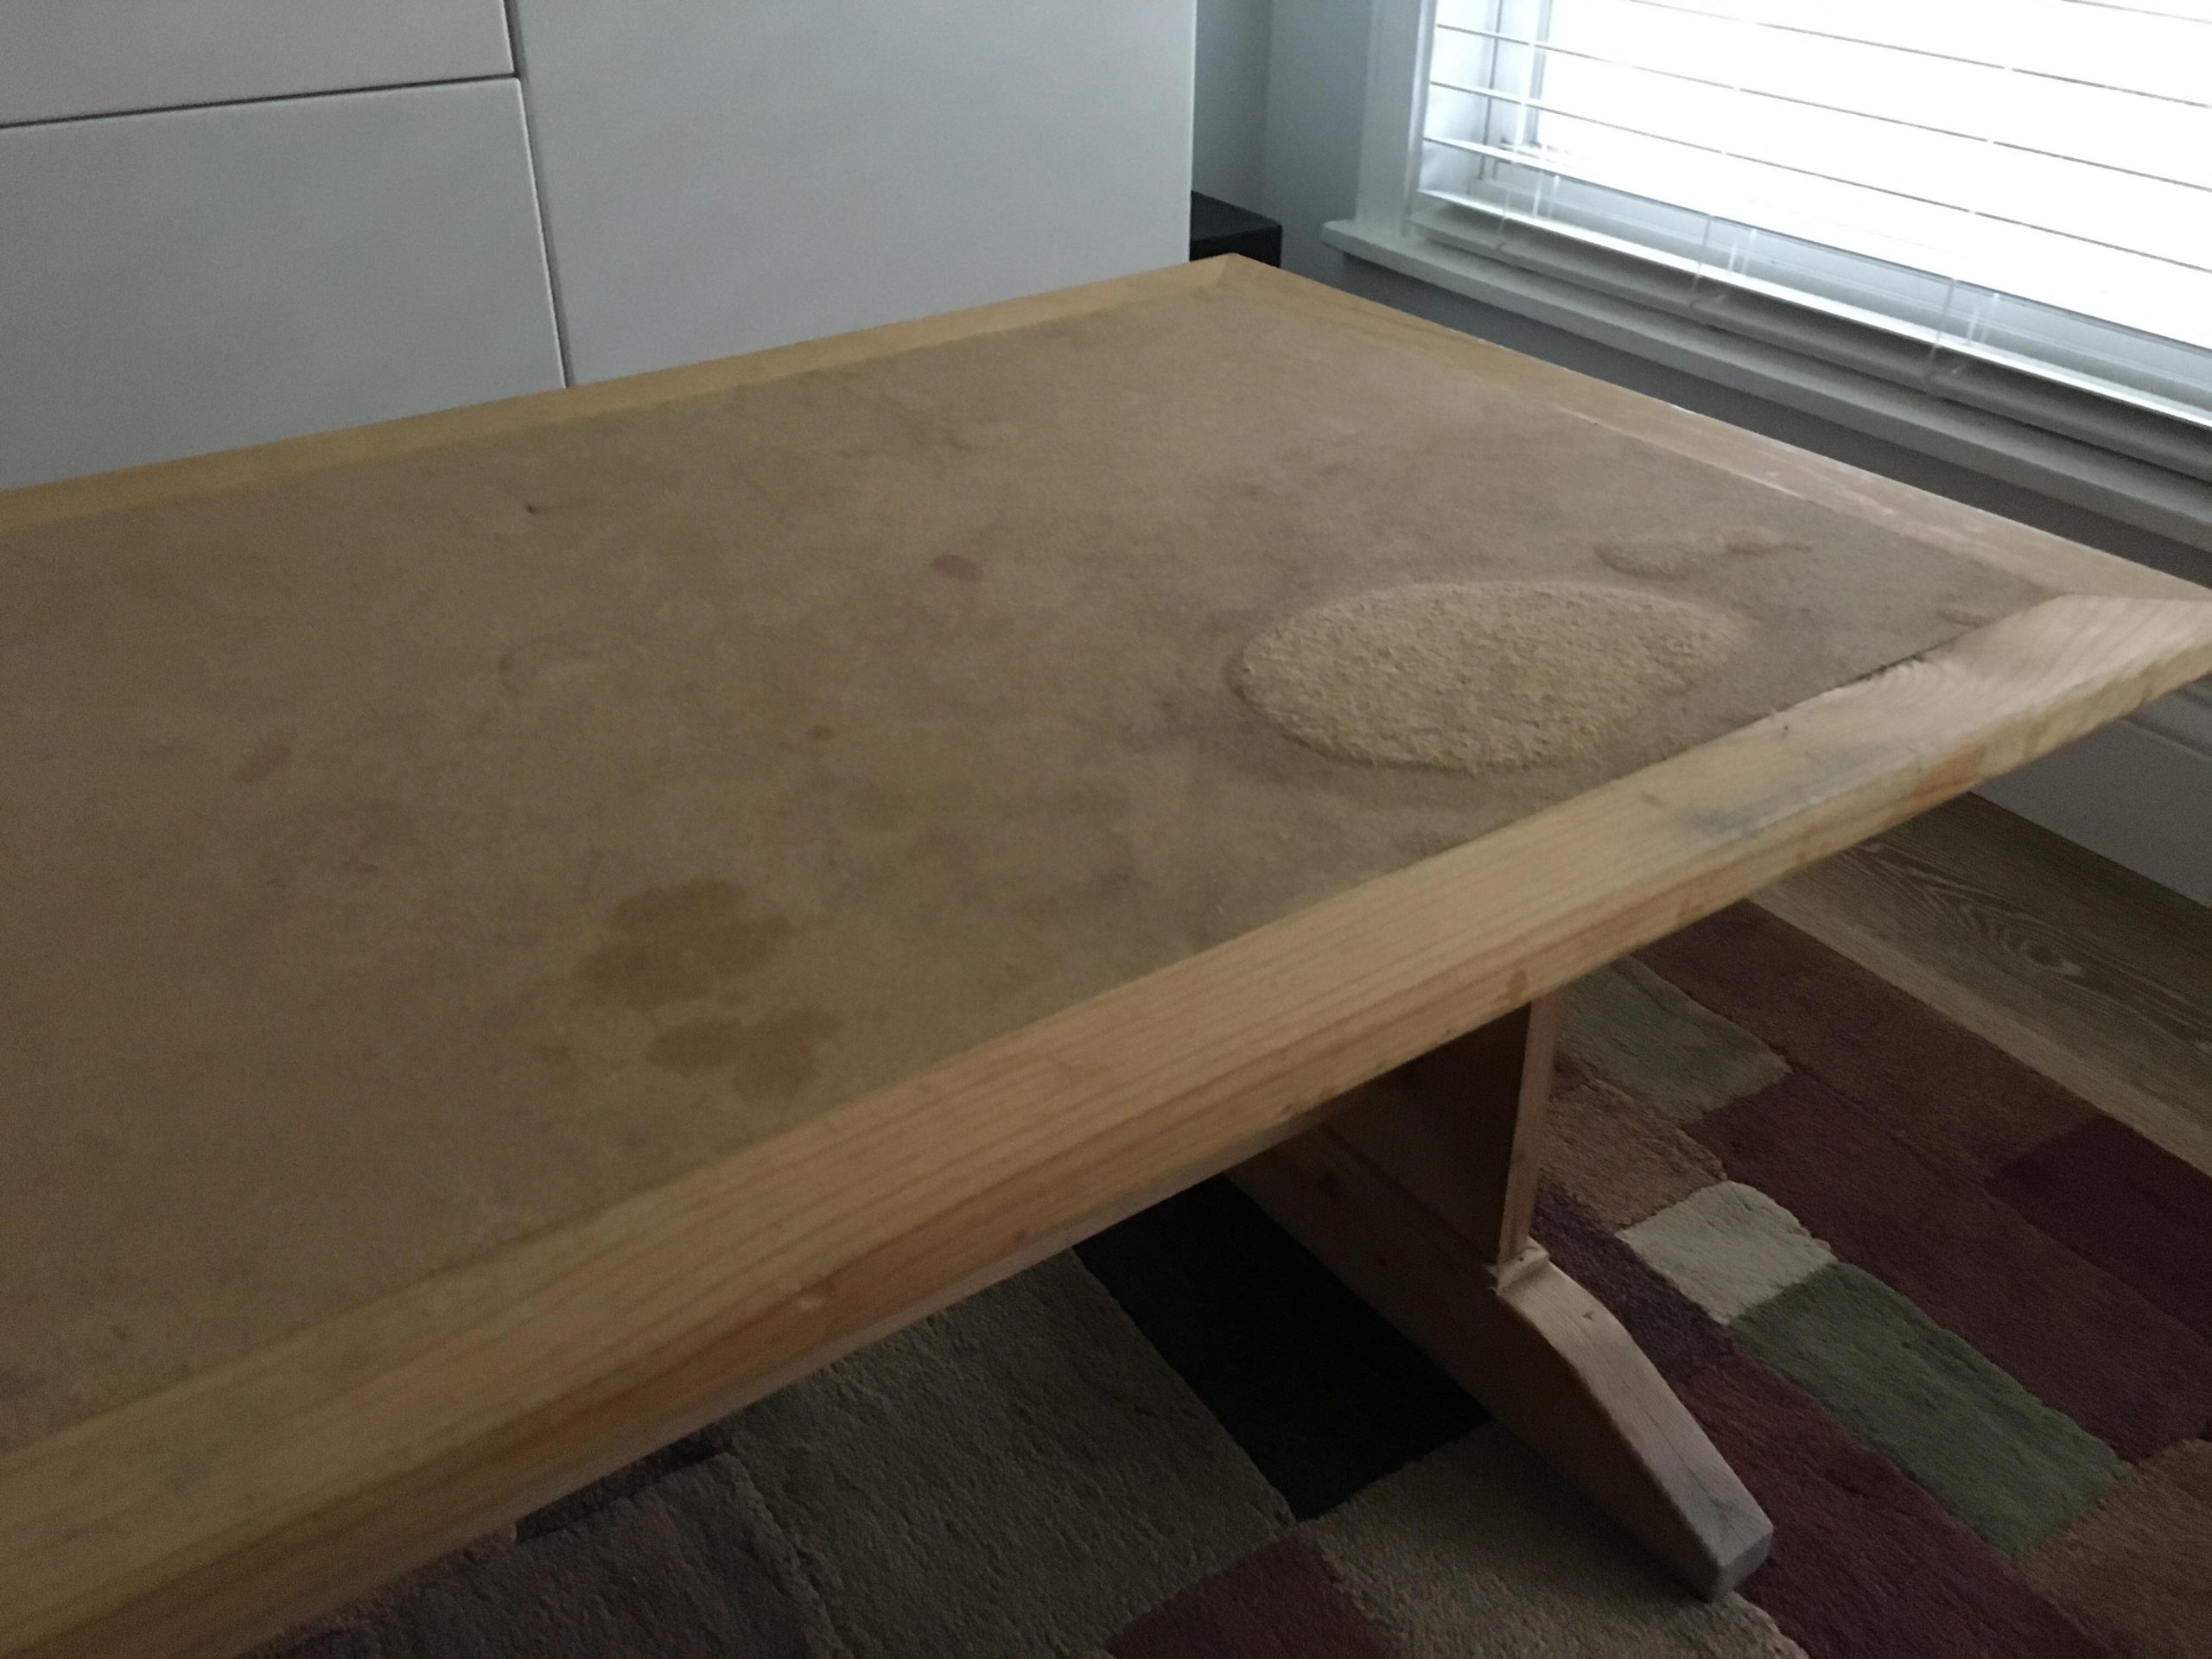
Water stains are the trickiest of the three because the damage isn’t always just on the surface. A ring left by a wet glass usually means only the top layer of fibers darkened, and it lifts with a diluted oxalic acid wood bleach (sold as deck brightener) followed by a full re-dry before refinishing. But if the table top has swollen — the surface feels soft or slightly raised along an edge — sanding won’t undo it. MDF fibers that have absorbed water expand permanently; drying only stops further swelling, it doesn’t shrink the fibers back to their original density. In that case the swollen section has to be cut out and patched, not sanded flat.
Cleaning The Table Top
Before any filler goes on, the surface needs to be genuinely clean, not just dust-free — any residue left behind gets sealed under the filler and can show through as a dull patch once the finish goes on. Start dry, with a soft cloth or a tack cloth, and work into corners and around edge banding where sanding dust collects and doesn’t brush off easily.
For grease or old wax buildup (common on kitchen and craft tables), a mild dish soap diluted in warm water cuts through it without leaving a soapy film if you follow with a second pass using just water. Avoid soaking the table top — MDF absorbs standing moisture fast, so a damp cloth wrung out well is safer than a wet one, and the surface should feel dry to the touch within a few minutes, not still cool and damp.

Credit: www.reddit.com
Fixing Surface Scratches
For a shallow scratch, load a small amount of filler onto the putty knife and drag it across the scratch at roughly a 45-degree angle, pressing it in rather than just skimming the surface — this forces filler into the actual groove instead of just bridging over it, which is why thin fills often pop back out after a few weeks of use. A latex-based filler like FamoWood typically sets to the touch in 15-30 minutes but needs a few hours before it’s hard enough to sand without gumming up the sandpaper; check by pressing a fingernail into an inconspicuous edge of the fill.
Sand with the grain direction of any surrounding wood-grain veneer or laminate pattern, not in circles — circular sanding on a flat panel leaves faint arc marks that catch light at an angle even after painting. Start at 150-grit to knock the filler down close to flush, then finish at 220-grit for a surface smooth enough that primer won’t telegraph the repair. Wipe with a slightly damp cloth between grits; dry wiping just redistributes the fine MDF dust rather than removing it.
Repairing Deep Cracks
Deep cracks need glue worked all the way to the bottom of the gap, not just smeared across the top — a thin popsicle stick or a zip-tie cut at an angle reaches further into a narrow crack than a brush and pushes the glue ahead of it instead of just coating the visible surface. PVA wood glue works for cracks under about 1/16″ wide; anything wider needs a gap-filling glue or an epoxy, since standard PVA shrinks as the water in it evaporates and a thick bead in a wide gap can crack again once it fully cures.
Clamping pressure matters more than clamp count on MDF, because the material crushes more easily than solid wood under a tightened clamp — snug is enough, and cranking a clamp down until the surface visibly dents means it’s too tight. Leave clamps on for the glue manufacturer’s full cure time (usually 24 hours for PVA, longer in cooler rooms below 65°F) rather than the faster “dry to the touch” time, since a joint that feels solid at 2 hours can still be at a fraction of its final strength.
Dealing With Water Damage
Speed matters with water damage on MDF far more than on solid wood, because MDF starts absorbing moisture through any exposed edge within minutes rather than hours. Move the table to a dry, ventilated spot and point a fan across the wet area rather than directly at it — a fan blasting straight into a swollen edge can push moisture deeper before it evaporates. Drying can take anywhere from a few hours for a small splash to two or three days for a soaked corner; the panel isn’t done drying just because the surface feels cool and dry, since MDF holds moisture in its core longer than the outer layer suggests, and closing it up with paint too early traps that moisture and invites mold underneath the finish.
Once a section has swollen and stayed swollen after drying, sanding it flat won’t work — the fibers have physically expanded and lost their original density, so you’re sanding away good material around the damage rather than fixing it. Cutting out the swollen section and patching it with a same-thickness piece of MDF is the more reliable fix: mark the damaged area with a square edge (not a rough freehand cut), remove it with a jigsaw or router, and cut the patch about 1/16″ oversized so it can be sanded flush rather than undersized and gapped. Glue the patch in with a gap-filling wood glue, clamp it flat against a caul (a straight scrap board) so it doesn’t sit proud of the surrounding surface, and let it cure fully before sanding the seam.
Sanding And Smoothing
Repairing an MDF table top involves sanding and smoothing the surface to remove imperfections. Use fine-grit sandpaper for a smooth finish. Ensure the surface is clean and dust-free before applying any paint or varnish.
Choosing Sandpaper Grit
The three-grit progression — 80, then 120-150, then 220 — exists because each step removes the scratch pattern left by the previous one. Jumping straight from 80-grit to 220-grit skips that step and leaves deep 80-grit scratches still visible under the fine sanding, which is one of the more common reasons a “sanded smooth” MDF repair still shows marks once primer goes on and reflects light. Worn sandpaper is worse than no sandpaper in the middle steps — once the grit dulls, it burnishes the MDF surface instead of cutting it, which can actually seal the fibers and make the next coat of primer or paint adhere poorly.
Sanding Procedure
Work flat, not just wherever the marks are — sanding only the repaired spot without blending a few inches beyond it often leaves a slightly different sheen or a shallow dish in the surface that’s invisible dry but shows up under paint. Keep the sander (or hand block) moving continuously; holding it still in one spot, even briefly, digs a low point into MDF faster than it would into solid wood because the material is softer and more uniform. Between each grit change, wipe with a barely damp cloth rather than blowing dust off — leftover 80-grit dust trapped under a 220-grit pass acts like sandpaper itself and can scratch the finer finish.
Finishing Touches
Primer does more work on a repaired MDF spot than on an untouched panel, because it’s sealing two different materials — the original factory-sealed MDF face and the raw filler — so they absorb the topcoat evenly instead of the repair soaking up more paint and drying a slightly different shade. An oil-based or shellac-based primer holds up better here than a water-based one, since it won’t re-raise the exposed fibers at the repair’s edge. Apply it thin; a heavy coat pools at the edges of the repaired area and creates a faint ridge once it dries.
For the topcoat, the choice between paint and varnish depends on whether the repair needs to disappear or just needs to be protected. A painted table top hides a patch completely once color and sheen match, which is why most MDF furniture repairs end in paint rather than a clear finish — MDF has no visible wood grain, so a clear varnish over a patched spot would show the seam even with a perfect sand job. If the table was already finished in a clear or stained look, matching stain exactly on MDF filler is difficult since filler doesn’t absorb stain the way wood fibers do; painting the whole top a solid color is usually the more realistic fix than trying to blend a stained patch invisibly.
Maintenance Tips
Once repaired, the table top’s biggest ongoing threat is standing water at the edges, not surface scratches — a wet glass ring wipes off in seconds, but water sitting against an unsealed MDF edge for even 20-30 minutes can start the same swelling that caused the original damage. Wipe spills up promptly rather than letting them air-dry, and stick to a barely damp cloth with mild soap for routine cleaning instead of a wet sponge.
Coasters and placemats matter more here than on solid-wood furniture because MDF has no natural moisture resistance the way oiled hardwood does — there’s no finish to “rebuild” if it wears through, only the sealed factory surface and whatever primer and paint you added during the repair. Keep the table out of direct sun if it’s painted, since UV exposure will fade and eventually chalk most paint finishes years before it does any damage to the MDF underneath.

Credit: www.reddit.com
Frequently Asked Questions
How To Repair An MDF Table?
Clean the damaged area on the MDF table. Apply wood filler to dents or scratches. Sand the surface smoothly once dry. Use matching paint or varnish to restore the finish. Ensure proper drying between each step for best results.
Can MDF Board Be Repaired?
Yes, MDF board can be repaired. Use wood filler for small damages and sand it smooth. For larger repairs, replace affected sections. Ensure proper sealing and painting to protect the surface. Always handle repairs carefully to avoid further damage. Regular maintenance extends the lifespan of MDF boards.
How Do You Fix A Water Damaged MDF Table Top?
Dry the table thoroughly and sand the damaged area. Apply wood filler and let it dry completely. Sand again for smoothness. Prime and paint the surface to match the original color. Seal with a clear coat to protect from future damage.
How To Reinforce An MDFTable Top?
To reinforce an MDF table top, add a plywood layer underneath for strength. Use wood glue and screws for secure attachment. Consider adding metal brackets for extra support. Sand and finish the surface to maintain aesthetics. Regular maintenance ensures long-lasting durability.
Conclusion
An MDF table top is one of the more forgiving pieces of furniture to repair, precisely because there’s no grain to match and no risk of the wrong stain color giving away a patch — clean it, fill it, sand it in stages, and seal it, and a chip or a water ring stops being a reason to replace the table.
The parts worth not rushing are the cure times between steps and the primer coat — those two are where most re-do jobs come from, not from the sanding or the filling itself. Get those right and a repaired MDF top should hold up for years of normal use before it needs attention again.
Sponsored / affiliate links. As an Amazon Associate I earn from qualifying purchases. I may earn additional commission from eligible campaigns.