Primed MDF vs Unprimed MDF: Which Saves You Time?
Primed MDF is commonly reported to save about one paint coat and one sanding cycle, which can reduce total time for painted interior trim unless the board needs profile sanding or major edge repairs. Skip that calculation, and you can add a day of dry time plus extra touch-up labour. This guide compares sheet cost, coat count, drying waits, and edge work so you can choose the faster option for your project.
| Decision factor | Primed MDF | Unprimed MDF | Winner |
|---|---|---|---|
| Prep on site | Factory-applied white primer base coat; usually ready for topcoat paint after light inspection | Raw board; needs full priming before finish paint | Primed MDF |
| Time on a typical trim job | Fewer sanding and coating steps, so site time is shorter | Longer because priming and drying happen on site | Primed MDF |
| Finish control | Good for white or light colours, but factory primer quality can vary | Lets you choose primer, sheen, and paint system from the start | Unprimed MDF |
| Upfront material cost | Slightly more expensive upfront | Slightly cheaper upfront | Unprimed MDF |
| Humid interior use | Primer does not change moisture performance | Primer does not change moisture performance | Tie |
| Best fit | Skirting boards, architraves, and other painted trim where labour matters | Custom finishes, dark colours, site-tinted systems, and hidden parts | Tie |
Is primed MDF better than unprimed MDF?
Primed MDF is better when your main goal is to reduce labour on painted interior work. Unprimed MDF is better when you need more control over the primer, finish colour, or surface correction. The right pick depends on whether the job values fewer steps or tighter control.
What changes in prep time
Primed MDF starts with a factory-applied white primer base coat and is ready for a topcoat straight away. That usually removes one full priming cycle from the job and cuts some sanding, especially on straightforward skirting boards and architraves.
What changes in finish control
Unprimed MDF is the raw board, so you choose your own primer and finish. That matters when you want a dark colour, a site-tinted paint system, or a closer match to other joinery already on site.
Where the extra sheet cost can make sense
Primed MDF is slightly more expensive upfront, but that higher sheet price can be justified when labour is the bigger cost. For larger painted runs, the reduced sanding, priming, and waiting often outweigh the material premium.
MDF trim time table
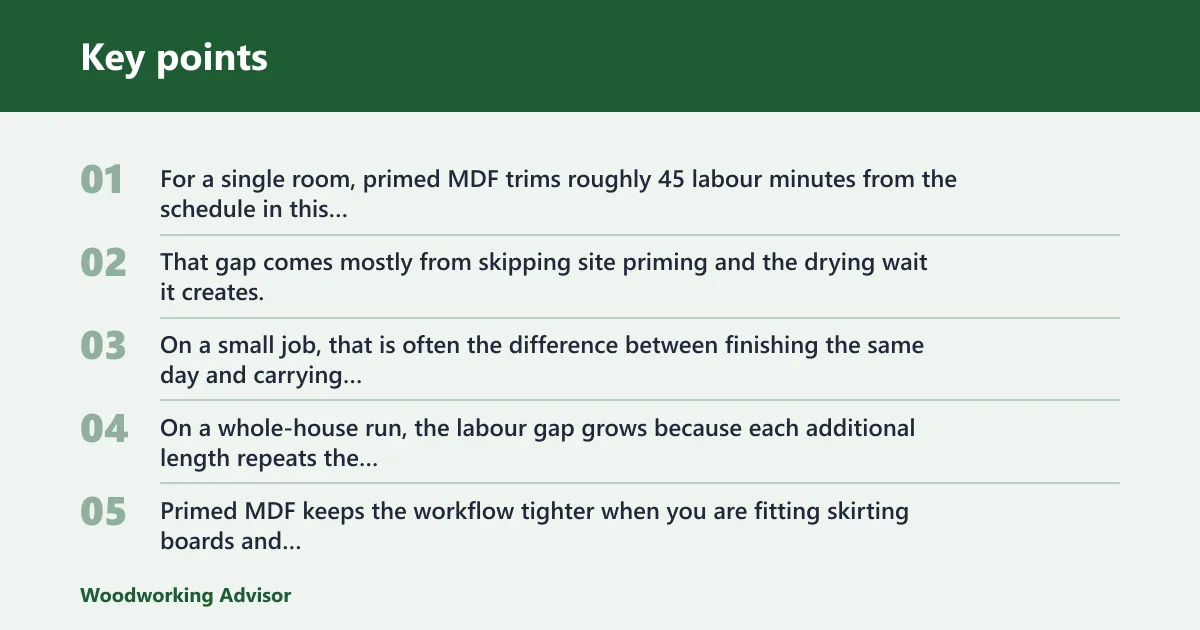
The real comparison is total job time, not sheet price alone. The table below uses common job sizes and shows how primed stock trims steps from the schedule.
| Project size | Option | Setup minutes | Sanding minutes | Priming minutes | Drying wait | Topcoat count | Topcoat minutes | Total labour minutes |
|---|---|---|---|---|---|---|---|---|
| One room trim job | Primed MDF | 20 | 15 | 0 | 0 | 2 | 60 | 95 |
| One room trim job | Unprimed MDF | 20 | 25 | 35 | 180 minutes | 2 | 60 | 140 |
| Whole house trim job | Primed MDF | 45 | 30 | 0 | 0 | 2 | 180 | 255 |
| Whole house trim job | Unprimed MDF | 45 | 50 | 75 | 240 minutes | 2 | 180 | 350 |
| Cabinet-facing work | Primed MDF | 25 | 20 | 0 | 0 | 2 | 80 | 125 |
| Cabinet-facing work | Unprimed MDF | 25 | 30 | 45 | 180 minutes | 2 | 80 | 180 |
One room trim job
For a single room, primed MDF trims roughly 45 labour minutes from the schedule in this example. That gap comes mostly from skipping site priming and the drying wait it creates. On a small job, that is often the difference between finishing the same day and carrying work into the next visit.
Whole house trim job
On a whole-house run, the labour gap grows because each additional length repeats the same prep cycle. Primed MDF keeps the workflow tighter when you are fitting skirting boards and architraves across several rooms.
Cabinet-facing work
Cabinet-facing work usually needs clean edges and a uniform painted face. Primed MDF still cuts labour, but the gain matters most when the faces are visible and the paint system is simple.
Why primed MDF saves time on site
Primed MDF saves time because it reduces sanding, priming, and drying waits. It also cuts back on edge touch-up work after installation, which is where many painted trim jobs lose time.
Less sanding and priming
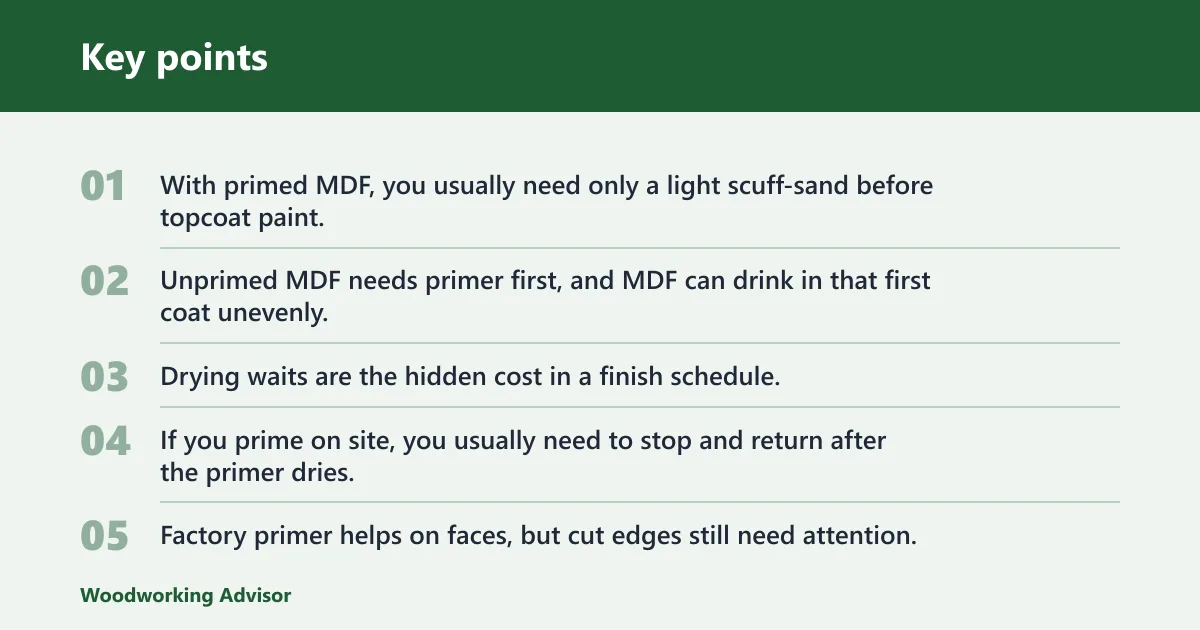
With primed MDF, you usually need only a light scuff-sand before topcoat paint, not a full bare-board prep cycle. Unprimed MDF needs primer first, and MDF can drink in that first coat unevenly, which is why extra attention often goes to edges and cut faces.
Fewer drying waits
Drying waits are the hidden cost in a finish schedule. If you prime on site, you usually need to stop and return after the primer dries, while primed MDF lets you move faster to the finish coats.
Less edge touch-up after cuts
Factory primer helps on faces, but cut edges still need attention. Exposed MDF edges can fuzz and soak finish differently, so the time you do not spend on broad priming often shifts into small sealing and spot work at the cuts.
Say your installer is fitting skirting boards in a hallway with a same-day paint schedule. Primed stock keeps the plan moving because the faces need only a quick scuff and topcoat, while the cut ends get spot-sealed instead of the whole run waiting for primer to dry.
Does primed MDF really save money?
Primed MDF can save money when labour, not material, is the larger line item. If you only compare sheet price, unprimed MDF looks cheaper; once you add primer, extra paint, and drying time, the gap often narrows or disappears on painted interior jobs.
Sheet price versus labour minutes
Unprimed MDF is slightly cheaper upfront in the comparison table, but that does not include the added site time. For a trade job, the labour difference can matter more than the board price because it affects the number of visits and the length of the finishing stage.
Primer and paint coat count
Primed MDF is best for white or light colours because the factory primer gives the topcoat a better starting point. Unprimed MDF usually needs a separate primer coat before the final colour, so it often means one extra coat in the sequence even if the final paint count stays the same.
Where savings disappear
The time advantage shrinks when the boards need profile sanding, damaged corners, or heavy edge repairs. It also shrinks if the factory primer is rough enough that you must spend time sanding it back before paint.
Suppose a cabinet run includes several mitred corners and a few nicked ends from transport. The primed board still helps, but the extra sealing and touch-up can eat into the time you hoped to save if the primer layer is already marked or broken.
What should you do after cutting primed MDF?
After cutting primed MDF, you should seal the exposed edges, scuff-sand any fuzzy spots, and spot-prime damaged areas before topcoat. The factory finish on the faces does not protect cut edges well enough on its own, and those edges can still show through the final paint.
Seal exposed edges
Start by coating every raw cut edge with primer or an edge sealer. That step matters because the cut face absorbs differently from the factory-primed surface, and untreated edges often flash through the finish.
Scuff-sand where needed
A light scuff-sand is enough on most factory-primed faces before painting. Use it to knock down nibs, raised grain, or handling marks; do not sand so hard that you cut through the primer unless the surface needs correction.
Spot-prime damaged areas
If the factory primer is chipped, dented, or sanded through, prime those spots again before topcoat paint. That step keeps colour absorption even and avoids patchy sheen at the repair.
- Inspect all cut ends, mitres, and fixing points before hanging the board.
- Seal every exposed edge with primer or an edge sealer.
- Let the edge treatment dry fully.
- Scuff-sand the face lightly only where the factory primer is glossy or marked.
- Spot-prime damaged areas, then apply the topcoat paint.
Choose Primed MDF if… / Choose Unprimed MDF if…
Choose Primed MDF if you want fewer site steps and a faster finish on painted skirting boards, architraves, or cabinet-facing work. Choose Unprimed MDF if you need full finish control, a custom primer system, or a lower upfront board price on parts that are hidden or not time-sensitive.
Choose Primed MDF if…
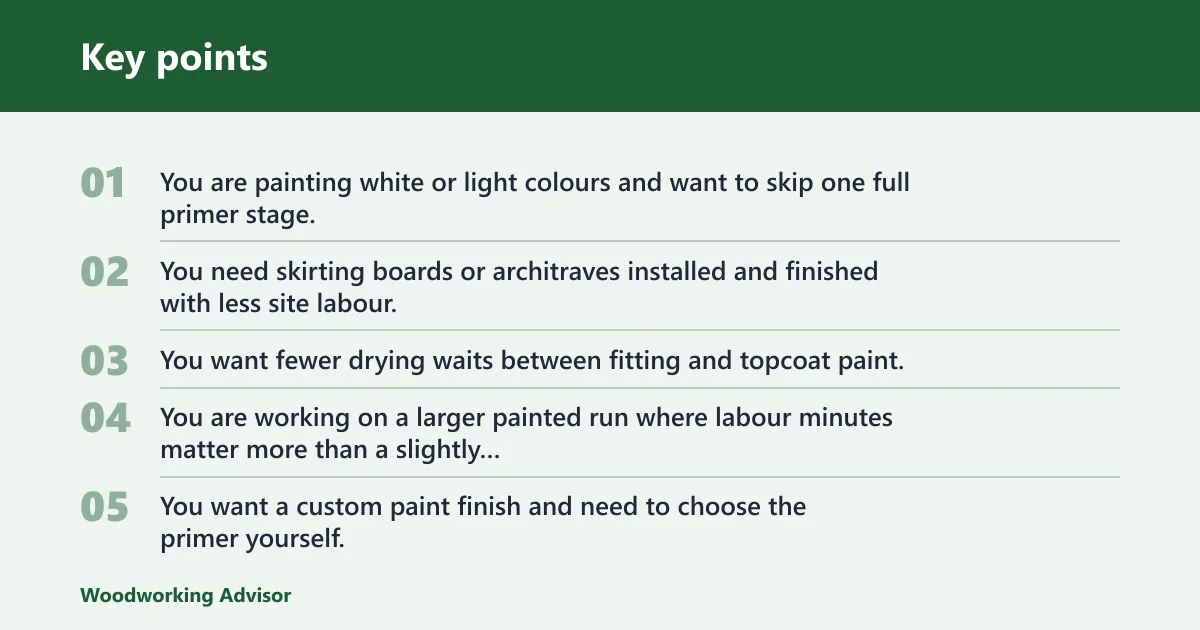
- You are painting white or light colours and want to skip one full primer stage.
- You need skirting boards or architraves installed and finished with less site labour.
- You want fewer drying waits between fitting and topcoat paint.
- You are working on a larger painted run where labour minutes matter more than a slightly higher sheet price.
Choose Unprimed MDF if…
- You want a custom paint finish and need to choose the primer yourself.
- You are using a dark colour or a site-tinted system that needs your own prep sequence.
- You are working on hidden components, back panels, or parts where visible finish quality is less important.
- You expect to do your own edge sealing and want complete control over that process.


Which MDF is best for humid rooms?
For humid rooms, moisture-resistant MDF is generally the better choice rather than simply changing the primer state. Moisture resistance comes from the board itself, not the primer, so the room conditions should decide the board specification before you choose primed or unprimed stock.
What moisture-resistant MDF changes
Moisture-resistant MDF is a board choice for kitchens, bathrooms, and hallways where humidity is a concern. It does not remove the need for primer or topcoat paint; it changes how the substrate handles moisture exposure.
Where primer does not help
Primer can help reduce soak-in and blotchiness, but it does not turn standard MDF into a moisture-resistant product. If the room is prone to damp air or splashes, the board specification matters first.
Room-by-room choice
For a dry bedroom or hallway, primed MDF is often the faster trim choice. For a bathroom or kitchen, start with moisture-resistant MDF, then choose primed or unprimed based on how much finish control you need and how much on-site time you can spend.
How do I get the smoothest painted finish on MDF?
The smoothest finish comes from matching the board state to the paint system, then controlling edges and sanding. Use primed MDF when you want a faster route to a uniform painted face, but inspect the factory primer and touch up any cuts before the topcoat.
Inspect the factory primer first
Factory primer quality can vary enough to justify a quick inspection. Check for rough texture, missed spots, raised fibers, and chips, because those defects can show through the final coat if you paint over them unchecked.
Use light sanding, not heavy sanding
A light scuff-sand is usually enough on good primed stock. Heavy sanding can cut through the factory coat and send you back into spot priming, which removes much of the time advantage.
Match the board to the finish goal
If the final colour is dark, the sheen is specialised, or the system is being tinted on site, unprimed MDF often makes more sense. If the goal is a clean painted trim finish with less site labour, primed MDF is usually the quicker path.
Frequently asked questions
Does primed MDF really save time on site?
Yes. Primed MDF usually removes one priming stage and one drying wait, so it shortens the painted workflow. The time gain is most visible on skirting boards, architraves, and other repeated trim runs where each extra coat multiplies the labour.
Do I still need to sand primed MDF before painting?
Usually yes, but only lightly. A scuff-sand is enough on most factory-primed faces to remove nibs and improve adhesion. If the primer is damaged, rough, or sanded through at edges, those spots need repair before the topcoat goes on.
Is primed MDF worth the extra cost?
Often yes for painted interior trim, because the labour savings can outweigh the slightly higher sheet price. It is less convincing on hidden parts or small jobs where the time saved is too small to matter, or where a custom primer system is already planned.
Which is better for humid rooms, primed or unprimed MDF?
Neither primer state solves moisture problems on its own. For humid rooms, choose moisture-resistant MDF first, because the moisture performance comes from the board. After that, decide between primed and unprimed stock based on finish control and site time.
What should I do after cutting primed MDF edges?
Seal the exposed edges, then scuff-sand any fuzz and spot-prime damaged areas. Cut faces absorb differently from factory-primed surfaces, so untreated edges can show through the finish even when the face coating looks complete.
Sponsored / affiliate links. As an Amazon Associate I earn from qualifying purchases. I may earn additional commission from eligible campaigns.
 Tongue and Groove Router Bit Set,Newdeli 1/4 Inch Shank Tongue and Groove Router Bit 3/4" Stock 3 Teeth T Shape Wood Milling Cutter Woodworking Tool for Doors, Drawers, Shelves & More
 Gavigain Circular Saw Guide Rail, Heavy Duty Aluminum, Non Slip Clamping, Universal Compatibility, Adjustable Extension Rail for Woodworking Projects