How to Restore Burl Wood: Solid vs Veneer, Fill, Sand and Oil
To restore burl wood, first find out whether the piece is solid wood or thin veneer, then identify the old finish with a solvent test, clean or strip it gently, sand with a scraper and a short grit sequence, fill voids with epoxy, and finish with a penetrating oil. Skipping the veneer check is the mistake that ruins the most pieces, because a few passes with coarse sandpaper can cut straight through a veneer layer that is often only about 1/40 inch thick.
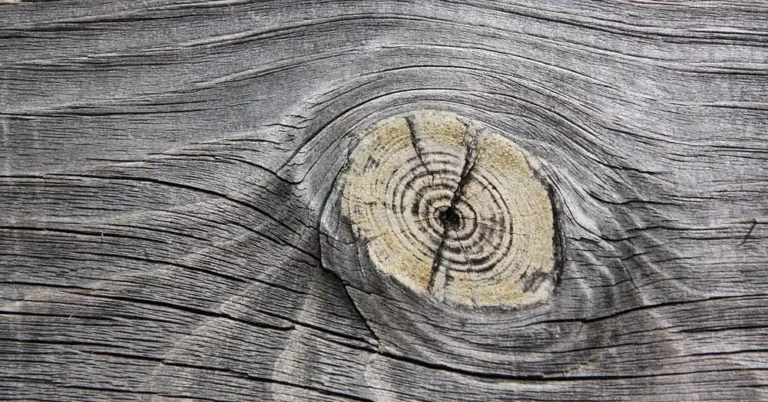
Burl grain runs in swirls and tight knots instead of straight lines, so the usual restoration advice of sanding with the grain does not work here. There is no single grain direction to follow. This guide covers what changes for burl: the solid-versus-veneer test, matching your stripping method to the old finish, filling the natural voids and cracks burl is known for, and the safety points around dust, cyanoacrylate glue and oily rags. If you only want to know what a piece is worth, see our burl wood price guide instead.
What You Need to Restore Burl Wood
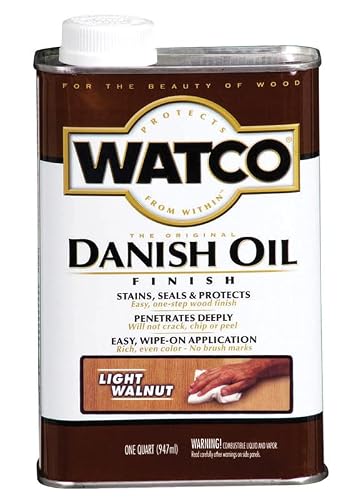
Best Burl Oil Finish Pick
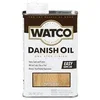 |
Watco Danish Oil Finish, Natural (1 pint) A wipe-on oil and varnish blend that deepens burl figure and is easy to renew, which suits the final step of a burl restoration.
|
Beyond the finish, most burl restorations need the same short kit:
- Sandpaper or sanding sponges in 150, 220, 320 and 400 grit, plus a sanding block or foam pad so you do not round over the figure
- A card scraper, which cuts burl cleanly where a plane or coarse paper would tear it
- Clear two-part epoxy and, optionally, thin and medium cyanoacrylate (CA) glue for cracks and voids
- Denatured alcohol and lacquer thinner for the finish test in the next sections
- Lint-free cotton rags, nitrile gloves, a P100 or N95 respirator and eye protection
Step 1: Check Whether Your Burl Is Solid Wood or Veneer
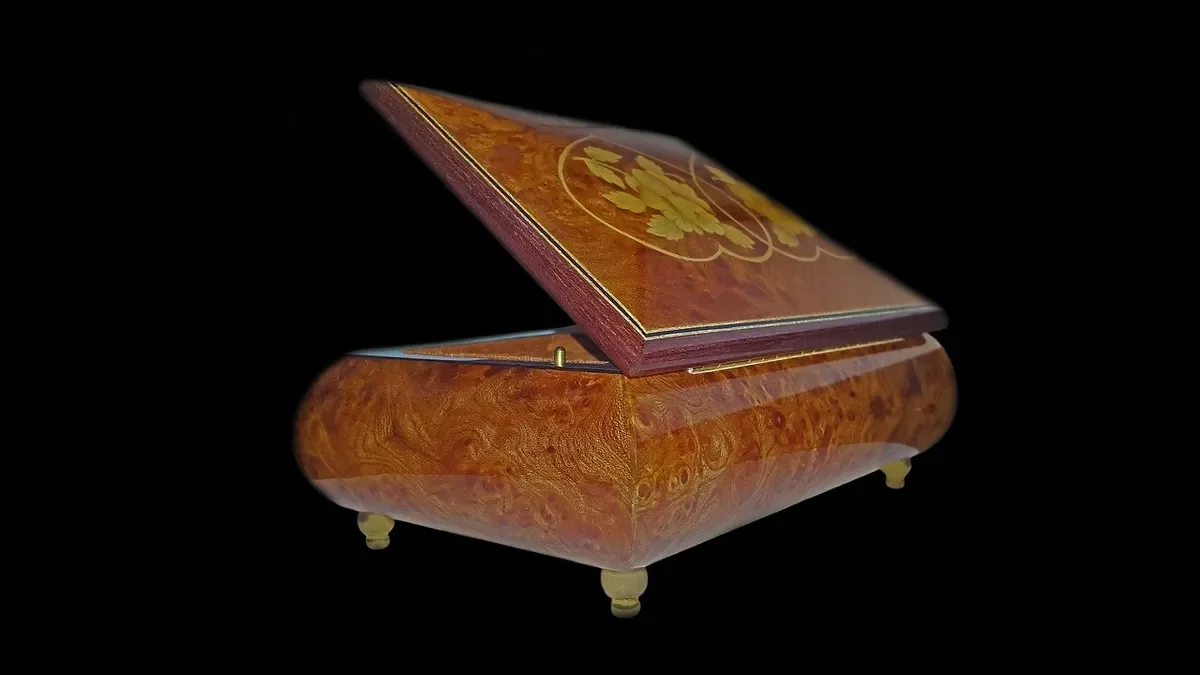
Most burl furniture, clock cases, dashboards and box lids are not solid burl. They are a thin slice of burl glued over a stable substrate such as plywood or a plainer hardwood, because large solid burl slabs are scarce and tend to move and crack. Solid burl is more common in turned bowls, carved pieces and small tabletops.
To tell which you have, look at an edge, a drawer side or the underside. A thin line between the burl face and a different, straighter-grained layer means veneer. Burl that continues in the same swirling pattern through the full thickness is solid. If you cannot see an edge, assume veneer until you can prove otherwise. That decision changes how aggressively you can sand:
| Piece type | Starting grit | Power sanding | Risk if you go too far |
|---|---|---|---|
| Solid burl (bowl, slab, carving) | 120 to 150 | Random orbit sander is fine on flat areas | Rounded edges and lost detail |
| Burl veneer (furniture, box lids, clocks) | 220 by hand only | Avoid; heat and pressure can lift old glue | Sanding through to the substrate, which cannot be repaired invisibly |
| Unknown | Treat as veneer | Avoid | Same as veneer |
A common myth is that any old piece needs to be sanded back to bare wood. On veneer, that is exactly what you should not do. If the finish is only dull, dirty or waxed, cleaning and re-oiling or re-waxing can bring back the depth without removing any wood at all.
Step 2: Identify the Old Finish Before You Strip It
The right removal method depends on what is on the wood, and a two-minute test in an inconspicuous spot tells you. Dab a cotton swab of denatured alcohol on the finish and wait a minute or two, then repeat in a second spot with lacquer thinner. Work in a ventilated room, keep solvents away from flames and wear gloves.
| Result of the test | Likely finish | What to do |
|---|---|---|
| Alcohol softens or dissolves it | Shellac | Wipe with alcohol on a rag to clean or remove it; a light alcohol rub can also refresh shellac |
| Alcohol does nothing, lacquer thinner softens it | Lacquer | Lacquer thinner removes it, or you can wipe on a fresh coat, since new lacquer melts into old |
| Neither one softens it | Varnish, polyurethane or a catalyzed finish | Needs a chemical stripper or careful scraping and sanding; on veneer, prefer stripper |
| Rag picks up a gummy, waxy residue | Wax or oil over another finish | Clean with mineral spirits first, then re-test underneath |
Furniture from before roughly the 1940s is often shellac or oil. Later factory pieces are more often lacquer or varnish. Treat that as a hint only and let the test decide.
Step 3: Clean First, Strip Only If You Must
Start with the mildest option. Dust the piece, then wipe it with a rag lightly dampened with mineral spirits, which lifts dirt, old wax and hand oils without harming most finishes. Avoid water-heavy cleaners on burl. Water raises the grain and can swell veneer, and burl shows end grain across much of its surface, so it takes up moisture quickly.
If the finish underneath is intact and only looks dull, stop here: rub in a thin coat of oil or a quality paste wax and buff it. Strip only when the finish is cracked, peeling, discolored or blotchy. Choose a stripper without methylene chloride, apply a thin coat, let it work as the label directs, and lift the softened finish with a plastic scraper and a nylon pad. Burl figure hides gunk in its pores, so an old toothbrush helps between the swirls. Wipe off residue with the solvent the stripper label recommends and let the wood dry fully.
Step 4: Sand Burl Without Tear-Out
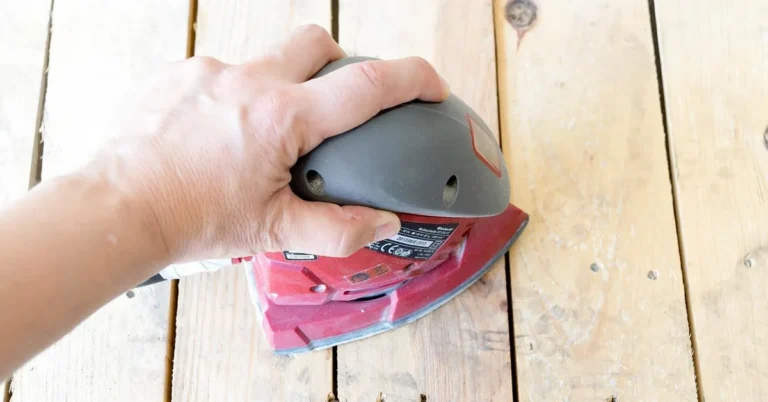
Because the grain changes direction every few millimeters, a plane or a coarse belt will lift chunks out of the softer sections. Two techniques help on solid burl. First, use a sharp card scraper and take very fine shavings; scrapers slice fibers instead of prying them, so they behave better on swirled grain. Second, sand through a short sequence without skipping steps: 150, 220, 320, then 400 if you plan to use oil.
- Use a flat block on flat areas so the hard and soft patches sand at the same rate.
- Sand in small overlapping circles, and check under a raking light after each grit for scratches left by the previous one.
- Vacuum or blow off dust between grits, since a stray coarse grain will scratch the next stage.
- On veneer, start at 220 by hand and stop as soon as the surface is uniform. If a different color or straight grain shows through the burl, stop immediately.
To reduce fuzz later, wipe the sanded surface with a barely damp rag, let it dry, and give it one last light pass with your finishing grit. This raises the fibers once so they do not raise under the finish.
Step 5: Fill Voids, Cracks and Bark Inclusions
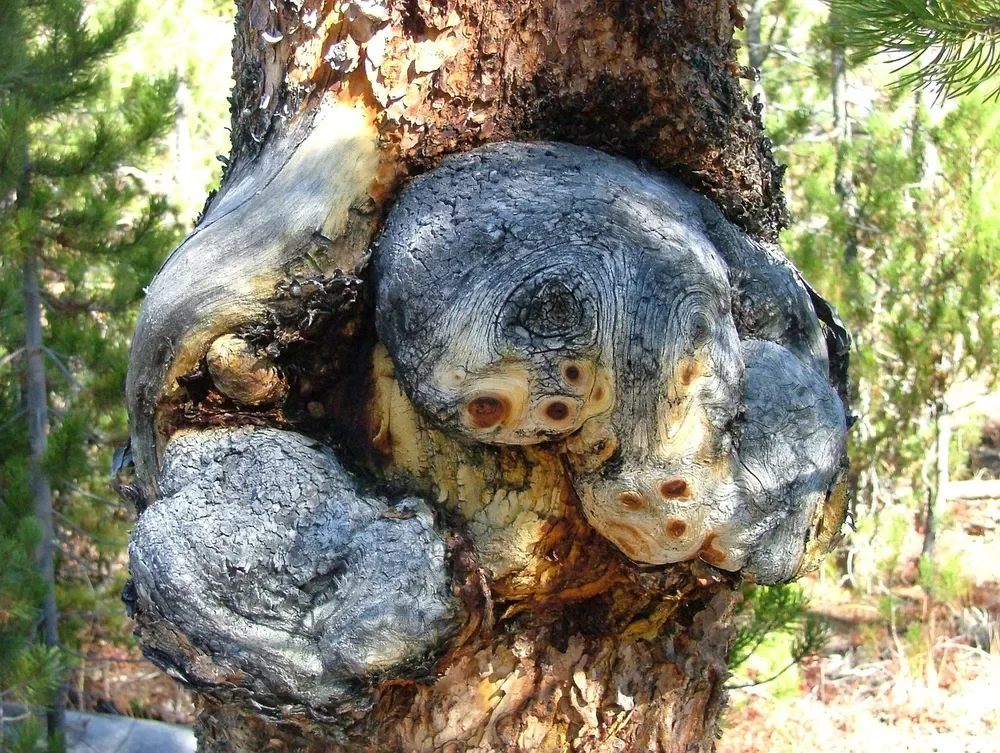
Voids, tiny cracks and bark pockets are part of burl appeal, but they also collect dust and can weaken the piece. You have two honest choices: leave small natural voids alone if they are stable, or fill the ones that are cracking, crumbling or catching dirt.
| Defect | Filler | Notes |
|---|---|---|
| Hairline crack | Thin CA glue | Wicks into the crack; sand flush after it cures |
| Crack or void wider than about 1/16 inch | Clear or tinted two-part epoxy | Tape over the back of a through-void; fill slightly proud and sand flush |
| Bark pocket or punky spot | Epoxy mixed with fine sanding dust from the same piece, or black-tinted epoxy for deliberate contrast | Tint to match or to show off the void on purpose |
| Large gap in veneer | Matching veneer patch and glue | Epoxy in a big veneer gap stays visible |
Mix epoxy exactly by the label ratio, wear nitrile gloves, and work in a ventilated space. Repeated skin contact with epoxy can cause a sensitization allergy that worsens with each exposure. Sand only after the epoxy has fully cured, not just when it feels hard. Filler and wood differ in hardness, so use a flat block, or the softer wood will dish out around the filler.
CA glue safety: cyanoacrylate glue gives off fumes that irritate eyes and airways, and it can bond skin in seconds. Never let it soak into cotton rags, paper towels or wool, because the reaction can produce enough heat to smoke or burn skin. Use a non-absorbent applicator and keep the work area ventilated.
Step 6: Stabilize Soft or Punky Burl
Burl that feels spongy, chalky or crumbles under a fingernail is decayed or has many small voids. Wiping on a low-viscosity penetrating epoxy or thin CA glue soaks into the fibers and hardens them. Apply it in thin coats, let each soak in, and wipe surface excess before it cures so it does not leave a glossy plastic skin that oil will not penetrate. For turning blanks, woodturners sometimes vacuum-stabilize the entire blank with resin. That needs a vacuum chamber and pump, so it is not a home-restoration step for furniture.
Step 7: Finish Burl Wood
An oil finish is the usual choice for burl because it soaks into the figure, deepens the color contrast and can be renewed later without stripping. A wipe-on oil and varnish blend such as Danish oil is forgiving for beginners. Flood the surface, let it soak for the time on the label, then wipe off all excess with clean rags. Excess left to dry becomes sticky and blotchy, and blotches show more on burl than on plain wood.
| Finish | Look on burl | Durability | Best for |
|---|---|---|---|
| Danish oil | Warm, natural, low sheen | Light protection; recoat as it dulls | Bowls, boxes, decorative pieces |
| Dewaxed shellac, then wax | Amber glow, medium sheen | Moderate; alcohol and heat marks | Furniture tops, clock faces |
| Lacquer or polyurethane | Deep, glossy film | High; spot repairs are harder | Table tops and heavy-use surfaces |
| Paste wax only | Soft satin | Low; refresh yearly | Pieces with an intact old finish |
Whichever you choose, test on the underside or an offcut first. Burl varies a lot from one section to the next, and what looks perfect on a scrap may go blotchy on softer areas.
Fire warning: rags soaked in Danish oil, tung oil or linseed oil can heat as they cure and ignite on their own. Lay them flat outdoors on a non-combustible surface until fully dry, or submerge them in water in a sealed metal container before disposal. Do not leave them bunched in a pile or a trash bin.
Caring for Restored Burl Wood
- Dust with a dry microfiber cloth and skip silicone sprays, which build up in the figure.
- Use coasters and trivets; oil finishes resist spills less than film finishes.
- Keep pieces out of direct sunlight and away from heating vents, which fade color and can cause cracks.
- Re-oil lightly once or twice a year, or when water no longer beads on the surface.
Working on other pieces as well? Our guide to restoring wood furniture covers general refinishing, and wood figuring explains how burl compares to curly and flame figure.
Wood Dust and Solvent Safety Checklist
- Wear a P100 or N95 respirator when sanding. Hardwood dust is classified as a human carcinogen by the International Agency for Research on Cancer, and fine sanding dust reaches deep into the lungs.
- Work outdoors or with cross-ventilation when using strippers, thinners or epoxy.
- Wear nitrile gloves, not latex, around solvents and epoxy.
- Keep solvent rags away from heat sources until they are disposed of properly.
- Old paint and varnish on antiques can contain lead. If a piece is painted or you are unsure, use a lead test swab before sanding.
Frequently Asked Questions
How do you clean burl wood?
Dust it first, then wipe with a rag lightly dampened with mineral spirits to lift wax and grime. Avoid soaking or water-heavy cleaners, because burl has exposed end grain that absorbs moisture and can swell or lift veneer.
What is the best finish for burl wood?
Penetrating oil finishes such as Danish oil are the most common choice because they deepen the figure and can be renewed. For a harder surface on a table top, dewaxed shellac or a wipe-on varnish gives more protection at the cost of harder repairs.
Can you restore damaged burl wood?
Yes. Stabilize soft areas with thin CA glue or penetrating epoxy, fill cracks and voids with clear or tinted epoxy, then sand and refinish. Large gaps in veneer should be patched with matching veneer rather than filled.
How do you remove scratches from burl wood?
Light surface scratches can often be hidden with oil or paste wax. Deeper scratches on solid burl can be sanded out with 220 then 320 grit using a block. On veneer, sand very lightly by hand or leave the scratch, because going through the veneer is permanent.
Can you sand burl wood with the grain?
Burl has no single grain direction, so sand in small overlapping circles with a flat block, work through the grits in order, and use a card scraper on solid burl where sandpaper would round the surface.
Conclusion
Burl restoration is mostly about restraint: confirm whether the piece is veneer, match your removal method to the old finish, fill only the defects that need it, and let a penetrating oil bring out the figure. Take your time and test each step on a hidden area first.
Sponsored / affiliate links. As an Amazon Associate I earn from qualifying purchases. I may earn additional commission from eligible campaigns.