How to Restore Dry Wood Furniture Without Ruining It
Restore dry wood furniture by matching the fix to the finish: clean if grime is the problem, condition or wax if the surface looks dull and dry, and repair only after you confirm the finish is intact. The wrong product can cloud the finish, trap dirt, or turn a small blemish into a bigger repair. This guide shows how to identify the failure mode first, then clean, condition, wax, or repair without making the surface worse.
What to check first
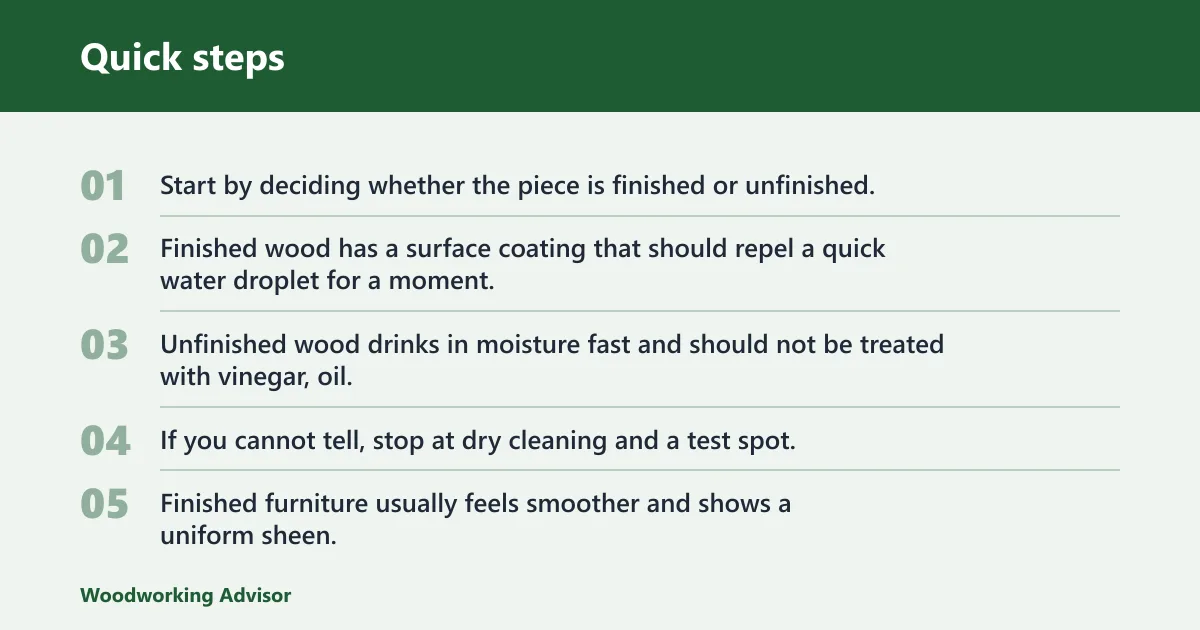


Start by deciding whether the piece is finished or unfinished. Finished wood has a surface coating that should repel a quick water droplet for a moment. Unfinished wood drinks in moisture fast and should not be treated with vinegar, oil, or wax in the same way. If you cannot tell, stop at dry cleaning and a test spot.
Finished vs. unfinished wood
Finished furniture usually feels smoother and shows a uniform sheen, even if the sheen is dull. Unfinished wood feels more open or rough and often looks flat across worn areas. Shellac, lacquer, and water-based polyurethane all behave differently, so a safe first step is a hidden test spot with the mildest product you plan to use.
Signs of shellac, lacquer, or polyurethane
Shellac can soften with alcohol and may also react to strong moisture or acidic cleaners. Lacquer can be sensitive to water, alcohol, and some solvents. Water-based polyurethane is usually more water-resistant, but it can still haze or scratch if scrubbed too hard. If the finish type is unknown, assume it is sensitive until proven otherwise.
When to stop and reassess
Stop before applying anything liquid if the surface is flaking, sticky across a wide area, swollen, or separating at joints. Those signs point beyond simple dryness. A dull topcoat can often be revived. A failed finish, loose veneer, or cracked wood needs repair first.
What you’ll need
- Soft microfiber cloths
- Vacuum with a brush attachment or a dry dusting tool
- Finish-safe cleaner for coated wood
- White vinegar only for compatible finished wood, diluted
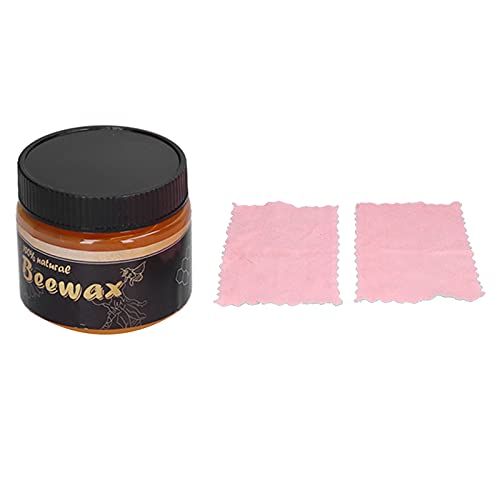
- Beeswax paste for dull finished wood
- Wax polish matched to the wood tone
- Carnauba-based blended furniture polish, if you want harder wax protection
- 000-grade fine steel wool for stubborn buildup, used carefully
- 220-grit sandpaper for raised grain or light scuffs after moisture exposure
- Protective gloves
- Test swabs or a hidden spot for product testing
Dry wood furniture triage
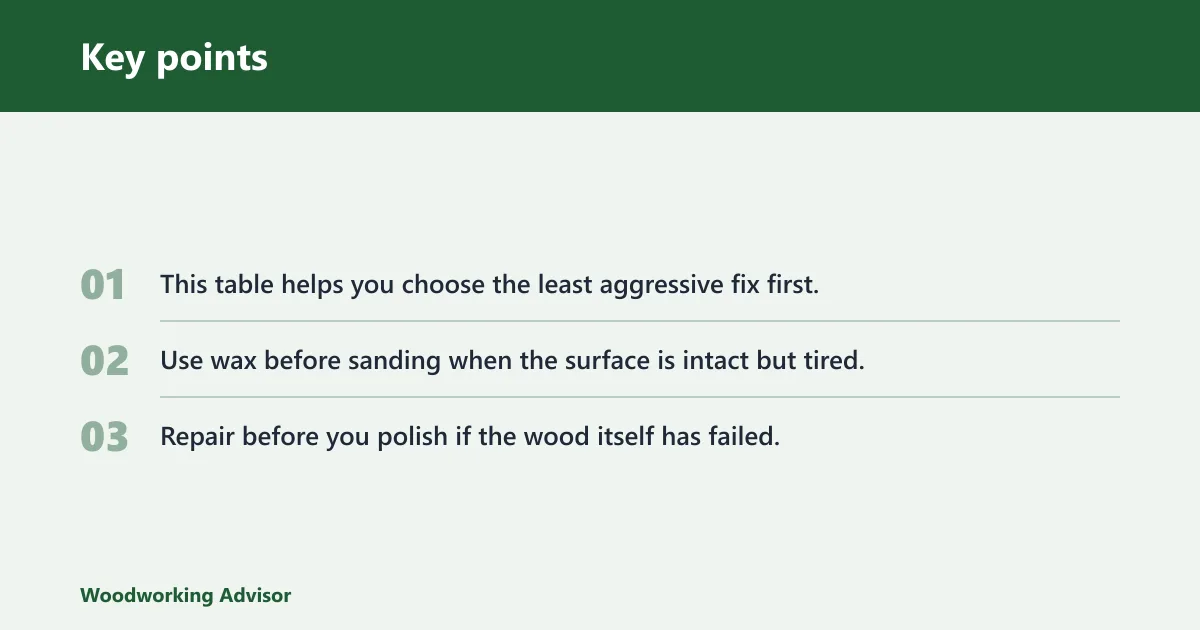
This table helps you choose the least aggressive fix first. Clean before you condition. Use wax before sanding when the surface is intact but tired. Repair before you polish if the wood itself has failed.
| Symptom | Likely cause | Safe first step | What not to use | When to stop and refinish |
|---|---|---|---|---|
| Dull finish | Surface grime, worn wax, or tired topcoat | Dry dust, then use beeswax paste or wax polish after a test spot | Abrasive scrubbing, strong solvent cleaners | If sheen stays patchy after cleaning and waxing |
| White haze | Moisture in the finish or residue from a poor product | Try a finish-safe cleaner first; on compatible wood, a diluted vinegar wipe may help | Undiluted vinegar, water soaking, heat guns | If the haze remains after a test spot and gentle cleaning |
| Sticky residue | Built-up polish, wax, or cleaner film | Remove with a finish-safe cleaner; 000 steel wool only on durable finishes and only with light pressure | Heavy scraping, aggressive pads | If the finish turns dull, soft, or uneven after cleanup |
| Minor cracking | Finish shrinkage or shallow checking | Clean, then inspect whether the cracks are only in the finish | Oil over cracks, wax over loose flakes | If the cracks are in the wood, not just the finish |
| Veneer swelling | Moisture damage under a thin veneer layer | Dry the area, then leave it alone and assess for repair | More moisture, vinegar, steam | If the veneer is lifted, bubbled, or separated |
| Antique pieces | Age, fragile finish, or original surface value | Test in a hidden spot and stop if the finish reacts | Vinegar, steel wool, sanding without expert review | Often sooner than modern furniture; value can drop fast |
How do you clean it safely first?
Begin with dry dusting, then use the mildest cleaner that fits the finish. A lightly damp cloth or a finish-safe cleaner removes soil without loading the surface with moisture. Always test in an inconspicuous area first, because shellac and lacquer can react badly to water, vinegar, and rubbing.
Dry dusting and vacuuming
Use a soft cloth or a brush attachment to remove loose dust from flat surfaces, carved edges, and seams. This keeps grit from scratching the finish during the next step. Do not flood joints or let cleaner pool around veneer edges.
Choosing a finish-safe cleaner
For normal grime on finished wood, use a cleaner labeled for furniture finishes. If you are tempted to mix a vinegar solution, remember that dilution matters and that vinegar can soften shellac and some other finishes. On unknown finishes, skip vinegar and stay with a neutral cleaner.
Why test spots matter
Test a hidden area first, then wait for the surface to dry before judging the result. A test spot shows whether the finish clouds, softens, or darkens. Homes & Gardens recommends testing the product on an inconspicuous area, and that rule matters most on older pieces and mixed finishes.
How do you restore dry wood without sanding?
Use wax, not sanding, when the surface is intact but looks tired. Beeswax paste is a traditional furniture treatment for dull finished wood, and buffing builds sheen as it leaves a thin protective layer. A blended polish with carnauba wax can add gloss and a harder protective feel.
When to use beeswax paste
Apply beeswax paste to clean, dry finished wood that has lost its glow but not its finish. Work a thin coat into the surface, let it set per the product directions, then buff with a clean cloth. Homes & Gardens notes beeswax was used to treat furniture for centuries, which is why it remains a common choice for traditional pieces.
How blended wax polishes help
Carnauba wax is a harder wax component often blended into furniture polishes for more durability and gloss. It is useful when you want a cleaner sheen than plain oil can give. Wax polish can also cover light marks and scratches when its color matches the natural wood tone.
Using oil only as a temporary sheen step
Olive oil or mineral oil may appear in a vinegar-and-oil restoration mix, but that step only improves appearance temporarily on some finished wood. It does not replace refinishing, and it does not repair dried-out wood fibers or a failed topcoat. Use oil as a short-lived cosmetic step, not as the end point.
Step-by-step restoration
Follow the least aggressive sequence first. If a step corrects the problem, stop there. If the surface still looks wrong, move to the next step only after the previous one has dried and been inspected.
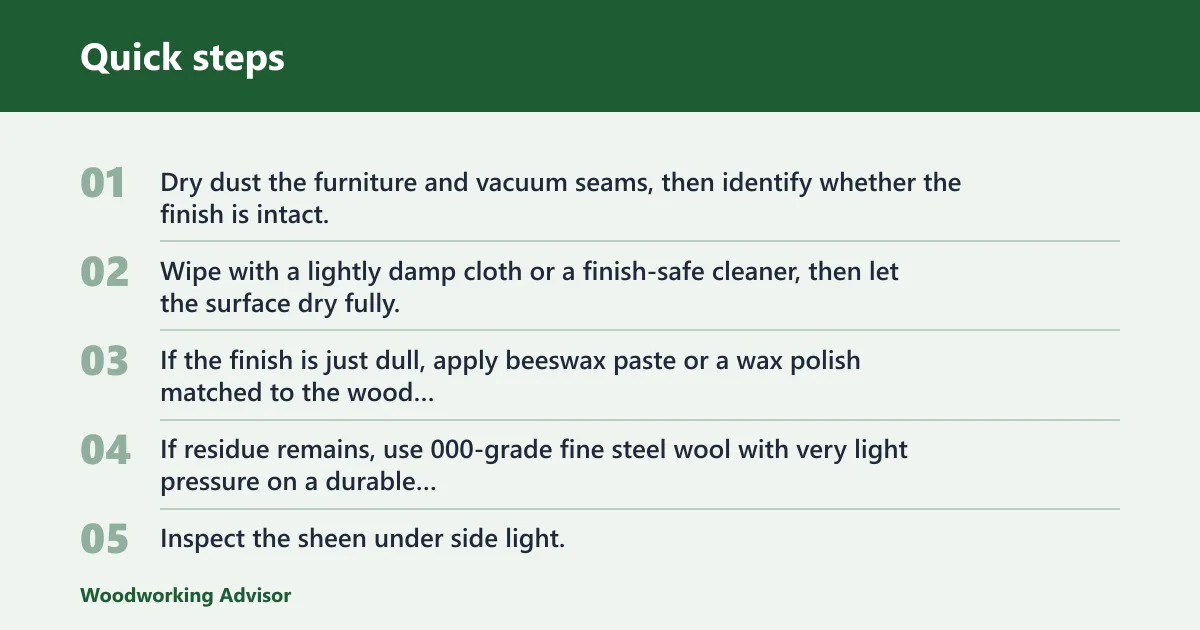
- Dry dust the furniture and vacuum seams, then identify whether the finish is intact, soft, or failing.
- Wipe with a lightly damp cloth or a finish-safe cleaner, then let the surface dry fully.
- If the finish is just dull, apply beeswax paste or a wax polish matched to the wood color, then buff.
- If residue remains, use 000-grade fine steel wool with very light pressure on a durable finish only, then re-wipe.
- Inspect the sheen under side light. If the wood is still dull but sound, repeat with one more thin wax coat.
- If the wood is actually cracked, swollen, or separated, stop and move to repair before any more polish.
- If the finish is soft, cloudy, or patchy after the test, stop and refinish rather than layering more product on top.
Say your side table has a 30 cm square top that looks gray and flat, but the finish feels continuous under your fingertip. That is a dull finish problem, not a structural wood problem. Clean first, then use a thin wax coat and buff before you reach for sanding.
Suppose a dresser shows white haze around the drawer pulls after a drink spill. If the finish is shellac, more moisture can make it worse. Use only a compatible finish-safe cleaner, and do not add vinegar unless the finish is confirmed compatible and a test spot stays stable.
What if the wood is dry and cracked?
If the wood itself is cracked, dry, or swollen, polish is the wrong first move. Raised grain after moisture exposure can sometimes be leveled with very light 220-grit sanding, but true cracks, loose joints, and veneer lifting need repair before any finish treatment. The goal is to stabilize the wood, not hide the damage.
Raised grain after moisture exposure
Lightly sand only the raised fibers, and only after the surface has dried. Use 220-grit sandpaper with a very light hand. About one or two passes is often enough; if sanding continues, the finish can be cut through and the repair area can end up larger than the starting spot.
When veneer or structural damage needs repair
Veneer swelling is a stop sign. So is separation at a joint, a lifted edge, or a crack that opens when you press nearby. Moisture damage under veneer can be permanent, and adding more liquid can worsen the bond failure. At that point, a furniture restorer or conservator is the safer choice.
Common mistakes
Most bad outcomes come from using too much product or the wrong product for the finish. Keep the work light, and stop as soon as the original problem is fixed.
- Using vinegar on shellac or unknown finishes: White vinegar is mildly acidic, and it can soften shellac and some other finishes. Use it only on compatible finished wood after a test spot.
- Applying oil over dirty residue: Oil can trap grime and make the surface look streaky instead of restored.
- Overworking steel wool: 000-grade fine steel wool can cut through delicate finishes if you press hard or keep rubbing one area.
- Using sanding too early: Sanding is for raised grain, light scuffs, or true finish failure, not for every dry-looking piece.
- Ignoring tackiness or clouding: Those signs usually mean the finish reacted, and adding more wax or oil can make cleanup harder.
A common first-timer mistake is to wax a sticky tabletop because it looks dry. If the residue is old polish, the new wax just rides on top and can streak. Clean the film off first, then decide whether the finish still needs conditioning or whether it needs a full refinish.
Prevention: Keep furniture out of direct sun and away from repeated moisture exposure. That helps slow finish wear and reduces the chance of raised grain, haze, and veneer problems.
Frequently asked questions
What is the safest way to clean dry wood furniture before restoring it?
Dry dust first, then use a lightly damp cloth or a finish-safe cleaner on a hidden test spot. Avoid soaking the surface. If the piece may be shellac or lacquer, skip vinegar until you know the finish can handle it.
When should dry furniture be oiled, waxed, or refinished instead of just cleaned?
Wax or polish works when the finish is intact but dull. Oil is only a temporary sheen step on some finished wood. If the finish is soft, cloudy, peeling, or badly worn, refinishing is the better path after proper cleaning and repair checks.
How do you tell whether a dry wood finish is shellac, lacquer, or varnish?
Use a hidden test spot, because these finishes react differently. Shellac can soften with alcohol and water exposure, lacquer often reacts to water and solvents, and water-based polyurethane is usually more resistant to moisture. If you cannot confirm the finish, use the mildest cleaner only.
Can vinegar damage wood furniture when used for restoration?
Yes. White vinegar is mildly acidic, and it can soften shellac and some other finishes. If you use it at all, dilute it and restrict it to compatible finished wood with a successful test spot. Never use it on unknown or delicate finishes without checking first.
How do you restore dry furniture without sanding?
Clean it, then use beeswax paste or a wax polish if the finish is sound. Buffing builds sheen without removing much material. If there is residue, try careful cleaning first; sanding should stay reserved for raised grain, light scuffs, or failed finish areas.
What should you do if the wood is dry and cracked, not just dull?
Stop treating it like a cosmetic problem. Cracks, swelling, and separation mean the wood or veneer needs repair before any polish. Light 220-grit sanding can help only with raised grain after moisture exposure, and even then it should stay very light and limited.
Sponsored / affiliate links. As an Amazon Associate I earn from qualifying purchases. I may earn additional commission from eligible campaigns.