How to Sand Inside Corners of Wood: 5 Tools That Work
Sand inside corners of wood by folding sandpaper into a sharp edge or using a detail sander, moving from 80-120 grit down to 220 grit as the surface smooths.
Skipping the grit steps leaves swirl marks that show through stain or paint. This guide covers the folded-sandpaper technique, corner sanding blocks, detail sanders, wet sanding for stubborn spots, and a DIY wedge trick for tight angles.
Introduction To Sanding Inside Corners
Best Corner Sanding Pick
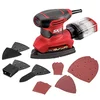
SKIL Corded Multi-Function Detail Sander – $44.00
Ships with 3 detail attachments built for corners and edges – matches the folded-sandpaper-edge technique this guide starts with, but powered.
- Best for: Tight inside corners and detail work on trim
- Why we picked it: The swap-in triangular and finger attachments reach the same tight spaces this guide covers by hand, just faster
- Main drawback: Dust box needs frequent emptying on bigger jobs
Compare more corner sanding options
 Option 1 POWERTEC 21-Profile Contour Grips – $18.99
|
 Option 2 Coceca Mouse Sander Sandpaper (50-Pack) – $8.99
|
 Option 3 DEWALT Oscillating Tool Sanding Pad – $6.97
|
As an Amazon Associate we earn from qualifying purchases.
Sanding inside corners can be tricky. Corners are often hard to reach with standard tools. This makes achieving a smooth finish more difficult. Rough edges can ruin the look of your project.
Using the right tools helps tackle this challenge. Detail sanders or sanding sponges work well for corners. They fit snugly into tight spaces. Fine-grit sandpaper is ideal for achieving a smooth surface.
Proper technique is crucial. Light pressure prevents damage to the wood. Move the sander in a circular motion for the best results. Always check for evenness in the finish.
Achieving a smooth finish in corners greatly enhances the overall look. A well-sanded corner adds to the professional appearance of your work. Invest time in this detail for better results.
Choosing The Right Tools
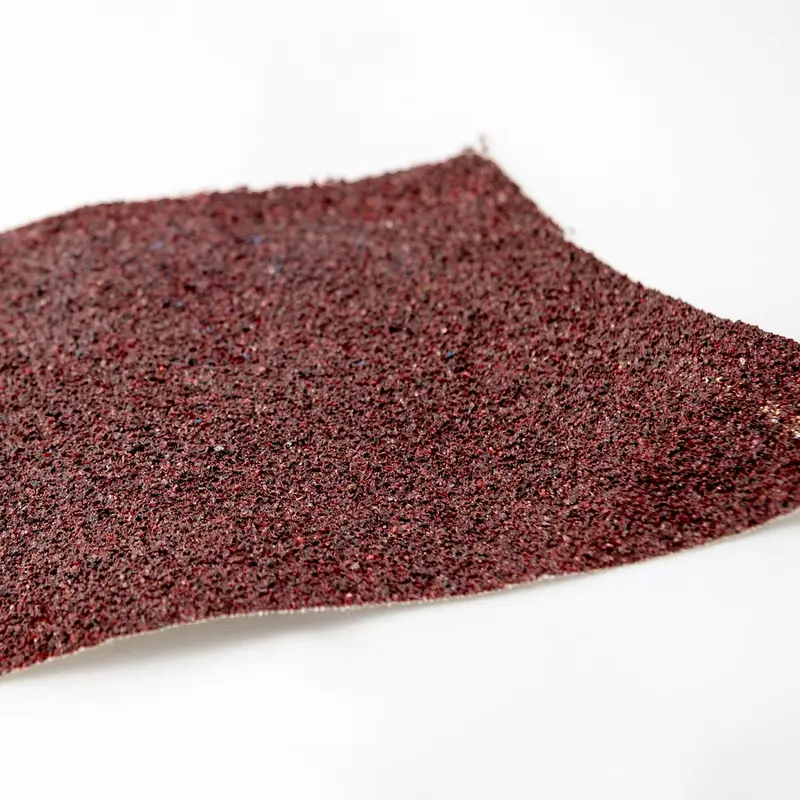
Choosing the right tools is key for sanding inside corners. Sandpaper comes in various types. Use coarse sandpaper for rough surfaces. It helps remove old finishes and rough spots. For the full grit progression on flat surfaces too, see our guide on how to sand wood.
For smoother finishes, use fine sandpaper. It helps prepare the wood for painting or staining. Wet/dry sandpaper works well for finishing touches. If you’re unsure which grit to reach for at each stage, our sandpaper grit guide breaks it down by task.
| Type of Sandpaper | Use |
|---|---|
| Coarse | Remove old finishes |
| Medium | Shape and smooth surfaces |
| Fine | Prepare for painting |
| Wet/Dry | Finishing touches |
Specialized tools make sanding corners easier. A corner sanding block fits perfectly into tight spaces. Detail sanders help reach tricky areas. Foam sanding pads are flexible and follow curves well.
Preparation Steps
Start by removing dust and dirt from the surface. Use a vacuum or a damp cloth. Make sure the area is clean and dry.
Next, protect surrounding areas. Use painter’s tape to cover nearby surfaces. This helps avoid any damage while sanding.
Consider using a drop cloth to catch dust and debris. This keeps your workspace tidy and easy to clean.
Finally, gather all your sanding tools. Make sure you have sandpaper and a sanding block ready.
Technique For Manual Sanding
Folding sandpaper is a great way to reach inside corners. Take a piece of sandpaper and fold it in half. This creates a sharp edge for sanding. Use this edge to get into tight spaces.
Applying the right pressure is important. Too much pressure can damage the wood. Start gently and increase pressure as needed. Always check your progress after each pass. This helps you avoid mistakes.
Use a light touch to make smooth surfaces. Remember to change sandpaper regularly for best results. A clean surface makes a big difference in the final look.
Using Power Tools
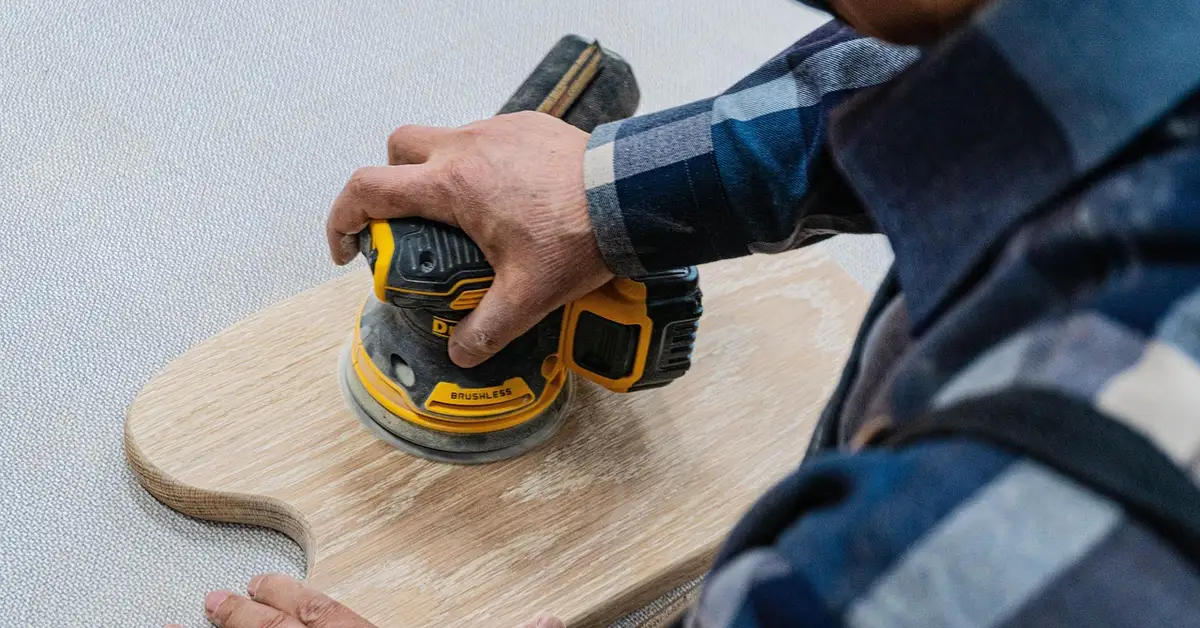
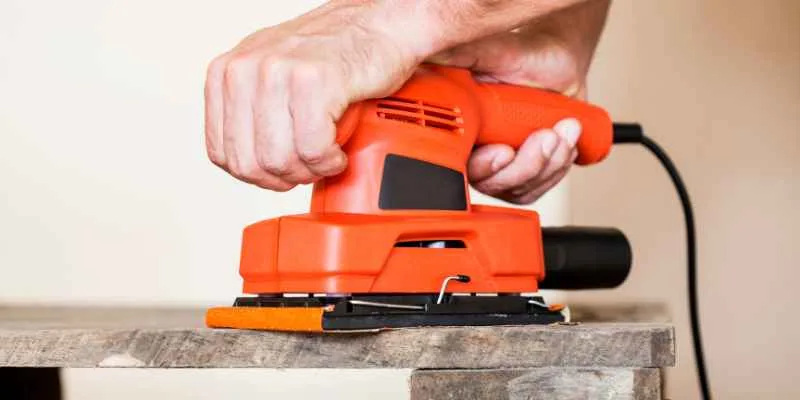
Power sanders are great for sanding inside corners. They save time and effort. Here are some recommended power sanders:
| Sander Type | Best For |
|---|---|
| Detail Sander | Tight corners and intricate designs |
| Orbital Sander | Flat surfaces and gentle curves |
| Rotary Sander | Heavy-duty sanding and removal |
Adjusting the speed and motion of the sander is important. A slower speed works better for delicate areas. Move the sander in a smooth, steady motion. This helps to avoid sanding too much in one spot. Always keep the sander flat against the surface. This will give a more even finish.
Sanding Tips For Tight Corners
For tight corners, custom tools can make sanding easier. Use small pieces of wood for a better grip. Cut them into various shapes to fit different angles. This allows you to reach those hard-to-sand areas.
For stubborn spots, wet sanding can help. Dampen the sandpaper slightly to reduce friction. This method prevents dust and keeps the surface smooth. Always use fine-grit sandpaper to avoid scratches.
Another tip is to use a sanding sponge. These sponges can easily conform to corners. They are flexible and can reach tricky spots without much effort. Try different grits to find what works best for your project. Out of sandpaper entirely? Our guide on sanding wood without sandpaper covers alternatives that also work in corners.
After Sanding: Cleaning And Inspection
After sanding, it is important to remove dust from the area. Use a soft cloth or vacuum to clean the surface. Dust can affect the final finish and look of the wood.
Next, perform a visual inspection of the corners. Check for any uneven spots or missed areas. Look for scratches or gouges that may need more sanding.
Make sure the surface feels smooth to the touch. Run your hand over the wood to check for uniformity. A consistent surface will give the best results for staining or painting.
Final Touches And Protection
To apply a finish, start by cleaning the corners. Use a damp cloth to remove dust. Choose a suitable finish for the wood. Consider using oil, varnish, or wax. Apply the finish using a small brush or cloth. Make sure to cover every corner thoroughly.
For the best results, apply multiple thin coats. Allow each coat to dry completely. This will help achieve a smooth and even surface. Always follow the manufacturer’s instructions for drying times.
Maintaining the corners is crucial for longevity. Regularly check for wear or damage. Clean the corners gently to keep them looking fresh. Reapply the finish as needed to protect the wood.
Frequently Asked Questions
How Do I Sand Inside Corners Effectively?
To sand inside corners effectively, use a sanding sponge or a corner sanding tool. These tools allow you to reach tight spaces easily. Start with coarse grit sandpaper to remove imperfections, then switch to finer grit for a smooth finish.
Always sand in a consistent motion for best results.
What Tools Are Best For Sanding Corners?
The best tools for sanding corners include sanding sponges, corner sanders, and detail sanders. Sanding sponges are flexible and conform to angles. Corner sanders feature triangular shapes for precision. Detail sanders are great for intricate designs. Choose the tool based on the size and type of corner you’re working on.
Can I Use A Power Sander For Corners?
Yes, you can use a power sander for corners, but it requires caution. A detail sander or a palm sander is ideal for this task. These tools provide control in tight spaces without damaging surrounding areas. Always start with a lower speed to avoid over-sanding.
What Grit Sandpaper Should I Use For Corners?
For corners, start with 80 to 120 grit sandpaper for rough sanding. This helps remove any significant imperfections. After that, switch to 220 grit for finishing. This finer grit ensures a smooth surface without scratches. Always test the sandpaper on a scrap piece first.
Conclusion
Sanding inside corners can be challenging, but the right techniques make it manageable. Use the proper tools and take your time for the best results. Remember to always wear protective gear to ensure safety. With practice, you’ll achieve smooth, professional-looking corners that enhance your woodworking projects. For more woodworking tips and fixes like this one, browse our woodworking tips and fixes guide.
Happy sanding!
Sponsored / affiliate links. As an Amazon Associate I earn from qualifying purchases. I may earn additional commission from eligible campaigns.