How to Stain Veneer Plywood Without Blotching (Step-by-Step)
Veneer plywood blotches because its face veneer is only about 1/40 inch thick – thin enough that any sanding past 220-grit burnishes the surface and blocks stain from soaking in evenly. A pre-stain wood conditioner, applied 15 minutes before staining, cuts that blotching by roughly 60-70% by evening out absorption first. This guide covers sanding grit, conditioner timing, gel vs. oil stain, and fixing blotches that already happened.
Why Veneer Plywood Blotches (and the Fix)
Best Pre-Stain Conditioner Pick
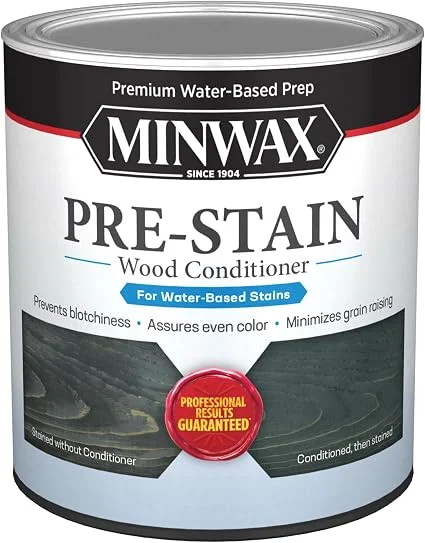 |
Minwax Water-Based Pre-Stain Wood Conditioner (1 Quart) – $18.48 Apply this 15 minutes before staining to even out absorption across the veneer face – the single biggest fix for blotchy veneer plywood. Pair with a water-based stain; get the oil-based Minwax conditioner instead if you’re using an oil-based stain.
|
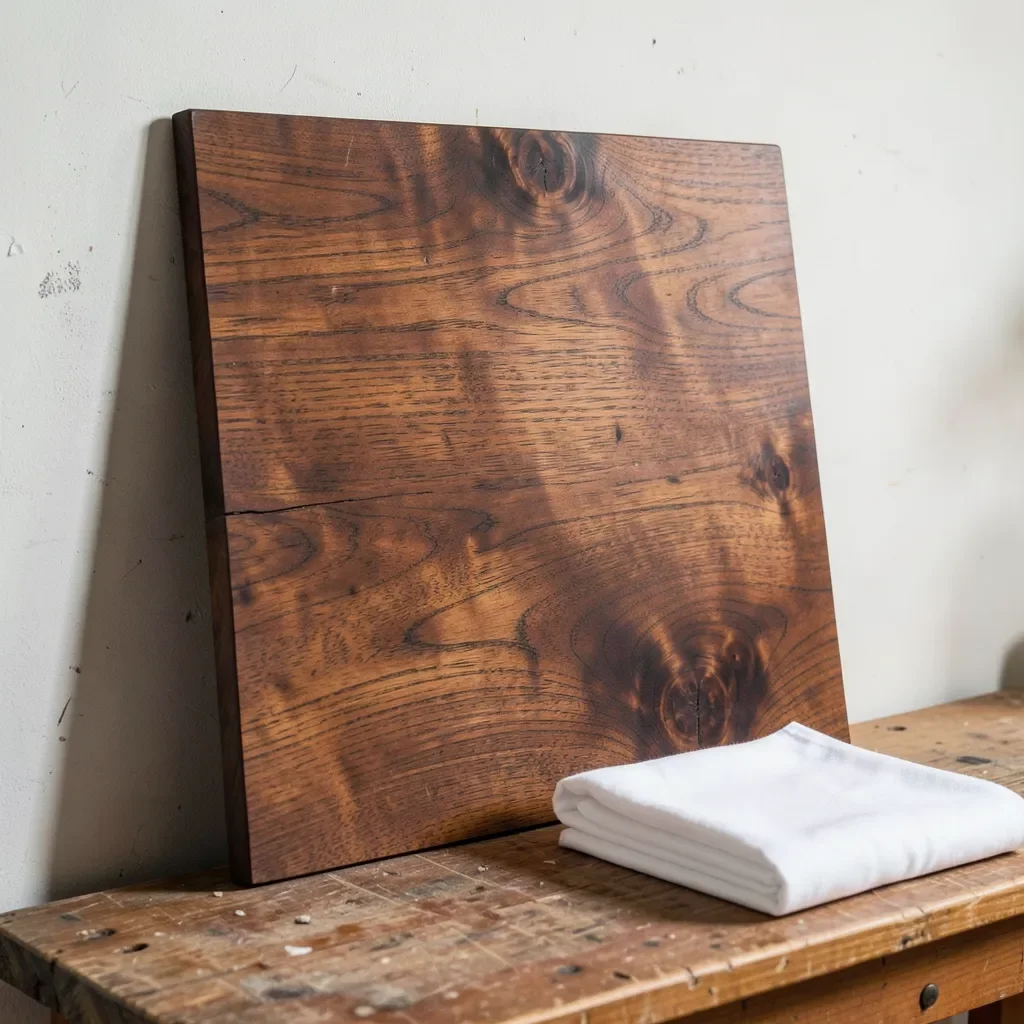
Solid wood absorbs stain through end grain and face grain fairly consistently across a thick board. Veneer plywood can’t do that – the visible surface is a face veneer roughly 1/40 inch thick glued to a plywood core, and any spot where the veneer is slightly more porous (near a glue seam, a repaired knot, or a rotary-cut section with open grain) soaks up disproportionately more stain than the surrounding area. The result is the classic dark blotchy patches on birch, luan, and other veneer plywoods.
A pre-stain wood conditioner partially seals the wood fibers before color goes on, evening out how much stain each area can pull in. Applied correctly – flooded on, left 15 minutes, then wiped of excess before it dries tacky – it measurably reduces blotching, and most manufacturers cite roughly 60-70% less color variation compared to staining bare. Skipping this step is the single most common reason veneer plywood projects turn out patchy.
Sanding: Stop at 180-220 Grit
Most guides say “sand smooth” without a number, and that’s exactly how blotching happens. Sanding veneer plywood past 220-grit burnishes and partially seals the wood fibers – the surface looks smoother but actually absorbs less stain, and unevenly at that. Stop at 180-220 grit, vacuum the dust (a tack cloth can leave a waxy residue that repels stain), and move straight to conditioning.
- Sand with the grain only – cross-grain scratches show through stain as pale lines
- 180-grit for the first pass on rough veneer, 220-grit to finish – never higher
- Vacuum or blow off dust rather than wiping with a tack cloth right before staining
- Test the final grit and stain combination on an actual offcut of the same sheet, not a different piece of wood
Gel Stain vs. Oil-Based Stain for Veneer
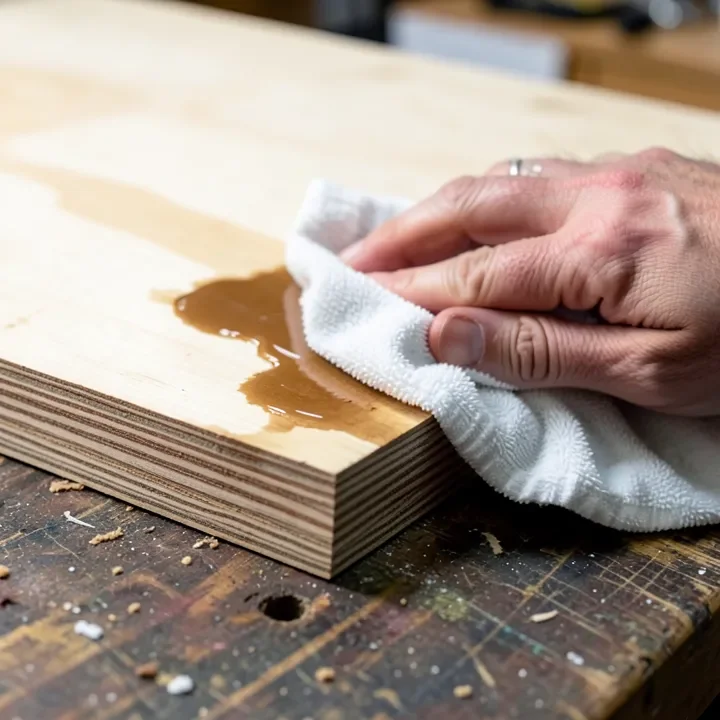
A traditional oil-based penetrating stain relies on soaking into the wood – which is exactly the problem on a face veneer only 1/40 inch thick, since penetration depth varies with grain porosity in ways you can’t fully control. A gel stain behaves more like a thin, tintable varnish: it sits mostly on the surface instead of penetrating deep, so the veneer’s inconsistent porosity matters far less. For veneer plywood specifically – especially birch, luan, or anything with visible glue-line seams – gel stain is usually the safer choice even without a pre-stain conditioner, though using both together gives the most even result.
Water-based stains dry faster and raise the grain slightly (a light 220-grit pass after the first coat dries fixes this), while oil-based stains stay workable longer, which helps when blending out lap marks on a large panel. Match the conditioner type to the stain type: an oil-based stain needs an oil-based conditioner, and a water-based stain needs a water-based conditioner – mixing the two defeats the purpose.
Step-by-Step: Staining Veneer Plywood
- Sand to 180-220 grit with the grain, then vacuum off all dust.
- Apply pre-stain wood conditioner (matched to your stain type) with a clean cloth, covering the whole surface.
- Wait 15 minutes, then wipe off any conditioner that hasn’t soaked in before it dries tacky.
- Stir the stain (never shake it – shaking introduces bubbles) and apply with a brush or cloth, working with the grain in manageable sections.
- Wipe off excess stain within 5-15 minutes of application, following the manufacturer’s timing – the longer it sits, the darker and more uneven it gets.
- Let the stain dry fully per the can’s instructions (typically 24 hours) before applying a topcoat.
Fixing Blotchy or Uneven Stain
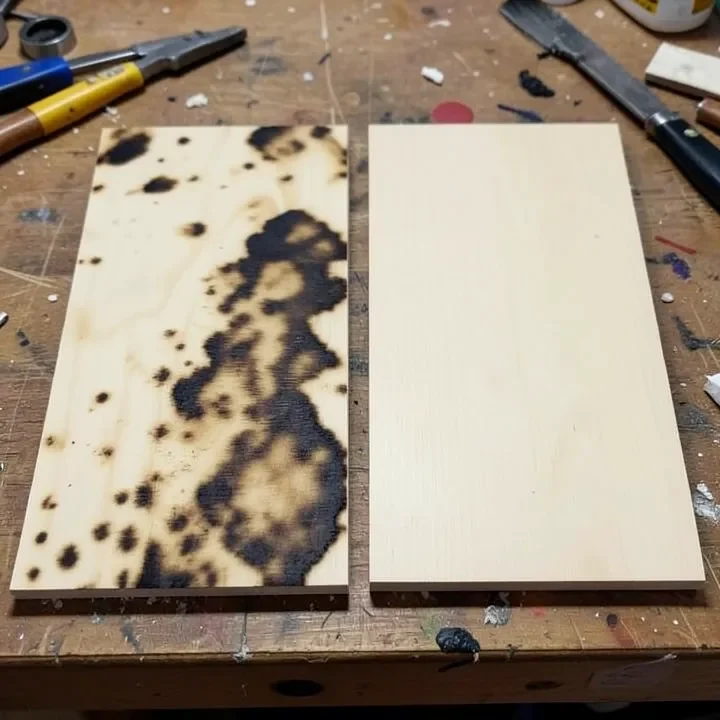
If blotching shows up after the fact, don’t reach for more stain first – that usually makes dark spots darker without fixing the light ones. Instead (see fixing uneven stain for the general technique):
- Let the current coat dry completely, then lightly sand the whole panel at 220-grit to knock down the raised grain and even the surface texture.
- Apply pre-stain conditioner to the light (under-colored) areas specifically, wait 15 minutes, wipe off.
- Re-stain the entire panel in one pass rather than spot-touching – spot touch-ups almost always show as a visible ring.
- For a panel that’s already sealed with a topcoat, consider a toned glaze or dye wash instead of trying to re-stain under the finish.
Sealing and Protecting the Finish
Once the stain has cured for at least 24 hours, apply a clear topcoat – polyurethane for maximum durability, or lacquer for a faster-drying, thinner build. Lightly sand with 220-grit between coats to knock off dust nibs and help the next coat bond, wiping away the dust each time. Two to three thin coats hold up better than one thick one, which is more prone to drips and a cloudy look on a veneer surface. Dust the finished piece regularly to prevent surface scratches from dulling the sheen.
Frequently Asked Questions
Do I need pre-stain wood conditioner on veneer plywood?
Yes, in almost every case. Veneer plywood’s thin face veneer absorbs stain unevenly, and pre-stain conditioner reduces that blotching by roughly 60-70% when applied 15 minutes before staining.
Why is my veneer plywood stain blotchy even after sanding?
Sanding past 220-grit burnishes the thin face veneer and seals it unevenly, which causes blotching regardless of how smooth it looks. Stop at 180-220 grit and use a pre-stain conditioner before staining.
Is gel stain better than oil-based stain for veneer plywood?
Gel stain sits mostly on the surface instead of penetrating deep, so it’s less affected by the veneer’s uneven porosity – it’s usually the safer choice for birch, luan, or any veneer with visible glue-line seams.
Can you stain factory-finished veneer plywood?
No, not without removing the factory finish first. Pre-finished veneer plywood has a sealed topcoat that blocks stain from penetrating at all – sand through the sealer completely before attempting to stain.
How long should stain dry on veneer plywood before a topcoat?
Let stain cure at least 24 hours before applying polyurethane or lacquer, and check the can’s specific drying time, since humidity and stain type both affect it.
Stop sanding at 220-grit, use a pre-stain conditioner matched to your stain type, and lean toward gel stain for anything with visible glue seams – those three changes fix most veneer plywood blotching before it happens. Work in one continuous pass rather than touching up spots, and let each stage cure fully before the next.
Sponsored / affiliate links. As an Amazon Associate I earn from qualifying purchases. I may earn additional commission from eligible campaigns.