How to Thin Shellac: Expert Tips for Perfect Consistency
Thinning shellac can be tricky but is essential for a smooth finish. The process ensures the shellac spreads evenly and dries properly.
Shellac is a popular wood finish, loved for its rich color and sheen. But sometimes, the shellac in the can is too thick to apply smoothly. This is where thinning comes in. By adding the right amount of denatured alcohol, you can achieve the perfect consistency.
Thinning helps in better application and quicker drying. This blog will guide you through the steps to thin shellac properly. You will learn the right ratio of alcohol to shellac and tips for best results. Whether you are a DIY enthusiast or a professional, this guide will make your work easier. Let’s get started!
Choosing The Right Shellac
This post contains Amazon affiliate links. As an Amazon Associate we earn from qualifying purchases at no extra cost to you.
What you need to thin and apply shellac
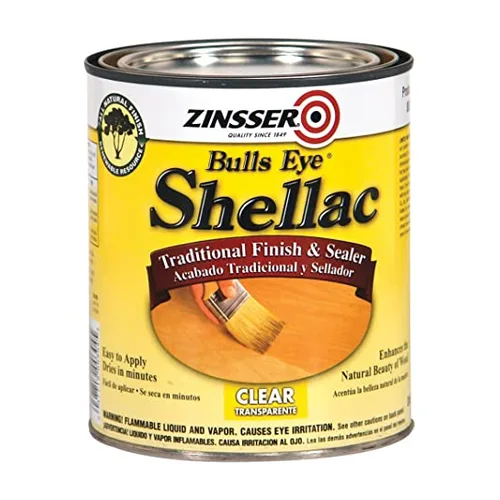
Zinsser Clear Shellac, 1 Quart
Best for: Anyone who wants a ready-mixed 3-pound cut straight from the can, rather than dissolving flakes themselves.
Why we picked it: It’s the same clear shellac referenced throughout this guide’s ratios and dry-time numbers, so the instructions above apply directly.
Main drawback: Still needs thinning per the ratios above for brushing or spraying — it’s not pre-thinned.
Check on Amazon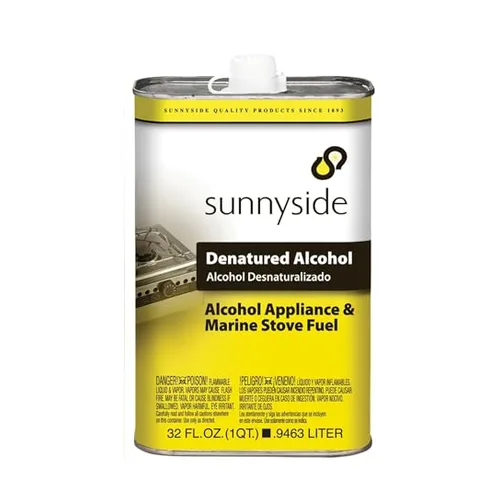
Sunnyside Denatured Alcohol, 1 Quart
Best for: The actual thinning agent — shellac only dissolves in alcohol, never water.
Why we picked it: A quart is enough for several batches at the 2:5 brushing ratio without buying more than you’ll use before it evaporates.
Main drawback: Flammable and fumes are strong — ventilate the work area.
Check on Amazon →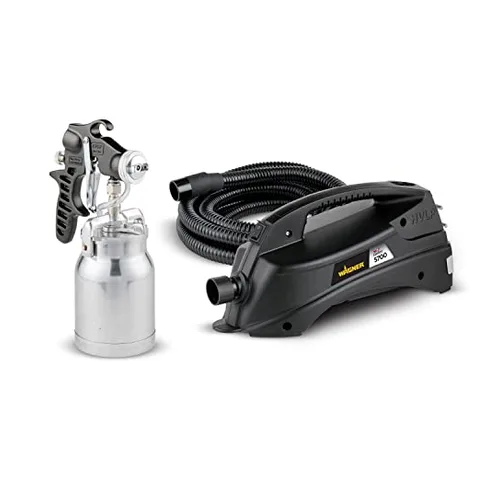
Wagner Earlex HVLP Sprayer
Best for: Readers specifically asking about spraying shellac rather than brushing it.
Why we picked it: Built for fine-finish work on furniture, which is exactly the use case for a thinned, sprayable shellac cut.
Main drawback: Bigger upfront cost than a brush — only worth it if you spray finishes regularly.
Check on Amazon →Shellac comes in different types. The main types are flakes and liquid. Flakes need more preparation. They must be mixed with alcohol. Liquid shellac is ready to use. Both types offer good finishes. If you’re still deciding between shellac and another topcoat, our wood finishing guide covers how it compares to oils, sealers, and polyurethane.
If mixing your own from flakes sounds like more prep than you want, several pre-mixed options are worth comparing in our ready-to-use shellac primer picks, including aerosols and liquid cans at various pound-cut equivalents.
Always check the quality of shellac. Fresh shellac performs best. Old shellac may not work well. Inspect the packaging date. Store shellac in a cool place. Seal the container tightly. This keeps it fresh longer.
Essential Tools And Materials
Gather a mixing container, wooden stir stick, and a measuring cup. Use a clean container to avoid contamination. Stir sticks help mix shellac and alcohol well. A measuring cup ensures precise amounts.
Wear gloves to protect your hands from chemicals. Safety goggles shield your eyes from splashes. Use a mask to avoid inhaling fumes. Ensure good ventilation in your workspace.
Preparing Your Work Area
Set up your workspace in a well-lit area. A clean, clutter-free table is best. Use a drop cloth to protect the surface. Have all tools ready. You will need a container, stir stick, and shellac.
Good ventilation is very important. Open windows to let in fresh air. Use a fan to keep air moving. Wear a mask to avoid breathing in fumes. Gloves protect your hands from chemicals. Keep a fire extinguisher nearby for safety.
Measuring Shellac And Solvent
The right ratio depends on what you’re starting with and how you plan to apply it. Canned shellac like Zinsser Bulls Eye ships as a 3-pound cut (thick, straight from the can), and manufacturer instructions actually say not to thin it at all for brushing. In practice, most finishers do thin it anyway: adding roughly 2 parts alcohol to 5 parts shellac brings a 3-pound cut down to about a 2-pound cut, a good starting point for brushing on furniture and trim.
By the numbers: Zinsser’s own technical data sheet for Bulls Eye Shellac lists a 3-year shelf life for the sealed can and explicitly states “Do not thin this product” — yet thinning for brushing and spraying is standard practice among finishers. That’s why testing on scrap before committing to a full coat (covered below) matters more than hitting an exact ratio.
Accurate Measurements
Accurate measurements are key to thinning shellac. Use a measuring cup or a scale. For a 1-pound cut, mix one pound of shellac flakes with one gallon of solvent. A 2-pound cut needs two pounds of flakes. Always ensure the ratio is correct.
Common Mistakes
Avoid adding too much solvent. This can weaken the shellac. Do not use a dirty container. Dirt can ruin the mixture. Always use fresh shellac flakes. Old flakes may not dissolve well. Stir the mixture well. Poor mixing can result in lumps.
Mixing Techniques
Stir shellac gently to avoid bubbles. Use a smooth, steady motion. Do not shake the container. Shaking creates bubbles. Bubbles can ruin the finish. Keep stirring until shellac is mixed well.
Bubbles can ruin your shellac finish. Stir slowly to avoid them. Pour shellac carefully into another container. Pouring fast also creates bubbles. Let shellac sit if bubbles form. Bubbles will rise to the top and disappear.
Testing Consistency
The 2-pound-cut mix above works for brushing, but if you’re spraying — a common question, since HVLP and gravity-feed guns need a thinner liquid to atomize properly — thin further, toward roughly equal parts alcohol and shellac (closer to a 1-pound cut). Always run a test spray on scrap first: gun tip size and air pressure both affect how thin the mix needs to be, so there’s no single number that works for every setup.
A hobbyist finisher documenting a batch of shellac mixed from flakes found it still dried hard and non-tacky after 7 months in a sealed mason jar, stored in a shop cabinet away from light and temperature swings — well past the “toss it at 3 months” rule some finishers repeat by reflex. Read the write-up at Woodworking in a Tiny Shop — the real lesson is to test a small amount before trusting a full coat, not to guess from the calendar alone.
Visual Inspection
Look at the shellac. It should be smooth. Check for any clumps or lumps. These are signs of poor mixing. The color should be even. No dark or light spots. These spots show uneven thinning. Use a clear container for best results. This helps you see any issues better.
Application Test
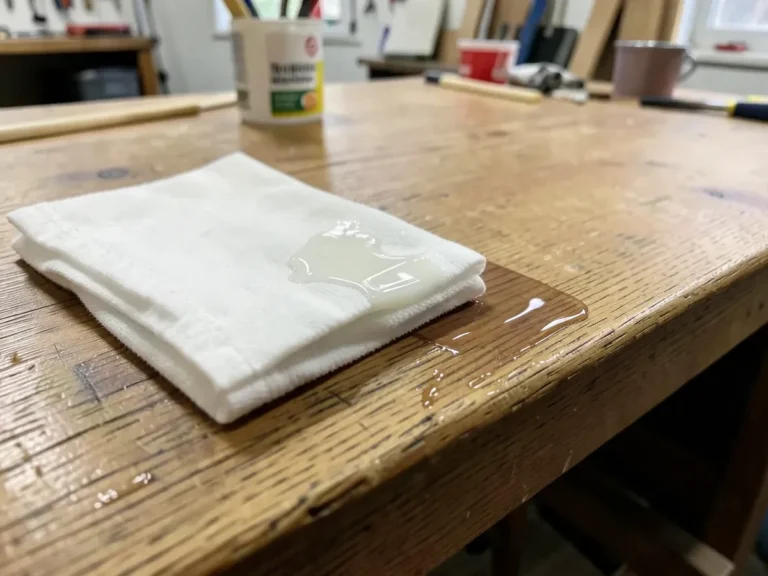
Apply a small amount on a test piece. The shellac should spread easily. It must not be too thick. Thin shellac should dry quickly. No sticky spots. Use a brush or cloth to apply. Check if it covers evenly. If not, it needs more thinning.
Adjusting Consistency
To thin shellac, use denatured alcohol. Mix shellac flakes with alcohol. Stir until fully dissolved. For a thinner mix, add more alcohol. Keep the solution smooth. Use a brush to test consistency. If it feels thick, add more alcohol. Keep checking until right consistency is achieved. Always work in a well-ventilated area.
Let the shellac sit uncovered. Some alcohol will evaporate. This makes the shellac thicker. Stir occasionally to check thickness. If too thick, add a bit of alcohol. Keep testing until you get the right thickness.
Application Tips
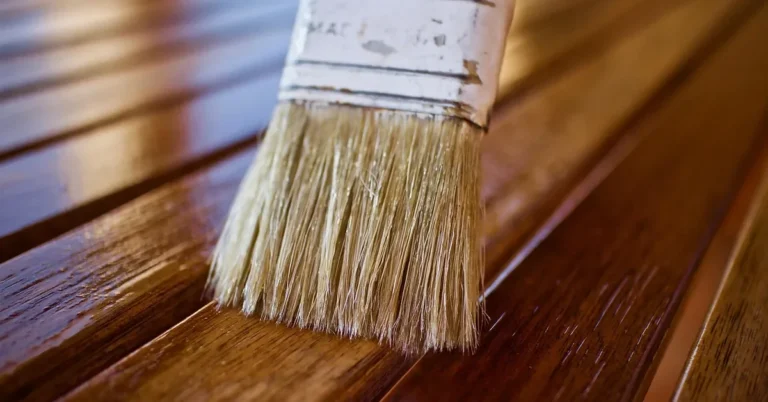
Dip your brush in the shellac. Wipe off extra on the can’s edge. Use long, even strokes. Start from the wood’s center. Move towards the edges. Always brush in the wood grain’s direction.
Avoid over-brushing. This can cause bubbles. Let each coat dry fully. Sand lightly between coats. Use fine-grit sandpaper. Clean off dust before next coat.
Thin the shellac with alcohol. Use a spray gun. Test spray on scrap wood. Spray in even, thin layers. Keep the spray gun moving. Avoid spraying too much in one spot.
Let each layer dry before the next. Sand lightly between layers. Use a fine-grit sandpaper. Clean off any dust. Follow safety guidelines. Wear a mask and work in a ventilated area.
Storage And Maintenance
Thinning shellac requires the right ratio of alcohol to shellac flakes. Store in a cool, dry place to maintain quality. Regularly stir the mixture for best results.
Proper Storage
Shelve shellac in a cool, dark place. Keep it away from sunlight. Store it in a tightly sealed container. This keeps the shellac fresh and usable. Excess heat can spoil it. Check the lid for a tight fit.
Shelf Life
These two shelf lives are different, and mixing them up causes most of the “my shellac won’t dry” complaints. A sealed, unopened can of commercial shellac (like Bulls Eye) is rated for about 3 years. Once it’s mixed from flakes, or once a can is opened and thinned, the clock resets: 6 to 9 months is the commonly cited working life, though well-stored jars have been reported to perform fine well past a year. Check the manufacture date, test a small amount before committing to a project, and if it stays sticky or tacky for more than an hour after application, discard it.
Frequently Asked Questions
What Is The Best Way To Thin Shellac?
The best way to thin shellac is to use denatured alcohol. For brushing, mix roughly 2 parts alcohol with 5 parts shellac (this brings a standard 3-pound cut down to about a 2-pound cut). For spraying, thin further, toward equal parts. Stir well.
How Long Does Thinned Shellac Take To Dry?
Thinned shellac typically dries within 30 minutes. However, drying time can vary based on temperature and humidity.
Can You Thin Shellac With Water?
No, you cannot thin shellac with water. Shellac is only soluble in alcohol, such as denatured alcohol.
How Do You Store Thinned Shellac?
Store thinned shellac in an airtight container. Keep it in a cool, dry place. Label the container with the mixing date.
Conclusion
Thinning shellac is simple with the right tools and knowledge. Start with clean equipment. Mix shellac with denatured alcohol. Check consistency as you go. Apply in thin layers for best results. Practice makes perfect. Follow these steps for a smooth, professional finish.
Now, you’re ready to tackle your next project with confidence. Happy woodworking!
Sponsored / affiliate links. As an Amazon Associate I earn from qualifying purchases. I may earn additional commission from eligible campaigns.