How To Use Wood Screws: The Proven & Effortless Way
To use wood screws effortlessly, first select the right screw for your project. Next, mark your spot and drill a pilot hole slightly smaller than the screw’s threads to prevent splitting the wood. Finally, drive the screw slowly and steadily with the correct driver bit until it is snug. This method ensures a strong, clean connection every time.
Hello there! I’m Md Meraj. In my workshop, I’ve seen it all: splintered boards, snapped screw heads, and that wobbly bookshelf that just won’t stay put. More often than not, the culprit is a tiny, misunderstood hero of woodworking—the wood screw. It sounds simple, but using one incorrectly can turn a fun project into a frustrating puzzle. Does the wood always split right at the last second? Do your screw heads get chewed up before they’re even halfway in? You’re not alone. But don’t worry, there’s a simple, proven way to get it right every single time. Today, I’m going to walk you through it, step-by-step.
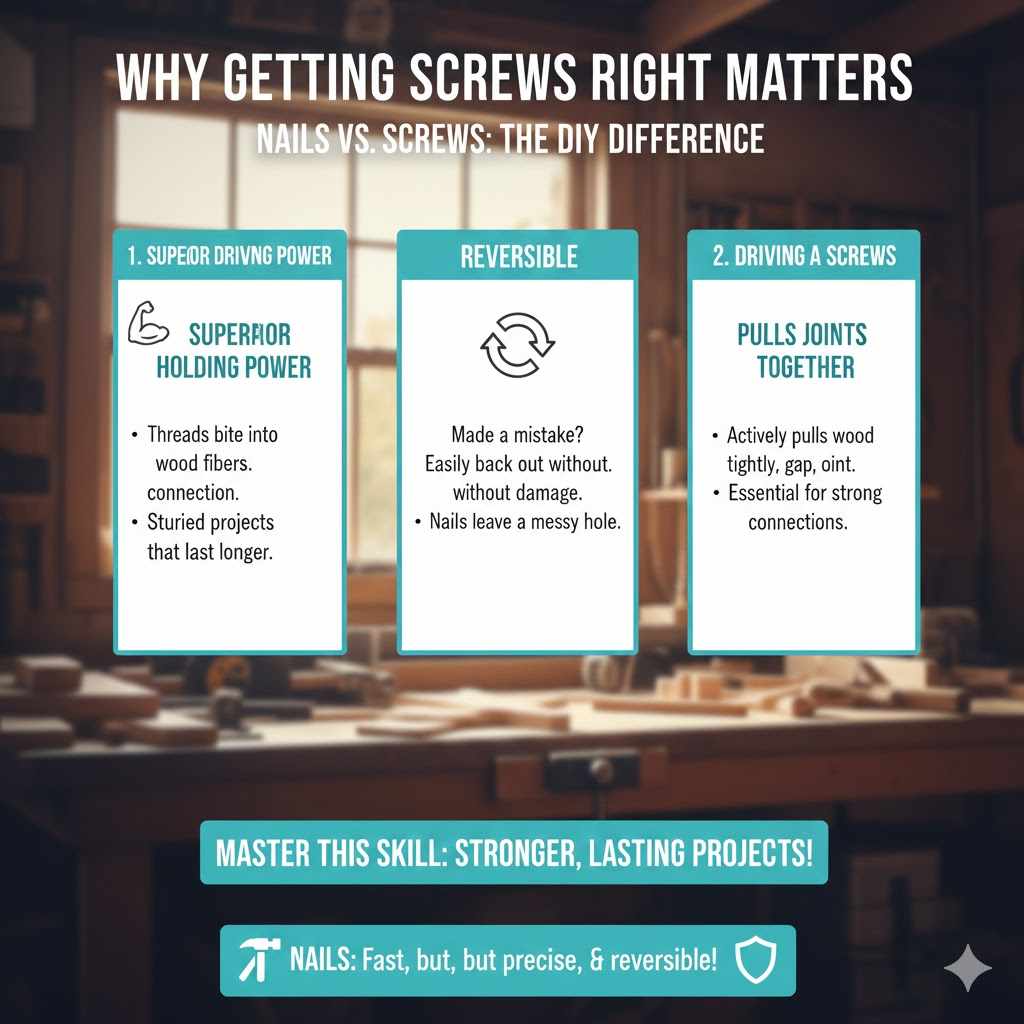
Why Getting Screws Right Matters
You might be wondering, “Why not just use a hammer and nails?” Nails are great for certain jobs, like framing, where speed is key. But for most DIY and woodworking projects, especially furniture or anything that needs to hold weight, screws are the undisputed champion. Here’s why:
- Superior Holding Power: The threads on a screw bite into the wood fibers, creating a much stronger and more durable connection than a smooth nail. This means your projects will be sturdier and last longer.
- They Are Reversible: Made a mistake? No problem. You can easily back a screw out without damaging your project. Trying to pull out a nail cleanly is a whole different story and often leaves behind a messy hole.
- They Pull Joints Together: As you drive a screw, it actively pulls the two pieces of wood tightly together, creating a snug, gap-free joint. This is essential for clean-looking and strong connections.
Mastering this basic skill will instantly improve the quality and durability of everything you build. It’s a foundational technique that separates frustrating attempts from successful, satisfying projects.
First, Let’s Understand the Tool: The Anatomy of a Wood Screw
Before you can use a screw effectively, it helps to know its parts. Think of it like learning the names of your tools. Knowing what each part does will help you choose the right screw for your job.
- The Head: This is the top of the screw, which has a slot or recess for your screwdriver or drill bit. The shape of the head determines how the screw will sit on the wood’s surface.
- The Drive: This is the pattern inside the head. Common types include Phillips (a cross), Slotted (a single slot), and Torx (a star shape).
- The Shank: This is the smooth, unthreaded part of the screw just below the head. A shank allows the screw to spin freely in the top piece of wood, helping to pull the two pieces together tightly.
- The Threads: These are the sharp, corkscrew-like ridges that cut into the wood and provide all the holding power.
- The Tip: The sharp point of the screw that helps it start boring into the wood. Some modern screws have special self-drilling tips, but a pilot hole is still your best friend.
Understanding these parts isn’t just trivia; it’s key to making smart choices in the hardware aisle.
Choosing the Perfect Wood Screw for Your Project
Walking into a hardware store and seeing a wall of screws can be overwhelming. But it’s easy to break down. You only need to consider four things: size, head type, drive type, and material.
1. Screw Size: Length and Gauge
Size is the most critical choice. It’s defined by two numbers: length and gauge.
Length: This is straightforward. A good rule of thumb is to choose a screw that is long enough to penetrate at least halfway into the bottom piece of wood (the “base” piece). For example, if you are attaching a 3/4-inch thick board to a 2-inch thick board, your screw should be long enough to go all the way through the 3/4-inch board and at least 1 inch into the second board. So, a 1 1/2-inch or 1 3/4-inch screw would be a great choice.
Gauge: This refers to the diameter, or thickness, of the screw’s shank. It’s represented by a number, typically from #2 (very thin) to #16 (very thick). A larger gauge number means a thicker, stronger screw.
- For small projects like building picture frames or small boxes, a #6 gauge screw is often sufficient.
- For general-purpose work like assembling cabinets or simple furniture, a #8 gauge screw is the most common and versatile choice.
- For structural projects like building a deck or a workbench, you’ll want a thicker #10 or #12 gauge screw for maximum strength.
2. Screw Head Type
The head determines how the screw finishes on the surface of your wood.
- Flat Head: This is the most common type for woodworking. It has a cone-shaped head designed to sit flush with or slightly below the surface of the wood. To use it properly, you need to create a cone-shaped recess with a tool called a countersink bit. This gives your projects a clean, professional look with no screw heads sticking out.
- Pan Head or Round Head: These heads have a flat bottom and a rounded or slightly domed top. They are designed to sit on top of the wood’s surface. You’d use these when you need strong clamping force and aren’t worried about a flush finish, like when attaching hardware or brackets.
- Washer Head: These have a built-in washer at the base of the head, which distributes the clamping pressure over a wider area. They are excellent for joining particleboard or MDF, which are softer and can be crushed by smaller screw heads.
3. Screw Drive Type
The drive type needs to match your screwdriver or driver bit. Choosing a good one can save you from the dreaded “cam-out,” where the bit slips out of and damages the screw head.
- Phillips: The classic cross shape. It’s very common, but it’s also prone to cam-out, especially when driving with a power drill.
- Slotted: The single slot. This is the oldest style and the most difficult to use. The bit can easily slip out, often scratching your workpiece. I generally recommend avoiding these for woodworking.
- Torx (Star) or Square (Robertson): These are the modern champions. The star or square-shaped recess provides a much more positive engagement with the driver bit, dramatically reducing the risk of slipping or stripping the head. If you have the choice, always go for Torx or Square drives. They make driving screws so much easier, especially for beginners.
4. Material and Coating
Where will your project live? The answer determines the material you need.
- Zinc-Plated Steel: These are the standard, affordable screws for indoor projects where moisture is not a concern. The zinc coating provides a small amount of corrosion resistance.
- Stainless Steel: These are your go-to for outdoor projects like decks, fences, or outdoor furniture. They are more expensive but will not rust or corrode when exposed to rain and humidity.
- Coated Screws: Many manufacturers offer screws with special coatings (often blue, green, or tan) designed for exterior use or with treated lumber. These offer excellent corrosion resistance, often at a lower price point than stainless steel.
| Project Type | Recommended Gauge | Recommended Head/Drive | Recommended Material |
|---|---|---|---|
| Small Craft / Picture Frame | #4 or #6 | Flat Head / Phillips | Zinc-Plated |
| Cabinetry / Bookshelves | #8 | Flat or Washer Head / Torx or Square | Zinc-Plated |
| General Furniture Building | #8 or #10 | Flat Head / Torx or Square | Zinc-Plated |
| Outdoor Decking | #10 or #12 | Flat Head / Torx or Square | Stainless Steel or Exterior Coated |
The Essential Tools for the Job
You don’t need a professional workshop to do this right. Here are the must-have tools and materials for driving screws like a pro.
- Drill/Driver: A cordless drill with an adjustable clutch is your best friend. The clutch allows you to control the amount of torque, preventing you from over-driving the screw.
- Drill Bits: You’ll need a set of twist drill bits for creating pilot holes.
- Countersink Bit: This special bit creates the cone-shaped recess for flat-head screws. It’s an inexpensive tool that makes a huge difference in the finished look.
- The Right Driver Bit: Make sure you have a driver bit that perfectly matches the drive type of your screws (e.g., a #2 Phillips bit for a #2 Phillips screw).
- Wood Screws: The ones you carefully selected for your project.
- Wood Pieces: Your project!
- Clamps: Clamps are like a second pair of hands. They hold your wood pieces firmly together so they don’t shift while you’re drilling and driving.
- Measuring Tape & Pencil: For marking your screw locations accurately.
- Safety Glasses: Always. Protect your eyes from wood dust and any potential mishaps.
The 5-Step Method to Drive a Perfect Screw, Every Time
Alright, let’s get to the main event. Forget forcing screws and splitting wood. This five-step process is simple, reliable, and will give you flawless results.
Step 1: Mark Your Spot
Precision starts here. Use your measuring tape and a sharp pencil to mark the exact location where you want your screw to go. A clear, small “X” is perfect. Good layout prevents mistakes and ensures your screws are aligned for a professional look.
Step 2: Drill a Pilot Hole
This is the most important step. Do not skip it. A pilot hole is a hole you drill before driving the screw. It clears a path for the screw, which completely prevents the wood from splitting. Without a pilot hole, the screw forces the wood fibers apart, often causing a nasty split, especially near the edge of a board.
The pilot hole should be slightly smaller in diameter than the screw’s threads. A good rule of thumb is to choose a drill bit that is the same diameter as the solid shank of the screw (the part without threads). If you hold the drill bit in front of the screw, you should still be able to see the threads peeking out from behind the bit.
| Screw Gauge | Recommended Drill Bit |
|---|---|
| #4 | 1/16″ |
| #6 | 5/64″ |
| #8 | 3/32″ |
| #10 | 1/8″ |
| #12 | 7/64″ |
Note: For hardwoods like oak or maple, you may need a slightly larger pilot hole. It’s always a good idea to test on a scrap piece of wood first! For an in-depth technical look at how fasteners interact with wood, resources from educational institutions like the Virginia Tech Cooperative Extension provide excellent background.
Drill your pilot hole straight down through your top piece of wood and into the bottom piece, going as deep as the screw will go.
Step 3: Drill a Shank Clearance Hole (Optional but Recommended)
For an even stronger joint, you can add this step. The shank clearance hole is drilled only through the top piece of wood. It should be the same diameter as the smooth shank of the screw. This allows the screw to pass freely through the top piece, so when the threads engage in the bottom piece, they pull the two boards together with maximum force, creating a tight, seamless joint.
Step 4: Countersink the Hole (For a Flush Finish)
If you’re using flat-head screws, now is the time to use your countersink bit. Place the tip of the bit into your pilot hole and drill just enough so that the cone-shaped recess is slightly wider than the head of your screw. This creates the perfect seat for your screw head, allowing it to sit perfectly flush with the wood surface. It’s a small detail that makes a huge difference in the finished look of your project.
Step 5: Drive the Screw
Now for the satisfying part. Place the tip of your screw into the prepared hole. Set your drill’s clutch to a low-to-medium setting to start. This will prevent you from accidentally stripping the screw head or driving it too deep.
Align your driver bit perfectly straight with the screw. Apply firm, steady pressure and squeeze the trigger slowly. Drive the screw at a controlled speed—don’t just jam it in there. You want the threads to cut cleanly into the wood, not tear their way through. Drive it until the head is just flush with the surface (or snug, if using a pan head). You should feel the drill’s clutch start to click when the screw is fully seated. That’s your signal to stop.
That’s it! You’ve just created a strong, clean, and professional-looking screwed joint.
Common Mistakes and How to Avoid Them
We all make mistakes, but you can save yourself a lot of headaches by watching out for these common slip-ups.
- Skipping the Pilot Hole: The number one mistake. It leads to split wood, especially in hardwoods or near the end of a board. Always drill a pilot hole.
- Using the Wrong Driver Bit: Using a bit that’s too small or too large will cause it to slip and strip the screw head, making it nearly impossible to drive or remove. Make sure the bit fits snugly in the drive recess.
- Driving Too Fast: Going full speed with your drill can cause you to lose control, strip the screw head, or drive the screw too deep, damaging the wood surface. Slow and steady wins the race.
- Driving at an Angle: If the screw goes in crooked, the joint will be weak and the screw head won’t sit flat. Keep your drill perfectly perpendicular to the wood surface.
- Over-tightening the Screw: This can strip the wood fibers, causing the screw to lose its grip. It can also snap the head clean off the screw. Let your drill’s clutch do the work, or learn to feel for when the screw is just snug.

Frequently Asked Questions (FAQ)
What happens if I don’t drill a pilot hole?
When you drive a screw without a pilot hole, the screw’s body forces the wood fibers apart. This creates immense pressure that can easily split the wood, especially if you are working near the edge of a board or using a hardwood. A split board is structurally weak and looks terrible.
How deep should a wood screw go?
For a strong connection, the screw should go through the top piece of wood and penetrate at least halfway into the bottom piece. For even stronger joints, aim for about two-thirds of the way into the bottom piece. Be careful not to choose a screw so long that it pokes through the other side!
Can I use soap or wax on a screw to make it easier to drive?
Yes, you can! This is an old-timer’s trick that works wonderfully. Rubbing the screw threads with a bit of paste wax or a bar of soap acts as a lubricant. It significantly reduces the friction, making it much easier to drive screws, especially large screws into dense hardwoods.
What’s the difference between a wood screw and a drywall screw?
They might look similar, but they are very different. Drywall screws are brittle and designed to hold drywall to studs; they can easily snap when used in solid wood, especially under load. Wood screws are made of a stronger, more ductile metal, have a different thread design, and are specifically engineered to provide strong holding power in wood.
How do I remove a stripped screw?
First, try using a slightly larger driver bit to get more grip. If that doesn’t work, you can place a wide rubber band over the stripped head and then press your driver bit into it; the rubber can help fill the gaps and provide extra traction. For badly stripped screws, a dedicated screw extractor tool is your best bet.
Why did the head of my screw snap off?
This usually happens for one of two reasons: either the screw was of low quality, or it was over-torqued. Applying too much force, especially when the screw gets tight, can exceed the metal’s strength and cause it to shear. Using a drill with an adjustable clutch can help prevent this.
Do I always need a pilot hole, even in softwood like pine?
Yes, it’s highly recommended. While you might get away with it occasionally in the center of a wide pine board, it’s a risky habit. Drilling a pilot hole takes only a few extra seconds and guarantees a clean, split-free result every single time. It’s a professional habit worth adopting.
You’ve Got This!
See? Using a wood screw isn’t some secret art. It’s a simple, repeatable process. By taking a moment to choose the right screw and prepare your wood with a pilot hole, you transform a potentially frustrating task into a smooth and successful one. You’ll build stronger projects, they’ll look more professional, and you’ll feel that amazing sense of accomplishment that comes from a job done right.
The next time you pick up a drill and a handful of screws, remember these steps. Mark, drill, and drive with confidence. Your woodworking journey is built one strong connection at a time, and now you have the knowledge to make every single one perfect. Happy building!