How To Vent a Wood Burning Stove: The Ultimate Safe Guide
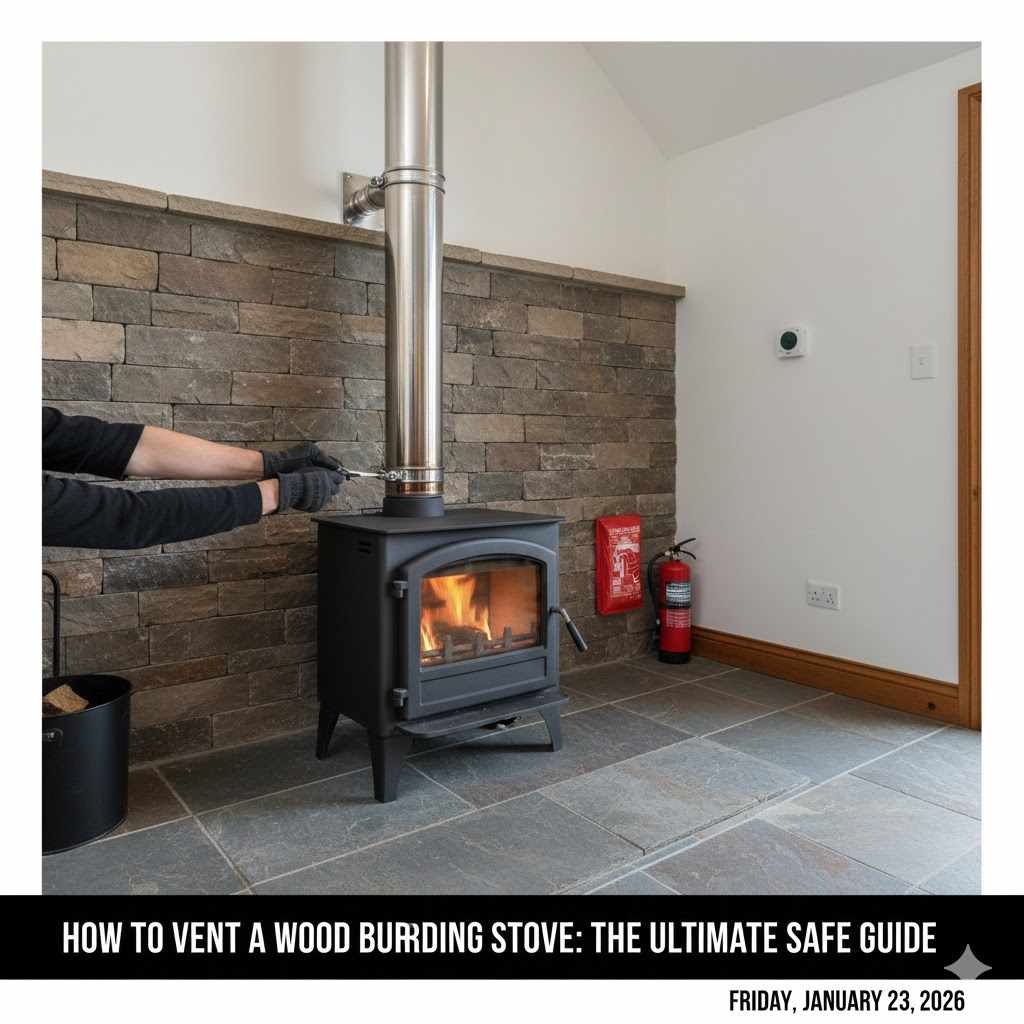
To vent a wood-burning stove, you must create a safe pathway for smoke and gases to exit your home. This involves using a certified chimney system, either installed vertically through the roof or horizontally through an exterior wall. Always use insulated Class A chimney pipe when passing through combustible materials and follow manufacturer clearance requirements meticulously for fire safety.
Bringing a wood-burning stove into your home is a wonderful thing. It offers warmth, a cozy glow, and a real sense of self-reliance. But before you can enjoy that first crackling fire, there’s one job that must be done perfectly: the venting. It might sound complex, but don’t worry. Getting it right is just a matter of following simple, safe steps. I’m here to walk you through the process, piece by piece, so you can feel confident and secure. Let’s build a safe, warm heart for your home together.
Why Proper Venting Is the Most Important Step
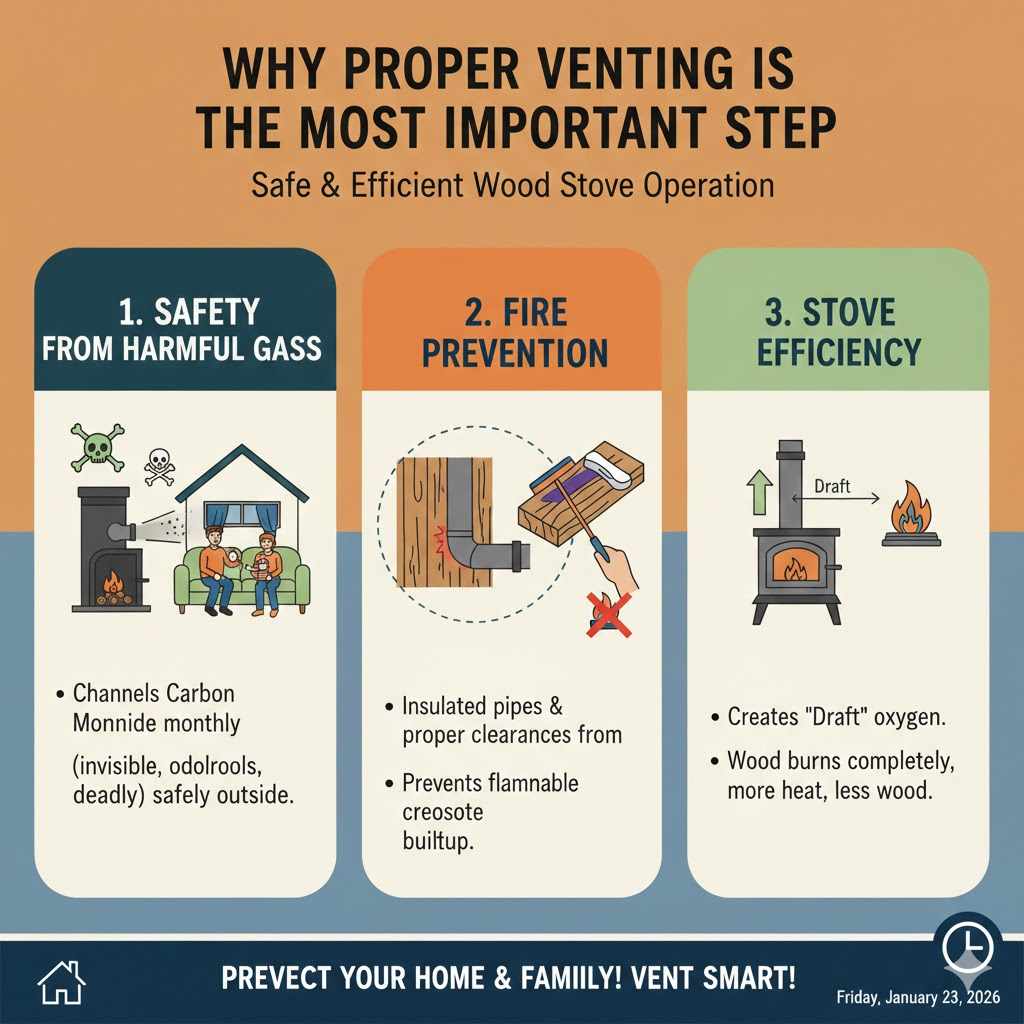
Before we grab any tools, let’s talk about why this is so important. Venting isn’t just about getting smoke out of the room. A proper venting system does two critical jobs that keep your family safe and your stove working great.
- Safety from Harmful Gases: When wood burns, it creates gases like carbon monoxide. You can’t see or smell it, but it’s very dangerous. A sealed, correctly installed vent pipe channels all these gases safely outside, away from your living space.
- Fire Prevention: The pipe gets very hot. If it’s too close to wood, insulation, or drywall, it can start a fire. A proper system uses special insulated pipes and maintains safe distances, called clearances, from anything that can burn. It also helps prevent creosote buildup, a flammable substance that can cause chimney fires.
- Stove Efficiency: A good vent creates a “draft.” This is the upward pull of air that brings fresh oxygen to your fire and pulls smoke up the chimney. With a good draft, your wood burns more completely and efficiently, giving you more heat from less wood.
Understanding the Basic Parts of a Vent System
You’ll hear a few terms for the pipes used, and it’s good to know the difference. Using the wrong type of pipe is a common and dangerous mistake.
Stovepipe (Connector Pipe)
This is the pipe that connects directly to your wood stove. It’s designed for use only inside the room where the stove is located. It cannot pass through walls, ceilings, or roofs.
- Single-Wall Stovepipe: This is a simple, single layer of steel. It’s less expensive but requires a larger clearance (usually 18 inches) from combustible materials.
- Double-Wall Stovepipe: This has an inner and outer pipe with an air gap between them. This insulation allows it to be installed closer to walls (usually 6-8 inches), which can save space.
Class A Chimney Pipe (Insulated Pipe)
This is the workhorse of your venting system. It is a high-temperature, insulated pipe specifically designed to safely pass through combustible materials like your walls and ceiling. You must use Class A chimney pipe for any part of the system that is outside the room where the stove is located. It is made with layers of steel and thick insulation to keep the outside of the pipe cool enough not to ignite nearby materials.
Choosing Your Path: Through the Wall vs. Through the Roof
You have two main options for routing your chimney. The best choice depends on your home’s layout and where you want to place your stove.
A vertical installation through the roof is almost always the better option for performance. It creates the strongest draft because hot air likes to rise straight up. However, a through-the-wall installation can be a great solution if a ceiling installation is not practical.
| Feature | Through the Roof (Vertical) | Through the Wall (Horizontal) |
|---|---|---|
| Performance | Best draft. Fewer bends mean less creosote buildup and better flow. | Good draft, but the two 90-degree elbows can slightly reduce flow. |
| Cost | Can be more expensive due to more pipe and roof components (flashing, storm collar). | Often less expensive because it requires less Class A chimney pipe. |
| Installation Difficulty | More complex. Requires working on the roof and ensuring a weatherproof seal. | Simpler. All work can be done from inside and on a ladder outside. No roof work needed. |
| Placement Flexibility | Allows for more central stove placement away from walls. | Requires the stove to be placed near an exterior wall. |
Gathering Your Tools and Materials
Having everything ready before you start makes the job go much smoother. Here’s a general list, but always double-check it against the instructions for your specific chimney kit.
Tools Needed:
- Safety Glasses and Work Gloves
- Tape Measure and Pencil
- Level
- Drill with Assorted Bits
- Reciprocating Saw or Jigsaw
- Caulking Gun
- Screwdrivers
- Ladder (and roof safety gear for roof installations)
Materials Needed:
- Wood Stove and Stovepipe (Single or Double-Wall)
- Class A Chimney Kit (Includes insulated pipe, wall thimble or ceiling support, flashing, storm collar, and chimney cap)
- High-Temperature Sealant
- Roofing Screws with Rubber Washers (for roof installs)
- Fireblock or Rockwool Insulation
How to Vent a Wood Stove Through the Wall (Step-by-Step)
This is a popular method for homes where a straight vertical run isn’t easy. It keeps all the work off the roof.
- Plan Your Route: Position your stove according to the required clearances listed in its manual. Plan the shortest, most direct route for the pipe to exit the exterior wall. Avoid going through walls with complex wiring or plumbing.
- Mark the Center Point: Assemble a short section of stovepipe and an elbow on your stove. Use a level to ensure the horizontal pipe is slightly angled up towards the wall (about 1/4 inch per foot of run) to improve draft. Mark the center of where the pipe will pass through the wall.
- Install the Wall Thimble: The wall thimble is a crucial safety component that lines the hole in your wall. Trace the outline of the inner part of your wall thimble on the interior wall. Cut the hole using a reciprocating saw. From the outside, cut the corresponding hole through your exterior siding. Install both halves of the wall thimble and secure them together.
- Install the Exterior Pipe: On the outside of the house, attach a wall support bracket to the studs. Then, install a clean-out “tee” section onto the thimble. This allows you to easily clean the chimney from the bottom.
- Run the Chimney Upward: Begin adding Class A chimney sections, working your way up. Secure the pipe every 5-8 feet with wall brackets. Your pipe must extend at least 3 feet above the point where it passes through the roofline, AND it must be at least 2 feet higher than any part of the roof within 10 feet. This is known as the “3-2-10 rule.”
- Install the Chimney Cap: Once you reach the required height, install the chimney cap. This keeps rain, debris, and animals out of your chimney.
- Connect the Inside Pipe: Connect your interior stovepipe from the stove to the wall thimble. Seal the inner connections with high-temperature sealant. Do not use sealant on the exterior Class A pipe connections; they are designed to lock together.
How to Vent a Wood Stove Through the Roof (Step-by-Step)
This method provides the best performance but requires more care to ensure a leak-proof installation.
- Position the Stove: Place your stove in its final location, making sure you meet all clearance requirements to nearby walls.
- Locate the Center Point: Use a plumb bob (a weighted string) hanging from the ceiling to find the exact center point directly above the stove’s flue collar. Mark this spot on the ceiling.
- Cut the Ceiling and Roof Holes: Check the attic for obstructions like joists or rafters before cutting. If a joist is in the way, you may need to offset the pipe slightly. Cut a hole in your ceiling and roof according to the chimney manufacturer’s specifications. The hole will be larger than the pipe to ensure proper clearance.
- Install Support Box and Flashing: From the attic, install a ceiling support box. This box frames the hole and supports the weight of the chimney system. On the roof, slide the roof flashing into place under the upper shingles and over the lower ones. This directs water away from the hole.
- Run the Chimney Pipe: From below, push the first section of Class A pipe up through the support box and roof flashing. Continue adding sections from the roof until you meet the required height (the 3-2-10 rule again!). Ensure each section twists and locks securely.
- Seal the Roof: Install the storm collar over the pipe and press it down firmly onto the flashing. Seal the top edge of the storm collar with high-quality silicone caulk to create a watertight seal.
- Install the Cap and Connect the Stove: Place the chimney cap on top. Inside, connect your stovepipe from the stove flue up to the bottom of the Class A chimney support box. Your installation is complete!
The Golden Rules of Safe Venting: Clearances
Clearance is the minimum safe distance between your stove and chimney pipe and any combustible materials (like wood framing, drywall, furniture, or curtains). This is not a suggestion; it’s a critical fire safety requirement.
Always, always, always follow the clearance requirements listed in your stove’s manual and your chimney pipe’s instructions. These are the numbers that have been tested and certified for safety. For more information on standards, you can refer to the NFPA 211: Standard for Chimneys, Fireplaces, Vents, and Solid Fuel-Burning Appliances.
| Component | Typical Clearance to Combustibles | Notes |
|---|---|---|
| Wood Stove (Sides/Rear) | 18 to 36 inches | Varies greatly by model. A heat shield can often reduce this distance. Always check the manual! |
| Single-Wall Stovepipe | 18 inches | This large clearance is why many people opt for double-wall stovepipe. |
| Double-Wall Stovepipe | 6 to 8 inches | Offers more placement flexibility in smaller spaces. |
| Class A Chimney Pipe | 2 inches | The insulation makes it safe to install with minimal clearance inside walls and ceilings. |
Common Mistakes to Avoid (And How to Get It Right)
- Using the Wrong Pipe: Never use single-wall stovepipe inside a wall or ceiling. It’s a serious fire hazard. Only Class A insulated chimney pipe should pass through combustible structures.
- Too Many Bends: Try to keep the vent path as straight as possible. Avoid more than two 90-degree bends in the entire system, as this can hinder the draft.
- Not Enough Height: Skimping on chimney height is a common cause of poor draft and smoky fires. Stick to the 3-2-10 rule for a safe and effective system.
- Ignoring Local Codes: Many areas require a permit and an inspection for a wood stove installation. Check with your local building authority before you start. It’s for your own safety and peace of mind.
- Improper Connections: Ensure stovepipe sections are installed with the crimped (male) end pointing down towards the stove. This allows any condensation or creosote to run back into the stove instead of leaking out of the seams.
Keep It Clean, Keep It Safe: Simple Vent Maintenance
Your job isn’t done after the installation. Regular maintenance is key to keeping your wood stove system safe and efficient for years to come.
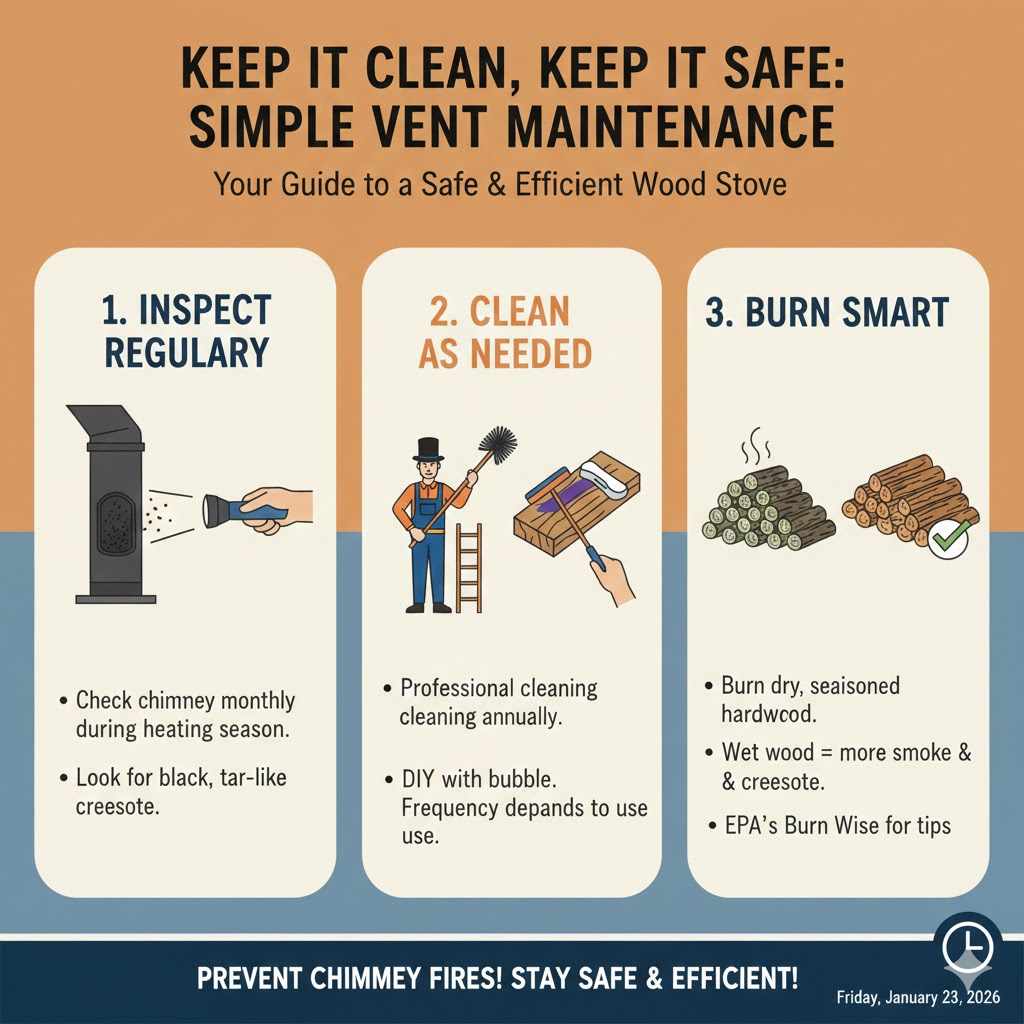
The main task is cleaning out creosote. This is a black, tar-like substance that builds up inside the chimney. If it gets too thick, it can catch fire, leading to a dangerous chimney fire.
- Inspect Regularly: Check your chimney for creosote buildup at least once a month during the heating season, especially when you’re first learning how your stove burns.
- Clean as Needed: You should have your chimney professionally cleaned at least once a year. Depending on how much you use your stove and the type of wood you burn, you may need to clean it more often. You can also purchase chimney cleaning brushes to do it yourself.
- Burn Smart: Always burn dry, seasoned hardwood. Wet or “green” wood produces more smoke and, therefore, more creosote. For tips on smart burning habits, the EPA’s Burn Wise program is an excellent resource.
Frequently Asked Questions (FAQ)
How high does my wood stove chimney need to be?
The chimney must be at least 3 feet taller than the highest point where it passes through the roof. It also needs to be at least 2 feet higher than any other part of the building that is within 10 feet horizontally. This is called the “3-2-10 Rule” and ensures a proper draft and prevents downdrafts.
Do I need a permit to install a wood burning stove?
In most places, yes. Installing a wood stove is considered a major modification, and local building codes often require a permit and a final inspection to ensure it was done safely. Always check with your local building or fire department before you begin your project.
Can I vent a wood stove out of a window?
No, you should never vent a wood stove temporarily or permanently through a window. This method is unsafe, does not meet code, and creates a major fire risk. It also fails to create a proper draft for the stove to operate efficiently and cleanly.
What is the difference between single-wall and double-wall stovepipe?
Single-wall stovepipe is one layer of steel and gets very hot, requiring 18 inches of clearance from combustibles. Double-wall stovepipe has an inner and outer wall with an air gap, which acts as insulation. It requires less clearance (usually 6-8 inches) and is a safer choice when routing near walls.
How often should I clean my wood stove chimney?
You should have your chimney inspected annually and cleaned as necessary. A good rule of thumb is to clean it after every cord of wood burned or if you see 1/8 inch of creosote buildup or more on the inside of the flue.
What is a “Class A” chimney?
A “Class A” chimney is a specific type of pre-fabricated, insulated chimney system designed for high-temperature exhaust from appliances like wood stoves. It is the only type of pipe that is rated to safely pass through combustible materials like walls, ceilings, and roofs.
Can I connect my wood stove to my existing fireplace chimney?
Sometimes, but it requires careful evaluation. The fireplace flue must be the correct size for the stove and be in excellent condition. Usually, the best and safest method is to install a stainless steel chimney liner down the existing masonry chimney that is correctly sized for your wood stove.
You’ve Got This!
Venting a wood stove is a job that demands care and attention to detail, but it is absolutely within the reach of a determined DIYer. By understanding the components, choosing the right path, and following safety rules—especially clearances—you can create a system that will provide safe, reliable warmth for many winters to come. Take your time, read the manuals for your specific products, and don’t be afraid to double-check your work. The peace of mind and cozy fires that follow will be well worth the effort.