How to Winterize a Garage Workshop
Winterize a garage workshop by sealing air leaks, keeping the temperature above 40°F if possible, and holding relative humidity around 35% to 50% so tools, wood, and finishes stay more stable. Skip those controls and rust, swollen stock, cracked finishes, stuck doors, and seasonal machine drift follow. This guide covers insulation, heat, dehumidification, vapor control, storage, and the order to tackle them.
This guide is part of our Winter Woodshop Guide: Heat, Humidity, Rust and Safety series.
What you’ll need
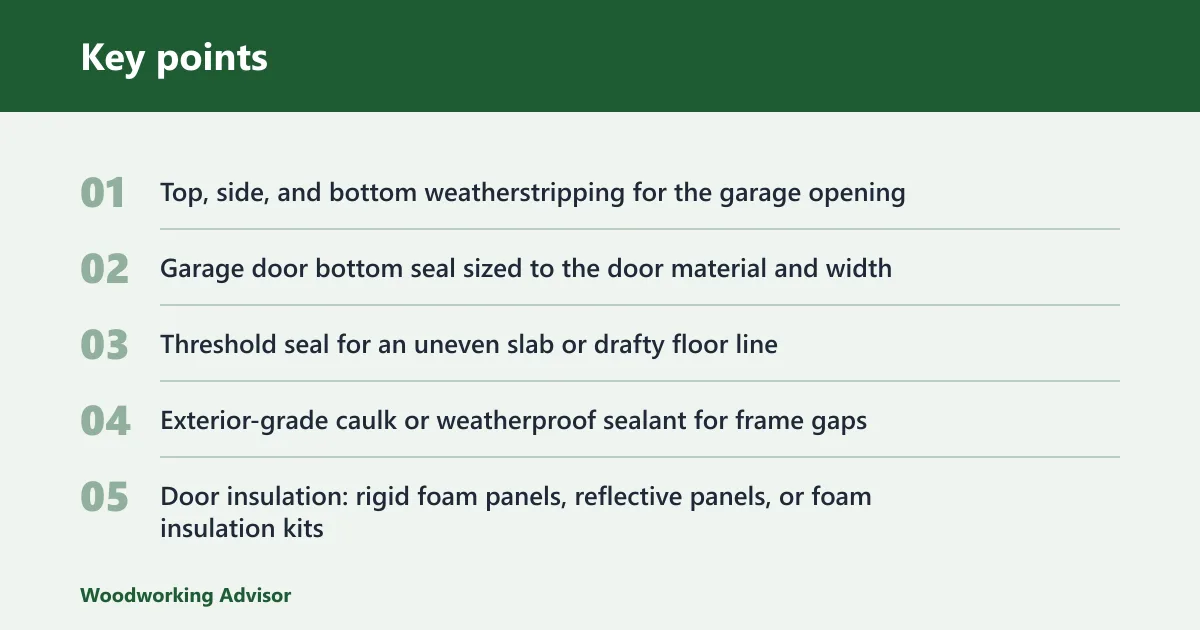

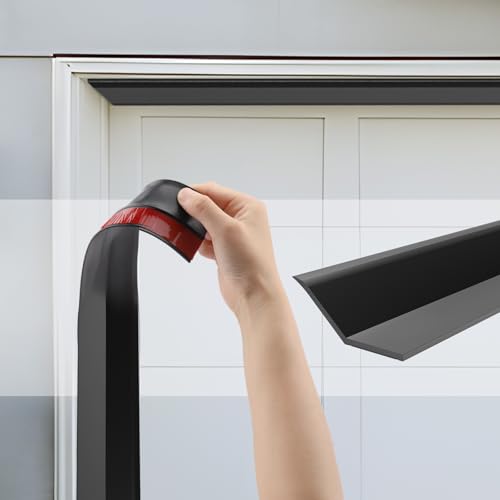

- Top, side, and bottom weatherstripping for the garage opening
- Garage door bottom seal sized to the door material and width
- Threshold seal for an uneven slab or drafty floor line
- Exterior-grade caulk or weatherproof sealant for frame gaps
- Door insulation: rigid foam panels, reflective panels, or foam insulation kits
- Wall and ceiling insulation if the shell is worth upgrading
- Flashlight for leak checks
- Cleaning cloth, mild cleaner, and a vacuum for tracks and corners
- Lubricant made for garage door hinges, rollers, and other moving hardware
- Hygrometer or combo temperature-humidity gauge
- Plastic bins, pallets, shelving, or plywood risers for sensitive stock
- Rust inhibitor, paste wax, or light protective oil for cast iron and bare steel
Workshop winterization matrix

| Task | Workshop risk prevented | Typical DIY effort |
|---|---|---|
| Sealing air leaks | Drafts, cold spots, moisture entry, rodent access | Low; 30 to 90 minutes |
| Insulating the door | Heat loss through the largest opening in the garage, faster temperature swings | Moderate; 1 to 3 hours |
| Adding floor/threshold seals | Snow, water, and ground-level drafts at the slab | Low to moderate; 30 to 60 minutes |
| Moving moisture-sensitive tools | Rust, swelling, finish defects, battery stress | Low; 20 to 60 minutes |
| Protecting cast iron | Flash rust on tables, fences, blades, vises, and machine beds | Low; 20 to 45 minutes |
| Managing finishes and adhesives | Thickening, separation, poor cure, shortened shelf life | Low; 15 to 30 minutes |
| Adding ventilation or dehumidification | Condensation, mildew, corrosion, finish failure | Moderate; 30 to 90 minutes |
Label guide: do now for sealing and storage moves; do before first freeze for insulation and hardware checks; do if you heat the shop for humidity control and equipment verification.
- Start with the opening, not the heater. Inspect the top, side, and bottom weatherstripping for cracks, tears, gaps, and hardened material. Replace anything brittle or missing, because damaged seals can let in cold air, debris, and rodents.
- Check the garage door bottom seal and threshold together. The bottom seal should match the door size and material, and it should block drafts plus snow or water entry. Add a threshold seal to the slab when the floor is uneven or the bottom seal still leaves daylight at the floor line.
- Seal small frame gaps before deeper cold sets in. Use exterior-grade caulk or weatherproof sealant around the door frame and other minor openings. Keep it to narrow joints, not moving parts or drain paths.
- Add door insulation only after you check the door limits. Choose rigid foam panels, reflective panels, or foam insulation kits, but confirm the door manufacturer’s weight limits and balance guidance first. Added insulation can change spring settings, so a door that felt fine before may need professional rebalancing afterward.
- Insulate the shell where the building justifies it. Use fiberglass batts, foam board, or blown-in insulation for walls and ceiling if the garage is attached or routinely heated. Door Tech notes that a garage can become a workshop once climate controlled, but that only works when wall thickness, air sealing, and heat loss are all addressed.
- Clean and lubricate the moving hardware correctly. Wipe hinges, rollers, and other moving parts, then apply winter lubricant to the hardware that needs it. Clean tracks instead of greasing them; lubricant on tracks attracts debris and can affect operation. After winterization, run the opener and make sure the safety sensors stay aligned and clear.
- Set a humidity target before you seal the shop tightly. Aim for about 35% to 50% relative humidity to help protect steel and finishes. If the shop is sealed well, use ventilation or dehumidification; otherwise condensation will collect on cold metal and inside cabinets. Some climate-control units include a cooling component or dehumidifying function, so verify the installation and the clearances it needs.
- Move sensitive materials before the first freeze. Put moisture-sensitive tools, batteries, finishes, adhesives, and lumber off concrete and away from exterior walls. Store cast-iron tops, blades, and bare steel with a light protective coating. A common first-timer mistake is leaving a planer and glue near a single-pane wall; the first cold snap condenses moisture there and leaves rust on the cast iron while the adhesive thickens.
- Finish with a quick operational check. Open and close the door, watch the tracks, and confirm the opener and safety sensors still work after the seals and insulation go in. If the door binds, squeaks, or changes speed, stop and correct the fit before the first freeze.
Why winterize a garage workshop?
Cold air, damp air, and temperature swings cause different damage. Metal rusts, wood moves, finishes blush or crack, and adhesives lose usable shelf life faster in a workshop that leaks and cycles hard. In an attached garage, heat loss and moisture can also migrate into the house; in a detached shop, you usually need more insulation and more deliberate humidity control.
What winterizing prevents before the first freeze
Winterizing prevents drafts, condensation, and repeated freeze-thaw changes that can turn a clean shop into a maintenance problem. It also cuts the energy loss that comes from trying to heat a leaky space. Door Tech notes that the garage door is the largest opening in the garage, so that opening usually deserves the first round of attention.
How do you seal air leaks?
Seal the opening first, then the smaller gaps around it. Start with the weatherstripping at the top, sides, and bottom, because that is where cold air and moisture usually get in first. Use exterior-grade caulk for narrow frame gaps, and add a threshold seal when the slab is uneven or the door still leaves a gap at floor level.
Inspect weatherstripping and seals
Use a flashlight to find air leaks around the garage door. Look for cracks, tears, gaps, and hardened material. Replace anything brittle or missing, because weatherstripping is one of the best places to start and a worn seal can also let in snowmelt and rodent entry.
Use a threshold seal where the slab works against you
A threshold seal attaches to the garage floor and works with the bottom seal, not instead of it. It helps when the concrete is uneven, settled, or patched and the door’s bottom seal cannot follow the floor closely enough.
How do you insulate the door and shell?
Use door insulation where the door is the main weak point, then add wall and ceiling insulation when the building layout makes it worthwhile. Foam board, reflective panels, and foam insulation kits are all used on garage doors, but performance depends on fit, air sealing, and whether the added weight stays within the door’s rated limits.
Choose the right insulation type
Rigid foam panels are a straightforward option when you want predictable thickness. Reflective panels can help, but they depend heavily on proper installation and an air space to work as intended. Foam insulation kits are convenient for shaped sections and small projects. If the door gains enough weight to affect balance, stop and address spring settings before regular use.
Insulate walls and ceiling with climate in mind
The same source recommends installing insulation with the proper thickness for the walls, and that matters more in cold climates. Fiberglass batts fit standard framing; foam board helps where space is tight; blown-in insulation can fill cavities that are difficult to reach. Detached shops usually need more complete shell work than attached garages, where house heat may offset some losses.
How do you control moisture and heat?
Heat alone does not make a winter-ready workshop. You need stable temperature and controlled humidity, or condensation will keep forming on cold steel and inside cabinets. A practical target is about 35% to 50% relative humidity, especially if you store hand tools, machines, or finished parts in the garage.
Use ventilation or dehumidification when the shop is sealed
If you winterize tightly, give the space a way to move moisture out. A dehumidifier helps in mild or intermittent heat setups; controlled ventilation can help when the garage is used less often. If you close the space too well without either one, trapped moisture condenses on the coldest surfaces and rust can start before the shop feels damp.
Install heating or climate-control equipment correctly
Any heat source or climate control unit should be sealed correctly and installed with the clearances the manufacturer specifies. Some units include a cooling function as well, which can help in shoulder seasons. Keep combustibles away, and do not block intake or exhaust paths with stored wood, finishes, or tools.
What should you protect before the first freeze?
Move the items most likely to absorb moisture or corrode. That includes cast-iron tops, bare steel, blades, batteries, adhesives, finishes, and lumber. If the shop sits over a damp slab, raise stock off concrete with shelving or pallets so cold and condensation do not work upward into the material.
A common first-timer mistake is leaving a classic car battery on the floor near a cold wall and assuming it will be fine until spring. Store vehicle batteries, spare fluids, and seasonal parts in a steadier area. Stronghold Floors advises unhooking and draining water hoses for the season, which also keeps bursts and frozen fittings from adding moisture to the shop area.
Winterize the vehicle only where it affects the shop
If you also keep a vehicle in the garage, prep it before hard freezes arrive. That means checking fluids, battery condition, tire pressure, and any leaks that could add moisture to the slab. If the vehicle is a classic car, keep it on dry flooring, use a breathable cover, and avoid storing it over wet concrete.
Common mistakes
- Lubricating tracks: clean them instead. Grease attracts grit and can interfere with operation.
- Adding door insulation first: check balance and spring limits first, or the added weight can cause opening problems.
- Sealing too tightly: if you do not add ventilation or dehumidification, trapped moisture becomes a rust problem.
- Ignoring the opener and sensors: after winterization, test the opener, keep tracks clear, and make sure safety sensors are aligned.
- Skipping the floor line: a good top seal does little if the bottom seal still leaves a gap at the slab.
Frequently asked questions
How to winterize a garage door
Inspect the top, side, and bottom seals for cracking or gaps, then replace worn parts with matching components. Clean the tracks, lubricate hinges and rollers, and confirm the opener and safety sensors still work. If you add insulation, verify that the door still operates within its spring and balance range.
How to warm up garage in winter
Use insulation and sealing first, then add heat. A garage door with foam board, reflective panels, or foam insulation kits loses less heat, especially when the walls and ceiling are insulated too. A heater or climate-control unit should be installed with proper clearances and sealing so warm air does not leak away immediately.
How to winterize a vehicle
For a vehicle stored in a garage workshop, check battery condition, fluids, tire pressure, and leaks before cold weather arrives. Keep the vehicle off wet concrete if possible, and avoid storing parts or finishes where they can absorb moisture from the car. Classic cars benefit from dry air and stable temperature more than from heat alone.
Sponsored / affiliate links. As an Amazon Associate I earn from qualifying purchases. I may earn additional commission from eligible campaigns.