Woodshop Tips and Tricks That Actually Save Time
The fastest shop wastes the fewest steps. Put the tools you reach for most within a short walk of the main work zone, move material in one direction from rough stock to assembly, and keep dusty work away from finishing so cleanup does not interrupt every task.
Woodshop setup basics
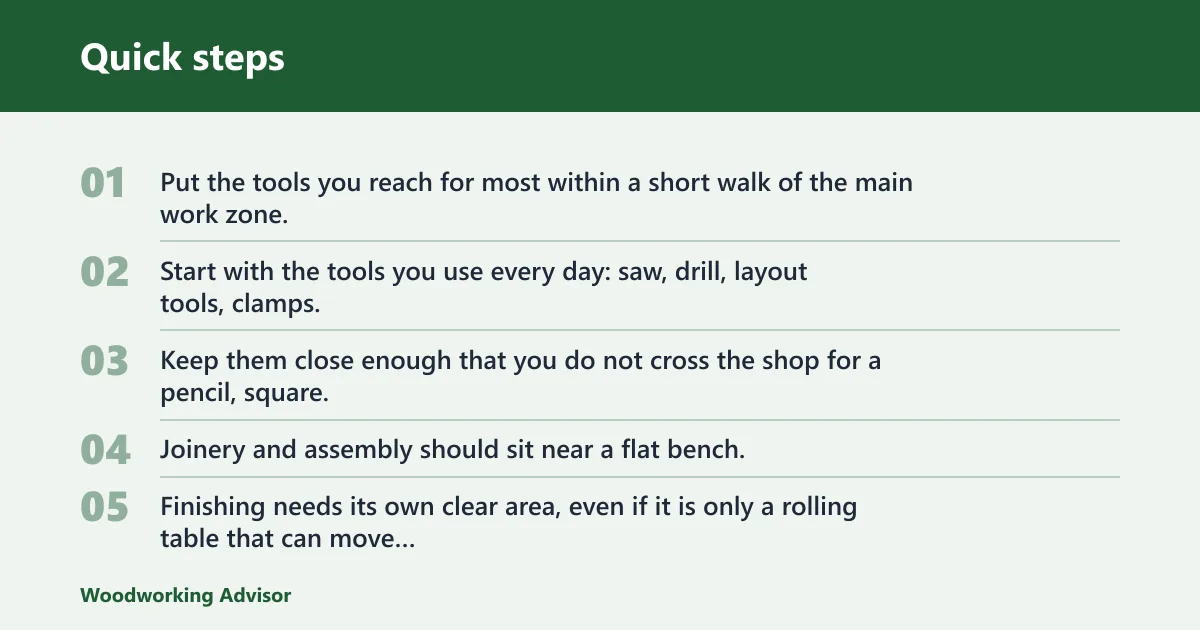


Place high-use tools near the main work zone
Start with the tools you use every day: saw, drill, layout tools, clamps, and a work surface. Keep them close enough that you do not cross the shop for a pencil, square, or tape measure. That cuts interruptions and saves time.
Arrange the shop around work flow. Rough cutting should sit near stock storage. Joinery and assembly should sit near a flat bench. Finishing needs its own clear area, even if it is only a rolling table that can move away from dust-producing tools.
Separate dust and clutter before they slow everything down
Open floor space matters because scrap, cords, and offcuts slow every move. Keep a bin for short usable cutoffs, a separate bin for scrap, and a clear path between machines. If a tool is hard to reach, it will be slower to use and harder to put back.
The book Woodshop Tips and Tricks collects 601 tips from a reference book, and the edition shown on Penguin Random House is 208 pages. It was published by Popular Woodworking Books on April 27, 2010, and the author is Graham McCullouch, who is described as having over 50 years of experience.
Keep consumables visible and easy to return
Store blades, bits, sanding discs, and layout tools in fixed homes. A drawer that always holds the same items saves more time than a tidy-looking bin that makes you search. Label those homes if more than one person uses the shop.
Keep clamps by size and purpose. If the most-used clamps live under a bench behind boxes, they are not organized enough. The same idea applies to measuring tools: the ruler you use three times a day should not be buried behind specialty jigs.
📊 The book collects 601 woodshop tips and tricks. Source: Popularwoodworking.
How do you make a woodshop more efficient?
Make the shop more efficient by grouping tools by task, not by category. Put cutting tools near each other, keep layout tools at the bench, and store finishing supplies away from sawdust. Fixed homes for clamps, blades, bits, and gauges reduce search time and setup friction.
Group tools by task
Think in job stages: rough stock, dimensioning, joinery, assembly, and finish. That layout shortens the distance between each step. It also makes cleanup easier because each zone has a clear purpose.
For example, if the miter saw, square, and stop block live together, repeat cuts become faster and less error-prone. If the router bits and edge guides stay with the router table, you are less likely to misplace parts or rebuild the setup from scratch.
Use fixed homes for the small things
Layout tools, router accessories, and fastening supplies create the most delay when they are small and mobile. A shallow drawer with dividers works better than a deep tote. The goal is instant retrieval, then instant return.
Keep a visible spot for the items that disappear most often: pencils, tape, marking knives, hex keys, extra blades, and hearing protection. If a tool has a permanent place, you are less likely to buy duplicates or lose time looking for it.
What experienced woodworkers usually do
Experienced woodworkers tend to reduce choices. They keep one clear place for each high-use item, limit how often they remeasure, and set up repeatable stations for cutting, drilling, and assembly. That approach reduces both clutter and decision fatigue.
A common first-timer mistake is spreading tools across every flat surface. That feels flexible at first, then turns into a long search for the one square, clamp, or bit you need. A tighter system is faster once the shop is in regular use.
Shop math shortcuts
Use shop math shortcuts when the same measurement repeats. Mark offsets directly on the tool or fence, use story sticks and stop blocks, and check repeat cuts against one master part instead of measuring every blank again. That keeps layout fast without giving up accuracy.
Mark offsets on the setup, not on scraps
If a cut repeats often, mark the offset where you can see it during setup. On a circular saw, the blade-to-shoe offset can be noted on the saw shoe for your usual blade and bevel setting. That is faster than recalculating every time.
For a table saw fence or drill press fence, write the working distance on the fence face or on a removable setup card. That helps when the same dimension comes up again later in the day.
Use story sticks and stop blocks
Story sticks beat repeated measuring when several parts must match. Mark the part once, then transfer those marks to the stick. Stop blocks do the same job for cut length. They are especially useful for rails, stiles, shelf supports, and drawer parts.
Use a stop block only when the reference edge stays consistent. If the stock has uneven ends or a rough face, square and reference it first. Otherwise the shortcut repeats the error just as efficiently as it repeats the cut.
Check a batch against one master part
For repeated parts, compare each blank to one master part rather than remeasuring every piece. That is faster and usually safer than hunting for tiny differences with a tape measure. It also reveals drift before the whole batch is wrong.
Suppose cabinet sides must all match one drilled shelf pattern. Make one clean master, check the next piece against it, then copy the layout. If one hole lands off, you catch the problem before the stack is finished.
Joinery tips that stay accurate
Good joinery shortcuts focus on setup, repeatability, and fit control. Set the jig once, make test cuts before the full batch, and use fences, stops, and registration surfaces to keep the parts aligned. The fastest joinery method is the one that avoids rework.
Make test cuts before the full batch
Test cuts are worth the setup time when a joint must fit cleanly across several parts. Check width, depth, and alignment on offcuts from the same stock. That matters because even a small setup error can multiply across a whole project.
Watch for common mistakes: a fence that drifts, a bit that wanders in grain that tears easily, or a joint cut from the wrong reference face. If the fit feels forced, stop and correct the setup before the next part is cut.
Use registration surfaces and stops
Register each part from the same face or edge whenever possible. That keeps joinery consistent from part to part. A simple stop block can make mortises, dados, or dowel positions repeat with less marking.
For router or saw-based joinery, the biggest time saver is often not the cut itself but the setup you can trust twice. If a fence must be rebuilt for every part, the shortcut is probably too loose.
Woodshop tricks matrix
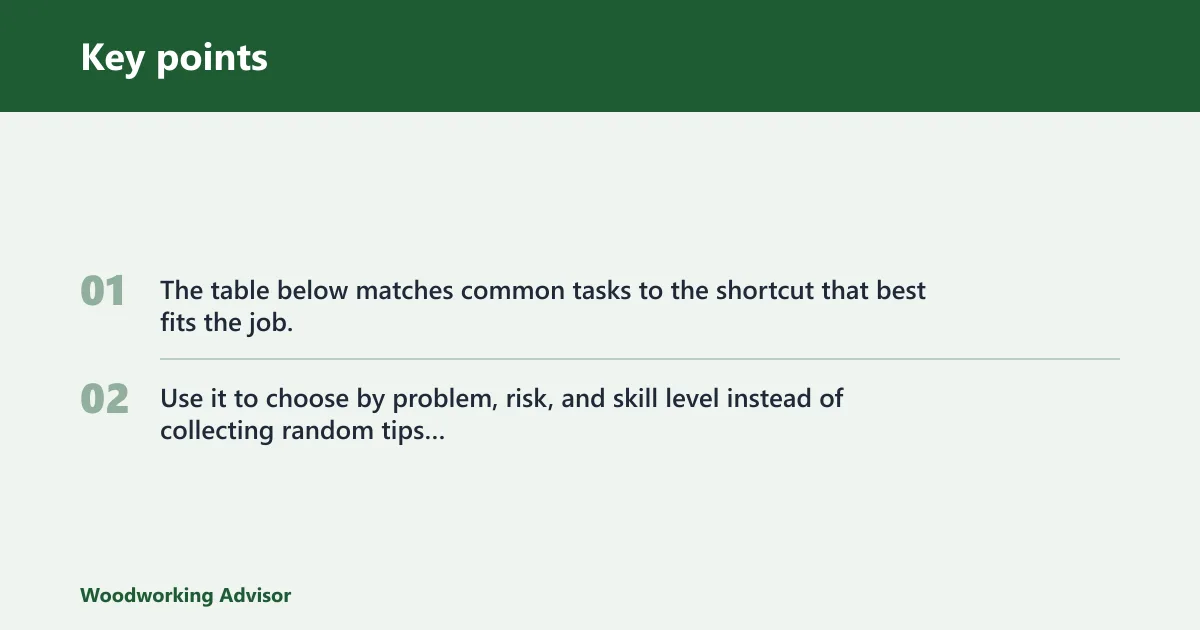
The table below matches common tasks to the shortcut that best fits the job. Use it to choose by problem, risk, and skill level instead of collecting random tips that do not apply to your setup.
| Task | Best shortcut | Risk level | When not to use it | Skill fit |
|---|---|---|---|---|
| Repeated cut lengths | Stop block on saw fence | Low | When the stock ends are not square | Beginner |
| Long layout lines | Story stick | Low | When the part needs an absolute dimension from a finished edge | Beginner |
| Quick sheet breakdown | Circular saw guide with marked shoe offset | Medium | When the saw base is not flat or the guide can shift | Beginner |
| Round parts | Shop-made compass substitute | Low | When the radius is large enough that flex affects the arc | Beginner |
| Drill press circles | Circle cutter with work clamped down | High | When the work cannot be secured or the cutter requires reaching near the path | Intermediate |
| Cabinet hardware layout | Mark from a reference edge, then transfer with a square | Low | When the face is already drilled and must match an existing pattern exactly | Beginner |
| Router edge profile | Use a stable fence and climb-cut only where appropriate and safe | Medium | When grain direction makes the bit grab or the work is too small to control safely | Intermediate |
| Small-part sanding | Stick the abrasive to a flat block | Low | When the part needs freehand contour matching | Beginner |
| Glue-up prep | Dry-fit and stage clamps before spreading glue | Low | When open time is already very short and the assembly is not rehearsed | Beginner |
| Finish sanding | Vacuum, then tack or blow dust away before the final coat | Low | When the surface still has scratches or glue marks | Beginner |
| Tool retrieval | Fixed homes with visible labels | Low | When you are still changing the shop layout every week | Beginner |
| Batch drilling | One master part plus a drill stop | Medium | When the drill depth changes from part to part | Intermediate |
What are the best woodworking tips for beginners?
The best beginner tips are the ones that reduce mistakes before they start: measure from one reference edge, use simple jigs and stop blocks, and slow down long enough to confirm the setup. Avoid shortcuts that depend on guesswork or memory.
Start with measuring and marking habits
Mark from the same face or edge every time. That one habit prevents a lot of mismatched parts. Keep a sharp pencil or marking knife near the bench so layout does not turn into a search problem.
Begin with tools that give you repeatability, not complexity. A square, a rule, a stop block, and a simple fence will solve more beginner problems than a drawer full of specialty gadgets.
Choose simple shortcuts first
A stop block is easier to trust than a loose tape mark. A story stick is easier to repeat than a series of separate measurements. Those are the right shortcuts when you are still building confidence.
Use a shortcut only if you can explain what it controls. If it does not improve accuracy, speed, or safety in a specific step, it is probably decoration rather than help.
Tool-specific tricks for saws, circles, and routing
Tool-specific shortcuts matter because each machine solves a different problem. A circular saw guide helps with straight rips, a compass substitute helps with layout, and a drill press circle cutter demands stricter safety. Router tips should focus on visibility, edge guidance, and bit setup.
Circular saw guide tips
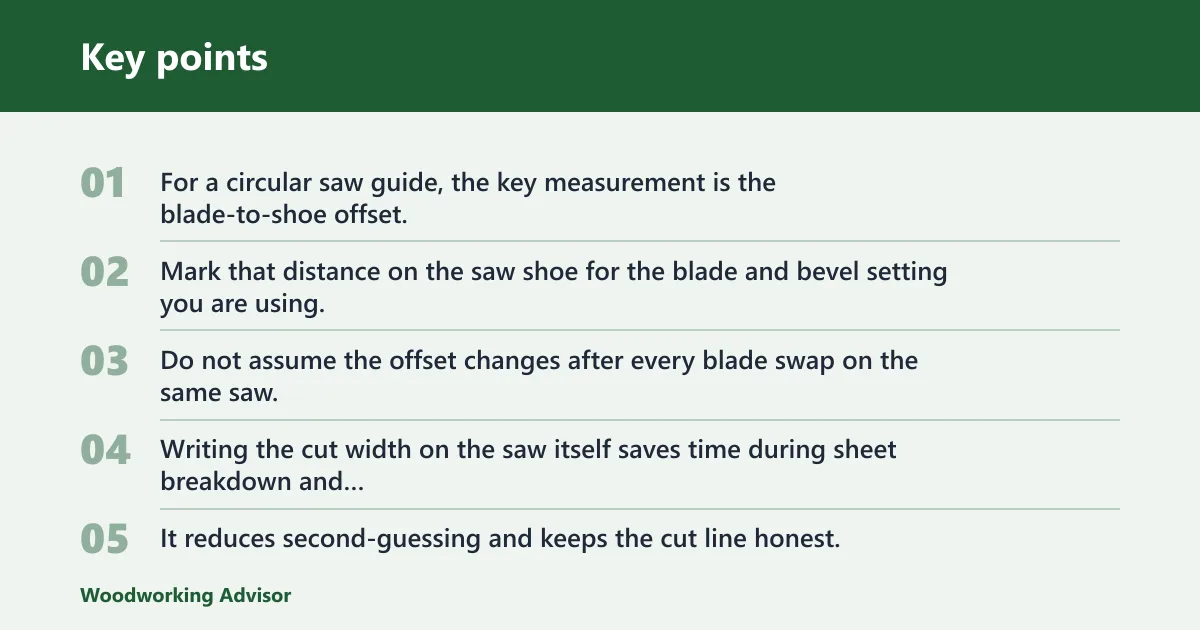
For a circular saw guide, the key measurement is the blade-to-shoe offset. Mark that distance on the saw shoe for the blade and bevel setting you are using, then reference the guide from the correct side. Do not assume the offset changes after every blade swap on the same saw; check the manual if your model is unusual.
Writing the cut width on the saw itself saves time during sheet breakdown and straightedge ripping. It reduces second-guessing and keeps the cut line honest. If the straightedge can shift, clamp it before the cut.
Shop-made compass substitute
A shop-made compass substitute works well for modest radius layout on plywood, panel blanks, and small curved parts. A scrap stick with two holes and a pencil point is often enough. It is a temporary tool, not a cure for poor layout habits.
Its limit is accuracy on larger circles. A thin blade or flexible strip can bend and wander, which makes the arc inaccurate as the radius grows. For large or critical circles, use a real compass or a trammel-style layout tool instead.
Drill press circle cutter safety
For a drill press circle cutter, secure the workpiece, set an appropriate low speed for the cutter and material, and keep hands fully clear of the cutting path. Bright, fluorescent yellow on cutter ends can improve visibility, but it is not the main safety measure.
Respect fly-cutter hazards. A circle cutter has swinging parts and can grab if the setup is loose. Stand clear of the arc, use a fence or stop only if the manual allows it, and never reach in to steady the work while the machine is running.
Router tips that actually help
Router work goes better when the base is easy to see and the bit is set for the exact cut you need. Use a fence or edge guide when the work is straight, and keep the work fully supported so the router does not tip at the edge.
For edge passes, take the cut in the direction that gives the router the best control for the grain and setup. Small parts are where mistakes happen fastest. If the piece is too short to hold safely, make a larger carrier or change the method.
How quick fixes help with safer woodworking
Safer woodworking usually comes from reducing surprise. Clear the floor, clamp the work, keep tools in fixed homes, and set stops before you start the cut. Small changes like these lower the chance of reaching across a moving blade or hunting for a clamp mid-task.
Use workflow timing to avoid rushed mistakes
Finish prep works best when dust control happens before the last coat, not after it. Sand, vacuum, and inspect the surface before the finish goes on. Rushing that sequence is how dust nibs and missed scratches end up sealed into the topcoat.
Say your tabletop has one last coat waiting and the shop floor is still dusty from sawing. Move the piece to a cleaner area first, then wipe it down and let the air settle before finishing. The shortcut is timing, not speed.
Frequently asked questions
How to get better at woodworking
Get better by fixing one problem at a time: layout accuracy, setup repeatability, and clean cuts. Practice the same basic tasks until they are predictable. The fastest progress usually comes from fewer mistakes, clearer references, and a shop layout that lets you repeat the same sequence without thinking through every step again.
What are the best woodworking tips and tricks for beginners?
Beginners should start with reference-edge marking, stop blocks, and simple layout tools. Those habits reduce errors without adding risk. A clear bench, visible storage, and one reliable measuring routine will help more than a long list of clever shortcuts that only work in special cases.
What woodworking tips and tricks actually save time in the shop
The time-saving tricks are the ones that cut rework: stop blocks for repeat cuts, story sticks for repeated layout, fixed storage for small tools, and a planned flow from rough stock to finish. If a shortcut saves ten seconds but creates an error later, it is usually not saving time.
How do I make my woodshop more efficient?
Put the most-used tools closest to the main work zone, separate dusty work from finishing, and give every small tool a fixed home. Efficient shops reduce walking, searching, and resetting. Once the layout matches the work flow, the whole room feels easier to use.
What are some woodworking router tips and tricks?
Use a stable fence or edge guide, keep the base fully supported, and set the bit for the exact profile or depth before the cut. On smaller parts, add a carrier or alter the setup so your hands stay far from the bit. Good router work depends on control more than speed.
How do experienced woodworkers organize their shop?
Experienced woodworkers usually organize by task flow. They keep rough stock near cutting, layout near the bench, and finishing away from dust. They also keep clamps, bits, and measuring tools in fixed homes so setup stays quick. The best shops make the right tool easy to return.
Sponsored / affiliate links. As an Amazon Associate I earn from qualifying purchases. I may earn additional commission from eligible campaigns.