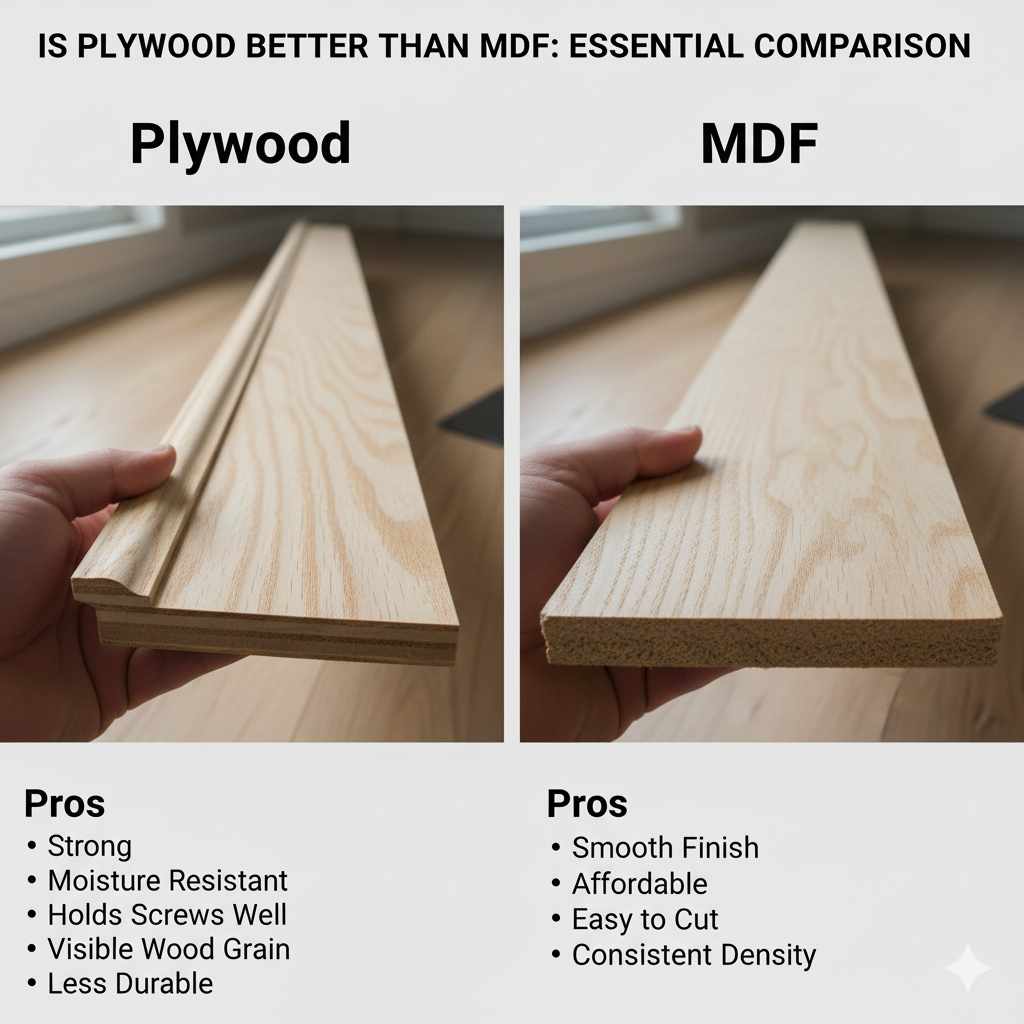
Is Plywood Better Than MDF: Essential Comparison
Plywood is generally better than MDF for most DIY projects due to its superior strength, moisture resistance, and screw-holding capability. However, MDF excels in smoothness for painting and is more budget-friendly for specific applications. Choose based on your project’s needs!
Welcome to the workshop, my friends! If you’re just starting out in the world of woodworking and DIY, you’ve probably stood in front of a lumberyard, eyes wide, wondering about the best materials to use. Two common choices you’ll encounter are plywood and Medium Density Fiberboard (MDF). It’s a question I get asked a lot: “Is plywood better than MDF?” It’s a fair question, and the answer isn’t a simple yes or no. Different materials are excellent for different jobs. Let’s break it down together, nice and easy, so you can pick the right material for your next project and feel confident in your choice. We’ll explore what makes each one tick, their strengths, their weaknesses, and when to reach for one over the other. Get ready to discover the secrets behind plywood and MDF, and soon this will be a question you can answer with confidence!
Plywood vs. MDF: A Beginner’s Guide
Navigating the world of building materials can feel a bit like learning a new language. You see all these different sheets of wood-like products, and it’s tough to know what’s what. Plywood and MDF are two of the most popular options for furniture making, shelving, cabinet doors, and countless other DIY projects. They look similar from afar, but up close, and especially when you start working with them, you’ll realize they have some key differences. Understanding these differences is crucial for creating projects that are not only beautiful but also durable and safe.
Think of it this way: would you use a hammer to tighten a screw? Probably not. The same logic applies to choosing your woodworking materials. Each has a specific purpose it’s best suited for. By the end of this guide, you’ll have a clear understanding of what plywood and MDF are, how they’re made, and precisely when to use each one for a successful project. No more guesswork – just confident crafting!
What Exactly is Plywood?
Let’s start with plywood. You’ve likely seen it everywhere – from the back of cabinets to sturdy shelving. The magic of plywood lies in its construction. It’s made by taking thin sheets of wood veneer, called plies, and gluing them together. These plies are stacked on top of each other with their wood grain running in alternating directions. Imagine laying down thin strips of wood, then turning the next strip 90 degrees, and repeating. This cross-graining is the secret sauce that gives plywood its incredible strength and stability.
This method of construction makes plywood very strong and resistant to warping or cracking. It’s like building with layers of strength! The number of plies can vary, but generally, more plies mean a stronger, more stable sheet. The outer plies are usually made from higher-quality wood, while inner plies might be from less expensive wood. This smart design keeps costs down while maintaining good performance.
How Plywood is Made: A Quick Look
The process of making plywood is quite ingenious:
- Log Preparation: Large logs, often from sustainable sources like birch, pine, or fir, are steamed to soften them.
- Rotary Cutting: The softened logs are then spun against a large blade, peeling off a continuous thin sheet of wood veneer, much like peeling a giant fruit.
- Drying and Grading: These veneers are dried and then carefully inspected and graded based on their appearance and any imperfections.
- Gluing: Waterproof glue is applied evenly to the surface of each veneer.
- Stacking: The glued veneers are carefully stacked, alternating the direction of the grain for each layer. This creates the strong, cross-laminated structure.
- Pressing: The stacked veneers are then placed into a large hydraulic press under high heat and pressure. This bonds the layers together permanently.
- Sanding and Cutting: Finally, the large panels are sanded smooth and cut to standard sizes, ready for use.
This layered, cross-banded construction is what gives plywood its impressive strength-to-weight ratio and stability.
Pros of Using Plywood
Plywood is a DIYer’s best friend for many reasons:
- Exceptional Strength: Its layered construction makes it very strong and able to handle significant weight. This is why it’s often used for subflooring and structural components.
- Stability: Plywood is far less likely to warp, twist, or shrink compared to solid wood or MDF.
- Moisture Resistance: While not completely waterproof, exterior-grade plywood is treated to resist moisture, making it suitable for outdoor projects or areas prone to dampness.
- Good Screw Holding: Screws bite well into the multiple wood layers, providing a strong connection.
- Versatility: It comes in various grades and types, suitable for everything from basic utility to fine furniture.
Cons of Using Plywood
Despite its strengths, plywood isn’t perfect for every situation:
- Edgy Appearance: The exposed plies on the edges can look a bit rough and unfinished. They often need to be covered with edge banding or trim.
- Potential for Splintering: Cutting plywood can sometimes lead to splintering, especially on the top veneer. Using a sharp blade and proper cutting techniques helps minimize this.
- Varying Quality: The quality can differ significantly between grades. Lower grades might have knots or voids, affecting appearance and strength.
- Not as Smooth for Painting: While some high-grade plywood can be painted, the veneer surface might not be as perfectly smooth as MDF, potentially showing grain.
What Exactly is MDF?
Now, let’s talk about MDF, short for Medium Density Fiberboard. MDF is quite different from plywood. Instead of thin wood veneers, MDF is made from very fine wood fibers. These fibers are created by breaking down hardwood and softwood into tiny pieces, then mixing them with wax and resin binders. These ingredients are then heated and pressed into dense, flat panels.
The result is a material that’s incredibly smooth, uniform, and consistent throughout. There are no knots, no grain patterns, and no layers to worry about. This consistency makes it very easy to work with for certain applications, especially when a perfectly smooth painted finish is the goal.
How MDF is Made: A Fiber-Tastic Process
The creation of MDF is a fascinating process that results in its unique properties:
- Wood Breakdown: Logs and wood waste are reduced into wood fibers using a high-pressure steam process and a machine called a “refiner” which grinds them into fine particles.
- Screening: These fibers are screened to ensure they are uniform in size and quality.
- Blending: The wood fibers are then mixed with a wax and resin binder. This binder is what holds everything together under pressure.
- Forming the Mat: The fiber mixture is spread evenly onto a large conveyor belt to form a consistent “mat.”
- Pressing: This mat is then sent through a heated press. The heat activates the resin binder, and extreme pressure fuses the fibers together into a solid panel.
- Cooling and Cutting: The panels are cooled, cut to size, and then sanded to achieve a super-smooth finish on both sides.
This process creates a homogenous material with no internal structure like grain, making it very stable and easy to machine.
Pros of Using MDF
MDF has some fantastic advantages that make it a go-to for specific projects:
- Super Smooth Surface: This is MDF’s star quality! It has a perfectly flat and smooth surface that is ideal for painting, laminating, or veneering. You get a flawless finish every time.
- No Grain Pattern: Because it’s made from fibers, there’s no wood grain to contend with. This means no tear-out when cutting and no unpredictable patterns.
- Easy to Machine: MDF cuts, sands, and routes very cleanly and smoothly. You can create intricate details and sharp edges.
- Cost-Effective: Generally, MDF is less expensive than plywood, especially for larger projects where a smooth finish is required.
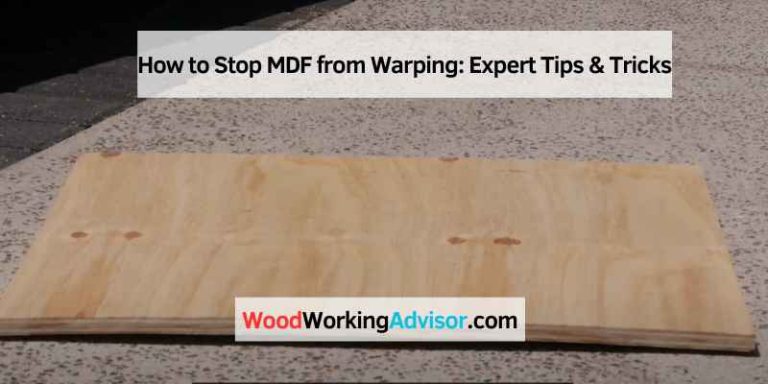
- Very Stable: It won’t warp or twist and has a uniform density throughout.
Cons of Using MDF
However, MDF also has some significant drawbacks:
- Heavy: MDF is denser and heavier than plywood, making it harder to handle and install.
- Poor Moisture Resistance: Standard MDF soaks up moisture like a sponge and can swell and disintegrate. It’s a big no-no for kitchens, bathrooms, or outdoor use unless specifically treated. If it gets wet, it’s pretty much ruined.
- Weak Screw Holding: Screws don’t grip as well in MDF because there’s no wood grain to hold onto. They can strip out easily, and the holding power is significantly less than plywood. You often need to use special techniques or fasteners.
- Dust Hazard: Cutting or sanding MDF creates a very fine dust that’s not great to breathe. Wearing a mask and using dust collection is crucial. You can learn more about woodworking safety guidelines from OSHA, the Occupational Safety and Health Administration.
- Can Sag: Due to its density and lack of structural grain, MDF can sag over time under its own weight, especially for long spans like shelves.
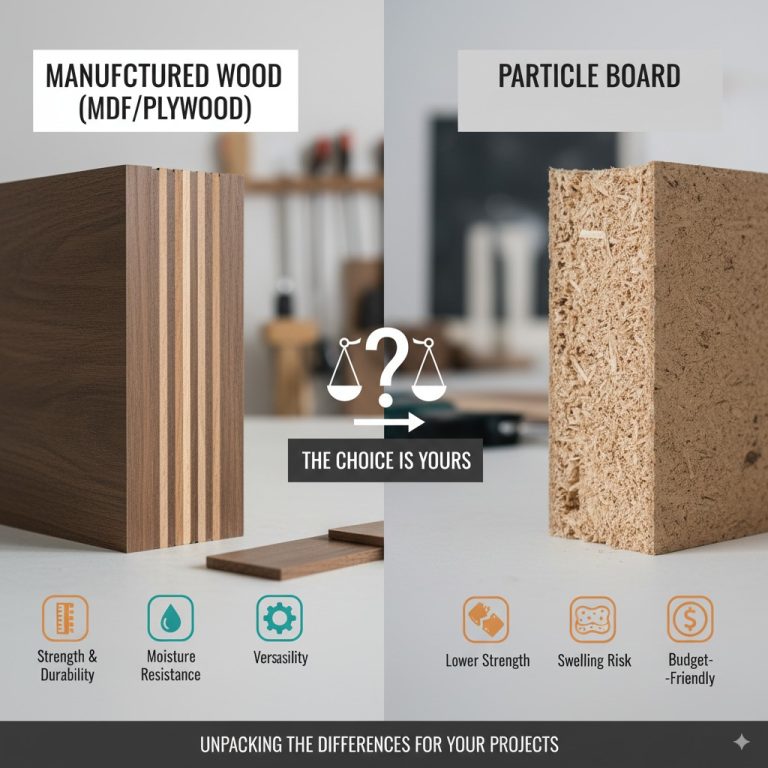
Plywood vs. MDF: The Essential Comparison
Now that we know what each material is, let’s put them head-to-head in a direct comparison. This will help you quickly decide which one is right for your next project. We’ll look at key factors that matter most to DIYers like us!
Here’s a handy table to sum up the main differences:
| Feature | Plywood | MDF (Medium Density Fiberboard) |
|---|---|---|
| Construction | Stacked layers (plies) of wood veneer with alternating grain direction. | Compressed wood fibers mixed with wax and resin binders. |
| Strength | High; excellent structural strength due to cross-graining. | Moderate; strong under compression but can be brittle. |
| Durability | Very durable; resists warping, cracking, and impact well. | Less durable against impact than plywood; can chip easily. |
| Moisture Resistance | Good (especially exterior grades). Can withstand some humidity. | Very poor for standard MDF. Swells and degrades when wet. (Moisture-resistant MDF is available but more expensive). |
| Screw Holding | Excellent; good grip due to wood grain layers. | Poor; screws can strip easily and have less holding power. |
| Surface Finish | Can have visible grain, knots, or veneer patterns. Edges show plies. | Extremely smooth, uniform surface with no grain. Edges are solid. |
| Machining/Cutting | Can splinter or chip, especially on the edge. | Cuts very cleanly and smoothly; ideal for routing. |
| Weight | Lighter than MDF of the same thickness. | Denser and heavier than plywood. |
| Cost | Generally more expensive than standard MDF. | Generally less expensive than comparable plywood. |
| Best Uses | Structural projects (subflooring, walls), furniture frames, cabinetry, shelving where strength is key, outdoor projects. | Cabinet doors, decorative elements, painted furniture, display shelves, applications requiring a perfectly smooth finish. |
When to Choose Plywood
So, when is plywood the clear winner? If your project needs real backbone and the ability to stand up to stress, plywood is your material. Think of projects where strength, stability, and durability are paramount.
Projects Perfect for Plywood
Here are some situations where plywood shines:
- Cabinet Boxes: The sturdy construction makes for reliable cabinet carcasses that will hold up over time.
- Shelving for Heavy Items: If you’re storing heavy books, tools, or equipment, plywood shelves won’t sag.
- Furniture Frames: The core structure of chairs, tables, and beds often benefits from plywood’s strength.
- Utility Projects: Think workbenches, storage crates, or even simple shop jigs.
- Anything Exposed to Mild Moisture: Plywood is a much safer bet than standard MDF if there’s any chance of humidity or spills.
- Projects Requiring Strong Fasteners: If you need screws to hold powerfully for structural integrity, plywood is the way to go.
When selecting plywood, pay attention to the grade. For visible surfaces, look for sanded grades like AC or BC plywood. For structural work, utility grades are fine. For outdoor use, ensure it’s exterior-rated plywood, often marked with “EXT.”
When to Choose MDF
MDF is your champion when you’re aiming for that flawless, painted surface or intricate detailing. It’s the material that makes a smooth, professional-looking finish achievable for DIYers.
Projects Perfect for MDF
Consider MDF for these types of projects:
- Cabinet Doors: The smooth, flat surface takes paint beautifully, giving a high-end look.
- Furniture with Painted Finishes: Tabletops, decorative panels, or entire pieces that will be painted are excellent candidates.
- Routered Trim and Mouldings: MDF machines cleanly, allowing for crisp-edged decorative elements.
- Speaker Boxes: Its density and lack of acoustic resonance make it a popular choice for speaker enclosures.
- Craft Projects: For laser cutting, stenciling, or other detailed craft applications where a uniform surface is needed.
- Temporary Displays or Interior Paneling: Where moisture isn’t a concern and a smooth, paintable surface is desired.
For these projects, even though MDF usually doesn’t need sanding for smoothness, you’ll still want to sand edges if you’re not leaving them exposed. Don’t forget that crucial dust mask when working with MDF!
Working with Plywood and MDF: Tips for Beginners
Both plywood and MDF are forgiving materials for beginners, but a few tips can make your experience even smoother and safer.
Tips for Working with Plywood
- Cutting: Use a sharp blade designed for plywood. For a cleaner cut, score the cut line with a utility knife first, or place painter’s tape along the cut line to help prevent tear-out.
- Screws: Pre-drilling pilot holes is always a good idea, especially near the edges, to prevent splitting. Use screws that are long enough to get a good grip on multiple plies.
- Edges: To hide the ply edges, you can use iron-on veneer edge banding, or attach a solid wood trim piece.
- Sanding: Sand with the grain. Start with a coarser grit and move to finer grits for a smooth finish.
Tips for Working with MDF
- Dust Control: Always wear a high-quality respirator mask rated for fine dust. Use a shop vacuum with a dust collection system connected to your saw or router. Good ventilation is a must. The HomeTips article on wood dust provides more useful information.
- Cutting: MDF cuts like butter! A sharp blade will give you the cleanest results. Expect very little tear-out.
- Screws: Pre-drill pilot holes. Use longer screws than you might think and avoid over-tightening, as the material can strip easily. For critical connections, consider wood glue and clamps, or specialized inserts.
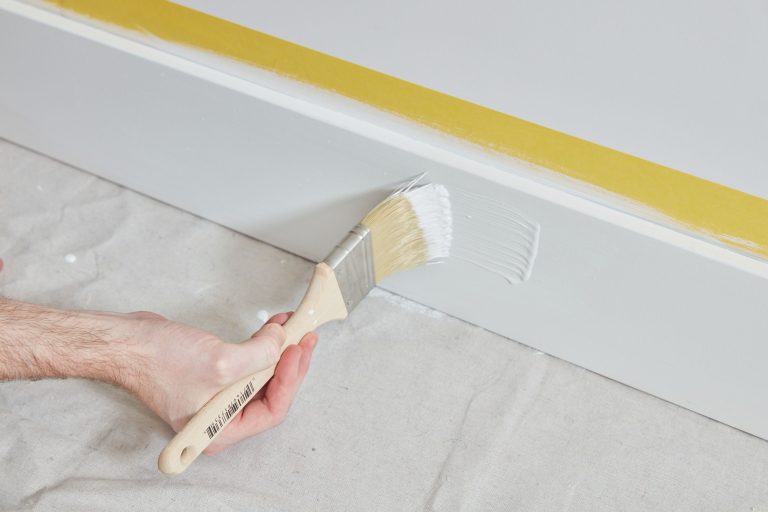
- Finishing: Prime MDF with a good quality primer before painting. Apply multiple thin coats, sanding lightly between coats for an ultra-smooth finish.
- Weight: Be prepared for its weight! Get help when lifting large sheets.
Frequently Asked Questions (FAQs)
Q1: Can I use MDF for outdoor furniture?
A1: No, standard MDF is not suitable for outdoor furniture as it will swell and disintegrate when exposed to moisture. You would need to use a specialized moisture-resistant MDF or a marine-grade plywood for outdoor projects.