Mountain Wood Burning Patterns: Techniques and Step-by-Step Guide
Mountain wood burning patterns are one of the most forgiving subjects in pyrography – a wobbly line reads as a rugged ridge instead of a mistake, which makes them a genuinely good starting project rather than just a popular one. This guide covers what mountain patterns actually are, the tools and wood that make them look clean, and the specific shading and texture techniques that separate a flat silhouette from a scene with real depth, plus how to turn wood burning art like this into finished, sellable pieces.
What Are Mountain Wood Burning Patterns?
Right Wood for Mountain Patterns
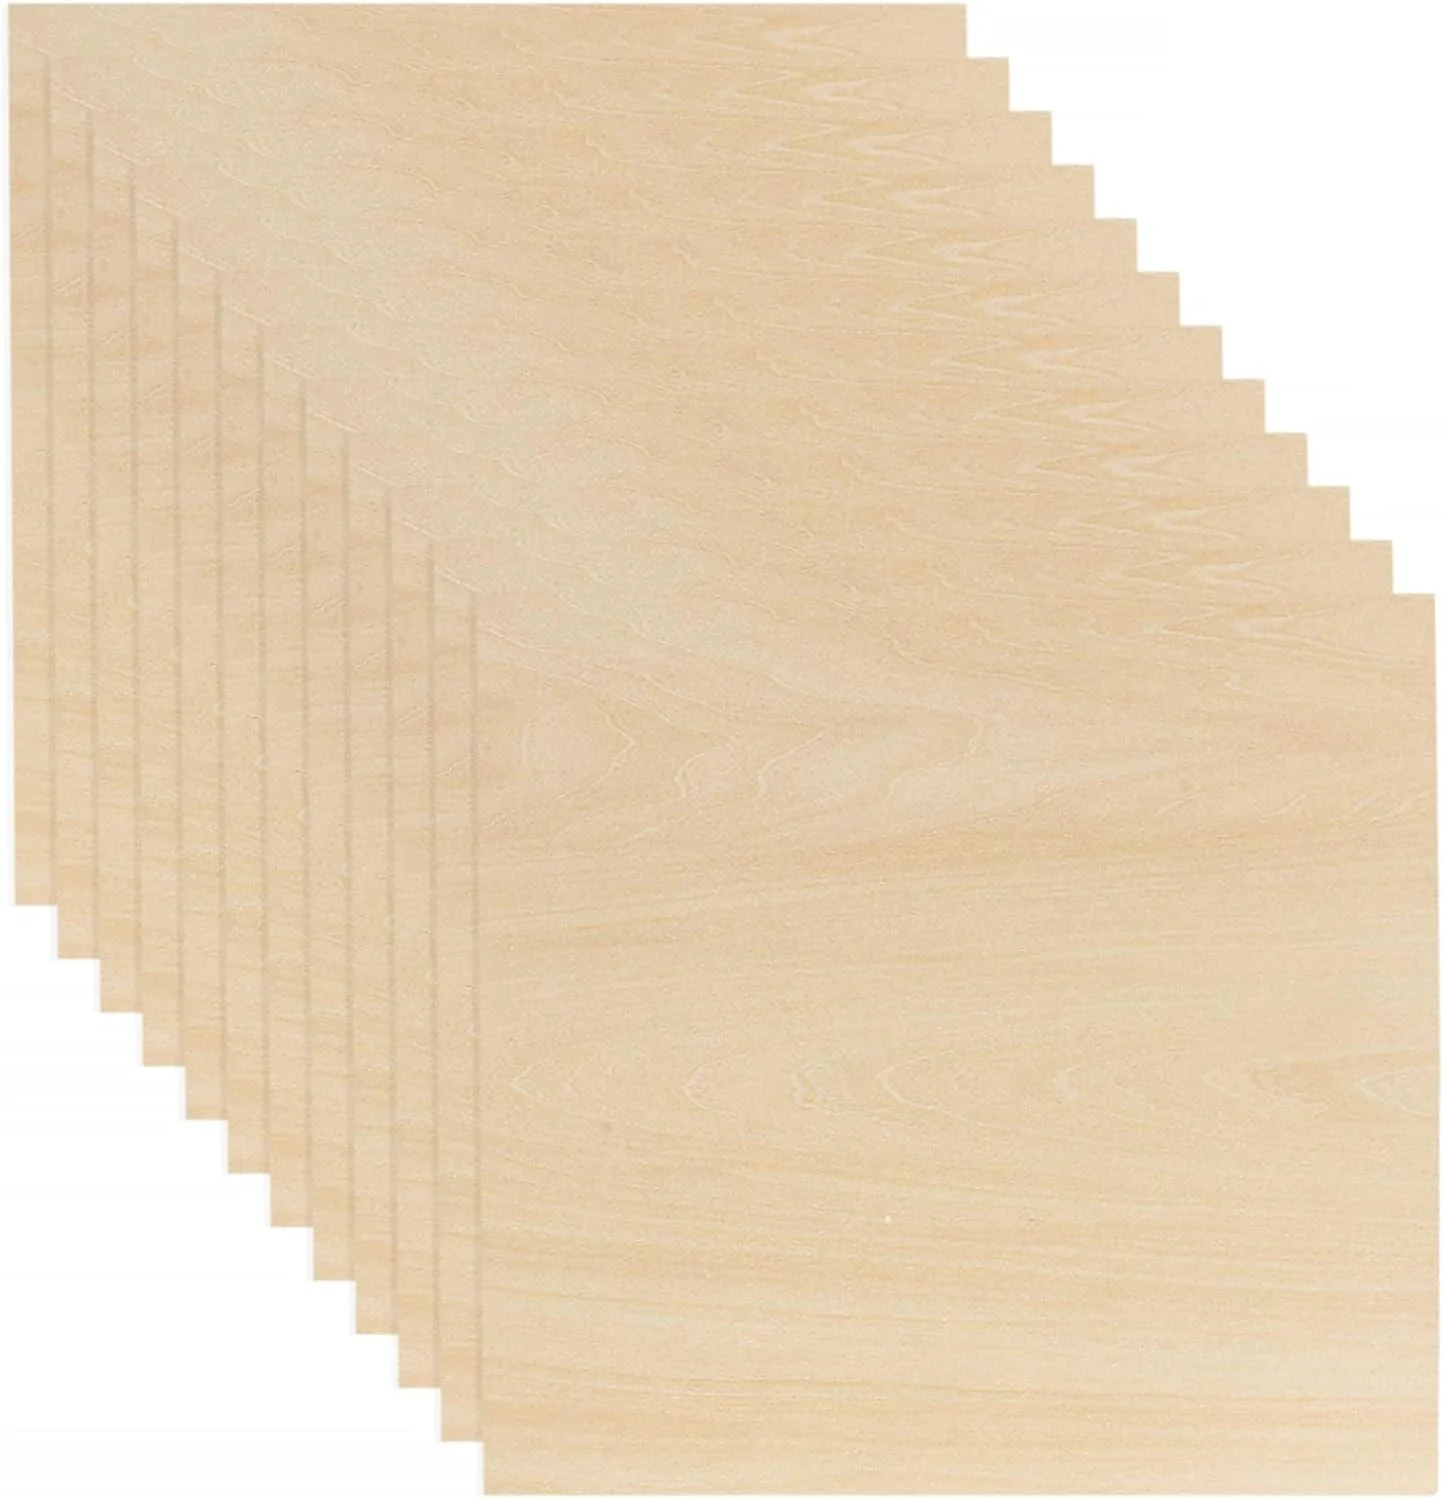 |
Basswood Sheets, 12-Pack (1/8″ x 12″ x 12″) – $25.99 Basswood is what actually makes mountain patterns look clean – its light, even color makes the burned ridgelines and shading stand out the way they don’t on pine’s blotchy grain. A 12-pack of 12×12 sheets is enough to practice several patterns before committing to a good piece.
|
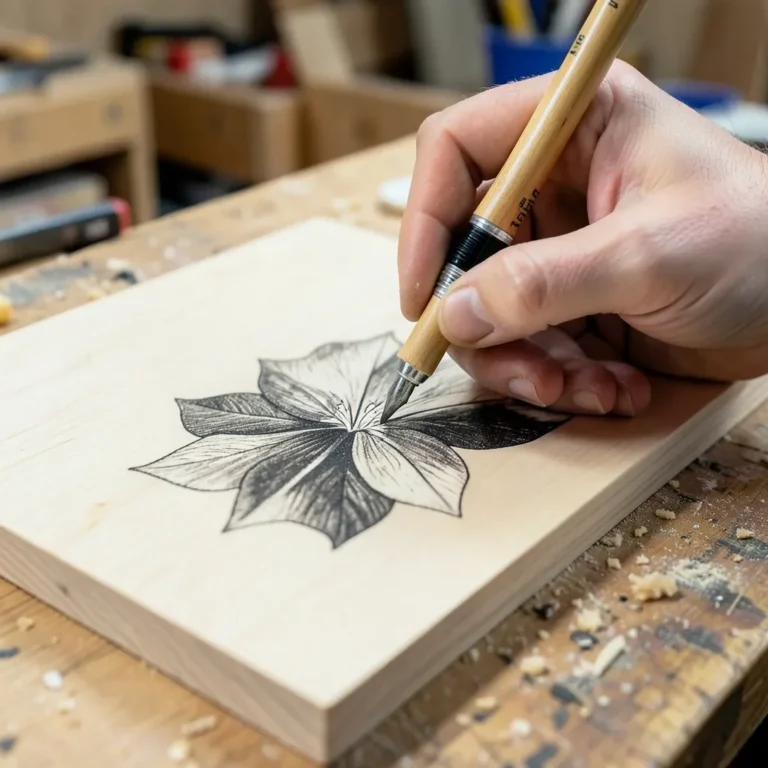
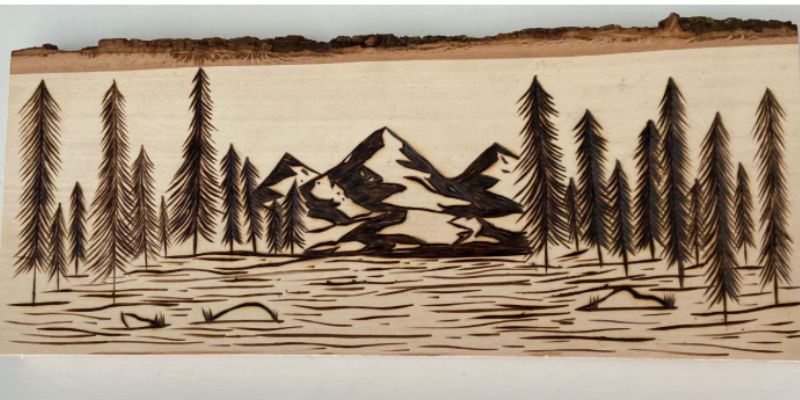
A mountain wood burning pattern is a pyrography design built around peaks, ridgelines, and often pine trees or a sky gradient, burned into light-colored wood with a heated pen. Pyrography itself is the craft of using a heated metal tip to mark a design into wood’s surface – mountain scenes are one of the most popular subjects because the natural irregularity of rock and tree lines hides small technique errors that would be obvious in a straight-edged design.
These designs range from a simple single-peak silhouette to a fully shaded, multi-layer landscape with trees, sky, and texture. They work on cutting boards, coasters, ornaments, and wall plaques, which is part of why they’re a common first “real” project once someone moves past practicing straight lines.
Why Mountain Patterns Work Well for Wood Burning
Mountains are forgiving because natural rock and ridge lines are already irregular – a shaky freehand line looks like a jagged cliff edge rather than a mistake, and slightly uneven burn depth reads as natural rock texture instead of inconsistent technique. That built-in tolerance for imperfection is the real reason they’re recommended as a beginner subject, more than any aesthetic preference.
They’re also flexible in scope: a single minimalist peak works on a small coaster, while a full layered landscape with trees and a shaded sky fills a large plaque. That range makes the same basic technique set useful from a first practice piece all the way up to a piece worth selling.
Tools You’ll Need to Get Started
Mountain patterns don’t require a large tool investment. Here’s the practical list:
- Wood Burning Pen: A variable-temperature pen gives more control than a cheap fixed-heat unit – see our guide to professional wood burning kits for the difference between fixed-heat and digital-temperature units.
- Tips/Nibs: A universal tip for outlines, a shading (spoon) tip for depth, and a writing tip for fine details like trees or stars.
- Wood: Softwoods like basswood or poplar burn evenly and show contrast well – see the wood comparison below.
- Sandpaper: 220-grit to smooth the wood before burning; a rough surface catches the pen tip and produces uneven lines.
- Transfer Paper or Pencil: For getting a mountain pattern onto the wood accurately.
- Safety Gear: A dust mask and good ventilation – pyrography smoke is an irritant in enclosed spaces over time.
Choosing the Right Wood for Mountain Patterns
Wood choice matters more for mountain patterns than for most pyrography subjects, because uneven grain shows up directly as blotchy shading in a scene that’s supposed to read as smooth sky and solid rock.
- Basswood: The standard choice – soft, minimal visible grain, burns evenly, and its light color makes dark burned peaks stand out clearly.
- Poplar: Slightly harder than basswood but still easy to burn and widely available.
- Birch Plywood: Affordable and smooth for practice pieces – avoid burning too deep, since the glue layers between plies burn unevenly and can smell sharp.
- Avoid Pine: Pine’s alternating hard and soft grain bands burn at different rates, producing the blotchy, inconsistent look that’s the opposite of what a clean mountain scene needs.
Sand the wood smooth before burning and wipe it with a barely damp cloth to remove dust – a rough or dusty surface is the most common reason a pen tip catches and skips instead of gliding evenly.
Finding and Creating Mountain Patterns
Pre-made patterns are the easiest starting point if freehand drawing feels intimidating – searching “mountain line art” or “mountain silhouette” on a stock-image or pattern site turns up plenty of usable black-and-white designs, and pyrography-specific pattern sites and Etsy sellers offer ready-to-transfer designs sized for wood burning.
To transfer a design onto wood:
- Print or draw the mountain pattern on regular paper.
- Place graphite paper between the pattern and the wood, carbon side down.
- Tape both layers down so they can’t shift, then trace the design firmly with a pencil.
- Lift a corner to check the lines transferred clearly before removing the paper fully.
Securing the pattern with tape matters – an untaped pattern shifting mid-trace is the most common cause of a mountain outline that comes out crooked or doubled.
Techniques for Burning Mountain Patterns
Outlining the Mountains
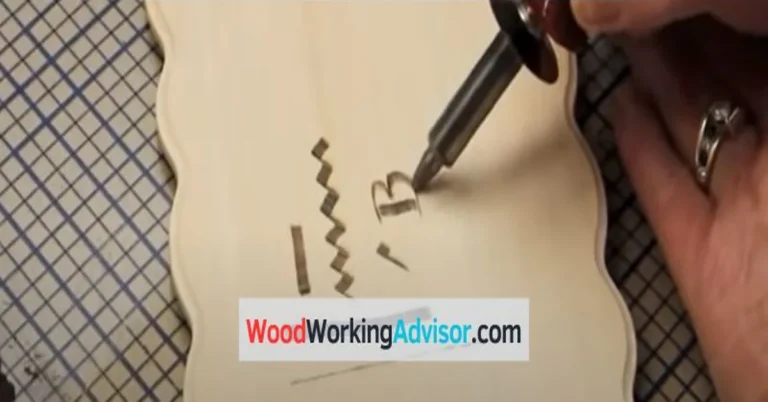
Start with a universal or writing tip on medium heat to trace the mountain outlines, holding the pen like a pencil and moving slowly enough for the heat to do the work rather than pressing harder. Short, quick strokes produce jagged, rocky-looking peaks; longer, flowing strokes suit smoother ridgelines. A mistake here is easy to fix – lightly sand the area and re-trace.
Shading for Depth
A shading (spoon) tip at a slightly lower heat than the outlining pass builds depth in slopes and valleys. Circular or zigzag motions fill an area evenly; lighter pressure produces a soft golden tone, heavier pressure darkens it. Build shading up gradually in light passes rather than trying to reach full darkness in one pass – overdoing it in a single pass is the most common way a mountain ends up looking muddy instead of shaded.
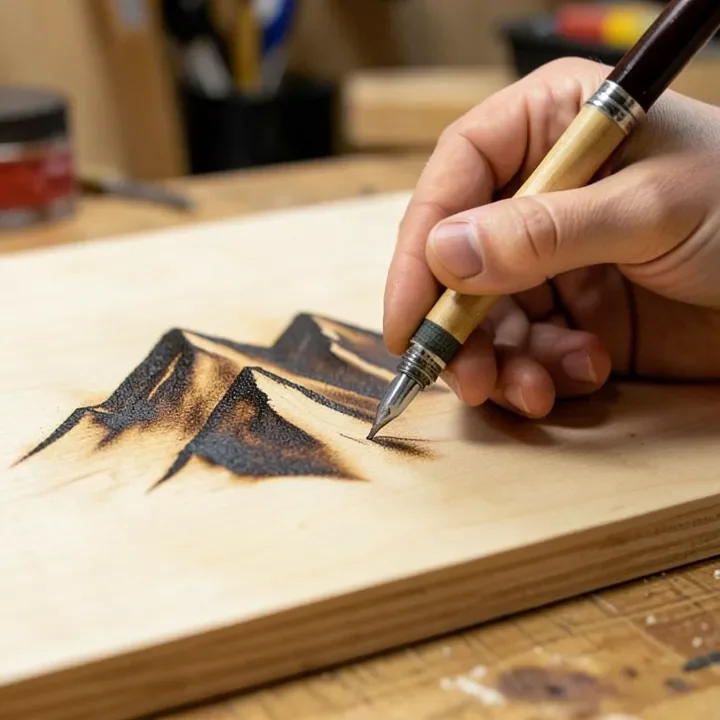
Adding Details Like Trees and Skies
A writing tip burns small triangular pine-tree shapes in the foreground – angling the pen slightly gives thinner, more natural-looking branches than a straight vertical stroke. For skies, a shading tip can build a gradient, starting light near the horizon and darkening toward the top of the piece. Small tapped dots with the pen tip make convincing stars in a night scene – these fine details are usually what separates a generic silhouette from a piece that reads as a specific, finished scene.
Texturing for Realism
Stippling – tapping the pen tip repeatedly to create dots – works well for rocky surface texture, while short curved strokes mimic grassy hills. Practice any new texture technique on scrap wood first; uneven stippling or inconsistent stroke length is much more forgiving to fix on a test piece than on a finished project.
Step-by-Step: Burning a Mountain Pattern
Here’s the full sequence for a basswood plaque with a mountain range and pine trees, combining the techniques above:
- Prep the Wood: Sand basswood smooth with 220-grit, wipe with a barely damp cloth, and let it dry fully.
- Transfer the Pattern: Trace the mountain design onto the wood with graphite paper, taped down to prevent slipping.
- Outline the Design: Trace the mountain outlines with a universal tip on medium heat, following the wood grain where the design allows.
- Shade the Mountains: Switch to a shading tip and build depth into the slopes with light, circular motions.
- Add Details: Burn small pine trees with a writing tip and stipple rocky texture onto the peaks.
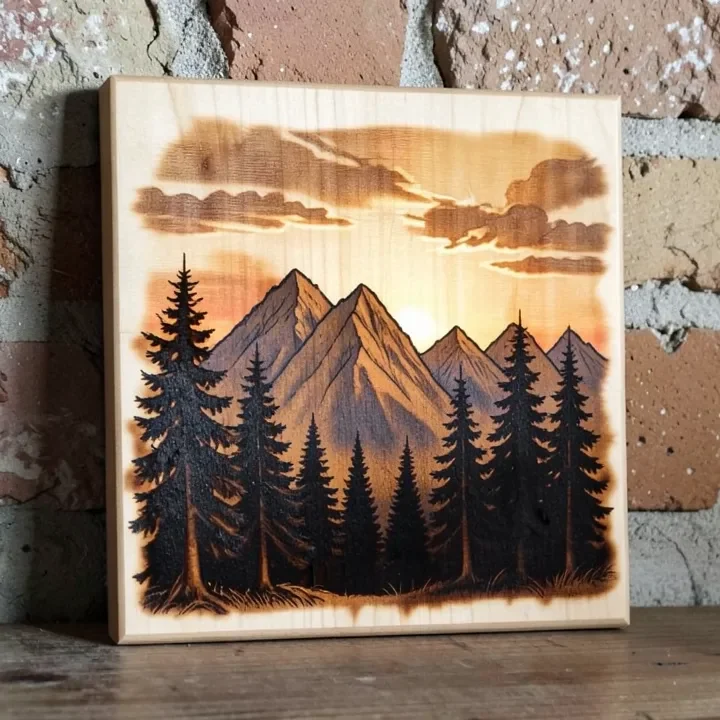
- Burn the Sky: Add a gradient with the shading tip, light near the horizon and darker higher up, for a sunset effect.
- Finish the Piece: Lightly sand any rough spots and apply a clear sealant to protect the finished burn.
A plaque like this typically takes a couple of hours for a beginner – patience with the shading passes matters more than speed for how the final piece looks.
Adding Color to Your Mountain Patterns
Color is optional but can add a lot to a burned mountain scene when used sparingly:
- Watercolor Pencils: Good for subtle color – a soft blue sky or green tree tint, blended with a slightly damp brush.
- Acrylic Paint: Suits bold color like a vibrant sunset – thin it with water so the wood grain and burn lines still show through.
- Wood Stain: A light stain enhances the wood’s natural tone without covering the burned lines the way opaque paint can.
Apply color in light layers and test on scrap wood first – heavy paint is the main way color ends up hiding the burned linework instead of complementing it. Seal the finished piece with clear polyurethane once any paint or stain has dried.
Safety Tips for Wood Burning
- Work in a Ventilated Area: Open a window or run a fan – pyrography fumes are an irritant in enclosed spaces over long sessions.
- Wear a Mask: A basic dust mask reduces fume exposure during longer sessions.
- Use a Stand: Rest the pen on a heat-safe stand whenever it’s not actively in your hand – never set a hot tip directly on a work surface.
- Handle Hot Tips Carefully: Use pliers to change tips, since they stay hot well after use.
Common Mistakes and How to Avoid Them
- Burning Too Hot: High heat produces blotchy, over-dark burns – start at medium heat and adjust up only if needed.
- Pressing Too Hard: Digs grooves into the wood instead of a clean surface burn – let the heat do the work and keep pressure light.
- Skipping Wood Prep: Unsanded wood burns unevenly – always sand and clean before starting.
- Starting Too Complex: A highly detailed scene as a first project is a common source of frustration – start with a simple single-peak silhouette and build up.
Minor errors are usually fixable with light sanding, and an uneven line can often be worked into the design’s natural texture rather than started over.
Inspiration for Your Mountain Patterns
- Minimalist Mountain Range: A simple peak silhouette with a single pine tree – a solid first project.
- Sunset Scene: Mountains with a shaded or lightly colored gradient sky.
- Wildlife Addition: A bear or eagle silhouette added to a mountain scene for more visual interest.
- Night Sky: Stars and a moon above the range, stippled in with the pen tip.
Hiking and landscape photography are a reliable source of real mountain silhouettes to adapt into a pattern.
Where to Find Mountain Wood Burning Patterns
- Etsy: Search “pyrography mountain patterns” for affordable digital downloads.
- Pinterest: Search “wood burning mountain designs” for free reference images and templates.
- Pyrography Pattern Books: Published pattern collections aimed specifically at pyrography artists often include nature and mountain scenes sized and simplified for burning.
Scaling Up Your Skills
- Experiment with Tips: A skew tip suits sharp lines; a ball tip suits stippling.
- Combine Textures: Stippling, crosshatching, and zigzag strokes together produce more dynamic-looking rock and foliage than any single technique alone.
- Add Lettering: A short quote burned alongside a mountain design (using a writing tip for clean letterforms) is a popular gift-piece addition.
- Move to Larger Projects: Scaling from a small coaster up to a full wall-art-sized plaque tests the same techniques over a much bigger, harder-to-correct surface.
Displaying and Selling Your Mountain Art
Finished plaques display well on a shelf or hung with a picture hook; smaller pieces like spoons and cutting boards make popular gifts. For selling, local craft fairs and Etsy are the two most common starting points for pyrography artists – price typically runs $20-$50 for small pieces and $100 or more for larger, more detailed work, scaled to time and material cost. Clear, well-lit photos of the finished piece matter more than almost anything else for online sales, since buyers are judging the texture and shading entirely from the photo.
Conclusion
Mountain wood burning patterns are a genuinely good starting subject because natural irregularity in rock and tree lines forgives small technique mistakes that would show on a straight-edged design. Choose basswood or poplar, build shading up gradually instead of in one heavy pass, and start with a simple single-peak silhouette before moving to a full layered landscape with trees and sky.
Frequently Asked Questions
What is the best wood for mountain wood burning patterns?
Basswood is the top choice – it’s soft, light-colored, and burns evenly. Poplar and birch plywood are also good options. Avoid pine, since its uneven grain burns inconsistently.
How do I transfer a mountain pattern to wood?
Use graphite or carbon paper placed between your printed pattern and the wood, then trace with a pencil. Secure everything with tape to prevent slipping, or draw freehand with a soft pencil for a more custom design.
What tools do I need for wood burning mountain designs?
You need a wood burning pen, universal and shading tips, sandpaper, and soft wood like basswood. Transfer paper and a mask for safety are also helpful.
Can beginners create mountain wood burning patterns?
Yes – mountain patterns are beginner-friendly because wobbly lines can look like natural ridges. Start with simple designs and practice on scrap wood first.
How do I add color to my mountain patterns?
Try watercolor pencils for subtle hues or thinned acrylic paint for bold colors. Apply lightly so the burns still show through, then seal with polyurethane.
Is wood burning safe?
Yes, with basic precautions: work in a ventilated area, wear a mask, use a heat-safe stand for your pen, and always handle hot tips with pliers.
Where can I find free mountain wood burning patterns?
Pinterest and pyrography pattern sites have free reference designs, and Etsy sellers offer paid digital downloads sized specifically for wood burning.
Sponsored / affiliate links. As an Amazon Associate I earn from qualifying purchases. I may earn additional commission from eligible campaigns.