Easy Scroll Saw Ornaments for Christmas
The easiest Christmas scroll saw ornaments often use closed silhouettes, about 1/8-inch hardwood or Baltic birch plywood, and a #5 or #7 blade. That combination cuts quickly and keeps the piece stiff enough for small details. Poor pattern choices waste wood, snap thin sections, and slow a batch down. This guide covers beginner-friendly ornament patterns, wood and blade picks, breakage prevention, and fast batch-cutting steps.
What makes a Christmas ornament easy to cut?



The easiest ornaments have broad curves, few internal cutouts, and strong bridges between cut areas. A scroll saw uses a fine reciprocating blade to cut tight curves and detailed patterns, so it handles silhouettes and letters well. Thin stock helps, but fragile shapes still fail if narrow sections flex or snap.
Simple silhouettes are faster than fretwork. A solid tree, bell, angel, stocking, star, or round medallion often cuts with fewer starts and fewer blade turns than a snowflake or layered fret piece. That matters because every inside corner and narrow bridge adds a chance for breakage.
Where silhouettes are simpler than fretwork
Silhouette ornaments are often the best first projects because you cut one outside line and stop. Fretwork ornaments add internal cutouts, which means more blade threading, more turns, and more places where a bridge can split. If a pattern has small islands floating inside the design, expect more setup time and a higher failure rate.
Picture a 4-inch bell silhouette versus a 4-inch snowflake with six narrow arms. The bell may need one clean outline and a hanging hole. The snowflake needs many direction changes, plus thin connections that can break if the blade wanders or the feed rate gets too aggressive.
What wood thickness is best for scroll saw ornaments?
Thin stock that still stays flat is the best starting point for ornaments. 1/8-inch hardwood or Baltic birch plywood is a common choice because it is generally reported to cut cleanly, hold detail, and help reduce cracking at small bridges. Thicker material raises cutting effort and makes narrow parts more likely to split when you turn or back out of a cut.
For hanging ornaments, keep the piece thin enough that the edge does not feel heavy on the tree branch. The blank also needs enough material around the hanging hole to resist tear-out. If the design has small words, stars, or inside openings, thin, stable stock is safer than thick board.
How grain direction affects cracking
On solid wood blanks, grain direction matters at weak spots. Long grain running across a narrow bridge is less likely to split than grain that runs along a thin arm or tip. If the pattern includes a small star point, a thin stocking toe, or a tiny loop, place the design so the weak section does not line up with a grain line that wants to separate.
On plywood, the cross-laminated plies resist splitting better than plain solid wood of the same thickness. Baltic birch plywood is often a practical choice for beginners because it stays flatter and holds small details more predictably.
Hanging-hole clearance and part size
Leave enough wood above the hanging hole so the hole does not tear out during sanding or finish handling. Small ornaments need a clean hole with enough edge distance to stay intact. If a design is very small, the hole may need to move closer to the top curve, or the shape may need to be enlarged slightly.
Which blade should you use for thin ornaments?
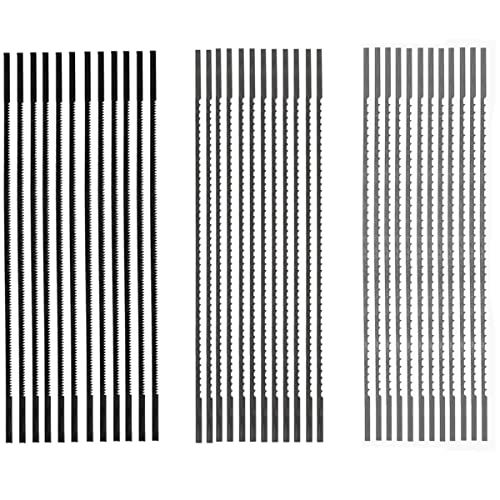
A fine-tooth scroll saw blade is the right starting point for thin ornament blanks and tight curves. A #5 or #7 blade is a practical choice for beginner Christmas ornaments because it can cut detail without forcing an overly wide kerf. The blade should match both the wood thickness and the tightness of the curves.
Scroll saw blades snap easily if over-tensioned or if you force the saw through a turn. Quick blade changes are part of normal setup, so keep spare blades close by. For a beginner, a blade that tracks cleanly is more useful than one that is overly aggressive.
Matching blade choice to curve tightness
Tighter curves need a narrower blade and a slower feed rate. Gentle outer curves on stars, trees, and bells can usually tolerate a slightly larger blade than tiny inner loops or letter cutouts. If the pattern has small interior turns, choose the finer blade before you start rather than trying to force a wide blade through the detail.
Do not treat blade size as separate from the wood. Thin 1/8-inch material and a narrow ornamental path work well together. A blade that is too coarse can leave rough edges, while one that is too fine for the pattern may wander or snap more often.
Why over-tensioning leads to snaps
Blade tension needs to be consistent, not excessive. The goal is a stiff blade that tracks accurately, not a wire tightened until it is brittle. Too much tension can shorten blade life, especially on detailed ornaments with repeated turns and internal cut starts. If the saw begins to chatter or the blade starts drifting, recheck tension before pushing harder.
How do you keep ornament cuts from breaking?

You keep ornaments from breaking by choosing strong shapes, leaving enough bridge width, supporting the work on a flush table insert, and feeding the saw at a controlled pace. Most failures happen at tiny bridges, sharp inside corners, or unsupported exits from a cut. Slow turns and clean support matter more than brute force.
Thin parts fail when the blade twists the grain or the workpiece dips into the table opening. A flush table insert with minimal gaps helps support small parts and reduces chip-out. Use it, especially for shapes with narrow legs, points, or inside openings.
Minimum safe bridge width
As a practical beginner rule, wider bridges are safer than decorative ones that look delicate on paper. For thin 1/8-inch stock, avoid extremely narrow connectors on first projects. Tiny star points, slivers inside snowflakes, and thin hanger tabs are the parts that fail first. If the bridge looks more like a line than a strip of wood, the pattern is asking for trouble.
Say your pattern has about a 1/16-inch bridge on a small snowflake arm. That section may cut, but it is vulnerable when you remove the piece from the saw or sand it. Widening that bridge in the pattern often makes the ornament survive the whole workflow.
Feed rate, turns, and pause points
Keep the feed rate steady and pause before a sharp turn. Let the blade clear waste instead of twisting the work through the cut. If a turn is tight, back up only as much as needed to realign the blade path. Abrupt reversing is a common way to snap a fine blade or tear a thin bridge.
Internal cutouts need a clear start point. Drill the hole before cutting the shape, thread the blade through, and keep the work flat against the table. That sequence helps the blade stay upright and reduces edge damage around small openings.
Ornament difficulty matrix
This matrix ranks common Christmas shapes by cut time, blade-break risk, minimum safe bridge width, and a practical blank thickness. The values below are planning guides for beginners, not fixed machine limits. Use them to choose fast-cut shapes first and leave fragile fretwork for later.
| Shape | Cut time | Blade-break risk | Minimum safe bridge width | Recommended blank thickness |
|---|---|---|---|---|
| Round medallion | Low | Low | None for silhouette | 1/8 in. |
| Bell silhouette | Low | Low | None for silhouette | 1/8 in. |
| Stocking silhouette | Low | Low | None for silhouette | 1/8 in. |
| Christmas tree silhouette | Low | Low | None for silhouette | 1/8 in. |
| Star with open center | Medium | Medium | 1/8 in. | 1/8 in. |
| Angel silhouette | Medium | Low | None for silhouette | 1/8 in. |
| Snowman silhouette | Medium | Low | None for silhouette | 1/8 in. |
| Snowflake with broad arms | Medium | Medium | 1/8 in. | 1/8 in. |
| Word ornament | Medium | Medium | 1/8 in. | 1/8 in. |
| Fretwork snowflake | High | High | 3/16 in. or more | 1/8 in. |
The easiest shapes here are the silhouettes and broad medallions. The hardest are the fretwork snowflake and the word ornament, because they add many internal starts and narrow connectors. If your goal is a gift batch, start with the low-risk row and move up only after the saw setup is steady.
How do you make scroll saw ornaments faster for gifts?
You make a batch faster by grouping similar cuts, cutting all parts before sanding, and finishing in a single production sequence. Sort patterns by difficulty first, then move through blanks, drilling, cutting, sanding, and finishing in batches. That reduces blade changes, setup resets, and wasted motion between steps.
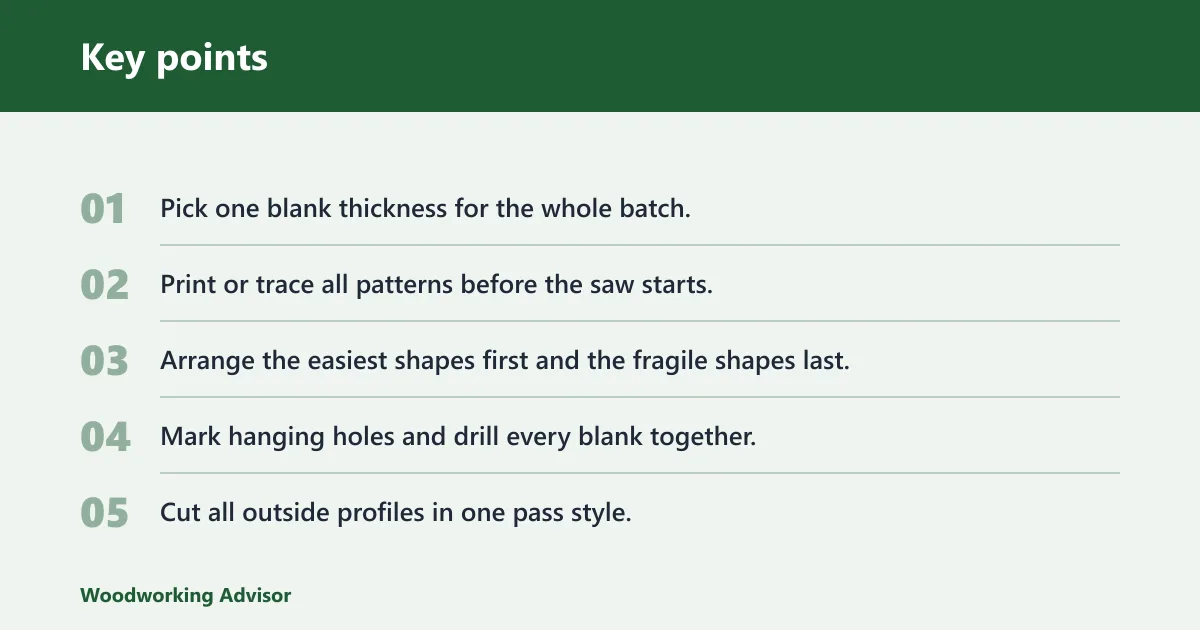
- Pick one blank thickness for the whole batch.
- Print or trace all patterns before the saw starts.
- Arrange the easiest shapes first and the fragile shapes last.
- Mark hanging holes and drill every blank together.
- Cut all outside profiles in one pass style.
- Thread the blade only when a pattern needs an internal cutout.
- Lightly sand edges after all cutting is done.
- Apply paint, stain, clear coat, or sealer in one finishing run.
- Let the pieces dry fully before adding ribbon or hanging cord.
- Inspect each ornament for chips, weak bridges, and rough edges.
A common first-timer mistake is cutting a fretwork snowflake beside a plain tree silhouette without changing pace or blade choice. The tree may go quickly, then the snowflake forces slower turns and more tension on the blade. Grouping by complexity keeps the saw set for one task at a time.
Batch setup that saves time
Use one pattern transfer method for the whole batch. Printed templates work well when you want repeatability, while trace-on layouts help if you are arranging grain direction around weak spots. Either way, place the design so the grain does not run straight through the most fragile bridge.
Do the drilling, cutting, and sanding in grouped steps. That means fewer tool swaps and fewer chances to misplace small parts. It also keeps dust, chips, and finish handling under control.
Finishing before hanging
Paint, stain, clear coat, or sealer can all work on wooden Christmas ornaments, but none should bury the cut detail. Thin ornaments need light coats that do not close small openings or add heavy buildup at the edges. Let the finish dry or cure before stringing ribbon through the hole.
For open patterns, a clear coat or light sealer is often the simplest option because it protects the wood without filling in the cutwork. If you use paint or stain, apply it sparingly so the small edges stay crisp and the ornament does not feel overloaded.
Pattern transfer and layout tips
Printed templates are best when you want a clean, repeatable batch. Trace-on layouts work when you need to rotate a design for better grain direction or avoid a knot. Whatever method you use, the pattern must show where internal cut starts belong and leave enough room for the blade to enter and turn cleanly.
Keep weak spots out of the grain path. If a design has a thin star point or narrow hanger neck, rotate the blank so the grain is less likely to split across that feature. That small layout choice can save a piece that would otherwise break during removal.
Internal cut starts
Inside openings are not optional when the pattern requires them. Drill the entry hole before cutting, then thread the blade through for each internal area. Leave enough clearance so the bit and blade do not crowd the line; cramped starts create rough edges and extra chip-out.
Support, safety, and comfort
Keep your hands clear of the blade path and support the blank flat against the table. The saw uses a short reciprocating blade that is not spinning at high velocity, but it still demands attention around small parts and repeated cuts. A steady stance, clear lighting, and a comfortable feed position help during long ornament sessions.
Scroll saws are also often presented as a safe way to introduce younger family members to woodworking with direct supervision and simple shapes. For ornament projects, that makes them a practical holiday tool for the craft bench, especially when the first patterns are silhouettes and not fragile fretwork.
Frequently asked questions
What are the easiest scroll saw ornaments for Christmas?
The easiest ornaments are simple silhouettes with broad curves and no internal cutouts: trees, bells, stockings, angels, snowmen, and round medallions. These shapes cut fast, leave fewer blade starts, and are less likely to break at narrow bridges. They are a better starting point than fretwork snowflakes or word ornaments.
What blade should I use for thin ornament blanks?
A fine-tooth blade is the right fit for thin ornament blanks and tight curves. A #5 or #7 blade is a common beginner choice for this type of work because it balances detail and control. Match the blade to both the wood thickness and the tightest curve in the pattern.
How do I keep scroll saw ornaments from breaking?
Choose simpler shapes, keep bridge widths generous, and support the blank with a flush table insert that leaves minimal gaps. Feed the saw slowly through turns, pause before sharp changes in direction, and avoid forcing the blade. Most breaks happen at narrow connectors, tiny points, and unsupported exits from cuts.
What finishes work best on wooden Christmas ornaments?
Light coats of paint, stain, clear coat, or sealer all work, as long as they do not clog the cutouts or add heavy buildup at the edges. Thin ornaments should dry fully before hanging. A clear coat or sealer is often the simplest choice for open designs because it protects without hiding the detail.
Sponsored / affiliate links. As an Amazon Associate I earn from qualifying purchases. I may earn additional commission from eligible campaigns.