Shellac in Cold Weather: Dry Time and Temperature Limits
Use shellac only when the room and wood are at least about 50°F (10°C); 60–70°F (16–21°C) is generally a safer range for more normal dry times. If you ignore that, the finish can dry slowly, feel gummy, and trap brush marks or moisture haze. This article covers cold-weather dry-time changes, practical temperature limits, and the failure modes to watch for in unheated shops.
What you’ll need
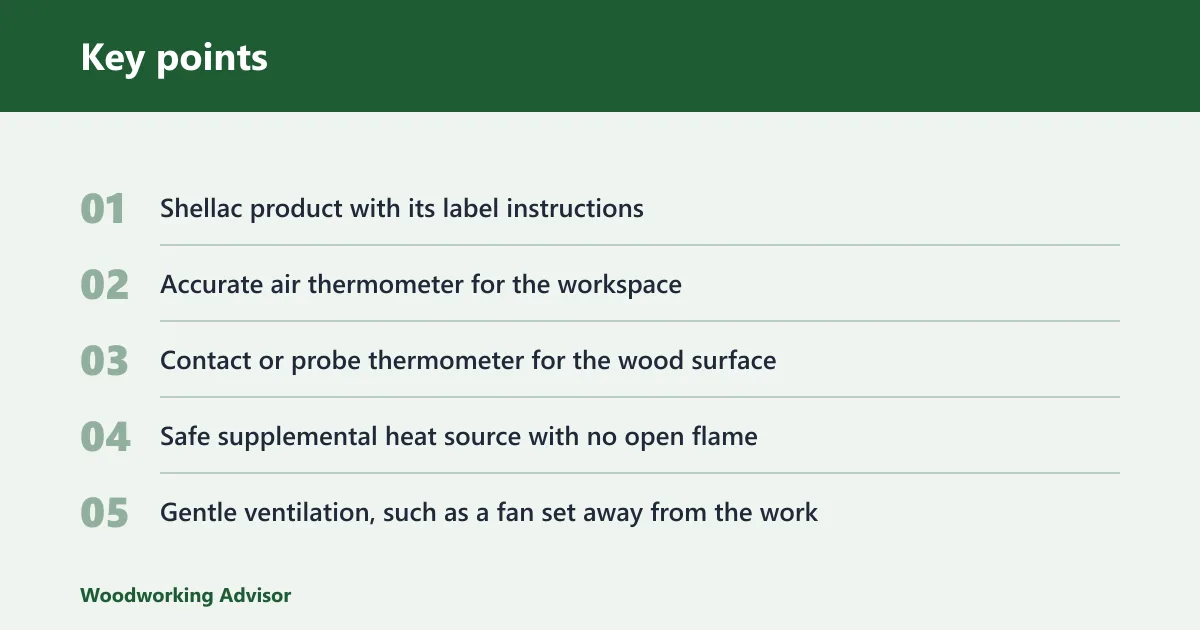


- Shellac product with its label instructions
- Accurate air thermometer for the workspace
- Contact or probe thermometer for the wood surface
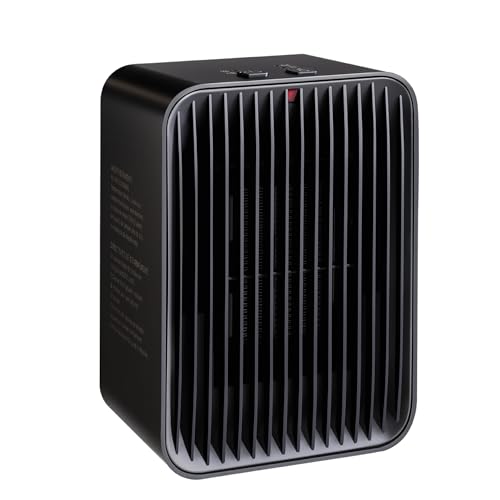
- Safe supplemental heat source with no open flame
- Gentle ventilation, such as a fan set away from the work
- Test board from the same wood species
- Clean rags or brushes, mixing container, and alcohol for cleanup
Can you apply shellac in cold weather?
Yes, if the room and the wood are warm enough and dry enough for the specific shellac product you are using. A practical floor is about 50°F (10°C), while 60–70°F (16–21°C) is commonly used for more predictable wetting, flow, and recoat timing. Below that, expect slower evaporation and a higher chance of cloudiness.
Check the label first
- Read the can, flake package, or mixed-batch directions for the minimum application temperature printed on that product.
- Use that number as the floor for the shellac you have on hand, not a general rule from another brand.
- If the label gives a higher minimum, follow the higher number.
Judge the room, not the calendar
- Measure the air temperature where the work sits, not by the doorway or heater.
- Measure the wood surface temperature separately with a contact or probe thermometer.
- Confirm the air is not cooling toward the dew point overnight.
Use a test piece before committing to the project
- Brush or pad shellac on scrap cut from the same board or the same wood species.
- Wait until it is dust-free, then press a knuckle near the edge without touching the film.
- If the film stays tacky, turns cloudy, or levels poorly, stop and raise the temperature before finishing the project.
How do you warm the shop and materials?
Warm the air first, then the wood. Shellac cures by alcohol evaporation, so a cold room and a cold board both slow the set. The goal is stable conditions for the whole drying window, not a quick burst of heat before you open the can.
Stabilize the air before opening the can
- Set the workspace heat source far enough away to warm the room evenly.
- Bring the air to at least 50°F (10°C), then hold it steady for a while before coating.
- Keep airflow gentle so the solvent can leave the film without blasting dust across the surface.
Warm the wood surface, not just the room
- Leave the project in the heated space long enough for the surface to come close to room temperature.
- Check the wood with a contact thermometer, especially on thick panels and wide boards.
- If the wood is still cold to the touch, wait longer before applying finish.
Avoid open flame and hot-element shortcuts
- Keep shellac and alcohol away from pilot lights, torches, and open burners.
- Use a listed space heater or other controlled heat source with clear clearance around it.
- Do not aim heat so hard at one spot that the surface heats unevenly.
Shellac cold-weather decision table
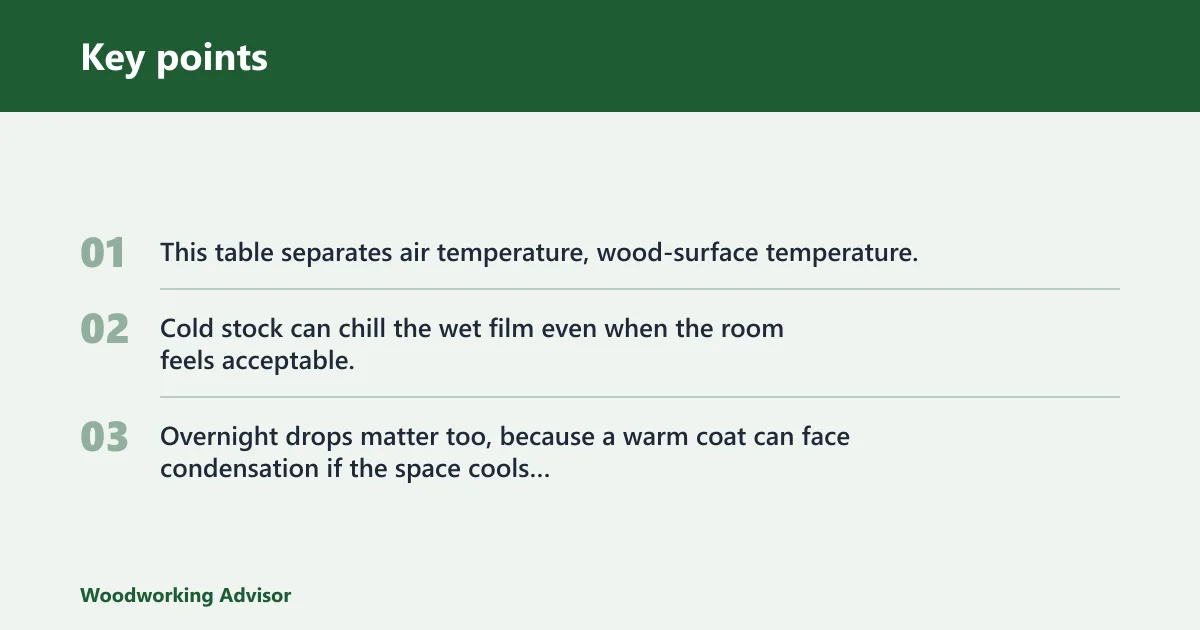
This table separates air temperature, wood-surface temperature, and risk conditions because they do not behave the same way. Cold stock can chill the wet film even when the room feels acceptable. Overnight drops matter too, because a warm coat can face condensation if the space cools fast after application.
| Condition | Expected drying behavior | Recommended action |
|---|---|---|
| Air temperature: 60–70°F (16–21°C) | Fast evaporation, clean leveling, recoat usually the same day | Normal application is reasonable if the wood is also warm and dry |
| Air temperature: 50–59°F (10–15°C) | Slower set, longer dust-free time, brush marks may hang around longer | Apply thinner coats and extend the wait before recoating |
| Air temperature: below 50°F (10°C) | Evaporation slows enough that the film can stay soft, hazy, or uneven | Warm the shop or wait for better conditions |
| Wood surface: near room temperature and above dew point | Best wetting and flow; film forms more evenly | Proceed with normal shellac coats |
| Wood surface: cold to the touch or cooler than the room | Film chills on contact; flow and leveling suffer | Warm the board before coating |
| Risk condition: condensation on the wood | Cloudy film, blushing, or poor surface clarity are more likely | Stop and let the wood dry and warm above the dew point |
| Risk condition: overnight temperature drop | Drying slows again, and moisture can collect on cool surfaces | Keep the space warm through the first drying window |
| Risk condition: damp air or poor ventilation | Blushing risk rises, and solvent leaves the film more slowly | Add gentle airflow and reduce humidity if possible |
How long does shellac take to dry below 50°F?
Below 50°F (10°C), shellac can still dry, but the timings become much less predictable. A thin coat may lose surface tack in hours, not minutes, while recoat time can stretch into much of the day. Full cure is longer still, and it is the stage that matters most if you plan more sanding or topcoating.
Dust-free time
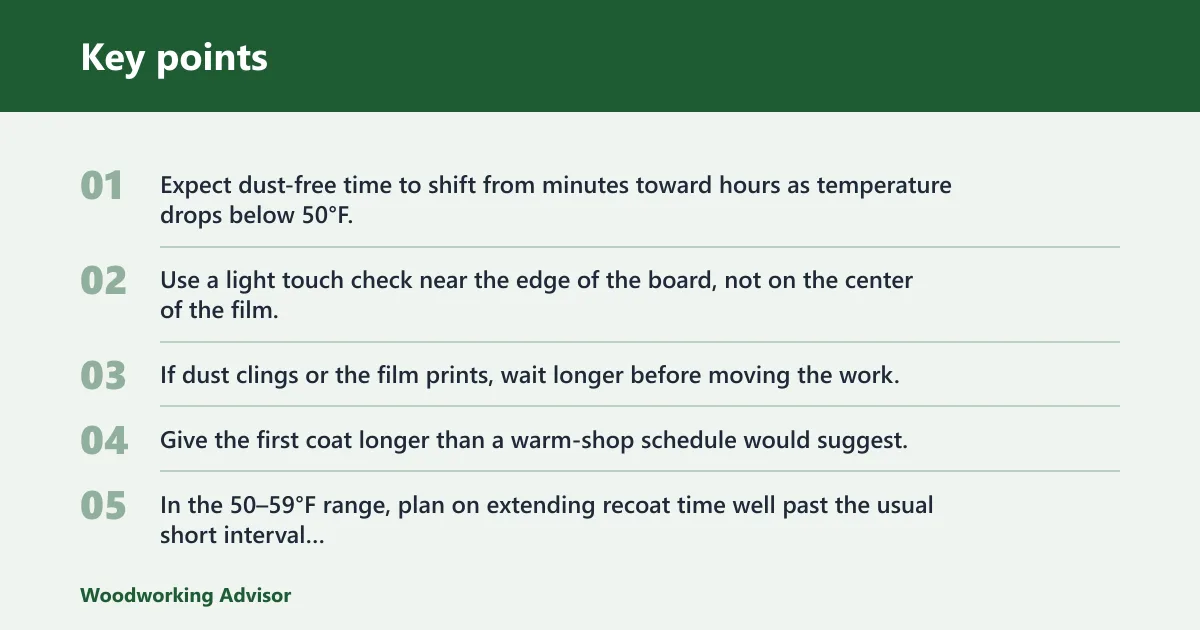
- Expect dust-free time to shift from minutes toward hours as temperature drops below 50°F.
- Use a light touch check near the edge of the board, not on the center of the film.
- If dust clings or the film prints, wait longer before moving the work.
Recoat time
- Give the first coat longer than a warm-shop schedule would suggest.
- In the 50–59°F range, plan on extending recoat time well past the usual short interval for shellac.
- Apply the next coat only after the previous layer no longer feels cool, soft, or grabby.
Full cure time
- Let the project sit longer before heavy handling, stacking, or topcoating.
- Cold air slows alcohol evaporation, so the film may feel dry before it has fully stabilized.
- If the finish dents easily, leave it in the heated space longer.
Say your garage sits at 48°F overnight and rises to 52°F by late morning. A thin coat on a cabinet door may look dry at the edges before lunch, yet still reprint under a sanding pad later in the day. The fix is not more finish; it is warmer air, warmer wood, and more time.
Does shellac blush or turn cloudy in cold weather?
Yes. Blushing is a milky or cloudy cast caused by trapped moisture, and cold or damp conditions make it more likely. The problem shows up most often when the wood is colder than the air, the shop humidity is high, or the temperature drops after application and moisture condenses on the film.
What to do first
- Stop applying finish if the surface turns hazy during the first coat.
- Warm the room and the board until the haze clears only if the label allows that remedy.
- If the cloudiness remains, sand back lightly and recoat in warmer, drier conditions.
Prevent the next coat from blushing
- Keep the workspace above the dew point through the drying period.
- Warm the wood to near room temperature before coating.
- Maintain gentle airflow so alcohol leaves the film without dragging in damp air from a cold corner.
Common mistakes
- Applying over a cold, damp board. Warm the wood first, or the film can chill and haze before it levels.
- Using a heavy coat. Thin coats dry more reliably in cold air and are less likely to trap moisture.
- Ignoring overnight drops. Keep the space warm long enough for the first coat to set before the temperature falls.
- Skipping a test board. A scrap panel shows whether the current temperature and humidity are acceptable.
- Letting a cloudy coat slide. Stop and fix the environment before adding more shellac.
Suppose a 3/4-inch maple door is already assembled and the shop is only 49°F. Warming the room for 20 minutes will not bring the core of that door up to temperature. Give the panel time to equalize, then coat it only after the surface is warm enough to avoid chilling the film.
Frequently asked questions
What temperature is too cold for shellac to dry?
Below 50°F (10°C) is too cold for reliable, predictable shellac drying in most shops. The finish may still set, but the process slows enough that dust-free, recoat, and handling times become hard to judge. Follow the label if it lists a higher minimum.
Can I use shellac in an unheated garage?
You can, but only if you warm the garage, keep the wood surface close to room temperature, and hold those conditions through the first drying window. An unheated garage that swings cold overnight is a poor place for shellac unless you can stabilize the air and the substrate.
Is dewaxed shellac better for cold-weather finishing?
Dewaxed shellac is often the better sealing coat under other finishes because many topcoats bond to it more reliably. That does not make it immune to cold, though. You still need the same temperature control, dry wood, and cautious recoat timing for clean results.
Should I warm the wood or the shellac before applying it?
Warm the wood first. The substrate temperature controls wetting and film formation more directly than a warm can of finish. Let the shellac itself come to room temperature too, but do not rely on warming the liquid alone to fix a cold board.
What happens if shellac gets too cold in storage?
Cold storage can make shellac behave poorly even if it has not been contaminated. Bring it back to room temperature slowly, stir or mix it as the label directs, and strain it if needed. If it stays lumpy, stringy, or refuses to flow normally, replace it.
Sponsored / affiliate links. As an Amazon Associate I earn from qualifying purchases. I may earn additional commission from eligible campaigns.