90 Degree Wood Joints: Butt, Miter, and Dovetail Methods Compared
Short answer: there are three common ways to join two boards at a 90° angle – a butt joint (simplest, weakest alone, needs glue plus screws or dowels), a miter joint (two 45° cuts meeting at a clean corner, common in frames and trim), and a dovetail joint (interlocking pins and tails, mechanically the strongest and the traditional choice for drawers and boxes). Which one you use depends on how much load the joint needs to carry and whether you want the joinery itself to show.
Butt Joint: Simplest, Needs Reinforcement
Best Pocket-Hole Jig for Butt Joints
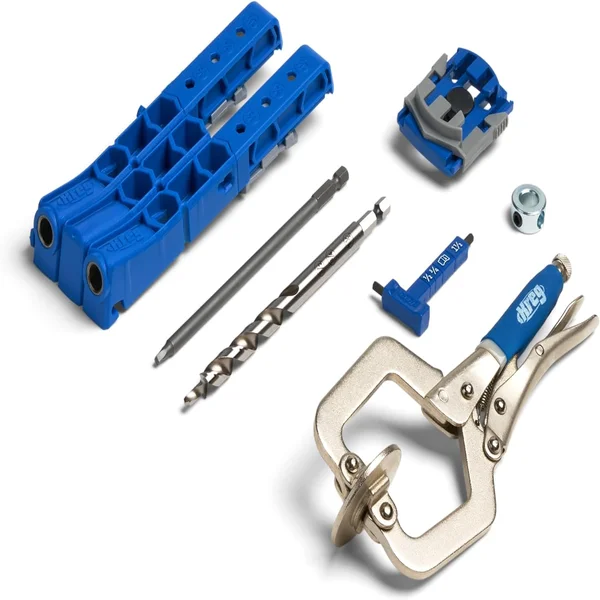 |
Kreg Pocket-Hole Jig 320 – $26.99 If you’re joining boards at 90° with screws instead of nails or dowels, this is the jig that makes a butt joint strong without visible fasteners on the face.
|
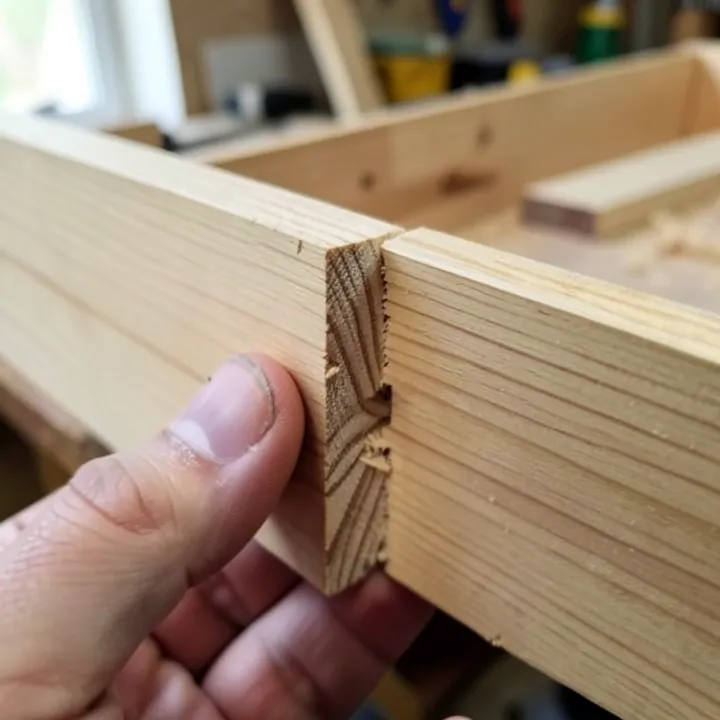
A butt joint is just two square-cut boards pushed together at 90° – the end grain of one board butts against the face or edge of the other. It’s the fastest joint to cut (a single square crosscut on each piece) but also the weakest on its own, because you’re gluing end grain to face grain, and end grain doesn’t hold glue well – it’s like gluing the ends of a bundle of straws.
To make a butt joint actually hold, reinforce it with one of these: pocket screws driven at an angle from the inside face (invisible from the outside, very common in cabinet face frames), dowels drilled into both pieces before glue-up, or a simple corner brace/screw block glued and screwed into the inside corner. For anything structural – a shelf, a box, a piece of furniture – don’t rely on glue alone at a butt joint.
Miter Joint: Clean Corners, No End Grain Showing
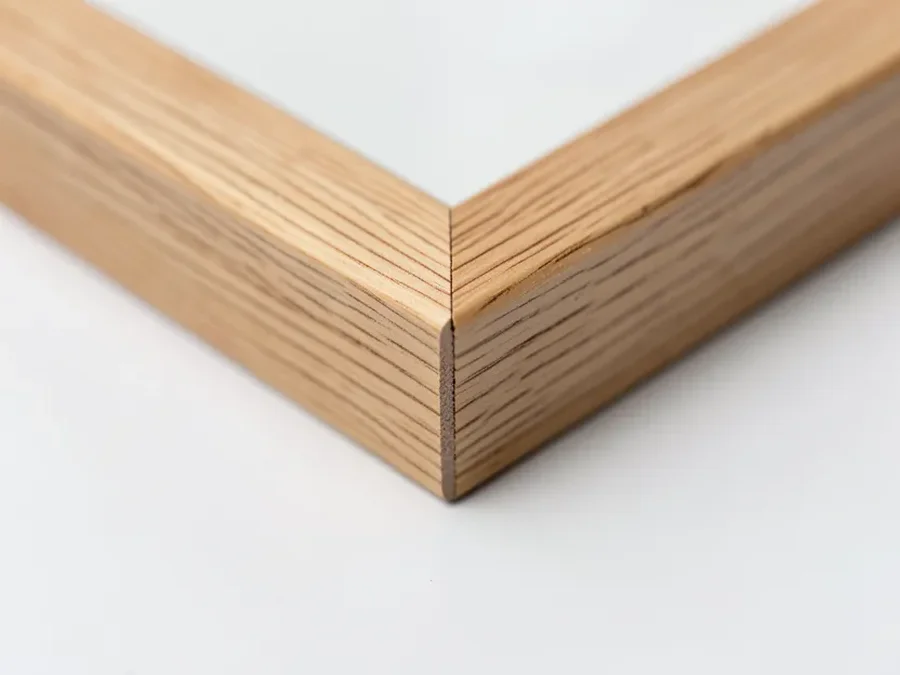
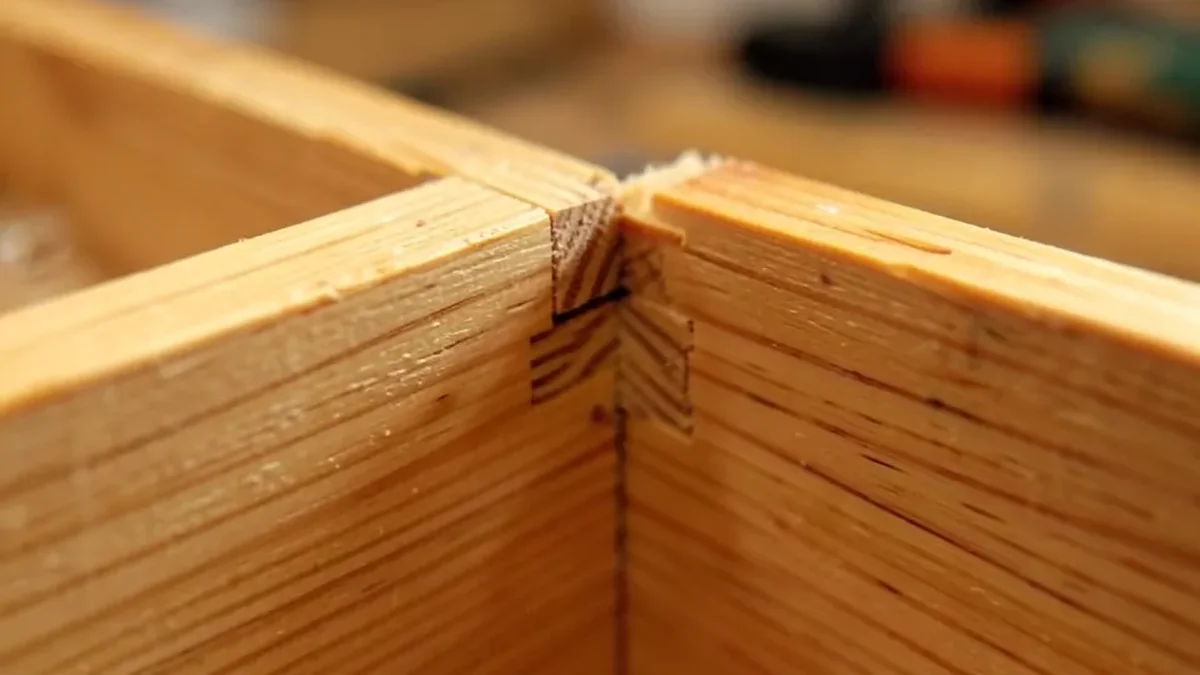
A miter joint splits the 90° angle in half – each board is cut at 45° so the two cut faces meet to form the corner. The main advantage is appearance: neither piece shows its raw end grain, which is why miters are the standard choice for picture frames, door and window trim, and crown molding.
The trade-off is strength. A 45° miter is still essentially long-grain-to-long-grain contact on an angled face, which glues reasonably well, but the joint has very little mechanical resistance to being pulled apart or racked side to side. For anything beyond light trim work, reinforce a miter with a spline (a thin strip of wood glued into a matching slot cut across the joint), biscuits, or corner clamps that hold the angle square while the glue cures.
A common mistake with miters is not accounting for the saw blade’s kerf width when measuring – because both cuts are angled, a small measuring error compounds into a visible gap at the point of the corner. Always cut one test miter in scrap first and check it against a square.
Dovetail Joint: Strongest, Most Work
A dovetail interlocks trapezoidal “pins” cut into one board with matching “tails” cut into the other, so the joint mechanically resists being pulled straight apart – the wedge shape locks the pieces together even before glue is added. This is why dovetails have been the traditional joint for drawer boxes and chests for centuries: a drawer front gets pulled outward every time it’s opened, and a dovetail resists exactly that kind of force far better than a butt or miter joint would.
Cutting dovetails by hand takes real practice – you’re sawing to a marked line on two mating pieces and the fit has to be snug without being forced, since driving an oversized pin into an undersized socket can split the wood. A dovetail jig used with a router speeds this up considerably and is the more common approach for anyone not doing traditional hand-tool joinery.
Which Joint Should You Use?
- Hidden structural joints (cabinet carcasses, face frames, shop jigs): butt joint reinforced with pocket screws or dowels – fast and plenty strong once reinforced.
- Anything where you don’t want end grain visible (frames, trim, some box corners): miter joint, reinforced with a spline or biscuits if it needs to carry any load.
- Drawers, boxes, or anywhere the joint gets pulled apart repeatedly: dovetail joint – more setup time, but it’s the joint least likely to fail with repeated use.
Tips for a Square, Strong 90° Joint
Whichever joint you choose, a few habits make a real difference in the final result:
- Check square before you cut, not after. A speed square or combination square against your saw’s fence confirms you’re actually cutting 90° (or 45° for a miter) before you commit good material.
- Dry-fit everything before glue. Clamp the joint together without glue first to confirm it closes tight with no gaps – glue doesn’t fill gaps, it just lubricates a bad fit until it dries.
- Account for wood movement. Wood expands and contracts across the grain with humidity changes, so a joint that’s dead square and tight in a dry shop can develop small gaps months later in a more humid room, especially on wide panels.
Frequently Asked Questions
What is the strongest 90 degree wood joint?
A dovetail joint is the strongest of the three common options because its interlocking shape mechanically resists being pulled apart, independent of the glue. A butt joint reinforced with pocket screws or dowels is a strong, faster alternative for hidden joints.
Is a butt joint strong enough on its own?
Not usually. Gluing end grain to face grain doesn’t create a strong bond, so a butt joint needs reinforcement – pocket screws, dowels, or a glued corner block – for anything that needs to carry real load.
How do I cut a perfect 90 degree angle in wood?
Mark the cut with a square, confirm your saw’s fence or miter gauge is actually set to 90° on a test cut in scrap first, then make the cut. Dry-fit the joint before gluing to confirm it closes tight with no gaps.
What tools do I need for wood joinery at home?
At minimum: a square (speed or combination) to check angles, clamps to hold the joint while glue cures, and wood glue. A pocket-hole jig makes reinforced butt joints much faster, and a router with a dovetail jig speeds up dovetail joints considerably.
Conclusion
For most home and shop projects, the choice comes down to how the joint will be used: butt joints (reinforced) for speed on hidden structural work, miters for a clean visible corner, and dovetails when the joint needs to resist being pulled apart repeatedly. Check for square before you cut, dry-fit before you glue, and pick the joint that matches how the piece will actually be used.
Sponsored / affiliate links. As an Amazon Associate I earn from qualifying purchases. I may earn additional commission from eligible campaigns.