Best Brad Nailers for Cabinets (2026): Based on Specs and Reviews
For cabinets, the best brad nailer is usually an 18-gauge model with tool-free depth adjustment and a no-mar tip, because it handles thin stock, backs, and moldings without leaving large holes. Choose cordless if you work on site. Choose pneumatic if you already have a compressor and plan to stay in the shop. Pick the wrong gauge or power source, and you risk split veneer, weak tacking, or extra filler work.
This guide is part of our Drilling guide for bits, tools, and materials series.
Quick comparison
| Product | Badge | Best for | Price | ||
|---|---|---|---|---|---|
 |
SENCO FinishPro 25XP Pneumatic Brad Nailer forSenco | Our pick | Pneumatic · Oil-free · FinishPro 25XP | $218.83
Price as of 15 Oct 2026
|
View |
 |
BOSCH GNH18V-18MN 18V Brushless 18 Gauge Brad Nailer,Bosch | Upgrade pick | 18V · Cordless · GNH18V-18MN | $262.65
Price as of 15 Oct 2026
|
View |
 |
DEWALT DCN680B 20V MAX* XR® 18 GA Cordless Brad NailerDEWALT | Also great | 20V · Brushless · DCN680B | $301.99
Price as of 15 Oct 2026
|
View |
 |
Milwaukee Electric – M18 Fuel 18 Gauge Brad NailerMilwaukee | Also great | M18 Fuel · Nitrogen · Brushless | $327.02
Price as of 15 Oct 2026
|
View |
 |
RYOBI ONE+ 18V 18-Gauge Cordless AirStrike Brad Nailer P321Ryobi | Budget pick | 18V · With Battery · P321Kit | $205.00
Price as of 15 Oct 2026
|
View |
This comparison is for cabinet work, not general carpentry. The right choice depends on material thickness, your work location, and whether you already own air or battery gear.
How we chose
The picks below are based on cabinet fit, not brand reputation alone. The main filters were gauge, nail-length range, finish-control features, setup cost, and whether the tool suits shop installation or mobile trim work.
Finish control matters a lot in cabinets. Tool-free depth adjustment, jam release, dry-fire lockout, and a no-mar tip often matter more than extra power when you are working around prefinished panels and visible edges.
Setup cost mattered too. A pneumatic nailer can be cheaper at the tool level, but a compressor, hose, and fittings add real cost. Cordless costs more up front, but it removes the air system.

Senco FinishPro 25XP: best for shop cabinet work
The Senco FinishPro 25XP fits cabinet shops that already run air. It is a pneumatic brad nailer with an oil-free design, an on-tool ruler, a belt hook, and a no-mar pad, which makes it practical for repetitive cabinet assembly and trim fit-up.
Its main strength is that it stays in the 18-gauge cabinet lane without adding battery cost. That matters when you are pinning backs, tacking moldings, or holding parts while glue sets. The drawback is plain: you still need a compressor, hose, and fittings, so the real setup cost is higher than the tool price suggests.
Bosch GNH18V-18MN: best for cordless control
The Bosch GNH18V-18MN suits cabinet builders who want cordless mobility without giving up 18-gauge brads. Based on the published specs, it uses an 18V battery system, offers low recoil, and includes tool-free jam clearing, which helps during repetitive interior cabinet work.
It is a strong fit for installs, punch-list visits, and jobs where dragging a hose is a nuisance. The tradeoff is price: cordless convenience usually costs more up front, and you need to own or buy into the battery platform. It is also a bare tool, so the system cost can rise fast if you do not already have batteries.
DeWalt DCN680B: best for finish control
The DeWalt DCN680B is a cordless 18-gauge brad nailer built around finish accuracy. Its published features include a micro nose for better line of sight and tool-free depth adjustment, both of which help when you are setting brads flush or slightly below the surface on cabinet parts.
This is a good pick for visible cabinet faces, scribe pieces, and prefinished interiors where control matters more than raw speed. The drawback is that it is tool only, so the real cost depends on whether you already own 20V MAX batteries and chargers. If you do not, the buy-in is higher than it first appears.
Milwaukee M18 Fuel 18 Gauge Brad Nailer: best for fast cordless use
The Milwaukee M18 Fuel 18 Gauge Brad Nailer is aimed at users who want cordless speed with minimal pause between nails. Based on the listed specs, it uses a nitrogen air spring mechanism and zero ramp-up time, which is useful when you are tacking multiple cabinet parts in sequence.
That makes it attractive for mobile cabinet work and fast trim installs. The drawback is cost, which is on the higher end, and you still need the M18 platform to make the most of it. If you are not already in that battery system, the total spend climbs quickly.
Ryobi ONE+ P321Kit: best starter cordless kit
The Ryobi ONE+ P321Kit is the most approachable cordless option here for cabinet users who want a lower entry cost. The kit includes a battery and charger, and the published details call out a 45% smaller nose for tighter spots, which helps around cabinet interiors and narrow face-frame areas.
It is a sensible buy if you want a complete package without separately sourcing batteries. The tradeoff is that it is more of a homeowner-to-advanced-DIY value pick than a premium finish tool. For frequent cabinet installs, some buyers may want a more refined nose feel or a higher-tier battery ecosystem.
Cabinet nailer decision table
| Task | Material thickness | Suggested brad length | Recommended nailer type | When to avoid brads | Finish risk |
|---|---|---|---|---|---|
| Cabinet backs | 1/8 inch to 1/4 inch | 5/8 inch to 1 inch | 18-gauge brad nailer | Use screws if the back is structural or will be removed later | Low, but veneer can blow through if depth is too high |
| Thin moldings | Thin stock and prefinished trim | 5/8 inch to 1-1/4 inch | 18-gauge brad nailer | Use a pin nailer for tiny, highly visible trim where even small heads are too much | Moderate if you overdrive or miss the grain |
| Drawer bottoms | Thin panels | 5/8 inch to 1 inch | 18-gauge brad nailer | Use glue and mechanical joinery if the bottom carries load | Moderate; too much air pressure can split thin edges |
| Face-frame tie-ins | 3/4 inch to 1 inch parts | 1-1/4 inch to 2 inches | 16-gauge finish nailer | Avoid brads where the joint needs more holding power | Higher, because the larger hole usually needs filling |
| Filler strips and scribe moldings | Thin to medium stock | 5/8 inch to 1-1/4 inch | 18-gauge brad nailer | Avoid brads on brittle veneer edges or where the strip is too narrow to grip | Low to moderate, depending on species and finish |
| Heavy trim on installed cabinets | Thicker trim and trim blocks | 1-1/4 inch to 2 inches | 16-gauge finish nailer | Do not use brads if the trim needs real pull-in force | Higher; hole filling is often part of the job |
Pneumatic brad nailer: best for shop setups
A pneumatic brad nailer makes sense when the cabinet work stays in one place. It needs an air compressor, hose, and fittings, but it is usually lighter at the gun and often friendlier to the budget than cordless. The common operating range is about 60 to 115 PSI, which is often used for cabinet tacking and trim work.
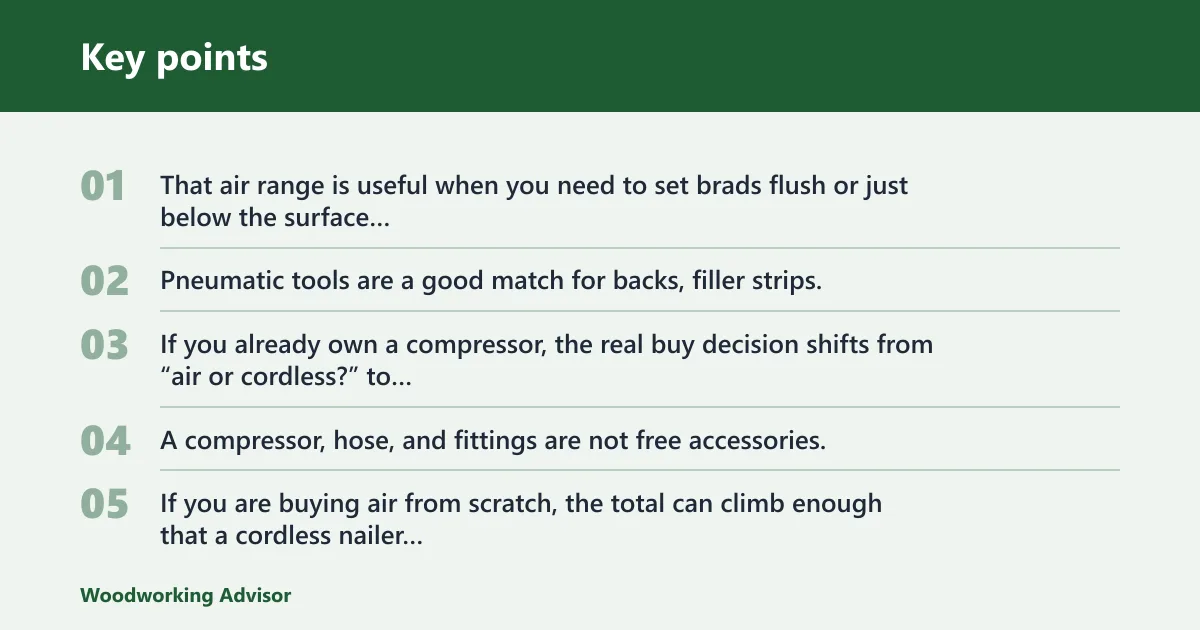
That air range is useful when you need to set brads flush or just below the surface without marking finished parts. Pneumatic tools are a good match for backs, filler strips, and thin moldings in a shop where the hose is not a burden.
If you already own a compressor, the real buy decision shifts from “air or cordless?” to “does this nailer have the cabinet features that prevent finish damage?” Depth adjustment, jam release, and a no-mar tip matter more than a slightly different body shape.
Setup cost matters more than the sticker price
A compressor, hose, and fittings are not free accessories. If you are buying air from scratch, the total can climb enough that a cordless nailer becomes more appealing, especially for cabinet installs where portability is worth paying for.
Cordless brad nailer: best for installs
Cordless brad nailers fit site work, punch lists, and mobile cabinet installation because they remove the hose and compressor from the job. They are battery-powered, easier to move, and better when you are climbing ladders, working in occupied homes, or fitting cabinets in a finished room.
The tradeoff is higher upfront cost. If you already own a battery platform, that pain drops. If not, the tool price plus batteries can exceed the cost of a pneumatic setup, even before you buy chargers and extras.
For cabinet installers, cordless is often the better buy when mobility matters more than absolute budget. It also helps when you need repeated short bursts rather than all-day stationary nailing.
When cordless wins
Choose cordless if you are working away from power, installing trim in finished spaces, or moving between jobs. Suppose you are fastening scribe molding beside a prefinished pantry panel; the lack of a hose makes the setup faster and lowers the chance of dragging the tool across visible surfaces.
What kind of nail gun do you need for cabinets?
For most cabinet work, you need an 18-gauge brad nailer. It is the best fit for thin stock, cabinet backs, thin moldings, and pinning joints while glue dries, because it leaves a smaller hole than a finish nailer. Choose 16-gauge only when you need more holding power on heavier trim or face-frame work.
Do not treat brads as a replacement for screws in structural joinery. If the joint has real load, movement, or long-term stress, screws or proper cabinet joinery are the safer choice. Brads are for alignment, tacking, and light fastening.
18-gauge vs 16-gauge: which fits cabinets?
For cabinets, 18-gauge is the default for delicate parts because it makes a smaller hole and is less likely to split thin edges. A 16-gauge finish nailer gives more holding power, but the larger hole usually needs filling, so it belongs on face frames and heavier trim rather than fragile cabinet parts.
The practical rule is simple: use 18-gauge for backs, moldings, and filler strips; move to 16-gauge when the part is thicker, the joint needs more bite, or the hole can be filled without trouble. For 1/2 inch to 3/4 inch material, brad length should stay within the stock without punching through the face.
A common first-timer mistake is using too much nail in thin plywood edge banding. The brad can blow through veneer, split the edge, or leave a visible bump on the front face if the depth setting is too aggressive.
Which one should you buy?
Buy pneumatic if you already own a compressor and most of your cabinet work stays in the shop. Buy cordless if you need mobility, work on site, or already own a battery platform that matches the tool. Skip brads altogether when the joint needs real structural strength, and move to screws, better joinery, or a finish nailer where the fastener has to hold more.
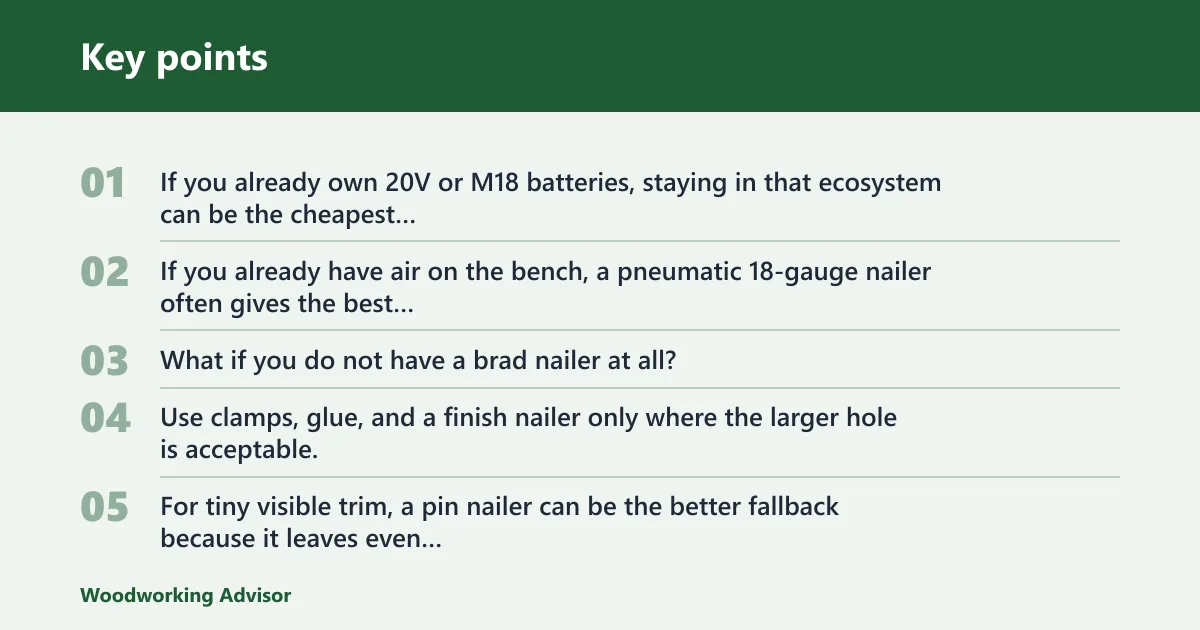
If you already own 20V or M18 batteries, staying in that ecosystem can be the cheapest long-term path. If you already have air on the bench, a pneumatic 18-gauge nailer often gives the best value for cabinet assembly and trim.
What if you do not have a brad nailer at all? Use clamps, glue, and a finish nailer only where the larger hole is acceptable. For tiny visible trim, a pin nailer can be the better fallback because it leaves even less surface damage.
If you already own a compressor
Start with a pneumatic 18-gauge brad nailer. That keeps your setup cost low and suits shop-based cabinet work, backs, and light trim.
If you already own a battery platform
Choose the cordless brad nailer that matches your batteries. That cuts the extra cost of buying a separate ecosystem and makes site work easier.
If the joint needs more strength
Move to a 16-gauge finish nailer or screws. Brads are not the right answer for every cabinet connection, especially where the fastener must carry load.
Frequently asked questions
What is a brad nailer good for?
A brad nailer is good for thin stock, small moldings, cabinet backs, and holding parts in position during glue-up. It is not a structural fastener. Its job is to tack, align, and reduce clamp time, not replace joinery or screws where strength matters.
Can you use a brad nailer for paneling?
Yes, if the paneling is thin and the brad length is matched to the material. An 18-gauge brad nailer works well for delicate paneling and trim, but you should avoid overdriving near brittle edges or visible veneer faces. Wider trim may justify a finish nailer instead.
Is a brad nailer worth it?
Yes, if you build or install cabinets often enough that speed, repeatability, and cleaner holes matter. It is especially worth it for trim-heavy work and shop assembly. If you only build cabinets once in a while, clamps and screws may cover the need without another tool.
Is a brad nailer necessary?
No, but it saves time and reduces visible damage compared with hand nailing. You can build cabinets without one, yet you will usually spend more time clamping and cleaning up. For regular cabinet and trim work, it becomes more of a practical convenience than a luxury.
Should I use an 18-gauge or 16-gauge nailer for cabinets?
Use 18-gauge for most cabinet parts because it leaves a smaller hole and is safer on thin stock. Use 16-gauge when the piece is thicker, the holding power matters more, or the hole can be filled. For delicate cabinet interiors, 18-gauge is the better starting point.
What to use if you don’t have a brad nailer?
Use clamps and glue for alignment, or a finish nailer where the larger hole is acceptable. For very small trim, a pin nailer can work better than a finish nailer because it leaves a smaller mark. If the part is structural, use screws or proper joinery instead.
Corded, cordless, or pneumatic: which brad nailer is best for cabinet work?
Pneumatic is best for a shop with a compressor already in place. Cordless is best for installs and mobile work. Corded electric brad nailers are a niche choice for this job, and they usually make less sense than air or battery tools for cabinet assembly and trim.
Sponsored / affiliate links. As an Amazon Associate I earn from qualifying purchases. I may earn additional commission from eligible campaigns.