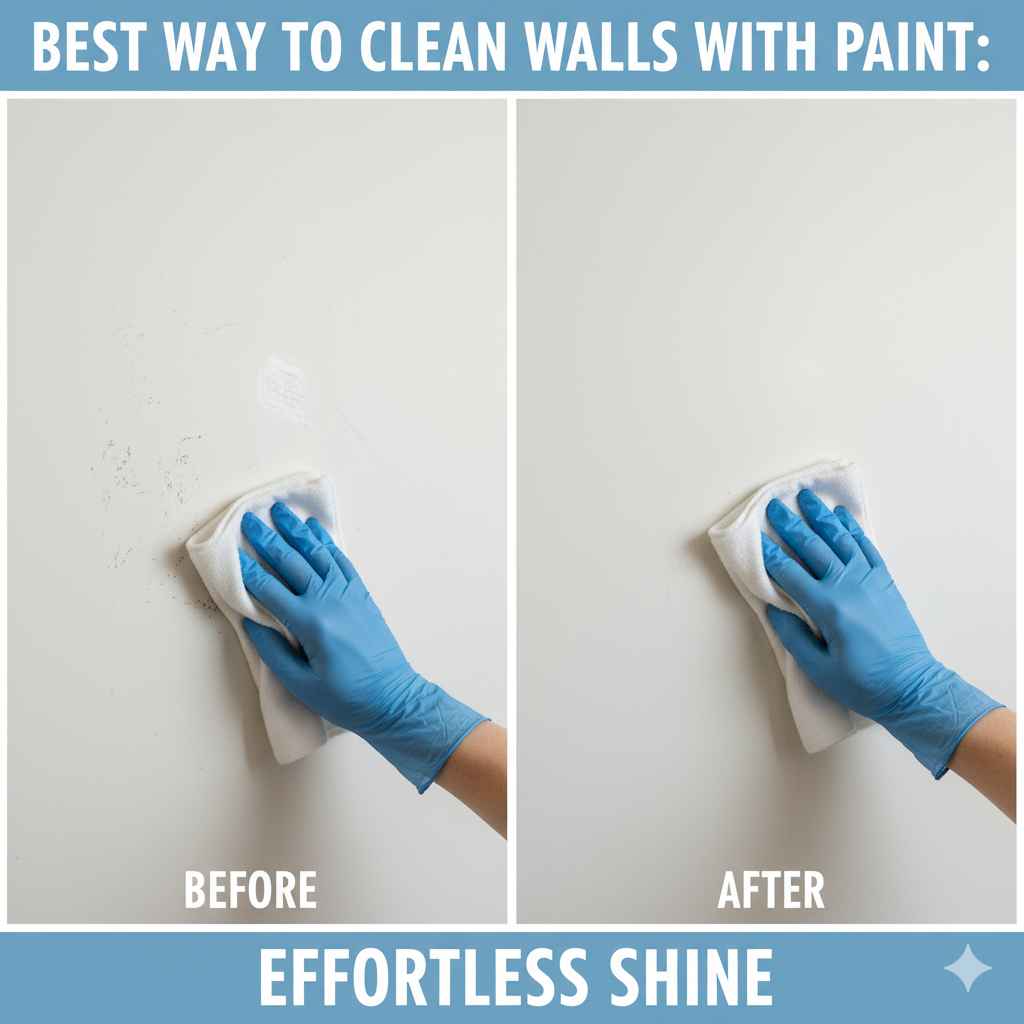
Best Way to Clean Walls with Paint: Effortless Shine
Your walls can look amazing again! The best way to clean painted walls involves using a gentle, multi-surface cleaner, a soft cloth or sponge, and a systematic approach. Start with dry dusting, move to a damp clean, and tackle tougher spots with a mild solution, always rinsing well to reveal a fresh, spotless shine without damaging your precious paint.
Welcome to the workshop, folks! It’s Md Meraj here, and I know how frustrating it can be when your beautiful painted walls start to look a little… well, less than beautiful. Dust bunnies gather silently, fingerprints mysteriously appear, and those accidental smudges seem to mock you. But don’t worry! Keeping your painted walls looking their best, with that effortless shine, doesn’t require professional painters or harsh chemicals. It’s all about knowing a few simple tricks and having the right approach. We’ll go through this step-by-step, and I promise, you’ll have your walls looking spick-and-span in no time, feeling confident with every wipe!
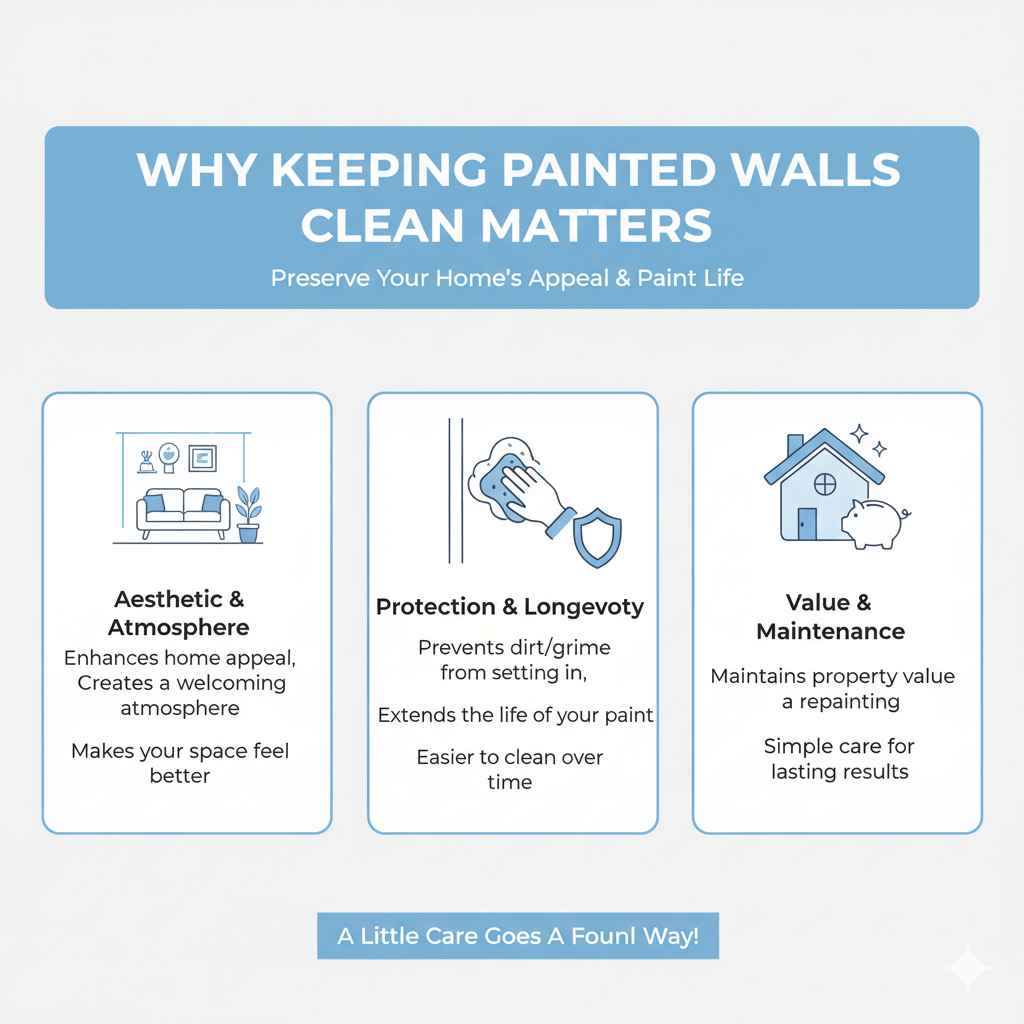
Why Keeping Painted Walls Clean Matters
Looking after your painted walls is more than just an aesthetic choice; it’s about preserving your home’s appeal and potentially extending the life of your paint job. Regular cleaning helps prevent dirt and grime from setting in, which can make them harder to remove later. Think of it like maintaining your favorite wooden furniture – a little care goes a long way! Plus, a clean home just feels better, right? It creates a more welcoming atmosphere, whether you’re relaxing after a long day or entertaining guests. Let’s dive into how we can achieve that shine safely for your paint.
Understanding Your Paint Type: A Crucial First Step
Before we grab any cleaning supplies, it’s super important to know what kind of paint is on your walls. This makes a world of difference in how you clean and what products you can safely use. Most homes today have latex (water-based) or oil-based paints. Understanding this helps us avoid issues like scrubbing off the paint or leaving streaks.
Latex/Water-Based Paints
This is the most common type for interior walls. It’s durable yet flexible. Latex paints generally hold up well to regular cleaning but can be sensitive to harsh solvents or abrasive scrubbing. Don’t despair if you’re unsure; most modern paints are latex-based.
Oil-Based Paints
These are less common for interior walls now but still found in older homes or specific applications like trim. Oil-based paints are very durable and can withstand more vigorous cleaning, but they might require different cleaning agents for specific problems.
How to tell? If your paint job is relatively new, check your paint can or the receipt. If it’s an older home and you have no records, you can try a small, inconspicuous test patch. Apply a tiny bit of rubbing alcohol to a cotton swab and gently rub a hidden spot. If the paint comes off on the swab, it’s likely latex. If it stays put, it might be oil-based.
Essential Tools and Supplies for Effortless Wall Cleaning
Gathering your supplies before you start will make the whole process smooth and efficient. You don’t need fancy equipment; just a few common household items will do the trick. This list ensures you have everything ready.
What You’ll Need:
- Soft cloths or microfiber towels: These are gentle on paint and great for dusting and wiping. Microfiber is especially good at trapping dust and dirt.
- Soft-bristle brush or a clean, dry sponge: For dusting corners and edges.
- Two buckets: One for your cleaning solution and one for rinsing water. This prevents spreading dirt back onto the walls.
- Mild, all-purpose cleaner or dish soap: A few drops of dish soap in water is often all you need for most messes. For tougher stains, a specialized wall cleaner might be useful.
- Distilled water (optional but recommended): Using distilled water can help prevent mineral spots, especially if you have hard water.
- Drop cloths or old sheets: To protect your floors and furniture from drips.
- Ladder or step stool: For reaching higher areas safely. Always ensure it’s stable!
- Protective gloves: To keep your hands comfortable while cleaning.
Step-by-Step Guide: The Best Way to Clean Painted Walls
Now, let’s get down to business! Following these steps will ensure you get a brilliant clean without any fuss.
Step 1: Prepare Your Workspace
First things first, protect your surroundings. Lay down drop cloths or old sheets on the floor along the base of the walls you’ll be cleaning. Move any furniture away from the walls or cover it too. This simple step saves you a lot of cleanup later.
Step 2: Dry Dusting
Gently remove loose dust and cobwebs from the walls. You can use a soft-bristle brush, a clean broom with a cloth tied around it, or a dry microfiber cloth. Start from the top of the wall and work your way down. This prevents dust from falling onto areas you’ve already cleaned.
Why Dry Dusting is Key:
- Removes loose debris that could turn into mud when wet.
- Prevents spreading dust into larger smudges.
- Makes your wet cleaning much more effective.
Step 3: Mix Your Cleaning Solution
Fill one bucket with warm water and add a small amount of mild, all-purpose cleaner or a few drops of dish soap. You don’t need a lot – too much soap can leave a residue. A common recommendation is about 1-2 teaspoons of soap per gallon of water.
Fill your second bucket with clean, plain water for rinsing. Again, using distilled water here is a great idea to avoid water spots.
Step 4: Gentle Spot Testing
This is a vital safety step! Before you clean a large area, test your cleaning solution in an inconspicuous spot – perhaps behind a picture frame or in a corner. Apply the solution with a damp cloth and see how the paint reacts. If there’s any color transfer or change in sheen, use a weaker solution or plain water.
Step 5: Washing the Walls
Dampen a soft cloth or sponge with your cleaning solution. Wring it out thoroughly so it’s damp, not dripping wet. You don’t want excess water running down your walls or soaking into the paint.
Start cleaning from the bottom of the wall and work your way up in sections. Use gentle, overlapping strokes. For stubborn marks or fingerprints, you might need to apply a little more pressure, but always be careful not to scrub too hard, especially on matte or eggshell finishes.
Dip your cloth or sponge into the clean rinse water bucket and wring it out well. Wipe down the cleaned section of the wall to remove any soap residue. Rinse your cloth or sponge frequently in the rinse bucket, and return it to the cleaning solution bucket as needed.
Continuing this process – wash, rinse, and wring – will help ensure a streak-free finish. This systematic approach is consistently recommended by painting professionals for maintaining a clean look.
Step 6: Rinsing is Crucial
After washing a section, immediately rinse the area with a clean, damp cloth. This step is essential because leftover soap residue can attract dirt and create dull spots on your walls. Make sure to wring out your rinsing cloth very well.
Step 7: Drying the Walls
Once you’ve rinsed an area, use a clean, dry microfiber cloth to gently dry the wall. This helps prevent water spots and ensures a uniform sheen. Work from top to bottom, just as you did with the washing and rinsing.
Step 8: Tackling Tough Stains
For more stubborn marks, like crayon, grease, or scuff marks, you might need a slightly stronger approach. After your gentle cleaning, try a specialized stain remover designed for painted surfaces, or make a paste of baking soda and water. Apply the paste only to the stain, let it sit for a few minutes, and then gently wipe it away with a damp cloth. Always test these methods in an inconspicuous spot first!
According to the Environmental Protection Agency (EPA), using the least toxic cleaning methods first is always a good practice for both your health and the environment.
For stubborn scuff marks, try rubbing them gently with a white eraser – the kind you use for pencils. It’s surprisingly effective and generally safe for most paint finishes.
Cleaning Different Paint Finishes
Not all paint finishes are created equal when it comes to cleaning. The sheen of your paint plays a big role in how durable it is and how aggressively you can clean it.
| Paint Finish | Durability & Cleaning Ease | Best Cleaning Method |
|---|---|---|
| High-Gloss/Semi-Gloss | Most durable and easiest to clean. The glossy surface repels dirt and stains well. | Can handle mild soap solutions and gentle scrubbing. Rinse thoroughly. |
| Satin/Eggshell | Moderately durable. Offers a nice low sheen and is more forgiving than matte. | Use mild soap solutions. Avoid aggressive scrubbing. Rinse and dry carefully. |
| Matte/Flat | Least durable, as the surface is porous. Stains and scuffs are more likely. | Requires the gentlest touch. Dry dusting is best. For cleaning, use very diluted mild soap and a soft cloth, blotting rather than rubbing. Avoid scrubbing at all costs to prevent burnishing (creating shiny spots). |
Remember, when in doubt, always be gentle! A matte finish can easily be damaged by over-vigorous cleaning.
When to Call a Professional
While most wall cleaning tasks are DIY-friendly, there are times when it’s best to call in the pros. If your walls have significant damage, peeling paint, or very old, delicate finishes, a professional painter can assess the situation and recommend the best course of action without risking further damage. Also, if you’ve tried gentle methods for tough stains or widespread grime and they aren’t working, a professional might have access to specialized products and techniques.

FAQs About Cleaning Painted Walls
Got more questions? I’ve got answers!
Q1: Can I use abrasive cleaners on my painted walls?
A1: Generally, no. Abrasive cleaners can scratch the paint surface, remove color, or create dull spots, especially on matte or eggshell finishes. Stick to soft cloths and mild cleaning solutions.
Q2: How do I clean crayon marks off painted walls?
A2: For crayon marks, try gently rubbing the spot with a white eraser or a paste of baking soda and water. Apply carefully, let it sit briefly, and then wipe away with a damp cloth. Always test in an inconspicuous area first.
Q3: Is it okay to use a magic eraser on painted walls?
A3: Magic erasers (melamine foam sponges) can be effective but are slightly abrasive. Use them with caution and on lighter paint sheens (like semi-gloss or satin) by rubbing very gently and testing first. They can sometimes remove paint or alter the sheen on matte or flat finishes.
Q4: How often should I clean my painted walls?
A4: For everyday upkeep, a light dusting once a month is great. A deeper clean is usually needed only when you notice visible dirt, smudges, or stains. This could be every 6-12 months, or as needed, depending on your household.
Q5: What’s the best way to clean glossy paint without streaks?
A5: Glossy paints are more forgiving. Use a mild soap solution and a soft cloth, wring it out well, and wipe in smooth, overlapping strokes. Rinse with a clean, damp cloth and then immediately dry with a separate, dry microfiber cloth to prevent water spots and streaks.
Q6: My walls have water spots. How do I get rid of them?
A6: Water spots are often caused by mineral deposits from hard water. You can try wiping them gently with a cloth dampened with distilled vinegar (diluted with equal parts water) and then rinse with plain water and dry thoroughly. Test this in a hidden spot first.
Conclusion: Enjoying Your Sparkling Walls
There you have it! Keeping your painted walls looking their absolute best is entirely achievable with a little patience and the right technique. By understanding your paint type, gathering the right gentle tools, and following these simple steps – from dry dusting to careful washing and rinsing – you can restore that effortless shine to your home. Remember to always be gentle, especially with matte finishes, and to test any cleaning solution in a hidden spot first.
These methods are designed to be safe and effective, giving you the confidence to tackle wall cleaning and keep your living space looking fresh and welcoming. Now go enjoy those sparkling walls – you’ve earned it!