Best Way To Remove Hardwood Flooring: Effortless Guide
Removing hardwood flooring yourself is achievable with the right tools and techniques. This guide offers an effortless, step-by-step approach to safely and efficiently tackle the job, saving you time and money while preparing your space for its next chapter.
Hey there, DIY enthusiasts and budding woodworkers! Md Meraj here. Ever looked at your beautiful hardwood floors and thought, “It’s time for a change”? Or perhaps you’ve uncovered them and realized you need to prep them for something new? Removing hardwood flooring can seem like a huge, daunting task. Buzzing saws, flying dust, and the sheer effort involved can make anyone hesitate. But guess what? With a little know-how and the right approach, you can absolutely do this. I’ve been in your shoes, grappling with floor removals, and I’m here to share the simplest, safest ways to get the job done. We’ll break it down step-by-step, making it feel less like a chore and more like a rewarding part of your home improvement journey.
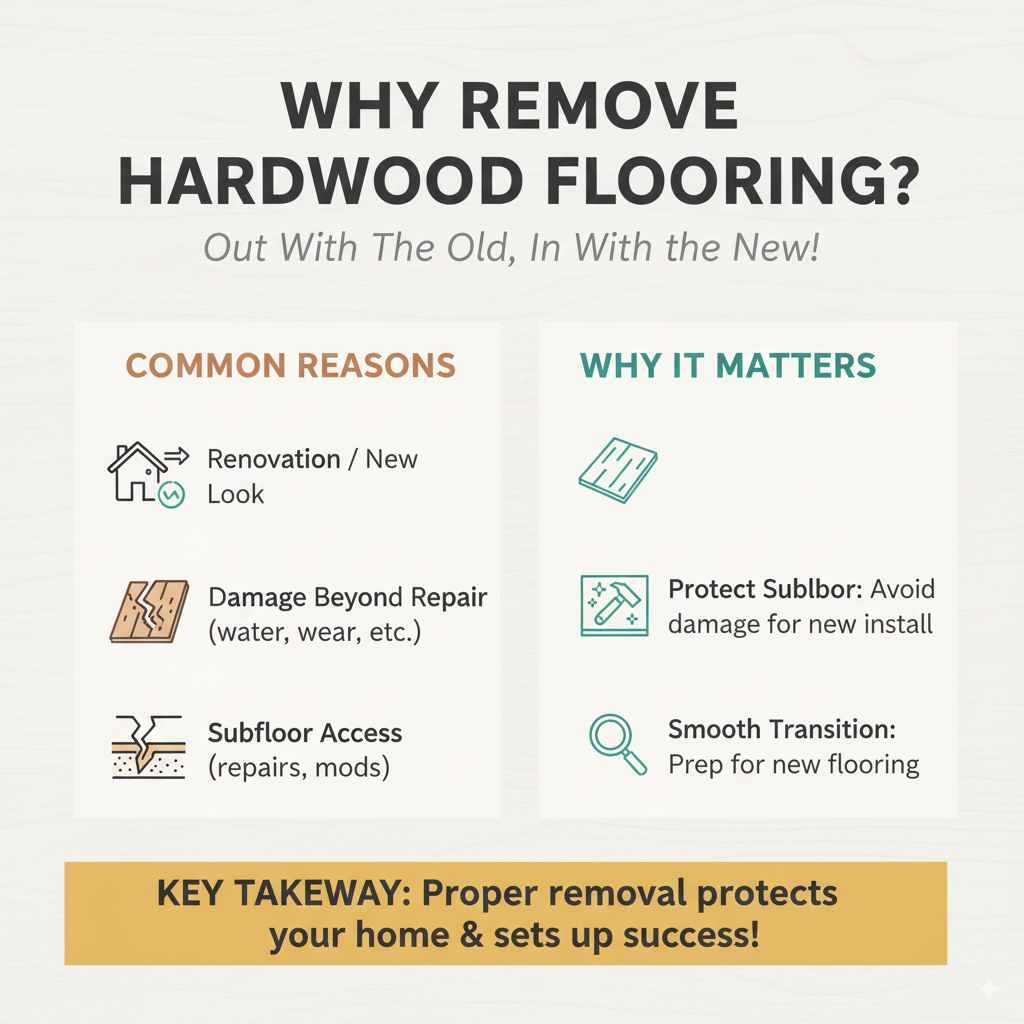
Why Remove Hardwood Flooring?
There are many reasons why a homeowner might decide to remove hardwood flooring. Sometimes, it’s about giving your home a fresh look with new flooring materials, like tile, carpet, or even a different type of wood. Other times, the existing hardwood might be damaged beyond repair due to water leaks, wear and tear, or previous botched installations. It could also be that you’re renovating and need to access the subfloor for repairs or modifications. Whatever your reason, knowing the best way to remove it ensures you don’t damage your subfloor or surrounding structures, setting you up for a successful installation of whatever comes next.
Assessing Your Hardwood Flooring Type
Before you even think about picking up a pry bar, it’s crucial to understand what kind of hardwood floor you have. This will dramatically influence the removal process. Generally, hardwood floors fall into two main categories::
- Solid Hardwood Flooring: Each plank is milled from a single piece of hardwood. These are typically installed by nailing or stapling them to a wooden subfloor.
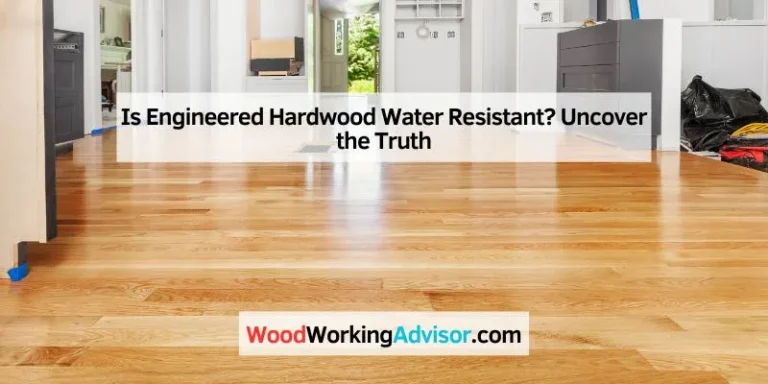
- Engineered Hardwood Flooring: This consists of layers of wood veneer with a solid wood top layer. Engineered hardwood can be installed in several ways, including glued down, stapled down, or as a “floating floor” (where planks lock together but aren’t attached to the subfloor).
How to tell the difference?
- Look at the edges: If you can see the grain running in the same direction on the edges of the planks, it’s likely solid hardwood.
- Check the thickness: Solid hardwood is usually 3/4 inch thick. Engineered hardwood can vary, but its top wear layer is often thinner.
- Inspect vents or transition strips: Sometimes, you can get a peek underneath. If you see nails or staples going directly into the side of the plank, it’s likely nailed down. If the planks seem to be glued to an underlayment or directly to the subfloor, it could be glued down. Floating floors often have a gap around the edges and won’t have visible fasteners.
Additionally, you need to know how the flooring was installed. Was it nailed or stapled down, glued down, or is it a floating floor? This information dictates the tools and methods you’ll use. For instance, glued-down floors are often the most challenging to remove.
Essential Tools for Hardwood Floor Removal
Gathering the right tools is key to making this job easier and safer. Here’s a list of what you’ll likely need:
Safety Gear (No Compromises Here!)
- Safety Glasses: Protect your eyes from flying debris.
- Work Gloves: Prevent splinters and provide a better grip.
- Dust Mask or Respirator: Essential for protecting your lungs from wood dust.
- Knee Pads: Save your knees during prolonged work.
- Sturdy Work Boots: Protect your feet.
Removal Tools
- Pry Bar: A long, sturdy pry bar is your primary tool for lifting planks.
- Hammer: For striking the pry bar and removing nails.
- Pry Bar Set (various sizes): Smaller pry bars can be useful for getting into tight spots.
- Pry Bar with Wheels (Optional but Recommended): These have small wheels that rest on the subfloor, helping to prevent damage.
- Scraper or Putty Knife: Useful for scraping away glue residue.
- Utility Knife: For cutting caulk or scoring adhesive.
- Reciprocating Saw (Sawzall) with Wood Blades: A powerful tool for cutting planks into manageable sections, especially for glued-down or stubborn floors.
- Chisel and Mallet: For chipping away at stubborn adhesive if needed.
- Pliers or Nail Puller: For removing any nails or staples that remain in the planks or subfloor.
- Broom and Dustpan/Vacuum: For cleanup as you go.
- Circular Saw (Optional): Can be used for wider cuts, but a reciprocating saw is often more versatile for this job.
- Floor Scraper Rental (for very stubborn glue): If you have a heavily glued floor, renting a powered floor scraper can save immense time and effort.
Having the right tools makes a world of difference. It transforms a potentially frustrating DIY project into a manageable one. For instance, a pry bar with wheels can save your subfloor from unnecessary gouges, which is a common headache for beginners.
Step-by-Step Guide: Removing Nailed or Stapled Hardwood Flooring
This is the most common and generally the easiest type of hardwood flooring to remove. The planks are held down with nails or staples, making them relatively easy to pry up.
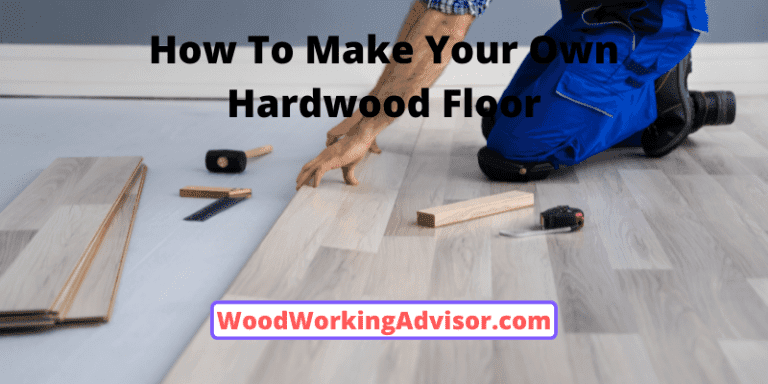
- Prepare the Area and Gather Tools: Clear the room of furniture, rugs, and any wall hangings. Lay down your safety gear. Ensure you have all the necessary tools at hand.
- Find a Starting Point: The easiest place to start is usually along a wall, especially at a doorway or an exterior wall. If the baseboards were removed carefully, you might have a gap already. If not, you may need to gently pry off the baseboards first. Start with a plank that seems loose or is near the edge.
- Loosen the First Plank: Insert your pry bar into the gap between the hardwood plank and the subfloor. Gently lever the plank upwards. If it’s difficult, try inserting the pry bar at the end of the plank. If you’re using a pry bar with wheels, position the wheels on the subfloor and use them as a fulcrum.
- Work Your Way Down the Plank: Once you have a small gap, slide the pry bar along the length of the plank, gently lifting it as you go. Watch out for nails or staples.
- Listen and Feel for Fasteners: As you lift, you’ll encounter nails or staples. You can try to pry them out with your pry bar or hammer, or you can simply leave them for now and remove them from the plank once it’s free.
- Remove Loosened Planks: Once a plank is sufficiently loose, you should be able to lift it free by hand or with the pry bar.
- Continue to Adjacent Planks: Work your way across the room, plank by plank. For each new plank, you’ll likely need to create a small gap by prying it away from the previous plank.
- Dealing with Stubborn Planks: If a plank is exceptionally difficult to lift, it might be held by extra nails or a hidden adhesive. You may need to use a reciprocating saw to cut the plank into shorter, more manageable sections. Be careful to cut only through the hardwood, not into the subfloor below.
- Remove Nails and Staples: As you remove planks, you’ll find many nails or staples left in the subfloor. Use pliers or a nail puller to remove them. For stubborn ones, a hammer and chisel can be effective.
- Cleanup: Periodically sweep or vacuum up dust and debris. Place removed planks into stacks for disposal or reuse.
This method is relatively straightforward. The key is to be patient and work systematically. Avoid forcing the pry bar too aggressively, as this can split the plank or damage the subfloor.
Removing Glued-Down Hardwood Flooring
Glued-down hardwood can be significantly more challenging. The adhesive creates a strong bond, and there are no fasteners to easily remove. Patience and the right tools are crucial here.
- Prepare the Area: As with nailed floors, start by clearing the room and putting on your safety gear.
- Score the Perimeter: Use a sharp utility knife to score the adhesive around the edges of the room, especially along the walls or where planks meet the baseboards. This can help break the initial bond.
- Find a Starting Point and Pry: Similar to the nailed method, find a loose plank or start at an edge. Insert your pry bar and try to lift. You’ll likely encounter strong resistance.
- Use a Reciprocating Saw: For glued floors, a reciprocating saw (Sawzall) with a wood-cutting blade is often your best friend. Cut planks into shorter sections (about 1-2 feet long). This makes them easier to pry up and reduces the leverage the glue has.
- Tip: When using the saw, be very careful not to cut too deep and damage the subfloor. A good rule of thumb is to only cut through the thickness of the hardwood plank.
- Pry Up Sections: Once planks are cut into sections, you can use your pry bar more effectively to break the adhesive bond and lift them.
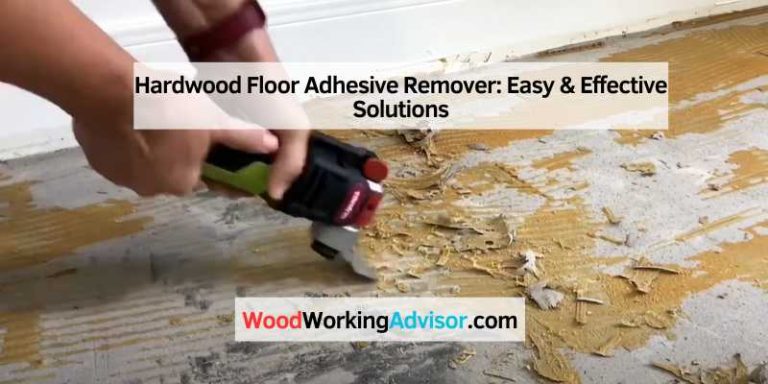
- Scrape Away Adhesive: After removing the planks, a layer of old adhesive will likely remain on the subfloor. You will need to scrape this away. A floor scraper, putty knife, or even a heavy-duty scraper can be used. For very stubborn adhesive, a chisel and mallet might be necessary, or consider renting a powered floor scraper for large areas.
- Nail/Staple Removal (if applicable): Occasionally, glued floors may also have a few hidden nails or staples. Remove these as you find them.
- Clean the Subfloor Thoroughly: The subfloor needs to be clean and smooth for the new flooring. Ensure all adhesive, nails, and debris are removed. A thorough vacuuming is essential.
For glued-down floors, patience is your most valuable tool. If you’re struggling significantly, it might be worth consulting a professional or renting specialized equipment. The U.S. Environmental Protection Agency (EPA) provides guidance on safely removing old flooring, which is always a good resource to check for general demolition safety: EPA Renovation, Repair, and Painting Program.
Removing Floating Hardwood Floors
Floating floors are designed to be the easiest to remove. Because they aren’t attached to the subfloor, they can often be disassembled with relative ease.
- Prepare the Area: Clear out furniture and wear your protective gear.
- Start at an Edge: Typically, you’ll start at an expansion gap, often found along a wall or doorway.
- Disengage Planks: Most floating floors use a click-lock or tongue-and-groove system. Gently try to lift the edge of a plank to see how it disengages. You may need to use a pry bar or a rubber mallet to gently tap planks apart.
- Click-Lock: Many systems require you to angle the plank upwards to unclip the tongue from the groove.
- Tongue-and-Groove (glued or unglued): If it’s a glued system, you’ll need to break the glue bond with a utility knife or chisel. If it’s unglued, they should separate more easily.
- Work Systematically: Keep working your way along the row, disengaging each plank.
- Remove Planks: Once disengaged, lift the planks out.
- Dealing with Obstacles: If you encounter stubborn planks or a particularly strong glue bond (in some floating floors), you might need a reciprocating saw, just like with glued-down floors.
- Clean Up Debris: As with any removal, keep the area clean.
Floating floors are much less labor-intensive to remove, which is one of their main advantages for homeowners. It’s crucial to understand the specific locking mechanism of your floor, as some can be more delicate than others.

Table: Hardwood Flooring Installation Methods and Removal Difficulty
Here’s a quick comparison to help you gauge what to expect:
| Installation Method | How it Works | Removal Difficulty | Likely Obstacles | Key Tools for Removal |
|---|---|---|---|---|
| Nailed/Stapled Down | Planks fastened directly to wood joists or subfloor with nails or staples. | Easy to Moderate | Scattered nails/staples, potential for wood splitting. | Pry bar, hammer, nail puller/pliers, reciprocating saw (if needed). |
| Glued Down | Planks adhered directly to the subfloor using strong adhesive. | Difficult | Persistent adhesive, potential subfloor damage from strong glue & prying. | Pry bar, reciprocating saw, heavy-duty scraper, hammer & chisel, power floor scraper (rental recommended). |
| Floating | Planks interlock (click-lock or tongue-and-groove) and lie loosely on the subfloor or underlayment. Not attached. | Easy | Some glue at the joints (if applicable), can be stiff to disengage. | Pry bar, utility knife (for glue), rubber mallet, reciprocating saw (if needed). |
Protecting Your Subfloor
One of the biggest concerns when removing hardwood flooring is damaging the subfloor. The subfloor, typically made of plywood or OSB (Oriented Strand Board), is the foundation for your new flooring. Here’s how to minimize damage:
- Use the Right Tools: A pry bar with wheels is a game-changer for protecting the subfloor.
- Be Gentle but Firm: Avoid excessive force. Let your tools do the work.
- Cut Risers for Stuck Planks: If a plank is really stuck, consider making a straight cut down its length with a reciprocating saw to relieve tension before prying.
- Pry Away from the Subfloor: Whenever possible, use extra wood scraps or a thin piece of metal under your pry bar to distribute the pressure and prevent gouging.
- Inspect as You Go: Stop and assess any damage you accidentally create. Small dents can often be fixed, but deep gouges can be problematic.
A damaged subfloor might require repairs, such as patching or replacing sections, adding time and cost to your project. For more detailed information on subfloor preparation, you might find resources from organizations like the National Association of Home Builders helpful.
Disposing of Old Flooring
Once your hardwood is removed, you’ll have a pile of planks and debris. How you dispose of it depends on your local regulations and the condition of the wood.
- Check Local Regulations: Some areas have specific rules for disposing of construction debris. Contact your local waste management service or city hall to understand what’s allowed.
- Recycling Centers: Inquire if any local recycling centers accept clean, untreated wood. Solid hardwood is often valuable for repurposing.
- Donation/Resale: If the planks are in good condition, consider donating them to a habitat for humanity ReStore or selling them online.
- Junk Removal Services: For large amounts of debris, hiring a junk removal service can be convenient, though it adds to the cost.
- Landfill: If other options aren’t available, the landfill is the last resort, but be mindful of disposal fees.
Be aware that if your home was built before 1978, there’s a chance the old wood flooring or adhesive might contain lead paint. The EPA’s guidelines for lead safety are very important in these cases. If you suspect lead, consult their Renovation, Repair, and Painting (RRP) Rule for proper safety procedures.
FAQ: Your Questions Answered
Q1: What is the fastest way to remove hardwood flooring?
The fastest way usually involves a reciprocating saw (Sawzall) to cut planks into smaller sections, especially for glued-down floors, combined with a good pry bar. Floating floors are also very fast to remove.