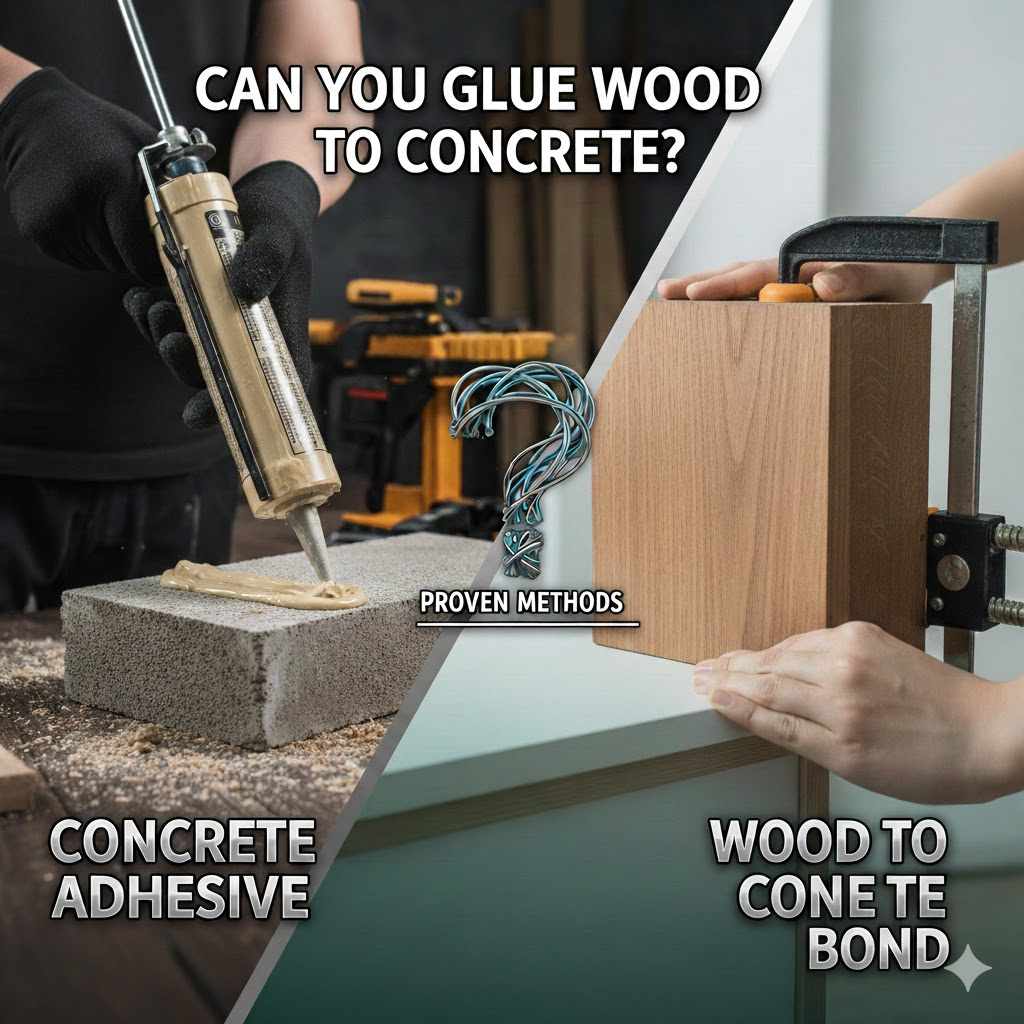
Can You Glue Wood To Concrete? Proven Methods
Quick Summary: Yes, you absolutely can glue wood to concrete! The key is using the right adhesive, like polyurethane construction adhesive or specialized epoxy. Preparation is vital: the concrete must be clean, dry, and sound. Proper technique ensures a strong, lasting bond for almost any indoor or outdoor DIY project.
Hello there, fellow DIY enthusiast! I’m Md Meraj, and if you’ve ever stared at a beautiful piece of lumber and a sturdy concrete slab—maybe for a basement floor, patio deck, or shed—and wondered, “Can you glue wood to concrete?” you are not alone. It seems tricky because wood expands and shrinks while concrete just sits there. Many people think you always need screws or anchors, but gluing is often faster, cleaner, and surprisingly strong!
The frustration comes from past failures where things peeled up or cracked. Don’t worry! With the right product and simple steps, you can achieve a bond that lasts. We are going to walk through the proven, mentor-approved methods together, ensuring your project is sturdy and built to last. Let’s learn how to make wood stick to concrete right the first time!
The Big Question: Why Gluing Wood to Concrete Can Work (And When It Might Not)
When we talk about connecting wood to concrete, most people immediately think of mechanical fasteners—drilling, tapping in anchors, or using heavy-duty screws. While those methods are reliable, gluing offers huge advantages for beginners, especially when working indoors or on delicate surfaces.
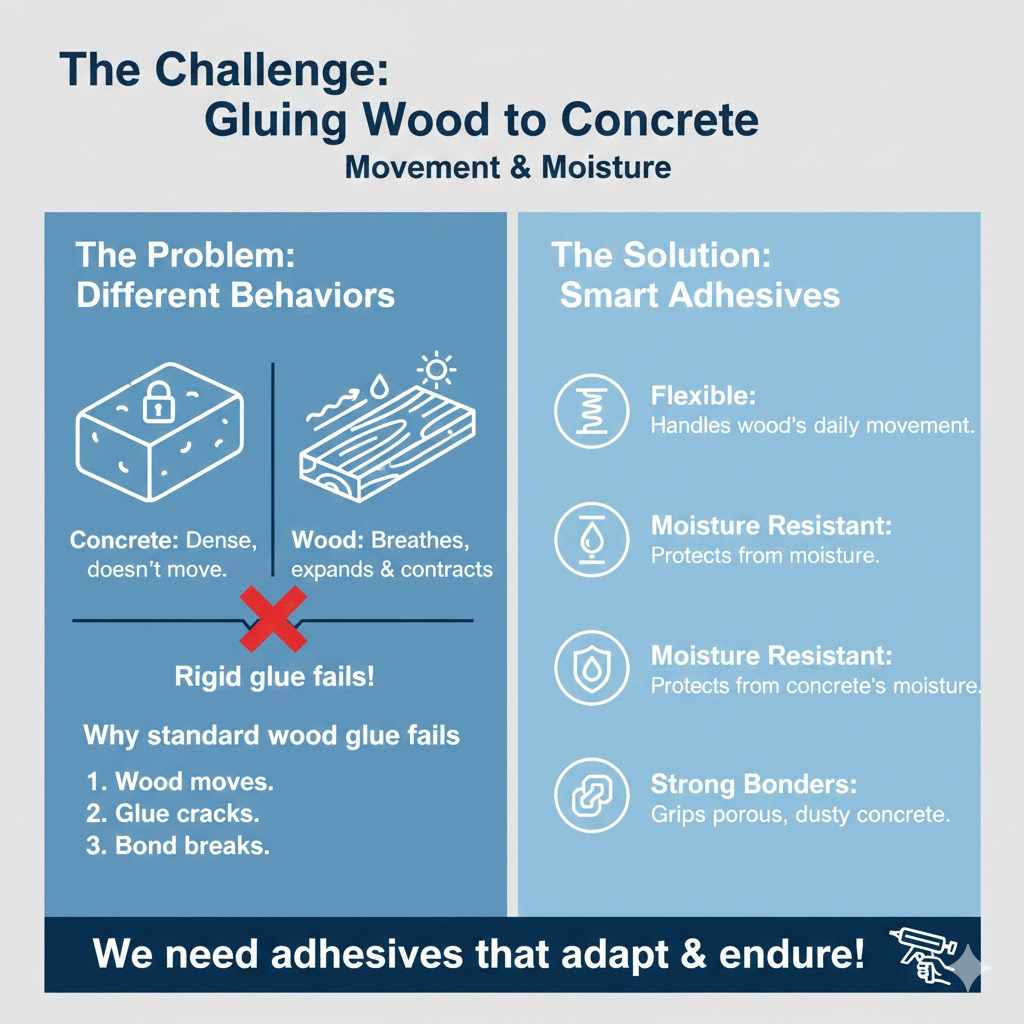
Understanding the Challenge: Movement and Moisture
The main hurdle in gluing wood to concrete is that they behave differently. Concrete is dense, heavy, and doesn’t move much. Wood, however, breathes. It swells when wet and shrinks when dry (this is called expansion and contraction).
If you use a rigid, brittle glue, the stress from the wood moving will simply crack the bond. That’s why standard wood glue (like the white PVA kind) fails almost instantly. We need adhesives that are:
- Flexible: To handle the small daily movements of the wood.
- Moisture Resistant: Because concrete surfaces can wick tiny amounts of moisture.
- Strong Bonders: To grab securely onto the porous, dusty surface of the concrete.
When Gluing is Your Best Choice
Gluing is fantastic for projects where surface appearance matters or where drilling is difficult or messy:
- Flooring Underlayment: Gluing down plywood subfloors onto existing slabs.
- Decorative Trim/Paneling: Attaching wood strips to basement or garage walls.
- Light-Duty Decking: Attaching sleepers or joists for an indoor floating deck.
- Fascia or Edging: Securing wooden borders on concrete patios where fasteners aren’t practical.
When You Should Definitely Use Mechanical Fasteners
If your project involves high stress, heavy loading, or severe outdoor weather exposure, you must use anchors or screws alongside adhesive (or use them instead). These situations include:
- Attaching structural posts that hold up significant weight.
- Securing items exposed to high winds (like exterior fencing).
- Any permanent structure where failure is not an option (check local building codes).
Step 1: Choosing Your Glue – The Secret Weapon
The most common mistake beginners make is grabbing the wrong glue from the hardware store shelf. Forget Elmer’s or Titebond Original for this job. We need construction-grade, flexible adhesion.
Top Three Adhesives for Wood to Concrete
Here is a quick look at the best players for the job. Each works well, but they have slight differences in curing time and strength.
| Adhesive Type | Best For | Pros | Cons |
|---|---|---|---|
| Polyurethane Construction Adhesive (e.g., PL Premium) | General repairs, subflooring, framing | Very strong, expands slightly to fill gaps, excellent gap filler. | Can be messy, requires moisture to fully cure (use caution if concrete is saturated). |
| Silicone or MS Polymer Sealants | Exterior use, high movement joints | Highly flexible, excellent UV and weather resistance, waterproof. | Less ultimate shear strength than pure polyurethane; can be pricey. |
| Two-Part Epoxy (Thixotropic) | High-stress areas, heavy loads, indoor use | Incredibly strong, rigid bond once cured, fast-setting options available. | Requires mixing components, usually more expensive, less flexible than PU. |
Mentor’s Pick for Beginners: For most beginner-to-intermediate projects, a good quality Polyurethane Construction Adhesive is your workhorse. It forgives slight surface imperfections and offers excellent, long-lasting grip.
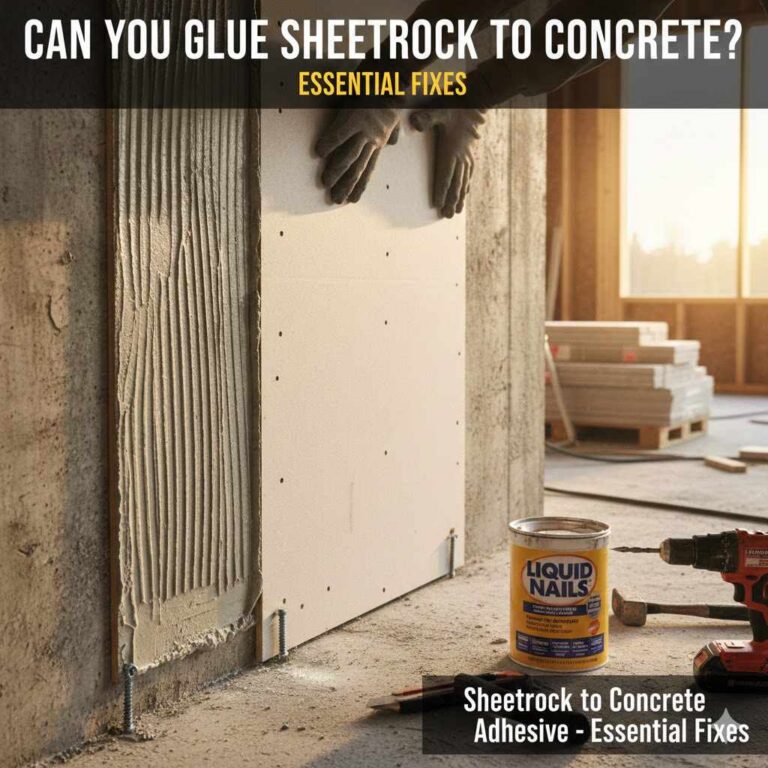
A Note on “Liquid Nails”
Many people ask about “Liquid Nails.” While there are many varieties, ensure you buy one specifically rated for bonding wood to masonry or concrete. Many older formulations of general construction adhesive lack the necessary flex for this material combination.
Step 2: Concrete Preparation – The Foundation of Success
If you skip this step, even the best glue will fail. Concrete looks smooth from far away, but up close, it’s porous and often dusty. Wood glue loves porous surfaces, but structural adhesives need a clean, solid substrate. This process is about maximizing the “surface area” for the glue to grip onto.
Safety First!
Before we start scraping, put on your safety glasses and gloves. Concrete dust can be fine and nasty. If you are grinding or extensively cleaning, consider a dust mask or respirator.
Preparation Checklist (Non-Negotiable)
- Clear the Area: Remove any dirt, gravel, or loose debris. Sweep thoroughly.
- Remove Contaminants: Concrete often has oils, paint, or sealers on the surface. Use a wire brush to vigorously scrub away any loose material. If there is significant grease or heavy sealer, you might need a degreaser or specific solvent, following all manufacturer safety instructions (refer to resources on surface preparation like those provided by the Environmental Protection Agency (EPA) for guidance on handling strong solvents safely).
- Grinding/Etching (Recommended for Best Results): If the concrete is very smooth (like an old basement floor that has been sealed), the glue won’t grab. Use a diamond grinding cup on an angle grinder to roughen the top surface slightly—we want it to look slightly fuzzy or textured, not perfectly smooth. This dramatically improves mechanical adhesion.
- Dust Removal: This is critical. Vacuum the area immediately after sweeping/grinding. A strong shop vac is best. Wipe the entire surface with a tack cloth or a cloth lightly dampened with acetone (for fresh, clean concrete) to pick up the very finest dust. The surface must be completely dry before gluing.
Moisture Check: Concrete must be dry. If you suspect dampness (like in a basement), allow several days for air circulation. If the slab sits on grade and you have persistent moisture issues, consider using a moisture barrier sealant first, as adhesives won’t stick well to a perpetually damp surface.
Step 3: Wood Preparation
We’ve prepped the concrete; now we need to prepare the wood for its best performance.
Preparing the Wood Contact Surface
The contact surface of the wood should also be clean and ready to accept glue.
- Mill to Square: Ensure the edge or face you are gluing is flat and square. Gaps lead to weak bonds because the adhesive has to bridge large voids, which it isn’t always designed to do structurally.
- Clean Off Debris: Make sure there is no sawdust or machining oil left on the gluing face. A light sanding (around 80 to 100 grit) helps remove mill glaze and creates a slight profile for the glue to bite into. Vacuum the wood thoroughly.
- Dryness Check: Ensure the wood moisture content is appropriate for its intended location (usually between 6% and 12% for interior use). Using wood that is too wet risks warping after installation.
Step 4: Applying the Adhesive and Bonding
This is where the magic happens. Application technique directly affects the strength of the final connection.
Application Strategy for Construction Adhesives
Most polyurethane construction adhesives are applied using a standard caulking gun. These products are designed to be gap-filling, so a smooth, solid line is preferred over a thin skim coat.
- Apply to Wood (Generally Preferred): It is usually easier to apply the adhesive bead directly onto the wood piece rather than trying to run a bead on the concrete floor/wall.
- Bead Pattern: Apply the adhesive in continuous wavy lines or a continuous bead along the entire perimeter of the piece, followed by a zigzag pattern down the middle. Do NOT apply glue only to the edges—the center needs adhesive too.
- Adhesive Volume: Use enough glue so that when you press the wood down, a small, consistent bead oozes out slightly around the edges. This confirms 100% coverage.
- Pressing into Place: Firmly press the wood onto the concrete surface. You need good initial contact pressure.
Achieving Curing Pressure (The Clamping Secret)
For gluing wood to concrete, achieving clamping pressure without drilling is the challenge. The term used here is “blocking and bracing.”
- For Flooring/Subflooring: Once the adhesive is applied, you need temporary weights. Use heavy bricks, bags of concrete mix, or even stacked toolboxes placed directly on the glued wood piece. This pressure forces the wood into contact while the glue cures.
- For Vertical Surfaces (Walls): Use braces (like heavy scrap lumber) wedged firmly between the floor and the wood panel you just glued. You are essentially creating a temporary wall support pushing against the glued piece.
- For Small Items: Simple heavy weights (like paint cans or water jugs) can suffice for small trim pieces.
Curing Time: Always check the label! Most heavy-duty construction adhesives require 24 to 48 hours before they achieve structural strength, though they might feel set within a few hours. Do not move, stress, or walk on the adhered wood until the full curing time has passed. For reference, polyurethane curing times can be checked against manufacturer guidelines, often found through their product information pages.
Enhancing the Bond: Combination Methods for Maximum Strength
While pure glue often works beautifully, if you want professional-grade, permanent holding power, combining adhesive with subtle mechanical fastening offers the best of both worlds: gap-filling flexibility and sheer mechanical locking power.
The Adhesive-Fastener Hybrid Technique
This method is excellent for subflooring or any situation where you need long-term security without visible fasteners on the final surface.
- Pre-Drill/Predetermine Placement: Decide where your fasteners (like concrete screws) will go. Mark these spots on the wood before applying the glue.
- Apply Adhesive: Apply the construction adhesive bead to the wood as described above.
- Place and Fasten: Set the wood down, ensuring alignment. Immediately drive your concrete screws through the pilot holes you marked.
- The Role of the Fastener: The screws hold the piece perfectly in place during the entire curing time and also prevent shifting due to lateral movement (sliding).
- Post-Cure Adjustment: Once the glue is fully cured (usually 2 days), you can safely remove the screws or fill the screw heads with epoxy plugs or wood putty to hide them completely. The glue is now doing the bulk of the structural load-bearing work.
This hybrid approach leverages the fact that adhesives are great at distributing stress over the entire surface, while screws handle the sheer forces that try to slide the wood off the concrete.
Specialized Concrete Screws (Tapcons)
If you decide to add mechanical fasteners, modern concrete screws (often known by the brand name Tapcon) are very beginner-friendly. They drill a pilot hole into the concrete and then cut threads, providing a secure grip without requiring a complex anchor.
Remember to use the correct setting on your hammer drill and the right size bit—improper drilling technique is the leading cause of fastener failure in concrete.
Maintenance and Long-Term Considerations
Once your wood is successfully glued down, it needs a little TLC to ensure that bond remains strong for years to come.
Managing Moisture Changes
The biggest threat to a glued wood-to-concrete bond is extreme, sudden moisture change that causes the wood to rapidly expand or contract against the cured adhesive.
- In Basements: Use a dehumidifier if possible to keep the relative humidity stable, ideally between 35% and 55%. Rapid swings in moisture cause wood stress.
- Outdoor Use: Ensure any wood used outdoors is properly treated (pressure treated or naturally resistant like cedar/redwood) and sealed with a quality exterior sealant or stain to slow moisture absorption.
- Seal the Gaps: After curing, especially for flooring, seal any visible joints between wood sections with a flexible polyurethane sealant designed for exterior gaps. This stops water from wicking up into the wood edges from the sides.
Inspection Tips
Periodically check your work. For floors or wall paneling, run your hand over the surface. If you feel any rocking, slight lifting, or hear a hollow sound underneath (which means the glue bond has separated), it’s time to apply more localized weight and possibly injection of more adhesive into the failing area.
Table: Tool Checklist for Success
Gathering the right gear makes the job faster and cleaner. Here’s what you’ll likely need for a standard indoor paneling or subfloor project:
| Tool Category | Specific Item | Purpose |
|---|---|---|
| Surface Prep | Stiff Wire Brush or Concrete Grinder | Removing loose concrete and creating texture. |
| Cleaning | Shop Vacuum and Tack Cloth | Essential for removing all concrete dust residue. |
| Adhesive Application | Caulking Gun | To cleanly dispense construction adhesive. |
| Securing/Clamping | Heavy Weights, Bracing Lumber, Clamps | To maintain firm pressure while the glue cures. |
| Safety Gear | Safety Glasses and Work Gloves | Protection from dust and stray adhesive. |
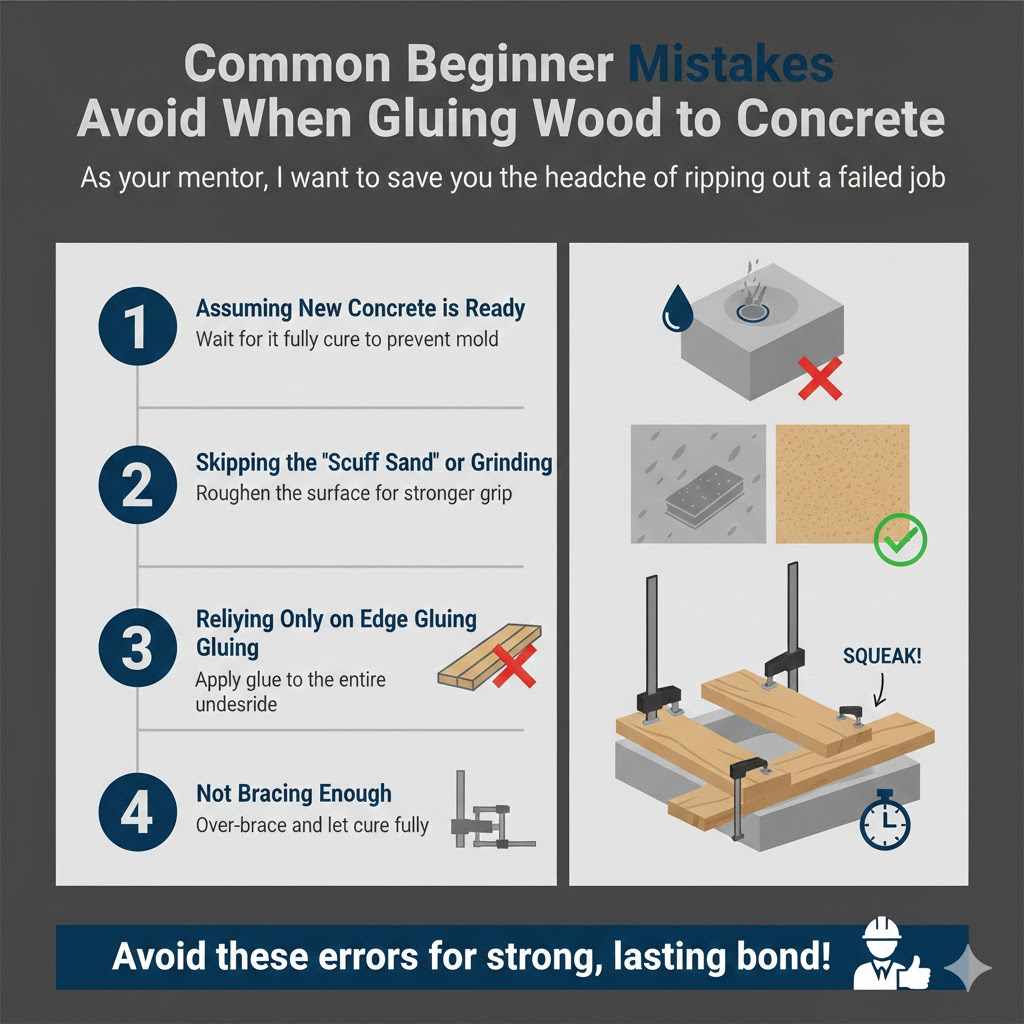
Common Beginner Mistakes to Avoid When Gluing Wood to Concrete
As your mentor, I want to save you the headache of ripping out a failed job. Most adhesion failures stem from just a couple of easy-to-make errors.
Mistake 1: Assuming New Concrete is Ready
Concrete slabs poured recently (even months ago) need time to fully cure and release residual moisture. Gluing onto fresh concrete traps moisture beneath the wood, which almost guarantees mold growth and adhesive failure. Wait until the concrete is fully cured according to local standards, often several months minimum for large slabs.
Mistake 2: Skipping the “Scuff Sand” or Grinding
Glues need roughness. If the concrete is perfectly smooth, it’s like trying to glue plastic wrap to glass—the grip is weak. Always roughen the concrete surface where the glue will touch. Think about making it look like medium-grit sandpaper texture, not mirror-smooth.
Mistake 3: Relying Only on Edge Gluing
When installing wood strips, applying glue only along the two sides that touch other wood pieces, while leaving the center untouched, creates a “no man’s land” over the concrete. This central area acts like a trampoline, leading to squeaks or eventual lifting. Always apply glue to the entire underside of the wood piece being installed.
Mistake 4: Not Bracing Enough
Construction adhesives take time. If you set a piece of wood down and immediately walk away, tiny vibrations, foot traffic, or slight natural shifts can break the initial tacky bond before the main chemistry sets in. Over-brace your glued pieces for the full recommended curing time—better safe than sorry!
FAQ: Beginner Questions on Wood-to-Concrete Adhesion
Q1: Is standard wood glue okay to use for gluing a wooden trim piece onto a garage concrete floor?
A: No, standard PVA wood glue is too rigid and water-soluble. It cannot handle the movement difference between wood and concrete and will crack or peel quickly. You must use a flexible, moisture-resistant construction adhesive.
Q2: How long does the glue need to dry before I can put weight on the wood?
A: It varies by product, but generally, you need 24 hours for handling weight without disturbing the bond, and sometimes up to 72 hours for full, maximum strength. Always read the specific adhesive container instructions.
Q3: My concrete seems damp. Can I still glue wood to it?
A: Dampness is a major problem. Glue won’t bond well to wet surfaces, and moisture trapped underneath wood promotes mildew and rot. If the floor is damp, you must address the moisture source first, often using a waterproof moisture vapor barrier before any adhesive application.
Q4: Should I use screws or glue first when using a combination method?
A: Apply the glue first to the wood piece, set the piece firmly in place on the concrete, and then drive your mechanical fasteners (like concrete screws) through the wood and into the concrete. This ensures immediate holding power while the adhesive cures.
Q5: If the concrete is painted, does it need to be completely stripped?
A: Yes, ideally. Paint or thick sealer acts as a barrier between the adhesive and the concrete substrate. If the paint is chipping or flaky, it must be removed via wire brushing or grinding. If the paint is very well adhered (like a hard epoxy coating), you must lightly scuff it heavily with coarse sandpaper to give the adhesive a texture to grab onto.
Q6: Can I glue wood beams directly to an exterior concrete patio?
A: For exterior applications holding up significant weight or deck loads, gluing alone is usually not recommended by builders. Exterior glues fail faster due to freeze-thaw cycles and UV exposure. Use specialized exterior construction adhesive with structural anchors (bolts/screws).
Q7: What is the best way to clean up wet polyurethane construction adhesive?
A: Wipe away any excess immediately with mineral spirits or acetone, depending on the manufacturer’s recommendation, wearing protective gloves. Once it cures (hardens), it becomes very difficult to remove cleanly.
Conclusion: Confidence in Your Concrete Connections
There you have it! We’ve demystified the process of bonding wood to concrete. It’s not about finding one magical glue; it’s about understanding the partnership between two very different materials.
Remember the core principles: choose a flexible, moisture-resistant construction adhesive, take the time to make that concrete surface as clean and rough as possible, and always apply firm pressure until the cure cycle is complete. Whether you are leveling a basement floor with plywood subfloors or hanging decorative trim, using these proven methods will give you a rock-solid bond that looks fantastic and lasts for years.
You have the knowledge now to tackle this project confidently. Get your safety gear on, follow these steps closely, and you’ll be amazed at how rewarding it is to achieve professional results in your own workshop. Happy crafting, and know that strong bonds are just waiting to be made!