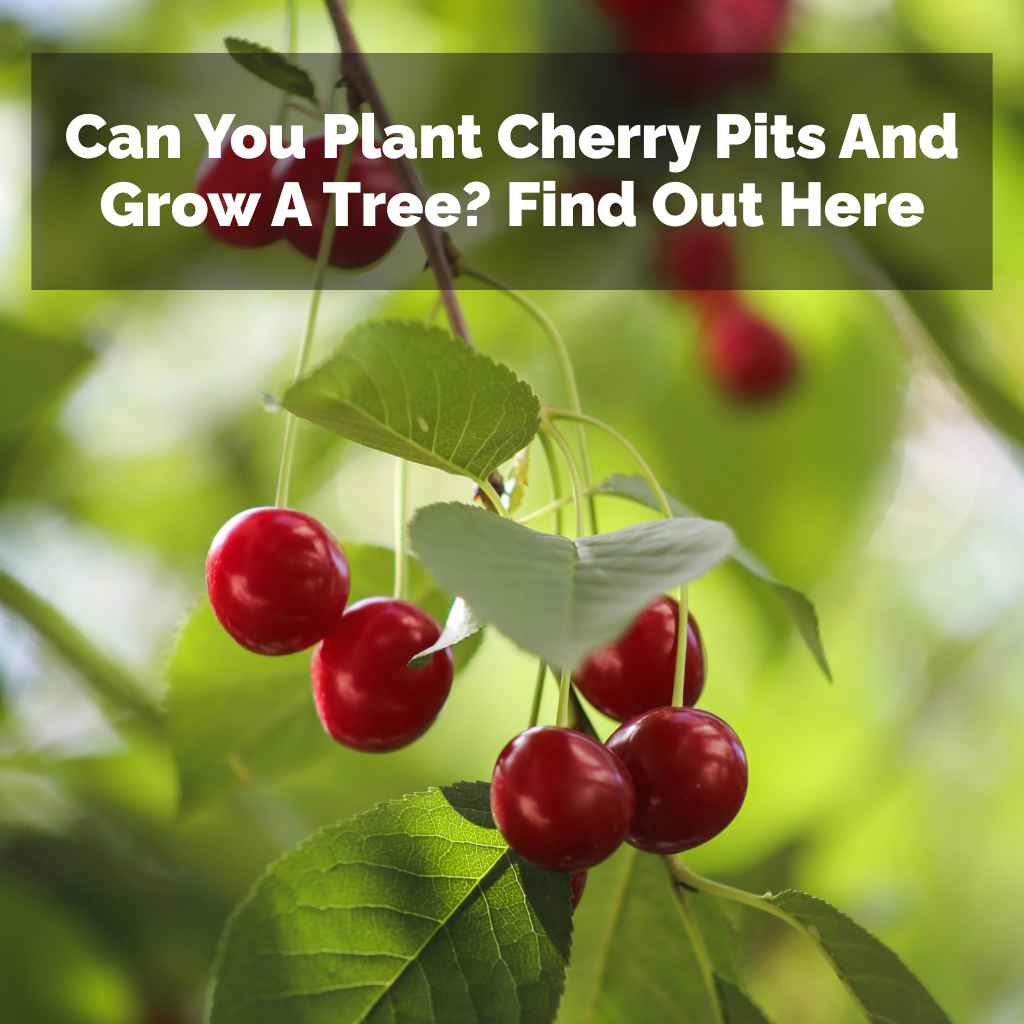
Can You Plant Cherry Pits And Grow A Tree? Find Out Here
This guide dives deep into that very question. We’ll explore the chances of growing a cherry tree from a pit. We’ll also walk through the whole process.
You’ll learn what to expect and some important tips. Let’s find out if your cherry pit dreams can become a reality.
Growing a cherry tree from a pit is possible, but it takes patience and understanding of the plant’s needs. Success often depends on the cherry variety and proper seed treatment. It’s a journey that rewards careful effort with the potential for a homegrown fruit tree.
The Journey From Pit to Tree: Is It Really Possible?
So, can you plant cherry pits and grow a tree? The short answer is yes, you can. However, it’s not as simple as just sticking a pit in the ground and waiting.
There are several steps and considerations that make this process more involved than planting store-bought seeds.
Think of it like this: not every seed from a fruit will grow. Even if it does, the tree it produces might not be exactly like the parent tree. This is especially true for cherries that are grafted.
Grafting is a method where a part of one plant is joined to another. This is done to ensure consistent fruit quality.
When you grow from a pit, you’re planting a seed that holds the genetic material of both parent plants involved in creating that specific cherry. This means the resulting tree might have different traits. The fruit could be smaller, tarter, or simply not as good as the cherry you ate.
Sometimes, the tree might not produce fruit at all, or it could take many, many years to do so.
For a backyard grower aiming for delicious fruit, this is an important point. If your main goal is to get sweet, juicy cherries like the ones you bought, grafting is a much more reliable way. But if you’re interested in the fascinating process of growing a tree from scratch, seeing it develop, and maybe even creating something new, then planting cherry pits is a rewarding experiment.
The main challenges are germination and viability. Cherry pits need specific conditions to wake up from their dormant state. They often need a period of cold, which mimics winter.
This process is called stratification. Without it, the seed might just sit there, waiting for a spring that never comes.
Even after germination, the seedling needs care. It needs the right soil, water, and sunlight. Pests and diseases can also be a problem for young trees.
So, while possible, growing a cherry tree from a pit is a project for the patient and the curious.
Understanding Cherry Pits: What Makes Them Special
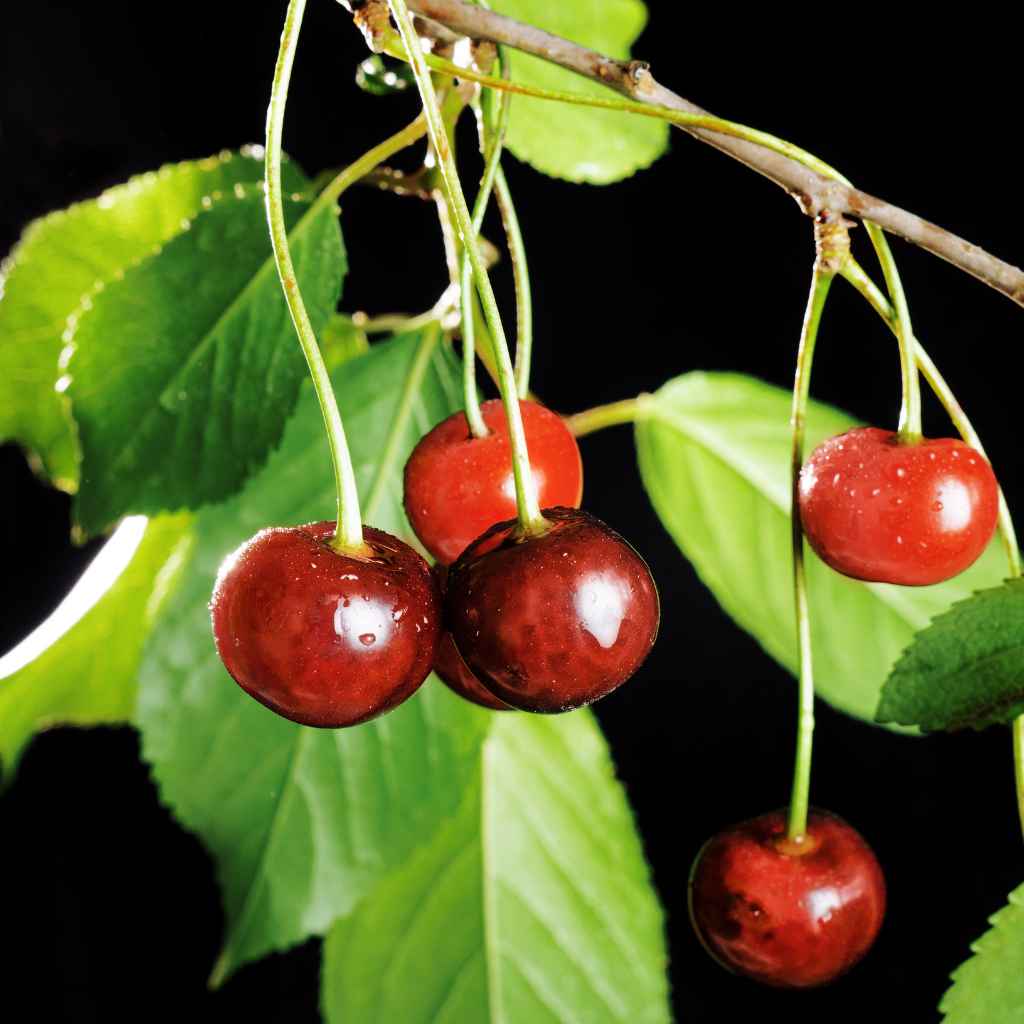
Cherry pits are more than just the hard shell around a cherry’s seed. They are designed by nature to protect the future life of the cherry tree. Inside that hard shell is the actual seed, which contains the genetic code for a new cherry plant.
Most fruits we eat have seeds. Some are easy to grow from, like apples or avocados. Others, like cherries, are a bit more challenging.
This is because of how the plant reproduces in the wild. Cherry trees often rely on animals to eat the fruit and then disperse the seeds.
The journey through an animal’s digestive system helps break down the pit’s hard outer layer. Then, the pit is left in a new location. The natural cycle of seasons, including winter cold, is also crucial.
This cold helps the seed break dormancy. This prepares it to sprout when warmer weather arrives.
For us, trying to grow a cherry tree from a pit means we have to mimic these natural conditions. We need to help the pit germinate. This involves getting through its protective shell and satisfying its need for a cold period.
Understanding this helps us appreciate why just planting a pit directly might not work.
It’s also good to know about different types of cherries. Some are sweet cherries, like Bing or Rainier. Others are tart cherries, like Montmorency.
The pits from these different types might behave slightly differently. But the general process of germination and stratification is similar for most.
The pit itself is quite tough. It’s made of a material called endocarp. This layer is very strong.
It protects the embryo inside. The embryo is the tiny part that will eventually grow into a new plant. Getting past this tough shell is a key part of the process.
My Own Cherry Pit Adventure: A Story of Hope and a Little Frustration
I remember one summer, I had a big bowl of dark, sweet cherries. They were so good, I ate them almost every day for a week. As I was tossing the pits, I had that familiar thought: “Could I grow a tree from these?” I’d always heard it was tricky, but I was determined to try.
It felt like a little secret experiment right in my kitchen.
So, I gathered a handful of the biggest, plumpest pits. I rinsed them off really well. I thought that was all there was to it.
I put them in a small pot of soil in my sunny window. I watered them. And I waited.
And waited. Nothing happened. A few weeks later, I gave up, convinced it was just a myth.
Then, a few months later, I was cleaning out my potting shed. I found that little pot of soil I had forgotten about. To my surprise, I saw a tiny green sprout peeking out!
It wasn’t much, just a couple of delicate leaves. I was amazed. It had taken months.
And the pot had been sitting in a cool shed during the fall and winter.
This taught me a valuable lesson. Cherry pits aren’t like quick-sprouting bean seeds. They need time.
And they need cold. That little sprout was my first real success. It was a tiny seedling, but it was proof.
Proof that a pit held the promise of a tree.
That little seedling grew slowly. It was fragile. I had to be very careful not to overwater or underwater it.
I learned that nature’s timing is important. And sometimes, you have to give things a chance to rest and wait for the right conditions. My initial frustration turned into a quiet satisfaction.
It was a small victory, but it felt huge.
Step-by-Step: How to Plant Your Cherry Pit
Ready to give it a shot? Here’s how to increase your chances of growing a cherry tree from a pit. It involves a few key steps.
We need to prepare the pit and then give it the right conditions to sprout.
Step 1: Gather and Clean Your Pits
First, choose ripe, healthy cherries. The best pits come from the best fruit. After eating the cherries, carefully remove the pits.
Wash them thoroughly with warm water. You want to remove all the fruit flesh. This prevents mold from growing on the pits while you prepare them.
Some people suggest using a hammer very gently to crack the outer shell. Be careful not to damage the seed inside. This can help with germination.
However, it’s often not necessary if you stratification correctly.
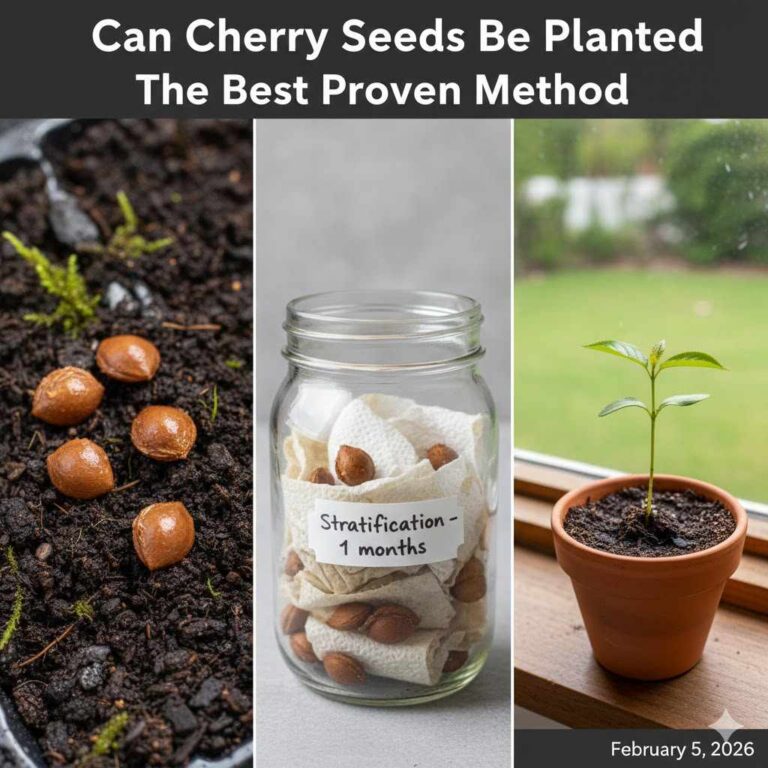
Step 2: Stratification (The Cold Treatment)
This is the most important step for most cherry pits. Stratification mimics winter. It tells the seed that it’s time to wake up and grow.
You need to give the pits a cold, moist environment for a period.
Take a damp paper towel. Place your clean pits on the paper towel. Fold the paper towel over the pits.
Then, place this wrapped pit package inside a sealed plastic bag or a small container. Make sure it’s labeled clearly with the date and “cherry pits.”
Now, put this bag in your refrigerator. You want to keep it there for about 8 to 12 weeks. Check the paper towel every week or so.
If it feels dry, add a little more water to keep it moist. If you see any mold, carefully remove the affected pit and clean the others with fresh water.
Step 3: Planting the Germinated Pit
After the stratification period, check your pits. You might see some have cracked open slightly. Some might even show a tiny root starting to emerge.
If you see a root, handle it with extreme care. It’s very delicate.
Get a small pot. Use a good quality potting mix. It should drain well.
Fill the pot with the soil. Make a small hole in the center, about an inch deep. Gently place the pit into the hole.
If a root is showing, point it downwards.
Cover the pit with soil. Pat it down gently. Water the soil lightly.
You want it to be moist but not soggy.
Step 4: Giving it Warmth and Light
Place the pot in a warm spot. A sunny windowsill is usually perfect. Keep the soil consistently moist.
Avoid letting it dry out completely. Also, avoid overwatering, which can cause the seed to rot.
Germination can take anywhere from a few weeks to a couple of months. Be patient! You might see other pits sprout before some do.
It’s a waiting game.
Step 5: Caring for Your Seedling
Once your seedling emerges, it needs light and consistent moisture. As it grows, you might need to transplant it into a slightly larger pot. Always use good potting soil.
When the seedling is strong enough, usually after it has several sets of leaves, you can think about planting it outdoors. But only do this when all danger of frost has passed. The soil should be warm.
It’s important to choose a good spot for your future tree. Cherry trees need full sun. They also need well-draining soil.
They don’t like having their roots sit in water. Give your young tree plenty of space to grow.
Quick Pit Prep Checklist
What You Need:
- Ripe Cherry Pits
- Paper Towels
- Sealable Plastic Bag
- Refrigerator
- Small Potting Soil
- Small Pots
The Process:
- Wash pits well.
- Moisten paper towel, wrap pits.
- Bag it up.
- Chill for 8-12 weeks.
- Plant after chilling.
What to Expect: The Long Road to Fruit
Growing a cherry tree from a pit is a long-term project. It’s not like planting a tomato seedling that gives you fruit in a few months. The rewards are further down the road.
And there are a few things to keep in mind.
Seedling Stage: Your tiny sprout will be fragile. It needs consistent care. Protect it from harsh sun and strong winds.
Keep pests away. This stage can last for a year or more, depending on how well it grows.
Youthful Tree: Once it’s in the ground and growing, it’s still young. It will grow taller and get stronger each year. However, most trees grown from seed take a long time to produce fruit.
We’re talking 5 to 10 years, sometimes even longer. This is a significant difference from grafted trees, which can produce fruit in 3 to 5 years.
Fruit Quality: As mentioned, the fruit quality might be a surprise. It could be amazing, or it could be less than ideal. You might get cherries that are sour, small, or have large pits.
This is the gamble with growing from seed. It’s part of the adventure!
Pollination Needs: Some cherry varieties need another cherry tree nearby to produce fruit. This is called cross-pollination. Even if your tree produces flowers, it might not set fruit without a pollinator.
If you’re growing from a single pit, you might want to research the specific type of cherry it came from to understand its pollination needs.
Vigor and Resilience: Sometimes, trees grown from seed are very strong. They might be more resistant to diseases or pests. This is because they are growing from a natural source.
They might have evolved to handle local conditions better.
The Joy of Growth: Even if you never get a single cherry from your tree, the process of watching it grow can be incredibly satisfying. You’re nurturing a living thing. You’re bringing a tree into existence.
That’s a powerful feeling.
So, when you start this journey, set realistic expectations. It’s a marathon, not a sprint. Enjoy the process of learning and growing.
The surprise of seeing those first few cherries, whatever they may be like, will be a special moment.
Cherry Tree Life Cycle: From Seed
Stage 1: Seed Dormancy
Pit is formed, contains embryo. Needs cold to break dormancy.
Stage 2: Stratification
Mimics winter. Cold, moist period (8-12 weeks).
Stage 3: Germination
Seed cracks, root emerges. Needs warmth and moisture.
Stage 4: Seedling Growth
Tiny plant develops leaves. Needs light and steady watering.
Stage 5: Juvenile Tree
Years of growth, getting stronger. Still not fruiting.
Stage 6: Maturity & Fruiting
5-10+ years. Flowers and may produce fruit.
Common Problems and How to Handle Them
As with any growing project, you might run into a few snags. Here are some common issues people face when trying to grow cherry trees from pits.
Problem 1: No Germination
This is the most common issue. It usually means the pit didn’t get enough cold during stratification. Or, the stratification process wasn’t moist enough.
The pit might also be too old or damaged.
Solution: Try again with new pits from fresh cherries. Make sure your stratification is thorough. Check the moisture level of the paper towel regularly.
You can also try a slightly longer cold period, up to 16 weeks.
Problem 2: Mold on Pits During Stratification
This happens if the paper towel is too wet or if there’s not enough airflow in the bag.
Solution: Use a paper towel that is damp, not soaking wet. If you see mold, remove the affected pit immediately. Rinse the remaining pits in fresh water and use a new, clean paper towel.
You can also add a tiny bit of hydrogen peroxide to the water to help prevent mold.
Problem 3: Seedling Rot (Damping Off)
Young seedlings can suddenly collapse at the soil line. This is often caused by overwatering and fungal diseases in the soil.
Solution: Ensure you are using well-draining soil. Avoid overwatering. Let the top inch of soil dry out slightly between waterings.
Make sure the pot has drainage holes.
Problem 4: Slow Growth
Some seedlings grow very slowly. This is normal for cherry trees, but it can be discouraging.
Solution: Provide consistent conditions. Ensure it gets enough light. Use a balanced liquid fertilizer diluted to half strength every few weeks during the growing season.
Patience is key here.
Problem 5: Pests on Seedlings
Small seedlings can be targets for common houseplant pests like aphids or spider mites.
Solution: Inspect your seedling regularly. If you see pests, try wiping them off gently with a damp cloth. For tougher infestations, use insecticidal soap or neem oil, but always test on a small part of the plant first and follow product instructions carefully.
Problem 6: Transplant Shock
Moving a seedling to a larger pot or outdoors can stress it.
Solution: Acclimate your seedling gradually. If moving outdoors, place it in a sheltered spot for a few days before exposing it to full sun. Water it well after transplanting.
Avoid transplanting during very hot or dry weather.
Seedling Survival Tips
Light: Plenty of bright, indirect light.
Water: Keep soil moist, not soggy.
Soil: Use well-draining potting mix.
Temperature: Warm, stable environment.
Patience: Growth takes time!
When is it Better to Buy a Grafted Tree?
While growing a cherry tree from a pit is a fascinating project, it’s not always the best choice for everyone. If your primary goal is to harvest sweet, reliable cherries in a reasonable amount of time, buying a grafted tree is usually the way to go.
Here’s why:
Guaranteed Fruit Quality: Grafted trees are produced by joining a cutting from a known, high-quality fruit-producing tree onto a hardy rootstock. This means you know exactly what kind of fruit you’ll get. The fruit will be consistent with the parent variety you chose.
Faster Fruiting: Grafted trees start producing fruit much sooner. Typically, you can expect your first harvest within 3 to 5 years. This is a significant difference compared to the 5 to 10+ years for seed-grown trees.
Disease Resistance: The rootstock used in grafting is often chosen for its resistance to soil-borne diseases and pests. This gives the tree a stronger start and better long-term health.
Predictable Growth Habit: Grafted trees often have a more predictable size and shape, which can be easier to manage in a home garden.
Variety Selection: Nurseries offer a wide range of cherry varieties, including those that are best suited for specific climates or culinary uses. You can choose a tree that is known to do well in your region.
So, if you’re eager to enjoy cherries sooner rather than later, and you want a predictable harvest of delicious fruit, visiting a local nursery and picking out a healthy, grafted cherry tree is your best bet. It’s a more direct route to a fruitful orchard.
Grafted vs. Seed-Grown Cherries: A Quick Look
Grafted Trees:
- Fruit Quality: Known and consistent.
- Fruiting Time: 3-5 years.
- Reliability: High.
- Cost: Higher initial cost.
Seed-Grown Trees:
- Fruit Quality: Unknown, a surprise.
- Fruiting Time: 5-10+ years.
- Reliability: Low for specific fruit traits.
- Cost: Very low (just pits and soil).
When to Worry About Your Cherry Seedling
It’s exciting to see a tiny seedling sprout. But sometimes, things can go wrong. It’s good to know when your young cherry tree might need extra attention or when it’s just being a normal, slow-growing plant.
Signs of Trouble:
- Yellowing Leaves (Chlorosis): If the leaves are turning yellow, especially the younger ones, it could mean a nutrient deficiency. This might be iron. It can also be from overwatering or poor drainage, which harms the roots.
- Wilting Despite Watering: If your seedling looks droopy and the soil is moist, it’s a sign the roots aren’t taking up water. This points to root rot, often from too much water or poor drainage.
- Visible Pests: Seeing insects like aphids, scale, or mites on the leaves or stem is a clear sign of a pest problem. Small numbers might be okay, but a large infestation needs treatment.
- Black Spots or Lesions: Unusual spots on leaves or stems can indicate fungal or bacterial diseases. These need careful management to prevent spreading.
- Stunted Growth for Months: While slow growth is normal, if your plant seems stuck for a very long time with no new leaves or growth, something might be wrong with its environment or health.
When to Relax:
- Slow, Steady Growth: Cherry trees are not the fastest growers, especially when young and from seed. Seeing new leaves appear slowly over time is usually a good sign.
- Slight Leaf Discoloration: Sometimes, a bit of yellowing can happen due to natural leaf drop or minor environmental stress. If the rest of the plant looks healthy and is growing, it might not be a major issue.
- Shedding Lower Leaves: As the seedling grows, it might naturally shed its oldest leaves. This is a normal process.
- Waiting for Spring: If your seedling went through stratification and you’ve planted it, it might still be dormant. It can take a while for it to decide to sprout.
Always observe your plant closely. Trust your gut feeling. If something looks seriously wrong, it’s better to investigate and try to fix it early.
Early intervention can often save a young plant.
Frequently Asked Questions About Planting Cherry Pits
Can I plant a cherry pit directly in the ground outside?
It’s generally not recommended to plant a cherry pit directly outside without preparation. Most cherry pits need a period of cold stratification to break dormancy. Planting it directly in the ground might expose it to inconsistent temperatures or it might not get enough cold throughout the winter to trigger germination in the spring.
It’s best to stratify the pit indoors first.
How long does it take for a cherry pit to sprout after planting?
After the stratification process, a cherry pit can take anywhere from a few weeks to a couple of months to sprout. Some might sprout quickly, while others take much longer. Patience is key.
Ensure the soil stays consistently moist and the pot is in a warm, bright location.
Will the cherry tree grown from a pit produce the same kind of cherries?
Unlikely. Trees grown from cherry pits are the result of cross-pollination. The pit contains genetic material from both the mother tree and the pollen source.
This means the resulting tree is a hybrid, and its fruit may be quite different from the cherry you ate. It could be tarter, sweeter, smaller, or have different ripening times.
What is stratification, and why is it important for cherry pits?
Stratification is a process that mimics the natural winter conditions a seed needs to break its dormancy. For cherry pits, this involves a period of cold and moisture, typically for 8 to 12 weeks in a refrigerator. This cold treatment signals the seed that winter has passed and it’s time to germinate when conditions are right.
Can I use pits from dried cherries to grow a tree?
It is highly unlikely that you can grow a cherry tree from pits found in dried cherries. The drying process often damages the seed’s viability, making it unable to germinate. For the best chance of success, always use pits from fresh, ripe cherries.
How do I know if my cherry pit is viable and ready to plant?
After stratification, a viable cherry pit will often show signs of life. You might see a crack in the pit’s shell, or a tiny root (radicle) emerging from it. If the pit looks intact and has gone through the full stratification period, it’s generally worth planting.
Even without visible signs, it might still sprout once planted.
What kind of soil is best for germinating cherry pits?
A good quality, well-draining potting mix is best for germinating cherry pits. You want a mix that holds some moisture but doesn’t become waterlogged. Adding perlite or vermiculite can improve drainage.
Avoid heavy garden soil for starting seeds indoors, as it can compact and hinder growth.
The End of the Beginning: Nurturing Your Cherry Tree Dream
Growing a cherry tree from a pit is more than just planting a seed. It’s an experiment in patience and a journey into understanding nature. You’ve learned that it’s possible, but success comes with understanding the pit’s needs.
Cold stratification and careful planting are key steps.
Remember that the fruit might be a surprise. But the joy of nurturing a tree from its very beginning is a reward in itself. Whether you get a fruit-laden tree or a beautiful specimen plant, you’ve created something special.