Can You Refinish Parquet Flooring? Yes – Here’s the Right Way to Do It
Yes, you can refinish parquet flooring – but the method matters more than it does with plain strip flooring. Parquet’s blocks run grain in different directions across the same floor, so the standard rental drum sander that works fine on oak strip flooring can gouge and dig into parquet instead of smoothing it. Get the sanding approach right and a tired, dull, or scratched parquet floor can look new again for a fraction of the cost of replacing it.
Can Parquet Flooring Actually Be Refinished?
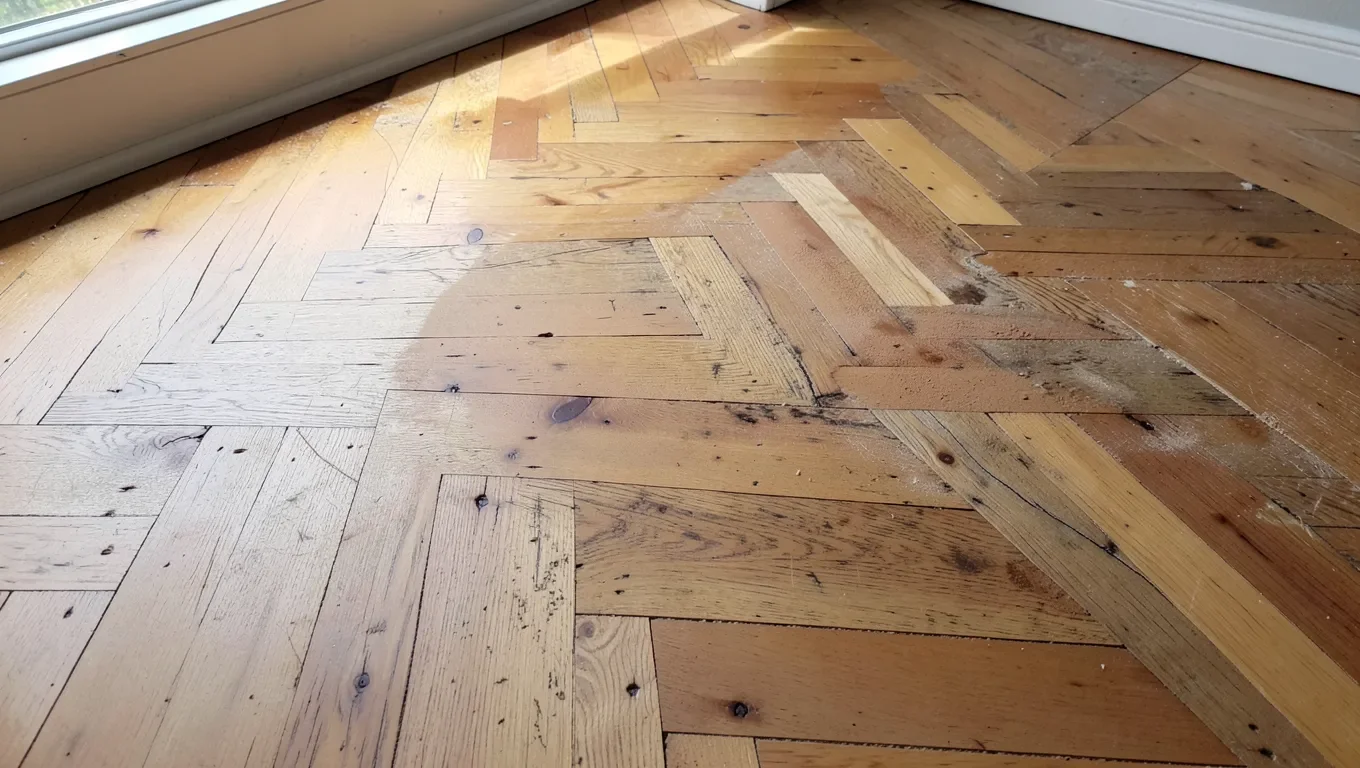
In most cases, yes. Solid wood parquet – the small interlocking blocks or tiles arranged in herringbone, basketweave, or Versailles patterns – has a real wood wear layer, just like strip flooring, and it can be sanded down to bare wood and refinished. The catch is thickness. Most parquet tiles are only 5/16 to 3/8 inch thick, noticeably thinner than the 3/4-inch strip flooring most refinishing advice is written for. A strip floor can typically handle 4 to 6 full sand-downs over its lifetime; a thin parquet tile usually only has enough wood left for 2 to 3. Every pass removes wood permanently, so before you commit to a full refinish, check a low-traffic spot (a closet threshold or under a rug) to see how much wear layer is actually left. If the wood looks paper-thin or you can see the tongue-and-groove or subfloor through worn spots, refinishing isn’t an option – replacement is.
Best Sander for Parquet-Safe Refinishing
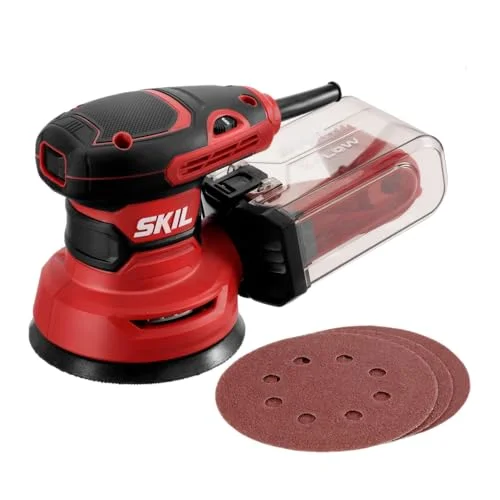 |
SKIL 5″ Random Orbital Sander with Cyclonic Dust Box – $37.00 A random-orbital sander removes finish evenly no matter which way the grain runs under it – exactly what alternating-grain parquet blocks need, unlike a straight-line drum sander.
|
Why a Standard Drum Sander Is the Wrong Tool for Parquet
This is the part most DIY guides skip, and it’s the single biggest reason parquet refinishing jobs go wrong. A drum sander only sands well in one direction: with the grain. On strip flooring, every board runs the same way, so that’s not a problem. On herringbone or basketweave parquet, each block sits at 45 or 90 degrees to its neighbor. Run a drum sander across the floor and you’re sanding with the grain on half the blocks and directly against it on the other half – which tears wood fibers, leaves faint diagonal scratch lines that show up under any angled light, and can sand the cross-grain blocks noticeably deeper than the others, leaving a floor that looks wavy once it’s finished.
Flooring professionals avoid this by using multi-disc or “square buff” sanders – machines with several small spinning discs instead of one rotating drum – because a spinning disc sands evenly regardless of which way the grain runs underneath it. For a DIY job, a random-orbital sander works on the same principle at a smaller scale: the pad moves in tiny random circles rather than one straight line, so it won’t dig in on the cross-grain blocks the way a drum sander will. It’s slower, which is the tradeoff, but on a parquet floor slower and even beats fast and gouged.
Tools and Materials You’ll Need
You don’t need a full professional kit for a single room, but skipping the wrong items causes most of the common mistakes below. For sanding: a random-orbital or multi-disc sander (not a drum sander), sandpaper in 60, 80, and 120 grit, a shop vacuum or dust extractor, and a putty knife for scraping stubborn spots. For finishing: wood filler for gaps or small holes, stain if you’re changing the color, an oil-based or water-based polyurethane, clean lint-free rags, painter’s tape for baseboards, and mineral spirits for cleanup if you’re using an oil-based product. A respirator rated for fine wood dust and hearing protection are worth buying even for a small room – parquet sanding kicks up a surprising amount of dust because you’re working in short, overlapping passes rather than long straight ones.
Preparing the Room and Floor
Clear the room completely – furniture, rugs, and floor vents if you can remove the covers. Vacuum thoroughly so grit doesn’t get dragged under the sander and scratch the floor before you’ve even started. Walk the whole floor and mark any loose, cracked, or missing blocks with painter’s tape; these need to be re-glued or replaced before sanding, not after, since a loose block will chatter under the sander and sand unevenly. Check for raised nail heads or old wax buildup too – a metal nail head will tear a sanding belt or pad almost instantly, and old wax will clog sandpaper within a few passes if it isn’t stripped or scraped off first. Tape off baseboards and any trim you don’t want stained or finished.
Sanding Parquet the Right Way
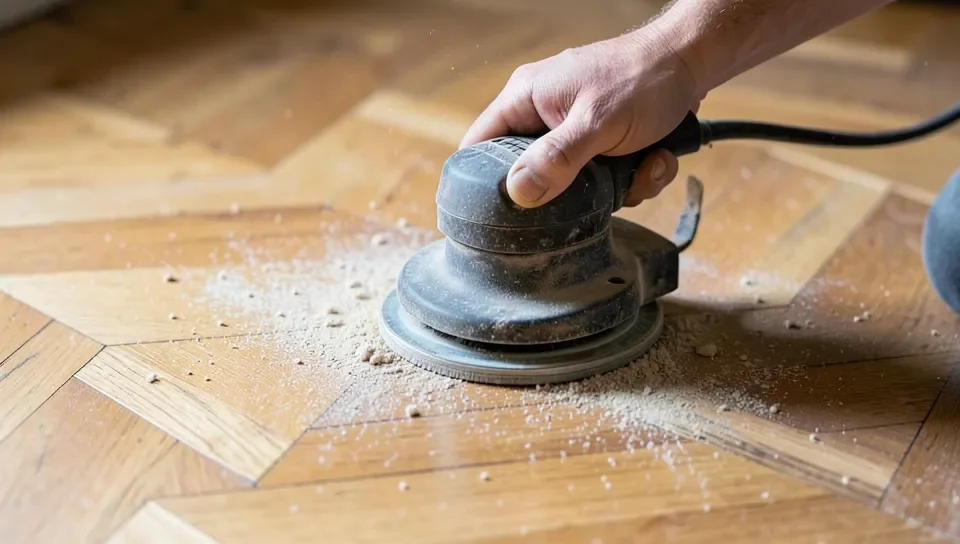
Start with 60-grit to strip the old finish and level any minor unevenness, then move to 80-grit, then finish with 120-grit for a smooth surface ready to accept stain or finish. With a random-orbital sander, work in small overlapping circular passes rather than long straight strokes – this is what keeps the sanding depth even across blocks running in different directions. Keep the sander moving; letting it sit in one spot, even briefly, will sand a visible low spot into the floor. Vacuum between grits so leftover coarse-grit dust doesn’t scratch the surface while you’re sanding with finer paper. For edges and corners the sander can’t reach, a hand scraper or a smaller detail sander works better than forcing the main sander into a space it isn’t designed for.
Staining Parquet Flooring (Optional)
Staining is optional – plenty of parquet floors look their best with a clear finish that shows off the natural pattern and wood tone. If you do want to change the color, oil-based stains tend to give a richer, deeper color and more open working time, while water-based stains dry faster and have far less odor, which matters if you’re working in an occupied house. Always test the stain on a scrap piece or an inconspicuous spot first – parquet is often oak, teak, or mahogany, and each takes stain differently. Apply with a rag or brush in the direction of each individual block’s grain rather than in one sweeping motion across the whole floor, working a small section at a time and wiping off excess before it dries. Let it cure fully, usually overnight, before applying finish.
Sealing and Finishing
Choosing a Sealant
Water-based polyurethanes dry fast, stay nearly clear, and have low odor, which works well on lighter woods where you don’t want an amber tint. Oil-based polyurethanes amber slightly over time, take longer to dry between coats, but generally hold up better under heavy foot traffic. A high-traffic hallway floor is a reasonable place to spend more on a durable water-based commercial-grade finish rather than a basic hardware-store can; either way, ventilate the room well while it’s drying.
Application Process
Vacuum the floor one more time immediately before finishing – any dust left on the surface gets sealed into the finish permanently. Apply the first coat with a brush or lambswool applicator in thin, even sections, working toward the exit so you don’t paint yourself into a corner. Let it dry fully per the label, lightly screen or scuff-sand between coats to help the next layer bond, and vacuum again before the second coat. Two to three coats is standard for a floor that gets regular foot traffic. Keep the room closed off from pets and foot traffic until the final coat has fully cured, which can take several days even after it feels dry to the touch.
Post-Refinishing Care
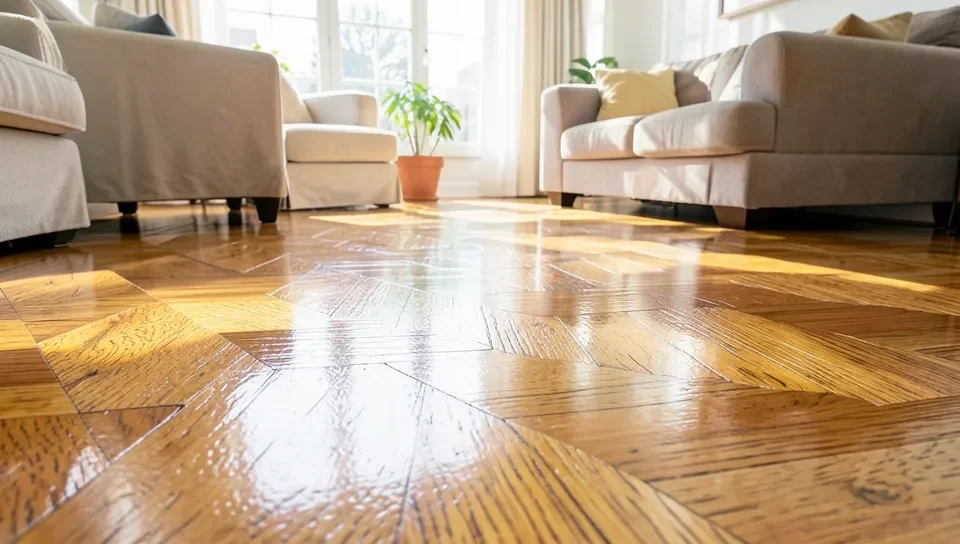
Sweep or vacuum regularly and avoid wet mopping – standing water can seep into the seams between parquet blocks and cause them to swell or lift, which a strip floor’s longer boards are less prone to. Wipe up spills immediately with a dry or barely damp cloth instead. Use felt pads under furniture legs and area rugs in high-traffic paths to cut down on the grit and scuffing that wear through a finish fastest. Keep indoor humidity relatively stable through the year; parquet blocks expand and contract individually, and big humidity swings are a common cause of blocks popping loose or gapping at the seams over time.
Common Mistakes to Avoid
Using a Drum Sander Out of Habit
Covered above, but worth repeating because it’s the mistake that ruins the most parquet floors: a drum sander is built for single-direction grain, and parquet doesn’t have single-direction grain. If you’re renting equipment, ask specifically for a random-orbital or multi-disc unit rather than the standard drum sander offered for strip flooring.
Sanding Through the Wear Layer
Because parquet tiles are thin, it’s easy to sand through to the tongue-and-groove or the glue line underneath, especially at block edges where it’s tempting to press harder. Once you sand through, that block is exposed permanently. Work in light, even passes and check your progress often rather than trying to remove a deep scratch in one pass.
Rushing the Stain or Finish
Applying a second coat before the first has fully dried, or walking on the floor before the finish has cured, are the two most common finishing mistakes. Both leave a soft, easily damaged surface. Follow the dry times on the can, not how the floor feels to the touch.
Frequently Asked Questions
Can You Refinish Parquet Flooring Yourself?
Yes, for a single room or a floor in reasonably good condition. It involves sanding with a random-orbital or multi-disc sander (not a drum sander), then staining if desired and sealing with polyurethane. If more than 15-20% of the blocks are loose, cracked, or badly damaged, a flooring pro is usually the safer call.
How Often Should Parquet Flooring Be Refinished?
Most solid parquet can go 7 to 10 years between refinishes with normal traffic, but because the tiles are thinner than strip flooring, they typically only tolerate 2 to 3 full sand-downs over the floor’s lifetime, versus 4 to 6 for standard 3/4-inch strip flooring.
What Tools Are Needed to Refinish Parquet Flooring?
A random-orbital or multi-disc sander, sandpaper in 60/80/120 grit, a shop vacuum, wood filler, stain (optional), oil- or water-based polyurethane, and basic safety gear like a dust-rated respirator. Avoid a rental drum sander – it’s built for single-direction grain, not parquet’s mixed pattern.
Is Refinishing Parquet Flooring Expensive?
DIY refinishing mainly costs sandpaper, finish, and either buying or renting a sander – often a few hundred dollars for an average room. Professional refinishing costs more per square foot than strip flooring because of the slower, more careful sanding method parquet requires, but it’s still typically far cheaper than replacing the floor entirely.
Bottom Line
Parquet flooring can absolutely be refinished, and doing it yourself is realistic for one room at a time. The part that trips people up isn’t the staining or the sealing – it’s reaching for the same drum sander that works on strip flooring and using it on a floor with grain running in four different directions. Match the sanding method to how parquet is actually built, work in light passes since the wear layer is thinner than you’d think, and a dull, dated parquet floor can look genuinely new again.
Sponsored / affiliate links. As an Amazon Associate I earn from qualifying purchases. I may earn additional commission from eligible campaigns.