Christmas Sign Wood: How to Make One
Make a Christmas wood sign by choosing a straight, dry board about 1/2 to 3/4 inch thick, using painted stencils or vinyl for the lettering, and matching the finish to where it will hang. Pick the wrong board or finish, and the sign can warp, bleed, or peel before the season ends. This guide covers board choice, lettering methods, and finishes for indoor, covered porch, or outdoor display.
What you’ll need


- Wood board, such as pine, plywood, or a reclaimed fence board
- Common sign sizes such as 8×12 inches, 10 x 14, or 4 x 24 for a vertical layout
- Sandpaper or a sanding block
- Clean, dry cloth
- Acrylic paint or craft paint for background and lettering
- Stencil material, contact paper, vinyl letters, printed letters for tracing, or a brush for hand-lettering
- Foam pouncers or small paintbrushes
- Outdoor polyurethane or another clear coat for porch or exterior signs
- Jute hanger, eye hooks, chain, rope, or twine
- Painter’s tape
- Optional distressing tools, such as sandpaper for worn edges
How do you choose the right board?

Start with a straight, dry board that fits the location. A sign for a front door often works well at 8×12 inches, while a porch sign can use 10 x 14 board proportions for names or a longer phrase. Sand first, then clean and let the surface dry before paint goes on.
Step 1: Pick the size for the display location
Measure the wall, door, or porch rail before you cut or buy the board. A tabletop sign needs less width and height than a porch sign, and a vertical layout works well for short words like JOY. A horizontal board fits Merry Christmas or Happy Holidays more easily.
Use pine for a smooth beginner-friendly surface, plywood for a flatter panel, or reclaimed fence board when a weathered look is already desired. If the board twists, cups, or feels damp, set it aside. Thin or uneven stock is harder to paint and harder to keep flat.
Step 2: Sand and clean the surface
Sand the face and edges before painting. That matters even on rough wood, because loose fibers make stencils lift and letters blur. After sanding, wipe away dust with a clean, dry cloth and let the board dry fully if it picked up moisture from washing or storage.
If you want a rustic edge, distress after the base coat cures, not before. That keeps the surface more predictable when you apply lettering. Reclaimed wood can be pre-weathered, but it still needs a quick sanding where splinters or sharp ridges could catch paint or hands.
How do you transfer the lettering?
Choose a transfer method based on the board surface and how clean you want the edges. Vinyl and contact paper are commonly used for a sharp line on smooth boards. Printed tracing works well for beginners. Hand-lettering is quickest for loose, farmhouse-style signs, but it is less forgiving on rough fence boards.
Step 3: Choose a stencil or transfer method
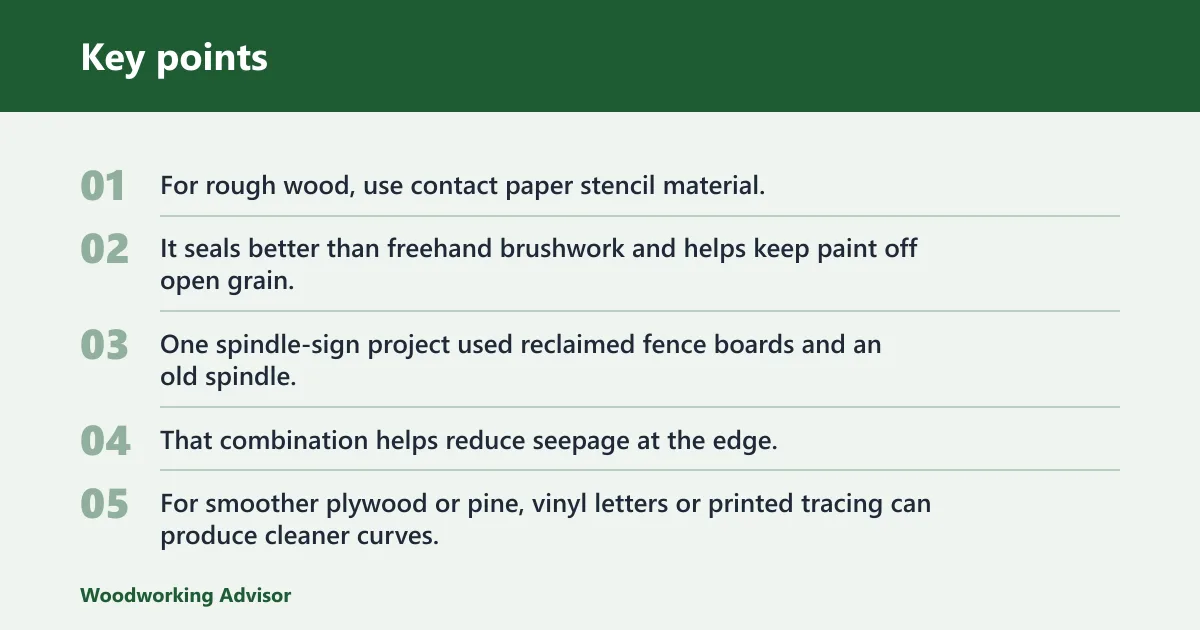
For rough wood, use contact paper stencil material. It seals better than freehand brushwork and helps keep paint off open grain. One spindle-sign project used reclaimed fence boards and an old spindle, with contact paper as a stencil and Martha Stewart Foam Pouncers for application. That combination helps reduce seepage at the edge.
For smoother plywood or pine, vinyl letters or printed tracing can produce cleaner curves. If you need only a quick holiday word, print the letters, tape them to the board, and trace them in pencil. If the design includes flourishes, use a cut stencil so the spacing stays consistent.
Step 4: Paint the letters cleanly
Use acrylic paint or craft paint for the background and the wording. Light coats work better than one heavy pass. Foam pouncers are useful for stencil work because they push color down instead of dragging it under the edge. Let each coat dry fully before adding another one.
Suppose you are painting Merry Christmas on a 10 x 14 board for a porch. A dark green background with white letters keeps the word readable at a distance, while a second pass around the edges sharpens coverage without flooding the stencil. If the edge starts to lift, stop and press it back down before continuing.
Christmas sign wood decision table
Use this table to match the sign’s location with the board, lettering method, and finish. The best choice depends on how exposed the sign will be, not just how it looks in the garage or craft room.
| Display location | Board size and type | Lettering method | Finish |
|---|---|---|---|
| Tabletop or mantel | 8×12 inches; pine or plywood | Printed tracing or vinyl letters | Optional clear coat for longevity |
| Covered porch | 10 x 14 board; pine, plywood, or reclaimed fence board | Contact paper stencil with foam pouncers | Clear coat recommended |
| Fully exposed exterior | 4 x 24 board for a vertical JOY plaque, or another straight exterior-grade board | Vinyl or a firm stencil on a smooth surface | Outdoor polyurethane |
| Rustic indoor sign | Reclaimed wood or a rustic live-edge slab from a lumberyard or Etsy | Tracing or loose stencil lettering | Light clear coat if desired |
How do you finish and seal it?
Let the paint dry fully before sealing. Then decide whether the sign needs only protection from handling or a weather-rated finish for outdoor use. A covered porch needs more protection than a mantel, and a fully exposed exterior sign needs the strongest finish you can reasonably apply.
Step 5: Add distressing if you want a rustic look
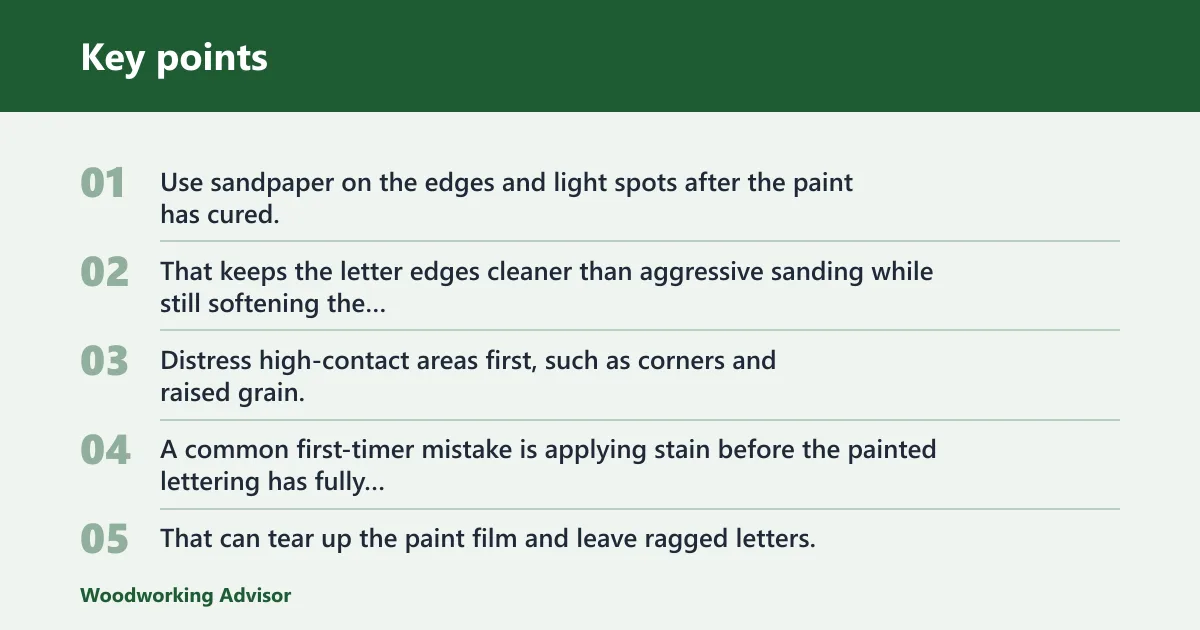
Use sandpaper on the edges and light spots after the paint has cured. That keeps the letter edges cleaner than aggressive sanding while still softening the look. Distress high-contact areas first, such as corners and raised grain, instead of rubbing across the lettering itself.
A common first-timer mistake is applying stain before the painted lettering has fully dried. That can tear up the paint film and leave ragged letters. If you want a more worn look, remove a few passes at a time, then stop and inspect the board under the same light you will use for display.
Step 6: Seal the sign for indoor or outdoor use
Use a clear coat for indoor longevity, and choose outdoor polyurethane for porch or weather exposure. A sheltered porch can usually get a clear protective coat, while a sign that faces rain or snow needs an outdoor-rated product. Let the painted surface dry completely first, or the finish can haze or pull color.
For exposed signs, coat the front, back, and edges. Unsealed edges take on moisture first. If the board is made from reclaimed fence wood, sealing is still worthwhile even when the wood already looks weathered, because weathered does not mean stable.
Picture a 4 x 24 JOY plaque hanging near a front entry. A clear coat may be enough if the area stays covered, but if wind-driven moisture reaches the board, outdoor polyurethane is the safer choice. The finish should match the worst conditions the sign will face.
How do you hang it on a porch or wall?
Choose hanging hardware that matches both weight and location. Jute hanger, eye hooks, chain, rope, or twine all work, but the mount should stay level and support the board without twisting it. Heavy boards need stronger hardware than light indoor signs.
Step 7: Add jute, rope, chain, or hardware
For lightweight signs, a jute hanger or twine loop can be enough. For a porch board, eye hooks with rope or chain give better control over the angle. One spindle-sign project used linked chain for hanging, which is a useful option when the design has weight or needs a centered drop.
Attach hardware after the finish cures. If you are mounting a sign to another panel, thin plywood can be a backer, and a nail gun may be used in some builds to secure the display layers. Keep fasteners out of the painted face when possible, and pre-mark the hanging points so the sign hangs level.
Common mistakes
- Bleed-through at the stencil edge: Use less paint, press the stencil down firmly, and pounce straight on instead of brushing across the edge.
- Crooked lettering: Mark a centerline and lightly pencil the word placement before paint goes on.
- Uneven distressing: Sand corners and edge wear in short passes, then stop and step back before removing more finish.
- Warping: Start with a straight, dry board and seal both sides if the sign will be outside.
- Peeling paint: Let each paint layer dry fully before the next coat and before the clear finish.
- Outdoor wear: Use outdoor polyurethane on exposed signs, not just a decorative topcoat.
Suppose you are making a Peace on Earth sign from reclaimed wood for a covered porch. If the board already has nail holes and gray weathering, that can add character. If the same board is cupped or split, though, the sign may never hang flat, so choose a straighter board instead.
Frequently asked questions
How do you make a wooden Christmas sign?
Choose a straight board, sand it, paint the background, add the lettering with a stencil or transfer method, and seal it if the sign will face moisture. A beginner-friendly size is 8×12 inches for a tabletop sign or 10 x 14 for a simple porch piece. Finish with rope, twine, or hooks.
What kind of wood is best for a Christmas sign?
Pine is a good smooth starter board, plywood stays flat for many projects, and reclaimed fence board gives instant rustic character. For a clean message such as Noel or Merry Christmas, smoother stock is easier to letter on. For weathered style, reclaimed wood works when it is still straight enough to mount.
Do I need to seal a wood Christmas sign for outdoors?
Yes, if the sign will be exposed to rain, snow, or wind-driven moisture. Use outdoor polyurethane on exposed signs and a clear coat for sheltered porch use or indoor display. Seal the front, back, and edges after the paint is fully dry so the board does not absorb moisture unevenly.
How do you transfer letters onto a wood sign?
Use contact paper stencil for rough boards, vinyl letters for crisp edges on smooth boards, or printed letters for tracing when you want a simple layout. If the board is very textured, foam pouncers help keep paint from slipping under the stencil edge. A pencil guide also helps keep the line level.
What paint works best on wood signs?
Acrylic paint or craft paint works well for both backgrounds and lettering. Use one color for the field and a second for the words, such as white on dark green or red on cream. Apply thin coats and let the paint dry fully before sealing so the finish does not trap moisture or smear color.
How do I hang a wooden Christmas sign on a porch?
Use eye hooks with rope or chain for heavier signs, or a jute hanger or twine for a lighter board. Center the hardware before you drill so the sign hangs level. If the sign sits in moving air, choose hardware rated for the board’s weight and keep the attachment points close to the top edge.
Sponsored / affiliate links. As an Amazon Associate I earn from qualifying purchases. I may earn additional commission from eligible campaigns.