Christmas Tree Stand DIY: Sized Base Plans
Build a Christmas tree stand DIY cover around the base: use a simple collar or cover for faux trees, and size the enclosure to fit the stand you already own. A poor fit can lean, wobble, or hide the trunk clamp when the tree is watered or bumped. This guide covers stand types, sizing rules, materials, and safe finishing details so the result looks custom and stays stable.
Choose the right stand style


The right style depends on support or concealment. A real tree stand must hold water and grip the trunk. A faux tree usually comes with a green stand, so the DIY job is often a Christmas tree stand box cover, a collar, or a basket that hides the base instead of replacing it.
For larger trees, a box style is the most forgiving because it can hide a broad stand footprint and leave room for cords, side bolts, and watering access. For tabletop trees, an urn, basket, or small crate often works better because the goal is appearance, not load-bearing strength.
Real tree stand vs decorative cover
A real-tree stand needs a reservoir, support for the trunk diameter, and stable contact with the floor. A decorative cover can sit around that stand, but it should not block the water line or the clamping hardware. If the tree is live, design the cover around the stand you already own, not around the branches alone.
Best option by tree type and size
Small artificial trees are easiest to hide with a collar or shallow box. Mid-size real trees usually do best in a wood box with a removable top or access panel. Large trees need the most floor contact, so a heavier box with a wide base and a clear watering route is the safer choice.
When a collar, box, basket, or urn fits best
A Christmas tree collar works well when you want fast setup and easy access to the trunk area. A box hides more of the stand and gives you a flat top edge for a finished look. Baskets and urns suit small trees and lighter faux bases, but they are less useful when you need frequent watering or cord access.
Tree stand sizing table
The fastest way to avoid a bad fit is to size the cover from the stand footprint, not from the tree height. Measure the widest point of the stand, the trunk opening, and the space needed for cords and watering. Then choose the style that leaves room for access and seasonal storage.
| Tree type | Recommended stand style | Minimum interior clearance guidance and notes |
|---|---|---|
| Real | Box | Add at least 1 inch of interior clearance on each side of the stand footprint; leave a watering opening or lift-off top. Notes: plan for reservoir access, trunk bolts or jaws, and a flat way to remove the tree after the season. |
| Artificial | Collar or box | Size the interior to clear the green plastic or metal base with enough room for cord routing. Notes: watering is not needed, wiring access matters, and a flat-pack box stores more easily than a rigid basket. |
| Tabletop | Urn, basket, or small crate | Use a shallow enclosure with a stable bottom and only enough depth to conceal the base. Notes: wiring is light, storage is simple, and a decorative liner can help hold a lightweight tree upright. |
Before you build
Measure first. A cover that looks neat on paper can fail if the stand rocks on an uneven floor or the opening is too tight for the trunk clamp. This short checklist keeps the build grounded in the actual tree and base you own.
- Measure the stand footprint at its widest point.
- Measure the trunk opening and any side bolt or jaw hardware.
- Check how far the water reservoir extends above the floor.
- Measure the clearance needed for the cover at the point where it will end.
- Mark where the power cord or light lead will exit.
- Check floor clearance so the cover does not trap the stand on uneven flooring.
Say your artificial tree has a green stand that measures about 22 inches across from foot to foot. A cover with a 24-inch interior width gives room to set it down without scraping the base, and it still leaves space for cord routing. If the floor is out of level, add leveling pads under the cover, not under the tree trunk.
How do you size a box cover?
Start with the stand footprint, then size the box around that footprint plus usable clearance. For most DIY box covers, interior width and depth should be at least 1 inch larger than the stand on each side, and the opening at the top should allow the trunk and hardware to pass without catching. Keep the box high enough to hide the stand, but low enough that you can still reach the reservoir or base clamp.
Interior width and depth rules
If the stand measures 24 inches across, a 26-inch interior box is a practical target. That gives roughly 1 inch of clearance per side. For a real tree, also check the reservoir height. The cover should not press against the rim, because watering needs a clear path.
Top opening and access panel planning
Use a removable top, a hinged door, or one open side. The easiest access is a lift-off top with a centered trunk opening and a removable section near the back. That lets you water the tree and reach the side bolts without pulling the whole box apart.
Allowance for uneven floors and trim
Leave a small hidden gap at the floor line so minor unevenness does not make the box rock. If you add trim, keep it flush to the floor only after the box sits level. Visible trim can be left plain, painted, or built from poplar for a light finish.
How do you make a Christmas tree stand?
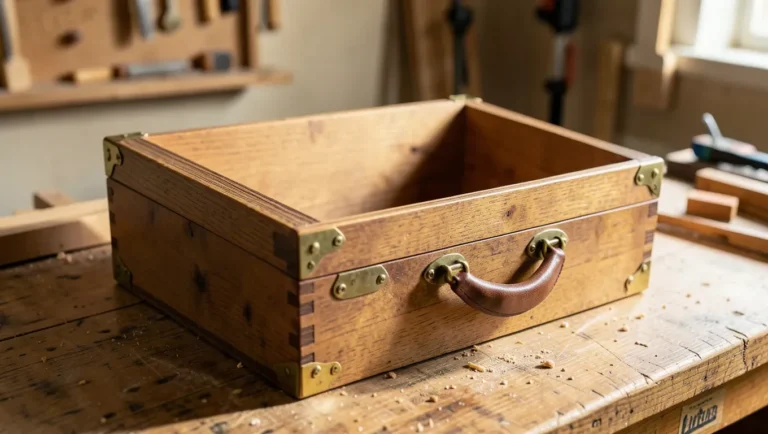
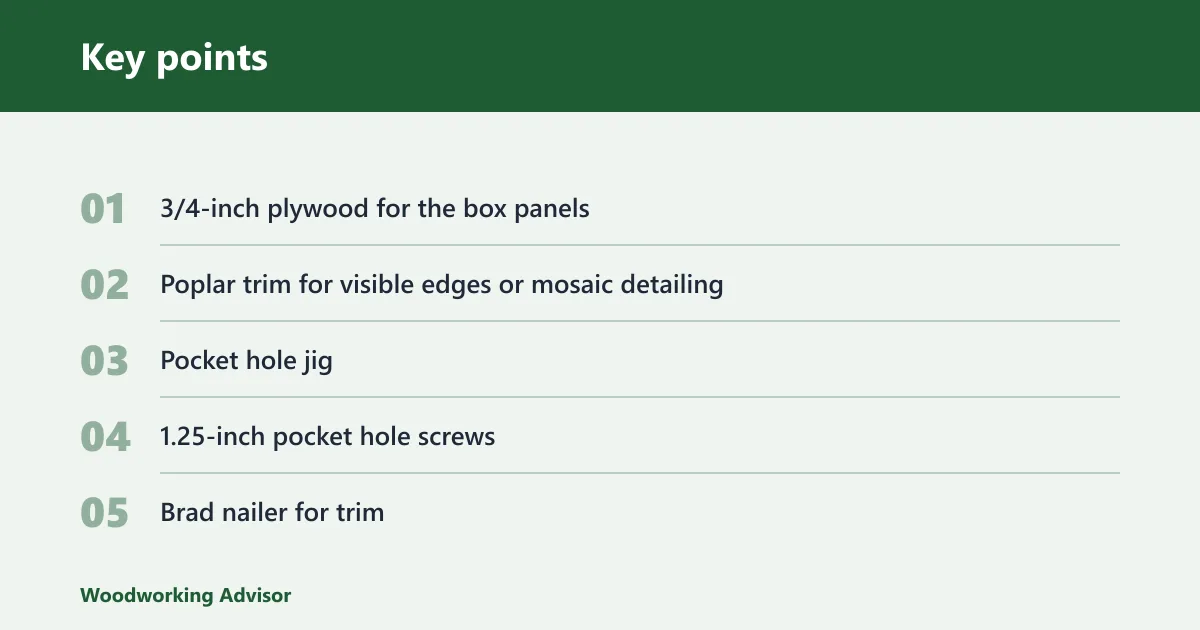
For a decorative stand cover, the simplest build uses plywood panels joined into a box, with trim added after assembly. Build and Create Home describes a simple tree box with a mosaic pattern. Their material list includes 3/4-inch poplar plywood and 1.25-inch Kreg pocket hole screws. A 2 ft x 4 ft sheet of plywood may be enough for a small box.
Materials and hardware list
- 3/4-inch plywood for the box panels
- Poplar trim for visible edges or mosaic detailing
- Pocket hole jig
- 1.25-inch pocket hole screws
- Brad nailer for trim
- Wood glue
- Sandpaper and paint or stain
Cut list for a plywood box cover
- 2 side panels cut to box height
- 2 end panels cut to box height
- 1 top panel, if using a lift-off top
- 1 removable access panel or door section
- Trim strips sized to cover plywood edges
For a practical starting point, a box built around a 24-inch footprint can use a 12-inch height to the tree base. Adjust the opening to your own stand, but keep the same clearance logic. The box should clear the base, not pinch it.
Assembly with pocket holes and brad nails
- Cut the plywood panels to size and dry-fit them around the stand.
- Drill pocket holes on the inside faces where they will not show.
- Join the side and end panels with pocket hole screws and glue.
- Check square before tightening the last screws.
- Install the top or access panel so the trunk opening stays reachable.
- Add poplar trim with brad nails to hide raw plywood edges.
- Sand the corners, then paint or leave the trim natural.
A common first-timer mistake is measuring the trunk for a decorative collar instead of the stand opening. That leaves no room for the base, and the first bump pushes the cover sideways. Measure the support first. The branches come second.
How do you hide a real tree stand?
Hide a real tree stand by enclosing the base while keeping the reservoir easy to reach. The best designs use a lift-off top, a side access door, or a wide opening at the back. Real-tree stands need water, support for the trunk diameter, and room for side bolts or jaws, so the cover must not trap those parts.
Water reservoir access
Commercial guidance often cites one quart per inch of trunk diameter as a water target. The cover should not block that refill path. If the reservoir sits high, cut an opening large enough to pour water without removing the whole box. If the water line is low, make the top removable so you can check it daily.
Side door, lift top, or removable panel
A side door is useful when the trunk clamp needs tightening after setup. A lift-off top is simpler to build and easier to store flat. A removable panel works well for mid-size trees because it keeps the box visually closed while still giving access when needed.
Support for trunk diameter and side bolts
Leave enough clearance around the trunk opening so the bark does not rub the box edge. The support hardware should stay fully usable after the cover is in place. If the tree has side bolts or jaws, confirm that your access panel reaches that height before you cut the opening.
What can you put around a Christmas tree stand?
You can put a Christmas tree collar, a box cover, a basket, a crate, or a planter-style shell around a stand. The best choice depends on water access, cord access, or flat-pack storage. Faux bases are easier to hide completely. Real bases need open access points.
Christmas tree collar options
A collar is fast to install and easy to remove. It works best for faux trees and for live trees with a low-profile stand that does not need constant attention. Because it does not enclose the whole base, it is less useful if you want to hide cords or reservoir hardware completely.
Basket, crate, and planter looks
Basket and crate looks suit rustic rooms and small trees. A planter-style shell can work for tabletop trees or lightweight faux trees. These options are best when the stand is light and the goal is visual cover, not a rigid box with a service opening.
When a faux base can be concealed completely
Faux trees often sit on a green plastic or metal base, so full concealment is common. A box cover can hide it entirely, and a skirt can hide it partly. If the tree is small, a basket may hide the base and still look proportional. If the tree is large, a broader box usually looks cleaner.
Suppose a faux tree has a 20-inch metal base and a light cord that exits at the back. A box with a 22-inch interior width, a rear cord notch, and a removable top gives a neater result than a tight basket. The tree still needs room to settle without forcing the cord against the side.
Frequently asked questions
What can I put around a christmas tree stand to make it look better?
A collar, box, basket, or crate can all improve the look. Choose the one that leaves the needed access. For real trees, water access matters most. For faux trees, the base can often be hidden fully, so style and storage become the main deciding factors.
How big should a diy christmas tree stand box?
Make the interior at least 1 inch larger than the stand on each side, then confirm that the trunk opening and access panel still line up. A worked example used a 24-inch footprint.
Can I use scrap wood for a christmas tree stand cover?
Yes, if the pieces are straight, square, and thick enough to hold trim and fasteners. Scrap plywood can work for the panels, and poplar offcuts can work for edge trim. Check that the material is not split, warped, or too short to leave the needed clearance.
How do I fit a diy tree box around an existing metal stand?
Measure the metal stand at its widest points, then build the box around that dimension plus clearance. Leave an opening for the cord and enough room to reach the clamp or reservoir. If the stand is uneven or has protruding feet, widen the interior and raise the box slightly off the floor.
Sponsored / affiliate links. As an Amazon Associate I earn from qualifying purchases. I may earn additional commission from eligible campaigns.