How to Make Small Wooden Reindeer
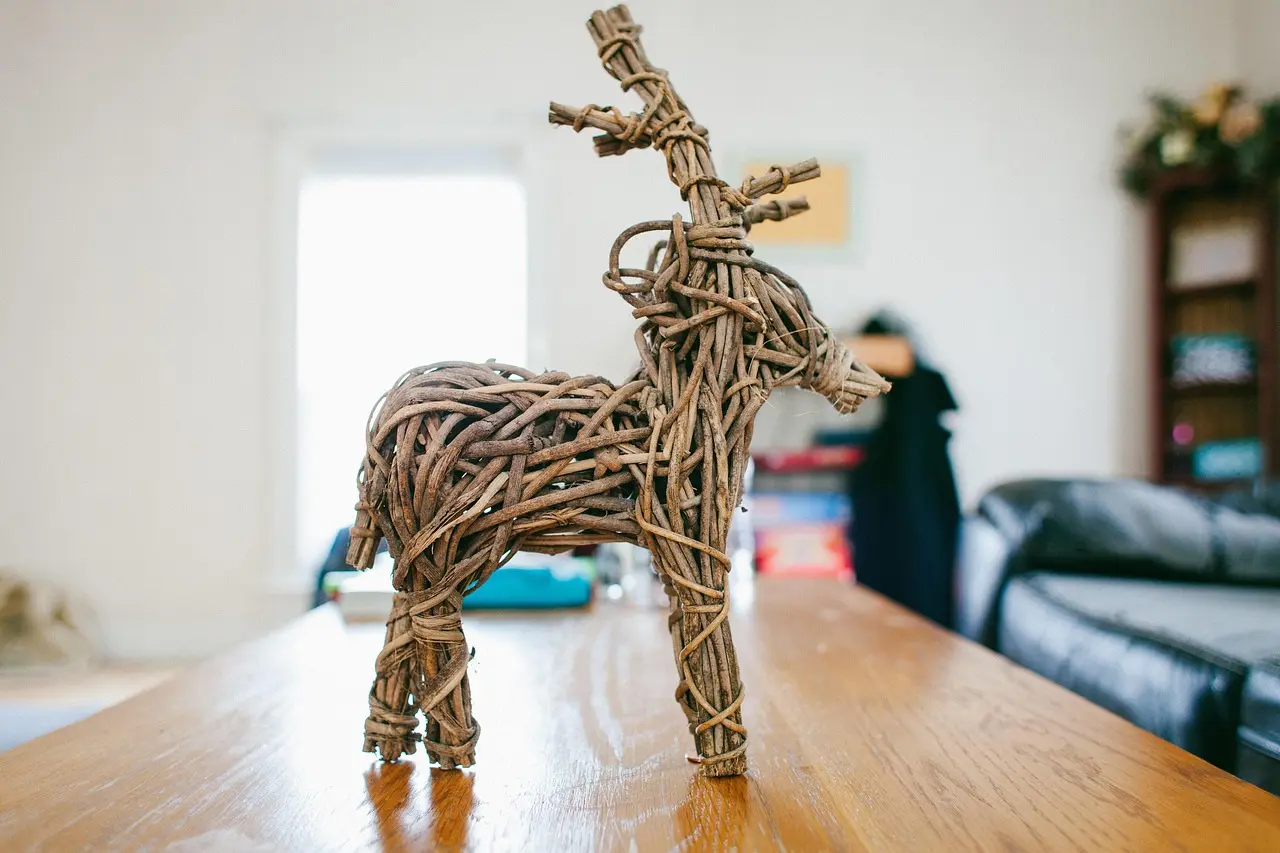
Make a small wooden reindeer from a body about 3/4 inch thick, legs about 1/4 inch thick, and peg holes about 1/8 inch in diameter; keep the body about 5 to 6 inches tall so it stands without tipping. Bad hole placement or thin legs makes the figure wobble, split, or snap at the joints. This guide gives cut sizes, drill diameters, assembly fixes, and finishing tips for a kid-friendly Christmas project.
This guide is part of our Christmas Woodworking Projects: Ornaments, Gifts and Decor series.
What you’ll need
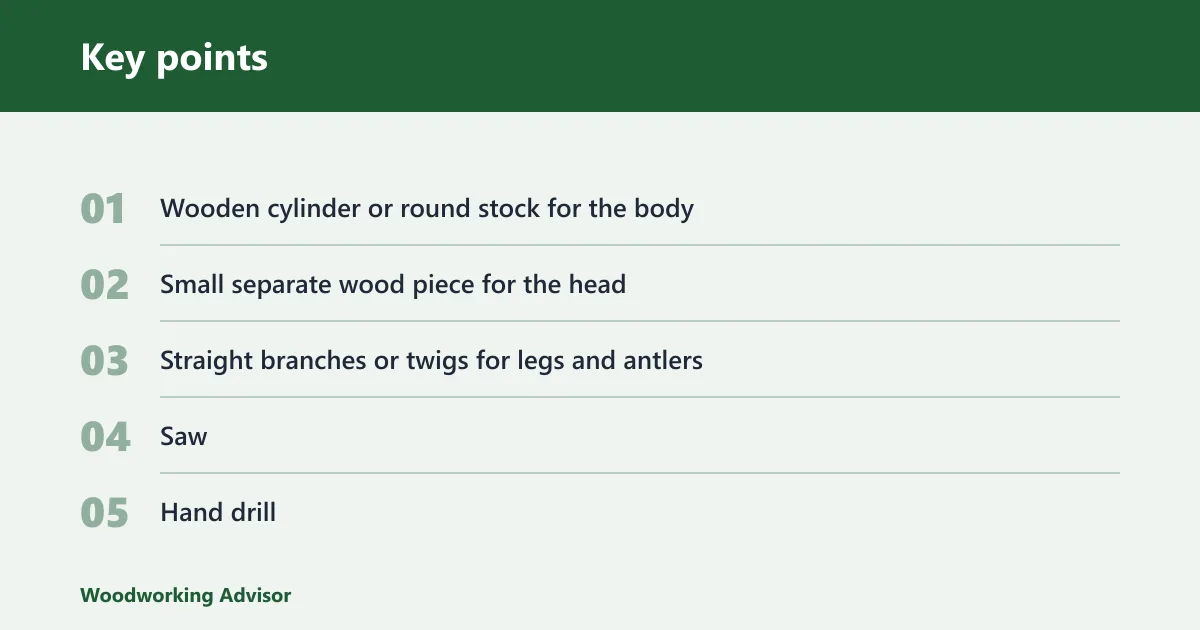


- Wooden cylinder or round stock for the body
- Small separate wood piece for the head
- Straight branches or twigs for legs and antlers
- Saw
- Hand drill
- 1/8-inch drill bit for peg holes
- Small pilot bit for starter holes
- Wood glue
- Black paint for eyes
- Orange paint or red paint for the nose
- Small brush, toothpick, or stick for dots
- Twine, string, or ribbon for a hanger on the ornament version
- Sandpaper
- Optional clear sealer for painted details
How big should it be?
A mini ornament is often about 3 to 4 inches tall, a shelf sitter about 5 to 6 inches tall, and a kid-friendly branch version about 7 to 8 inches tall. Keep the body long enough to support four legs, and make the head smaller than the body so the shape stays balanced.
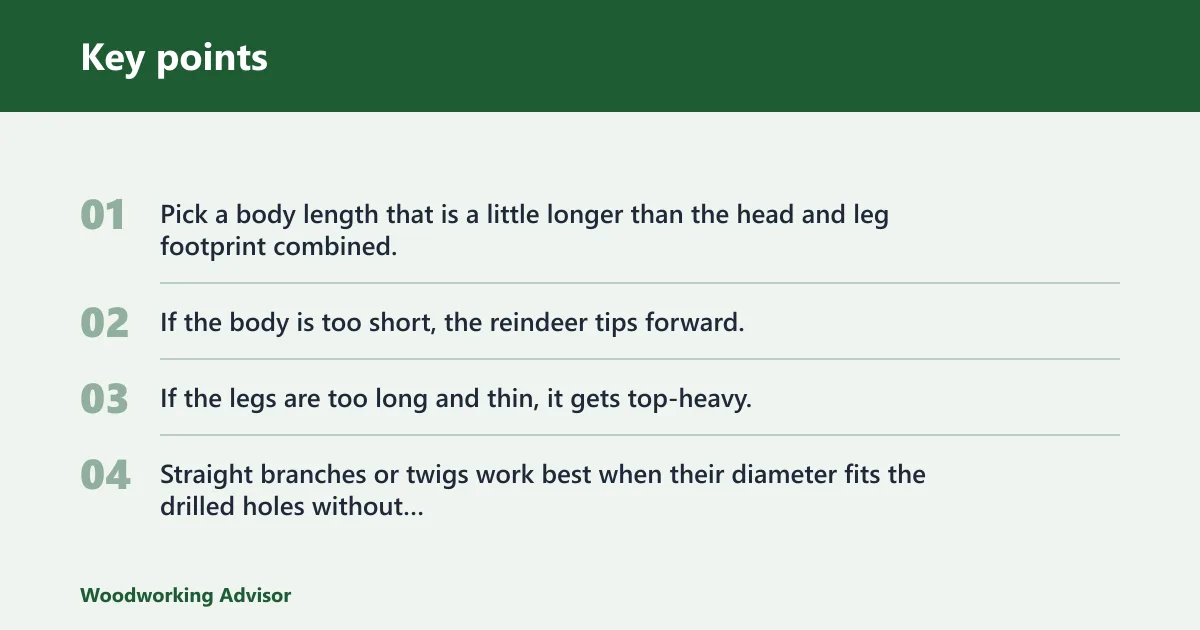
Pick a body length that is a little longer than the head and leg footprint combined. If the body is too short, the reindeer tips forward. If the legs are too long and thin, it gets top-heavy. Straight branches or twigs work best when their diameter fits the drilled holes without forcing.
| Variant | Overall height | Body length | Head length | Drill-hole diameter | Leg length | Antler length | Common failure fixes |
|---|---|---|---|---|---|---|---|
| Mini ornament | 3 to 4 in. | 1 1/2 to 2 in. | 3/4 to 1 in. | 1/8 in. | 1 1/2 to 2 in. | 1 to 1 1/2 in. | Use very straight twigs, shorten the legs if it swings, and add the hanger only after the glue cures. |
| Shelf sitter | 5 to 6 in. | 2 1/2 to 3 in. | 1 to 1 1/4 in. | 1/8 in. | 2 1/2 to 3 in. | 1 1/2 to 2 in. | Square the feet, check leg spacing, and deepen loose holes by only 1/16 in. at a time. |
| Kid-friendly branch reindeer | 7 to 8 in. | 3 to 3 1/2 in. | 1 1/4 to 1 1/2 in. | 3/16 in. | 3 to 3 1/2 in. | 2 to 2 1/2 in. | Choose thicker branch stock, drill pilot holes first, and trim the neck angle if the head leans too far forward. |
How do you make the body and head?
Cut the body from a cylindrical wood piece or a straight branch section, then cut a smaller head piece from separate stock. The body should be the larger shape. The head uses a small piece of wood with one end inclined, which helps the neck line look natural and keeps the face from pointing straight up.
For a sitter, cut the body flat on both ends so it stands cleanly. For a branch version, trim the ends square first, then add the neck angle to the head piece with a saw. Sand both cut ends so the joints seat flat and the glue grabs evenly.
Cut list for a simple build
- Cut one body piece to the chosen length.
- Cut one smaller head piece.
- Trim four leg pieces to equal length.
- Cut two short antler pieces from the straightest twigs.
- Sand every cut end before drilling.
How do you drill the legs and antlers?
Mark four leg holes on one side of the body and space them evenly so the stance stays level. Drill one hole on the other side near the edge for the neck. On the head, drill one hole for the neck and two holes for antlers. Pilot holes keep the wood from splitting, especially in dry branches.
Drill shallow starter holes first, then finish with the full bit size. That reduces wandering on round stock and gives the leg pieces a cleaner seat. For antlers, drill the holes at a slight angle so the branches spread naturally instead of sticking straight out like pegs.
Hole sizing and placement
- Use a 1/8-inch bit for small ornament parts.
- Use a 3/16-inch bit for thicker branch stock if the twigs match.
- Keep the leg holes close enough to the edge that the body reads like a deer, but not so close that the rim splits.
- Test one scrap branch first. If it slides in with light hand pressure, the fit is right.
Assemble the reindeer
Dry-fit every part before glue goes on. Insert the legs, set the body on a flat surface, and check whether all four feet touch. Then glue the legs into the body, fit the head to the neck joint, and set the antlers. The ornament version gets a hanger loop after the main glue joints are firm.
Use wood glue sparingly. Too much glue can push the joint apart and leave the legs slipping while it dries. If the feet are uneven, trim the longest leg by about 1/16 inch, then recheck on a flat table. That small change is usually enough to stop wobble without ruining the pose.
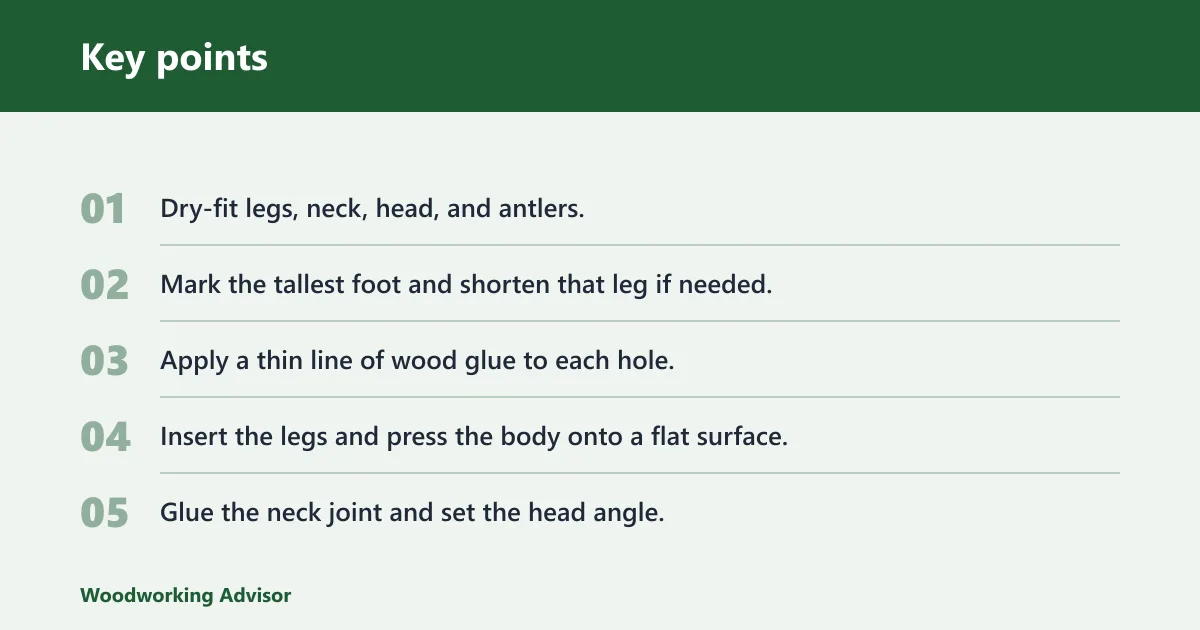
- Dry-fit legs, neck, head, and antlers.
- Mark the tallest foot and shorten that leg if needed.
- Apply a thin line of wood glue to each hole.
- Insert the legs and press the body onto a flat surface.
- Glue the neck joint and set the head angle.
- Glue the antlers into the head holes.
- Add the twine, string, or ribbon loop only for the ornament version.
Suppose the shelf sitter rocks forward after the legs are glued. Trim the rear legs by 1/16 inch, then set the figure again on a level surface. Suppose the antlers lean inward because the holes were drilled too straight. Ream the holes slightly at a wider angle and reset the twigs before the glue fully cures.
How do you paint the face?
Paint the eyes with black paint using a small brush or the tip of a stick. Add an orange nose for a plain finish or a red nose for a Rudolph-style look. Keep the face simple. Two dots and one nose are enough for a small reindeer, and they read clearly even on rough wood.
Let the paint dry before sealing. If you want the decoration to last longer, brush on a clear sealer after the face details cure. For outdoor-facing decor, use a finish that suits the paint you chose and keep the reindeer under cover. Bare wood and unsealed paint weather quickly.
Face details that read well at small scale
- Place the eyes high enough that the nose does not crowd them.
- Keep the nose centered on the face piece.
- Use one color for the nose only if the wood grain is already busy.
- For a sharper look, paint the nose first and add the eyes after it dries.
Common mistakes
Most problems come from hole size, leg angle, or uneven cuts. A loose leg usually means the hole is too large or the twig is too thin. Splitting usually means the hole was drilled without a pilot hole, or the branch was forced in dry. Wobble usually means one foot is longer than the others.
If it wobbles or splits
- Set the reindeer on a flat table and find the high foot.
- Trim that leg by 1/16 inch, then test again.
- If a joint feels loose, add a dab of wood glue and reinsert the part.
- If the wood splits, stop forcing the twig and drill a smaller pilot hole first.
- If the antler hole is too large, wrap the twig end with a thin sliver of wood before gluing.
Prevent these problems by matching twig diameter to the bit before you drill, and start with pilot holes on dry, brittle stock. Straight branches slide in cleanly and make the project easier to control.
Frequently asked questions
What wood is best for a small wooden reindeer?
Dry, straight-grained wood is best because it drills cleanly and holds small parts without crumbling. A wooden cylinder or round stock works for the body, and branches or twigs work for the legs and antlers if their diameter matches the drilled holes.
How do you make wooden reindeer legs and antlers?
Cut four equal leg pieces and two antler pieces from straight twigs or branches, then sand the ends smooth. Drill matching holes in the body and head, test the fit, and glue the pieces in place so the legs stand square and the antlers angle outward naturally.
What tools do you need for a wooden reindeer craft?
You need a saw, hand drill, glue, and paint, plus a drill bit that matches the twig diameter and sandpaper for cleanup. A small brush or stick helps place the eyes and nose without smearing the face on a tiny surface.
Can you make a wooden reindeer from branches or scrap wood?
Yes. The project can use branches from your garden as raw material, and scrap wood works well for the body and head. Choose the straightest pieces you can find, then trim the ends and drill pilot holes to reduce splitting.
How do you make a mini wooden reindeer ornament?
Use the smallest size, with a body about 1 1/2 to 2 inches long and a height around 3 to 4 inches. Drill a small hanger hole near the top or tie a twine loop around the neck after assembly, then keep the legs short so it hangs neatly.
How do you keep a wooden reindeer from splitting when drilling?
Start with a pilot hole, keep the bit centered, and avoid forcing thick twigs into undersized holes. If the stock is dry or brittle, drill slowly and choose a slightly smaller leg or antler diameter instead of widening the hole aggressively.
What size should a small wooden reindeer be?
For a stable tabletop figure, aim for about 5 to 6 inches tall. That scale gives enough body length for four legs and a separate head without making the piece top-heavy. For a mini ornament, shrink every part evenly so the proportions stay balanced.
Sponsored / affiliate links. As an Amazon Associate I earn from qualifying purchases. I may earn additional commission from eligible campaigns.
 PATIKIL 5/8 x 8 Inch Wooden Dowel Rod, 30 Pcs Wood Dowels Unfinished Round Wood Sticks Precut Wooden Rods for Craft DIY Projects Home Decor, Natural Color
 PATIKIL 3/4 x 8 Inch Wooden Dowel Rod, 8 Pcs Wood Dowels Unfinished Round Wood Sticks Precut Wooden Rods for Craft DIY Projects Home Decor, Natural Color