Cordless Drill Losing Power Halfway Through a Job: Why It Happens
A cordless drill that loses power halfway through a job is usually dealing with battery voltage sag, thermal shutdown, or mechanical drag. The fastest clue is the pattern: it fades as load rises, cuts off when hot, or stalls under pressure. If you misread that pattern, you can waste money on batteries, chargers, or repairs that do not fix the fault. This guide shows how to tell which failure you have and what to check first.
What you’ll need
- Charged spare battery, if available
- Known-good charger
- Clean cloth or contact cleaner
- Correct drill bit for the material
- Hex key or chuck key, if your drill uses one
Why does my cordless drill lose power halfway through a job?
The pattern matters more than the symptom alone. A drill that fades as you push harder usually points to battery sag or a task the tool cannot handle comfortably. A drill that shuts off after warming up points to thermal shutdown. A drill that still spins freely but struggles only in material usually points to drag from the chuck, bit, settings, or gearbox.
A lithium-ion drill battery has a limited lifespan, can lose charge capacity over time, and is sensitive to storage conditions. Dirty or corroded contacts can also reduce output. On the tool side, dust and small particles can reduce drill performance, and worn gears can create grinding or slipping.
Mid-job power loss diagnosis table
| Symptom pattern | Likely cause | 2-minute test | Next action |
|---|---|---|---|
| Dies only under load | Battery voltage sag or the job exceeds tool output | Run the drill in free air, then press into the same material | Try a fresh battery and a higher-voltage or higher-torque tool if the job is heavy |
| Dies on one battery | Weak battery or damaged pack | Swap batteries and repeat the same cut or drive | Retire the weak pack if the problem stays with it |
| Cuts out after heating up | Thermal shutdown | Let it cool, then restart the same task for a short burst | Reduce continuous run time and pause between holes or screws |
| Slows on hardwood | Wrong speed or torque setting, dull bit, or underpowered drill | Check setting, then compare with a sharper bit | Use lower speed, higher torque, or a more suitable drill |
| Loses power with a dull bit | Cutting load is too high | Swap to a sharp bit of the same size | Replace the bit and reduce feed pressure |
| Works unloaded but not in material | Mechanical drag or battery sag under load | Listen for slip, grinding, or a sudden stall when contact starts | Check chuck grip, bit choice, and gearbox wear |
| Grinds or slips while running | Gearbox wear | Run the drill briefly with no bit installed | Stop using it for heavy work and inspect the transmission |
| Stops after a few minutes | Battery capacity loss, thermal shutdown, or dirty contacts | Check battery seating, charge status, and contact condition | Clean contacts and retest with a known-good pack |
Check the battery and charger first
Start with power delivery, because a weak battery or faulty charger can mimic a failing drill. If one battery fails and another works, the pack is the problem. If both packs act the same, the charger, contacts, or drill are more likely. Rechargeable batteries have a limited lifespan, and extreme temperatures and moisture can shorten battery life.
- Charge the battery until the charger shows a normal full-charge indication.
- Swap in a second battery and repeat the same task for 30 to 60 seconds.
- Confirm the charger matches the battery pack voltage and chemistry.
- Read the charger lights for fault, charging, and full-charge states.
- Wipe the battery terminals and drill contacts with a clean cloth before retesting.
Could the battery or charger be at fault?
Yes. A battery that dies after a few minutes often has lost capacity rather than charge. Lithium batteries usually last 2–3 years before performance drops. A charger can also be faulty, and indicator lights should confirm charging instead of only power at the wall.
A 20V pack may handle a 3/8-inch bit in softwood but struggle sooner in 1-inch hardwood. That pattern fits battery sag or a pack that no longer holds load well, especially if the same drill runs fine with a different battery.
If that didn’t work
- Compare both batteries on the same task, same bit, and same setting.
- Clean the contacts and reseat the pack until it clicks fully home.
- Check the charger with another compatible battery, if available.
- Replace the pack first if only one battery shows the fault.
Check the chuck, bit, and settings
A loose chuck, dull bit, or mismatched setting can make a good drill seem weak. The chuck holds the drill bit in place, so any slip wastes torque at the workpiece. A dull drill bit needs more power to cut, and the wrong speed or torque setting can make the drill feel underpowered even when the battery is fine.
Can a dirty chuck or dull bit make a drill seem weak?
Yes. Dust in the chuck, a loose grip, or a worn bit can all raise load enough to look like battery trouble. Check that the bit sits centered, the jaws clamp firmly, and the bit type fits the material. A bit that slips in the chuck or skates in the cut steals power before it reaches the work.
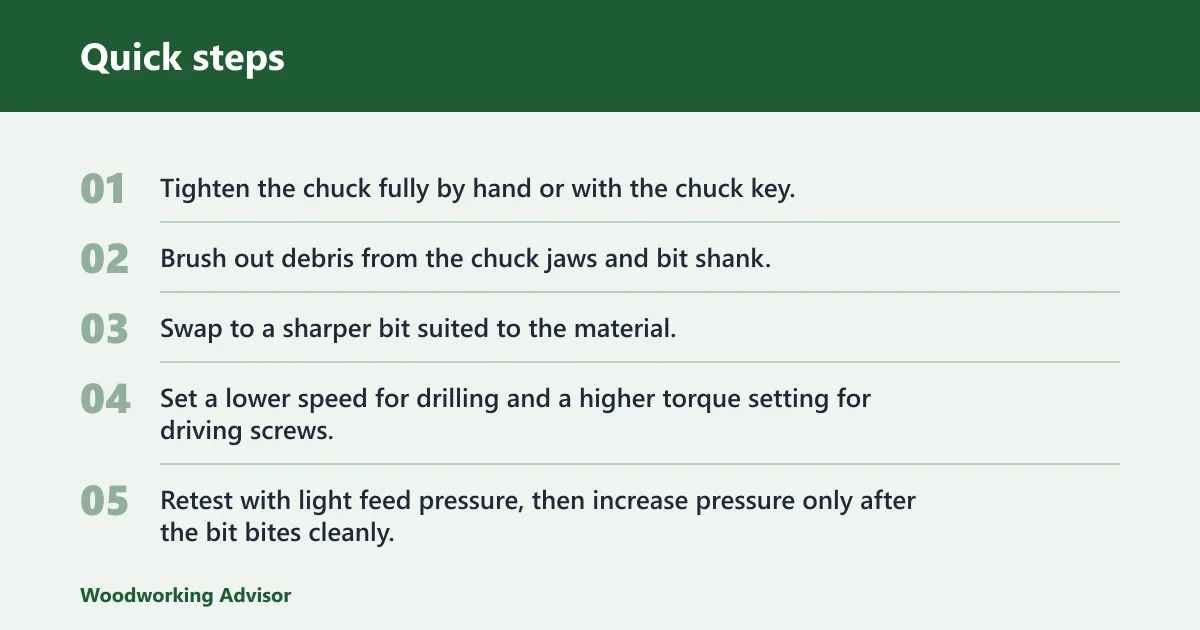
- Tighten the chuck fully by hand or with the chuck key.
- Brush out debris from the chuck jaws and bit shank.
- Swap to a sharper bit suited to the material.
- Set a lower speed for drilling and a higher torque setting for driving screws.
- Retest with light feed pressure, then increase pressure only after the bit bites cleanly.
Picture a drill set to low torque for driving a long screw into framing lumber. It may spin at first, then bog down halfway through the run. That is often a setup problem, not a dead motor. The same tool on a higher torque setting may finish normally.
Why does my drill lose power when drilling into hardwood or metal?
Hardwood, metal, augering large holes, and long screw-driving jobs all raise load sharply. A 12V drill can be fine for light assembly and small holes, then feel weak on heavy stock removal. Lower-voltage tools are not defective just because they struggle on work above their output range.
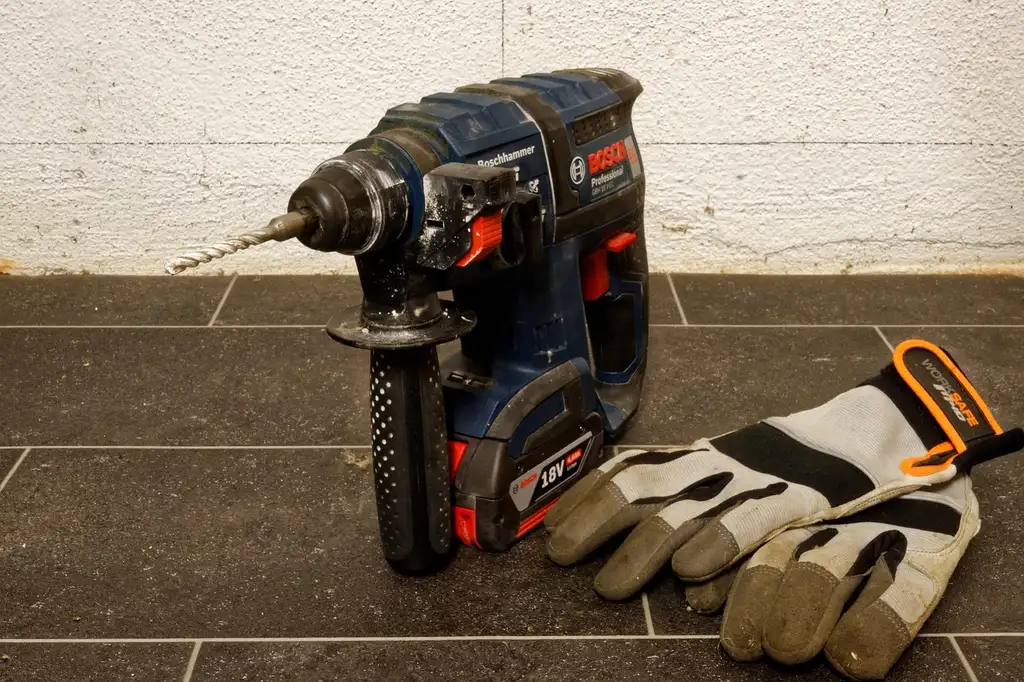
For reference, Bosch GSB18V-65B12 uses an 18-volt battery and ½-inch chuck, while Black+Decker LDX120C is a 20V MAX cordless drill/driver. A tool like Makita XAD05T is a cordless ½-inch right-angle drill. The right class depends on the task, not the badge alone.
If that didn’t work: switch to the correct bit
- Switch to the correct bit for hardwood or metal.
- Reduce feed rate and clear chips from the hole often.
- Use a higher-voltage or higher-torque drill for large holes or long screws.
- Stop if the drill slips, grinds, or smells hot.
Do overheating and thermal shutdown cause cordless drills to cut out?
Yes. Drills can slow down or stop if the motor overheats, and thermal shutdown is common during heavy or extended use. The tool may work again after it cools, which is why a quick restart after a hot failure can mislead you. Cooling time matters before you retest.
How do I know if the motor is failing instead of the battery?
A motor problem is more likely if the drill loses power across multiple charged batteries, keeps cutting out after cooling, or produces burning odor, grinding, or intermittent speed changes. Worn motor brushes can reduce power transfer, and some drills have replaceable brushes. If the battery passes the same load test in another tool, look deeper into the drill.
- Let the drill cool for about 15 minutes before retesting.
- Run it unloaded and then under the same load that caused the cutout.
- Listen for grinding, surging, or brush-related sparking through the vents.
- Inspect serviceable brush caps only if the model allows user replacement.
Motor brushes and gearbox wear
Brush wear, worn gears, and transmission slip can all show up as weak output under load. Worn gears can create grinding or slipping. Dust and small particles can reduce drill performance, so exterior cleaning matters before you assume the internal parts are failing.
A common first-timer mistake is to blame the battery when the drill grinds on startup and then slips the instant the bit bites. That pattern often points to gearbox wear or a slipping transmission, not charge loss.
If that didn’t work: remove the battery and inspect
- Remove the battery and inspect the vents for dust buildup.
- Run the drill briefly with no bit to check for grinding.
- Switch gears and retest in both low and high ranges.
- Stop using the drill for heavy work if the gearbox slips or grinds.
What should I check first when a drill stops under load?
Check the battery, contacts, bit, chuck, and setting order before opening the tool. That sequence separates power delivery faults from load problems fast. It also avoids replacing parts that are still good. If the fault only appears in one material, the drill may simply be underpowered for the task.
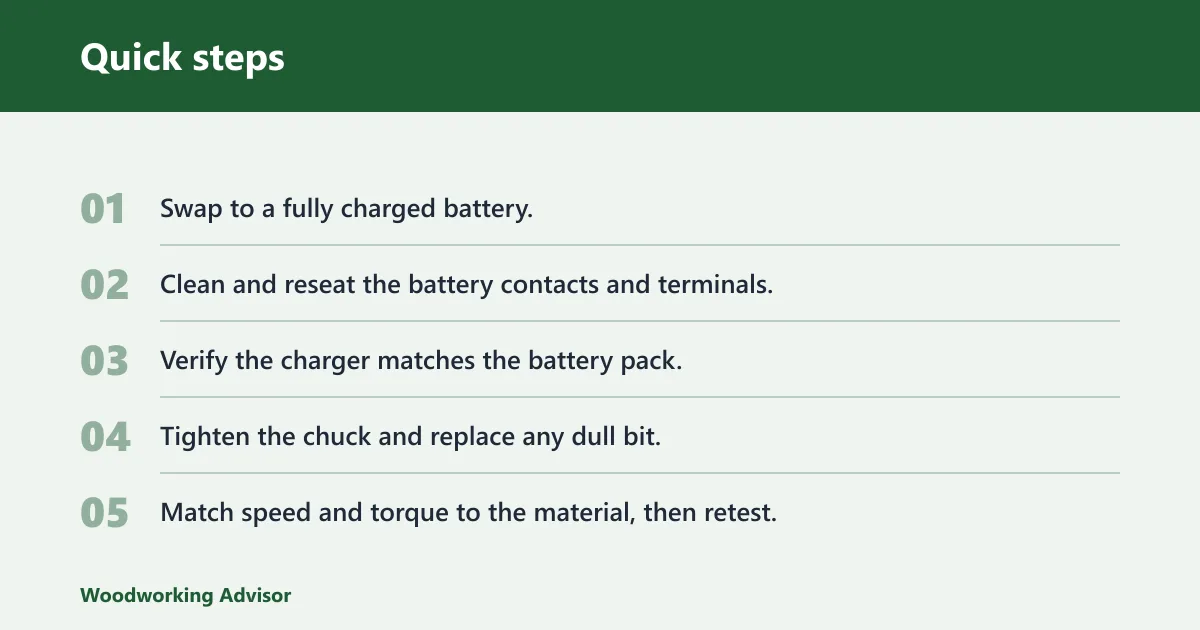
- Swap to a fully charged battery.
- Clean and reseat the battery contacts and terminals.
- Verify the charger matches the battery pack.
- Tighten the chuck and replace any dull bit.
- Match speed and torque to the material, then retest.
Common mistakes
Do not replace the battery before checking the charger lights, contact condition, and seating. Do not assume every cutout means motor failure. Do not force a 12V drill through heavy hardwood, a large auger bit, or long structural screws and then call it defective. Do not ignore heat; repeated hot shutdowns point to load or cooling problems.
Do not clean contacts with anything abrasive enough to remove plating. Do not leave batteries in damp storage or in extreme cold, because both can shorten battery life. Do not keep drilling through a slipping chuck, because bit slip can damage the jaws.
Frequently asked questions
Is my drill battery bad if it dies after a few minutes?
Often yes, especially if it fails on a second known-good battery test and the pack is older. Lithium batteries usually last 2–3 years before performance drops. Also check for dirty contacts, cold storage, and a charger that is not completing the charge cycle correctly.
How do I tell if the motor is failing instead of the battery?
Use the same charged battery in another compatible drill if possible. If the same pack works elsewhere, the first drill is more likely at fault. Grinding, burning odor, or repeated cutouts after cooling suggest brushes or internal wear rather than battery failure.
Sponsored / affiliate links. As an Amazon Associate I earn from qualifying purchases. I may earn additional commission from eligible campaigns.