Decking Path Ideas: Widths, Board Gaps & Real Costs (2026)
A decking path needs at least 36 inches of width for one person and 48 inches for two people or wheelchair access – narrower paths feel cramped and crack under repeat foot traffic. Skip the board-gap spec for your material and pressure-treated wood cups or splinters within a year. This guide covers minimum widths, board spacing by material, ground-level build costs, and design ideas for modern, rustic, and tropical yards.
How Wide Should a Decking Path Be?
Quick Answer
Plan on 36 inches minimum for a single-file path, and 48 to 60 inches for two people walking side by side or wheelchair access. Ground-level paths that connect directly to a deck typically need a 48-inch (4-foot) minimum to meet general residential deck-code guidance.
| Path Use | Recommended Width | Notes |
|---|---|---|
| Casual stepping-stone accent | 24-30 in. | Decorative, not a primary route |
| Comfortable single-person path | 36 in. | Standard rule of thumb for garden paths |
| Two people or wheelchair access | 48-60 in. | Meets typical ground-level code minimum |
| Main entry or accessible route | 60+ in. | Room to pass another person comfortably |
📊 Ground-level connections, paths, and stairs generally need a minimum 4-foot (48-inch) dimension – Source: Fine Homebuilding, deck sizing guide
Introduction To Decking Path Transformations
A well-designed decking path enhances flow and functionality and adds charm to any outdoor space. It invites exploration and gives foot traffic a defined, durable route instead of a worn dirt track.
Why Your Backyard Needs A Makeover
Your backyard deserves attention. Here are some reasons to consider a makeover:
- Enhance Aesthetic Appeal: Beautiful paths make your yard inviting.
- Increase Usability: Decking paths provide safe walking areas.
- Boost Property Value: A well-designed yard can attract buyers.
- Encourage Outdoor Activity: Paths invite family and friends to explore.
The Magic Of Decking Paths
Decking paths can transform your backyard into a magical retreat. Here’s how:
| Benefit | Description |
|---|---|
| Variety of Materials | Choose from wood, composite, or stone for unique looks. |
| Customizable Designs | Shapes, colors, and sizes can suit any style. |
| Easy Maintenance | Decking materials are generally easy to clean. |
| Durability | Quality decking withstands weather changes well. |
Decking paths create focal points in your garden. They guide visitors through beautiful landscapes. Incorporate lighting for added charm at night, and use plants along the edges for a lush look.
Choosing The Right Materials
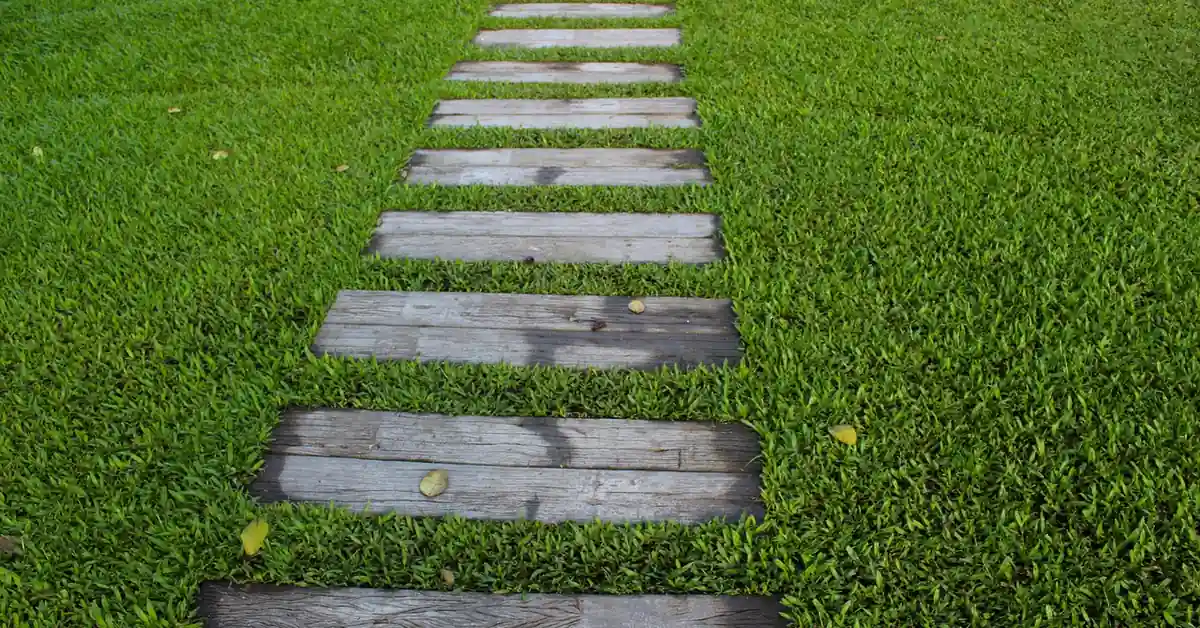
Choosing the right materials for your decking path is crucial. The material affects durability, appearance, and maintenance. Explore your options carefully for the best results.
Deck Board Spacing For Paths: Gap Width By Material
Board gap is a spacing decision that determines whether your path drains, dries, and lies flat, or cups and splinters within a season. The right gap depends on the material and how dry it is at install.
| Material | Recommended Gap | Why |
|---|---|---|
| Dry wood (cedar, pine) | 1/8-3/16 in. | Prevents cupping as boards dry further |
| Wet pressure-treated wood | Little to none at install | Wood shrinks as it dries, opening a gap on its own |
| Dense hardwood (Ipe, Cumaru) | 1/16-1/8 in. | More dimensionally stable, moves less with moisture |
| Composite decking | 3/16 in. | Standard manufacturer spec for expansion and drainage |
📊 Composite deck boards need a 3/16-inch width-to-width gap – Source: Trex, deck board spacing guide
“The detail beginners skip is checking moisture content before setting the gap. Wet pressure-treated boards installed tight will open up on their own by late summer as they dry, while kiln-dried boards installed tight are the ones that cup instead.”
Best Deck Fastener Pick
 |
#10 x 3″ 304 Stainless Steel Deck Screws (150-Pack) – $25.99 Corrosion-resistant fasteners for exactly the kind of gapped, ground-contact-adjacent boards this guide covers – won’t streak or rust in wet soil contact the way plain steel screws do.
|
As an Amazon Associate we earn from qualifying purchases.
Wood Vs. Composite Decking
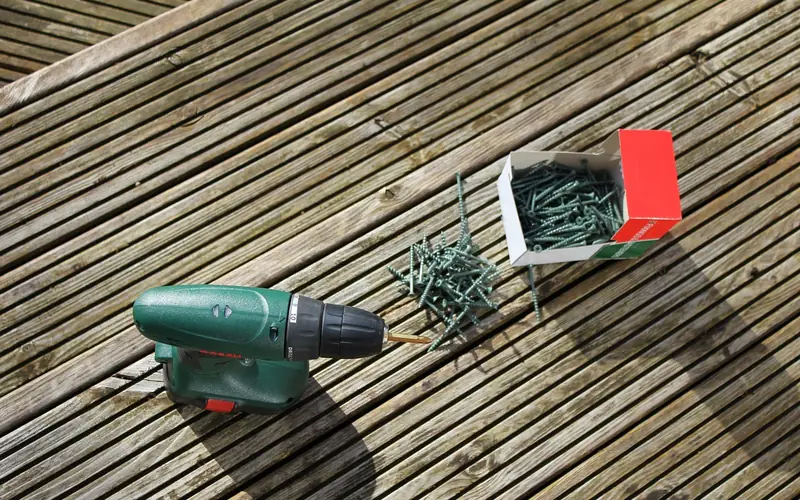
Wood and composite decking each have unique benefits.
| Feature | Wood Decking | Composite Decking |
|---|---|---|
| Appearance | Natural beauty and warmth | Variety of colors and textures |
| Durability | Can rot or warp | Resistant to fading and weather |
| Maintenance | Requires staining and sealing | Low maintenance, no sealing needed |
| Cost | Generally lower initial cost | Higher upfront cost |
Wood gives a classic look but needs regular upkeep to stay beautiful. Composite offers durability with less work. Choose based on your priorities and the board-gap guidance above.
Sustainable And Eco-friendly Options
Sustainable materials benefit the environment and your home.
- Bamboo: Fast-growing and renewable.
- Recycled Plastic: Durable and reduces waste.
- FSC-Certified Wood: Sourced from responsibly managed forests.
These options provide eco-friendly choices. They offer beauty and resilience, helping protect nature while enhancing your space.
Design Inspirations For Every Style
Finding the perfect decking path can transform any outdoor space. The right design enhances beauty and functionality. Explore these unique design inspirations tailored for various styles.
Modern And Minimalist
Modern designs focus on simplicity and clean lines. This style often features:
- Neutral colors like gray, white, or black
- Geometric shapes for a sleek look
- Materials such as composite or aluminum
Consider using large, rectangular planks. They create a seamless flow. Add potted plants for a touch of greenery.
Rustic Charm
Rustic designs bring warmth and character. Think about using:
- Reclaimed wood for a vintage feel
- Natural stones for texture
- Curved paths that mimic nature
Enhance this style with:
- Wooden benches
- Hanging lanterns
- Wildflowers along the path
This approach blends beautifully with gardens and nature.
Tropical Paradise
Tropical designs create a vibrant, inviting atmosphere. Key features include:
- Bright colors like turquoise and coral
- Exotic materials such as bamboo
- Curvy paths that mimic ocean waves
Add elements like:
- Palms and tropical plants
- Decorative stones
- Outdoor rugs for comfort
This style invites relaxation and fun.
Incorporating Nature Into Your Design
Creating a decking path can blend beautifully with nature. Use natural elements like plants and your existing landscape to make it inviting, and let the layout follow the yard rather than fighting it.
Integrating Existing Landscapes
Use your current landscape as a guide. This helps create a seamless look. Follow these steps:
- Observe the natural flow of your yard.
- Identify key features like trees and shrubs.
- Plan your path around these elements.
Consider a winding path to mimic nature. Curved paths feel more organic. Use materials that match your environment – natural stone or wood blends well.
Selecting Plants For Your Path
Choose plants that thrive in your area and complement your decking path. Consider these options:
| Plant Type | Growth Habit | Sun Requirements |
|---|---|---|
| Hostas | Low-growing | Partial shade |
| Lavender | Upright | Full sun |
| Ferns | Spreading | Shade |
Mix different heights and textures to create visual interest along the path. Add fragrant plants for a pleasant aroma, and choose colors that harmonize with your decking.
Ground-Level Decking Path Cost & Build Basics
A ground-level decking path costs roughly $15-$30 per square foot installed in wood, and $40-$50 per square foot in composite – well below a raised, framed deck because there’s no elevated joist structure or railing to build.
Instead of framing a deck high off the ground, a ground-level path rests on pressure-treated sleepers laid directly over a prepared base. Sleepers should be at least a 2×4 on edge (nominal 1.5 x 3.5 in.), spaced no more than 16 inches on-center, and set on compacted gravel with landscape fabric underneath for drainage – never wood-to-soil contact, which is the fastest way to rot a path from underneath.
Basic Ground-Level Path Build Steps
- Grade and compact the base: Remove sod and level the soil along the path route.
- Add a drainage layer: Lay landscape fabric, then 2-3 inches of compacted gravel.
- Set the sleepers: Place pressure-treated 2×4 sleepers on edge, 16 in. on-center, checking level along the run.
- Fasten the decking boards: Attach boards perpendicular to the sleepers using corrosion-resistant screws, spaced per the gap table above.
- Trim and finish the edges: Cut boards flush and cap exposed ends to keep water from wicking into end grain.
Lighting Your Path
Good lighting enhances your decking path. It creates a safe and inviting atmosphere, guiding guests and highlighting the beauty of your garden after dark.
Choosing The Right Lighting
Selecting the right lights for your decking path is essential. Consider these factors:
- Brightness: Ensure lights provide enough illumination.
- Style: Match lights with your home’s aesthetic.
- Durability: Choose weather-resistant options for outdoor use.
- Energy Efficiency: Look for energy-saving options.
Most solar path lights output around 10-30 lumens on 6-8 hours of runtime after a full day of sun – enough to mark the path edge, not to fully light it. Pair edge lights with one brighter fixture near steps or entry points for actual safety lighting.
Solar Vs. Wired Lights
| Feature | Solar Lights | Wired Lights |
|---|---|---|
| Installation | Easy, no wiring needed | Requires professional installation |
| Cost | Generally lower upfront cost | Higher initial investment |
| Maintenance | Low, just replace batteries | May need repairs or upgrades |
| Brightness | Varies, usually less intense | Consistent and bright |
Choose solar lights for easy setup and low cost. Go for wired lights for brighter and more reliable illumination.
DIY Vs. Professional Installation
Choosing between DIY and professional installation for your decking path can be challenging. Understanding your skills and budget helps in making the right choice.
Assessing Your Skills And Budget
Start by evaluating your skills. Ask yourself these questions:
- Do I have experience with tools?
- Can I follow a blueprint?
- Am I comfortable with physical work?
| Cost Factor | DIY | Professional |
|---|---|---|
| Materials | Purchase yourself | Included in service fee |
| Labor | No labor costs | Labor costs included |
| Tools | Rent or buy tools | No tool costs |
| Time | More time-consuming | Faster completion |
When To Call In The Pros
- Complex designs that require precise measurements.
- Limited time to complete the project.
- Heavy materials that need special handling.
- Building permits or regulations require expertise.
- Safety concerns with tools and equipment.
Hiring professionals can ensure high-quality results, and they often have experience that speeds up the process.
Maintenance And Upkeep
Keeping your decking path in great shape is essential. Regular care prevents costly repairs and replacements.
Routine Cleaning Tips
- Sweep debris weekly to prevent mold.
- Wash with mild soap and water monthly.
- Use a pressure washer twice a year for deep cleaning.
- Inspect for stains or damage during cleaning.
For stubborn stains, try these methods:
- Mix baking soda with water for a paste.
- Apply the paste and scrub gently.
- Rinse well with water.
Long-term Care Strategies
| Action | Frequency |
|---|---|
| Seal your decking | Every 2-3 years |
| Repaint or stain | Every 3-5 years |
| Check for loose boards | Annually |
| Trim overhanging branches | Yearly |
Use a protective cover during winter to prevent weather damage, and address repairs quickly to avoid bigger issues.
Common Mistakes To Avoid When Building A Decking Path
Most decking path failures trace back to one of five build mistakes – catching these before you start saves a rebuild later.
- Skipping the drainage base: Setting sleepers directly on soil traps water underneath and rots the substructure within a few seasons.
- Using the wrong gap width: A gap that’s too tight for the material causes cupping; too wide becomes a trip and heel-catch hazard.
- Building the path too narrow: Under 36 inches feels cramped for daily use and doesn’t meet the 48-inch minimum many ground-level codes expect for accessible connections.
- Wood-to-soil contact: Sleepers or posts touching bare soil rot far faster than ones set on gravel or a paver base.
- Ignoring frost heave in cold climates: Sleepers not set on a compacted, well-drained base can shift or heave after a freeze-thaw winter, throwing boards out of level.
What A Path Transformation Typically Changes
| Before | After |
|---|---|
|
|

Frequently Asked Questions
What Are Popular Decking Path Materials?
Popular decking path materials include wood, composite, stone, and concrete. Wood provides a classic look, while composite is low-maintenance. Stone paths offer a natural feel, and concrete is versatile and durable. Choose based on your style, budget, and the board-gap needs of the material.
How To Design A Decking Path Layout?
To design a decking path layout, start by considering the flow: where the path leads and how it connects to other areas. Use curves for a natural look or straight lines for a modern feel, and keep the width at 36 inches minimum so foot traffic stays comfortable.
What Maintenance Do Decking Paths Require?
Decking paths require regular maintenance to stay in good condition. Clean debris and dirt to prevent mold growth. For wood paths, apply sealants every 2-3 years to protect against weather damage. Inspect for loose boards or cracks and repair them promptly.
Can I Add Lighting To My Decking Path?
Yes, adding lighting to your decking path enhances safety and ambiance. Solar-powered lights are eco-friendly and easy to install, though they output less light than wired fixtures. Pair solar edge lights with one brighter wired fixture at entry points or steps for real nighttime safety.
How Wide Should A Decking Path Be?
For one person, plan on at least 36 inches; for two people walking side by side or wheelchair access, use 48 to 60 inches. Ground-level paths connecting to a deck typically need a 48-inch minimum to meet general residential deck-code guidance.
What Gap Should I Leave Between Decking Boards On A Path?
Leave 1/8 to 3/16 inch between dry wood boards, 1/16 to 1/8 inch for dense hardwoods like Ipe, and 3/16 inch for composite decking per most manufacturer specs. Wet pressure-treated boards can be installed tight since they shrink as they dry.
Conclusion
A decking path earns its keep when the width, board gap, and substructure are right for the material – get those three details correct and the design choices (modern, rustic, or tropical) are just finishing touches. Whether you opt for wood, composite, or stone, build on a proper drainage base and leave the correct gap, and your path will outlast the trend it was inspired by.
Sponsored / affiliate links. As an Amazon Associate I earn from qualifying purchases. I may earn additional commission from eligible campaigns.