Delta Table Saw Fence Upgrade: Which Fence Fits Your Saw
Before you buy a new Delta table saw fence, check which fence you already have, because a fence that drifts is often misaligned rather than worn out. Delta’s own 36-725 T2 manual, for example, says to check fence alignment to the miter slot every time you use the saw and gives a set-screw adjustment that takes about a minute. If the fence still will not hold square, this page covers what each upgrade needs from your saw: rail hole size, table depth, drilling, and the clearance your guard and riving knife need. It stays on Delta fit; for squaring a Biesemeyer after it is mounted, see our Biesemeyer fence squaring guide.
Will a Different Fence Fit Your Delta Saw?
Best Digital-Readout Fence Pick
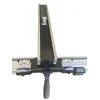 |
Rockler Wixey Professional Table Saw Fence System (WR750) – $449.99 A universal rail-and-fence kit for a Delta saw whose original rails you plan to replace, with a drill gauge included for saws that need new holes.
|
No maker publishes one chart that covers every Delta saw ever built, so treat any claim that a fence “fits all Delta saws” with suspicion. What the makers do publish is a short list of physical requirements. Check these four things on your own saw before ordering:
- Table depth along the miter slot. Incra’s compatibility sheet splits its TS-LS into a standard version for tops 28 in. deep or less and an XL version for tops up to 33.5 in. deep.
- Where the rail holes sit. Incra’s brackets bolt through holes centered between 3/4 in. and 1-3/8 in. below the saw top, using at least a 5/16 in. (or 8mm) bolt, and the front and rear surfaces must be flat and vertical.
- Whether existing holes can be reused. Vega says its Pro 40 was designed around the existing bolt holes of Delta Unisaws and contractor saws, so no drilling. Wixey, by contrast, says its WR750 will require drilling 4 to 5 holes in the table edge on many saws.
- How much table sits to the right of the blade. Wixey states that you need an extension table at least 45 in. to the right of the blade to get its full 36 in. rip capacity.
Measure those four numbers with a tape and a straightedge, write them down, and compare them with the maker’s page for the fence you want. If your numbers are outside a maker’s stated range, that fence is the wrong one regardless of what a forum thread says.
Fence Options Compared for Delta Contractor Saws and Unisaws
| Fence | Rip capacity (right / left) | Mounting note | Source |
|---|---|---|---|
| Delta/Biesemeyer BC30T2 T-Square | 30 in. right | Three-point locking, hairline pointer with steel tape, accurate to 1/64 in. per Delta. Attaches to saws with cast iron tables; drilling may be needed. | Delta listing |
| Vega Pro 40 | 40 in. right / 10 in. left | Uses the existing hole pattern of Delta Unisaws, contractor saws, Powermatic 66 and most Sears 10 in. saws. | Vega product description |
| Incra TS-LS | 32 in. or 52 in. range, about 14 in. left | Bolts to flat, vertical front and rear surfaces; positioning accuracy of +/- .002 in. at 1/32 in. steps. | Incra product page and compatibility sheet |
| Wixey WR750 | 36 in. right / 12 in. left | 72 in. rail; may need 4 to 5 drilled holes; needs a 45 in. extension table for full capacity. | Wixey product page |
A few notes on that table. The BC30T2 is the Delta-branded T-Square system, and a Delta 36-725 T2 already ships with a T-Square fence, so that saw is rarely a candidate for a “better Delta fence.” The Incra is the precision option: it is a lead-screw positioning fence rather than a plain rail, and the maker quotes its accuracy at +/- .002 in. at 1/32 in. increments. Delta currently lists its 30 in. T3 fence system on Amazon (model 36-T30T3), and we could not read a Delta spec sheet for it, so confirm its mounting details on Delta’s own site before buying.
Delta Models: What We Could and Could Not Confirm
Search traffic to this page asks about the 34-444, 36-725 and 62-042 contractor saws and about the Unisaw. Here is what we could source:
- 36-725 T2: the Delta manual lists 30 in. maximum rip to the right of the blade and 15 in. to the left, with a T-Square fence included.
- Unisaw: Incra lists pre-2009 right-tilt and left-tilt Unisaws as standard-depth cabinet saws, and the post-2009 Unisaw under oversized cabinet saws with 30 to 31 in. deep tops, which is the XL-fence case.
- 34-444 and 62-042: we could not find a maker page listing which aftermarket fences fit these two, so measure the four items above rather than trusting a model number.
One forum poster on Fine Woodworking who tried to move a Unisaw fence onto a Delta contractor saw reported that the bolt holes were too small and the fence ran about 7 in. longer than the table depth. That is one person’s report, not a maker statement, but it is a good reminder that a Unisaw fence is not a drop-in swap. If you are unsure which of these two saws you own, our Unisaw explainer covers the difference, and the discontinued Delta fence that came with many of them is covered in our Unifence guide.
What the Fold-Down Bar on a Delta T-Square Fence Is For
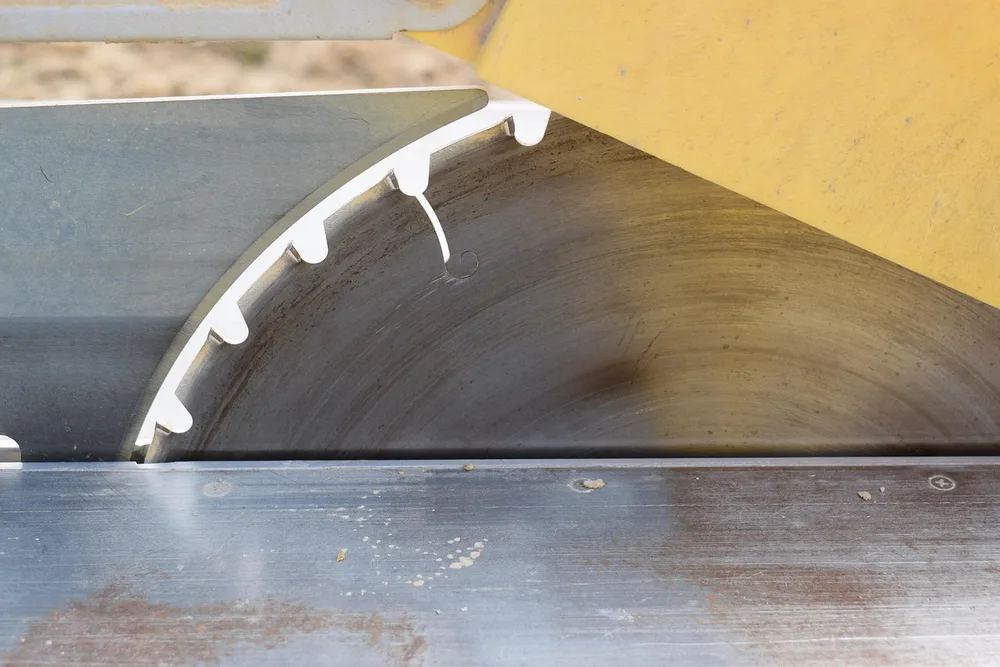
A frequent search is about the fold-out bar on a Delta fence. On the 36-725 T2, Delta’s manual describes an auxiliary fence: for thin materials you use the fence on the left of the blade, and you fold down the thin fence to allow use of the blade guard. The manual also says to subtract 2 inches from the scale for an accurate measurement when you do this. If your saw has a similar fold-down face, read the manual for your exact model before relying on that 2 inch offset, because we only verified it for the 36-725 T2.
How to Install a Replacement Fence Without Guessing
Every maker has its own bracket layout, so follow the manual that ships with your fence. The order below is the general sequence the manuals share, and the alignment steps come from Delta’s own 36-725 T2 manual.
- Unplug the saw. Delta’s manual tells you to disconnect power before making adjustments to the riving knife, anti-kickback device or blade guard, and the same logic covers rails.
- Remove the old fence and rails, then clean the front and rear table edges. Incra requires flat, vertical surfaces front and rear after the original rails are removed.
- Check hole size and height against the new brackets. Drill only where the maker’s drill gauge or template says to.
- Mount the rails level and tight before sliding the fence on.
- Lock the fence against the miter slot and check it from front to back. If it is not parallel, Delta’s procedure is to lift the fence off, turn one or both set screws 1/4 turn or less, put it back and re-check; if it is further out, turn the screw the opposite way.
- Check the fence face is square to the table with a square, then make a test rip in scrap.
Incra adds a warning worth knowing: the original splitter or guard on older saws may interfere with the rear Incra rail, and the saw’s power switch may need relocating away from the front rail. Dry-fit before you drill.
Safety After a Fence Change
A new fence changes how the board travels past the blade, so treat the first rips as a re-commissioning. These points come straight from the Delta 36-725 T2 manual:
- Parallel matters for kickback. The manual says to align the fence parallel with the saw blade, because a misaligned fence will pinch the workpiece against the blade and create kickback.
- Keep the guard, riving knife and anti-kickback device on for every through-cutting operation, and reattach them right after any operation that required removing them.
- The riving knife must be set correctly. The manual notes that incorrect spacing, positioning and alignment can make it ineffective at reducing kickback, and that it cannot prevent kickback on workpieces too short to engage it.
- Use push sticks and blocks. The manual calls for a push stick when the gap between fence and blade is under 150 mm (about 6 in.) and a push block under 50 mm (about 2 in.). Never use the fence as a length stop when crosscutting.
If your Delta needs a riving knife that matches its model, see our riving knife fit guide for Delta saws. For long boards, our guide to cutting long boards on a table saw covers outfeed support, which matters more once a longer rail gives you a wider table to rip on.
Where This Fits in Your Shop Setup
A bigger fence rail changes how much floor space the saw needs. Our woodworking shop setup guide covers clearance around the saw, and a long right-hand rail may also mean adding an extension; see the Delta extension wing guide before you commit to a 52 in. system. If you also rip at angles, our guide to cutting wood at an angle lengthwise shows bevel rips, and if you are weighing a crosscut station instead, the radial arm saw table plans are a cheaper complement to a fence upgrade. For the broader decision between a drop-in kit and a build, read our replacement fence comparison and the general table saw fence replacement guide. Still choosing a saw? Our Delta table saw reviews compare current models.
Frequently Asked Questions
Will a Biesemeyer-style fence fit my Delta contractor saw?
Delta states that its T-Square fence systems attach to Delta and most other saws with cast iron tables, though drilling may be required. Measure your table depth and rail hole height first, and check the maker page for your fence.
Do I need to drill holes for a new Delta fence?
It depends on the fence. Vega says its Pro 40 uses the existing bolt holes of Delta Unisaws and contractor saws. Wixey says its WR750 may need 4 to 5 holes drilled in the table edge and includes a drill gauge and 9mm bit.
How do I check that a new fence is parallel to the blade?
Following Delta’s 36-725 T2 manual, lock the fence next to the miter slot and check it front to back. If it is out, lift it off, turn one or both set screws 1/4 turn or less, and re-check.
Does a fence upgrade change my riving knife setup?
The fence does not move the riving knife, but Delta’s manual says to keep the guard, riving knife and anti-kickback device in place for every through cut and to keep the knife correctly spaced and aligned.
What is the fold-down bar on a Delta T-Square fence?
On the 36-725 T2, Delta’s manual describes an auxiliary thin fence that folds down so the blade guard can be used when ripping thin material on the left of the blade, with 2 inches subtracted from the scale.
Conclusion
Before buying, align the fence you have, then measure table depth, rail hole height and the room to the right of the blade. Pick the fence whose maker-stated requirements your saw meets, and re-check parallel after every install. If you have a 34-444 or 62-042, confirm fit with the maker before drilling.
Sponsored / affiliate links. As an Amazon Associate I earn from qualifying purchases. I may earn additional commission from eligible campaigns.