Wood Project Ideas by Skill Level: Time, Tools & Cost
Most “wood project ideas” lists are just names next to a stock photo — “build a birdhouse!” — with nothing on how long it actually takes, what joint holds the thing together, or what the lumber costs. Below are ten real projects split into beginner, intermediate, and advanced tiers. Each one lists the time investment, the specific joinery or technique involved, and a realistic material cost range, so you can pick something that matches both your skill level and your weekend, not just your Pinterest board.
Beginner Wood Projects (0–2 Finished Builds)
Best Cross-Skill-Level Joinery Upgrade
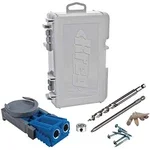 |
Kreg R3 Pocket-Hole Jig System – $34.00 Four of the ten projects below (the crate, the bookshelf, the step stool, and the coffee table) get noticeably stronger and cleaner-looking if you swap face screws or basic butt joints for pocket-hole joinery.
|
These four are a good place to actually start: none of them require a joint more complex than a butt joint or a 45-degree miter, and each one is realistic to finish in a single afternoon.
1. Floating Wall Shelf
A single pine or plywood-edged board mounted on a concealed steel bracket rod, so the shelf appears to float with no visible hardware.
- Time investment: 2–3 hours for one shelf, including drying time for the mounting adhesive if you use it.
- Key technique: No joinery — the shelf is a single board drilled to slide over a hidden bracket rod, so the whole project is really about a clean, level drill hole.
- Typical cost: $15–30 for a 24″–36″ shelf, using about 1–2 board feet of 3/4″ pine plus a $8–12 concealed bracket kit.
2. Pine Storage Crate
A simple open box for toys, tools, or firewood — the project that teaches basic box construction before you try anything with a lid or drawer.
- Time investment: 3–4 hours for an 18″x12″x10″ crate.
- Key technique: Butt joints reinforced with glue and screws; predrilled pilot holes so the pine doesn’t split near the ends. Swap in pocket-hole joinery here if you want the fasteners hidden.
- Typical cost: $20–35, using roughly 6–7 board feet of 1×6 pine.
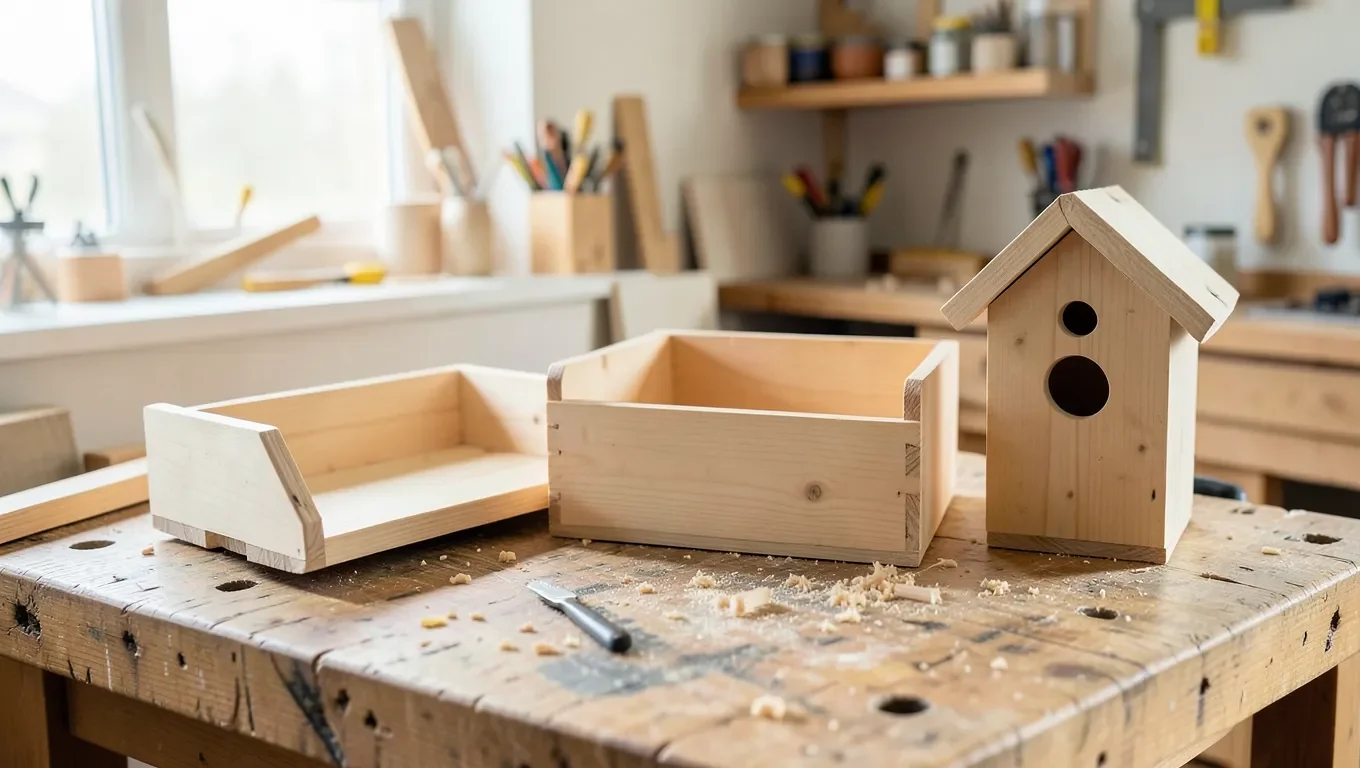
3. Basic Cedar Birdhouse
A classic six-panel box with an angled roof. Cedar is worth the small upcharge over pine here since the piece lives outdoors.
- Time investment: 2–3 hours, most of it spent on the two angled roof cuts.
- Key technique: A single bevel cut per roof panel (a miter saw makes this a five-minute job; a hand saw and miter box work too) plus drilled drainage holes in the floor.
- Typical cost: $10–18, using about 3 board feet of 1/2″ cedar fence-picket offcuts.
4. Mitered Picture Frame
Four strips of moulding cut at 45 degrees. It’s the project most beginners underestimate, because the math for the miter angles matters more than the sawing itself.
- Time investment: 1–2 hours for a single small frame.
- Key technique: 45-degree miter joints glued and pinned with brad nails; a miter saw gives a cleaner, more repeatable angle than a hand miter box.
- Typical cost: $8–15 for an 8×10 frame in hardwood moulding stock.
Intermediate Wood Projects (Comfortable With a Drill and Miter Saw)
Once you’ve built two or three beginner pieces without the joints failing, these are the next real step up — they introduce actual joinery instead of just glue and screws.
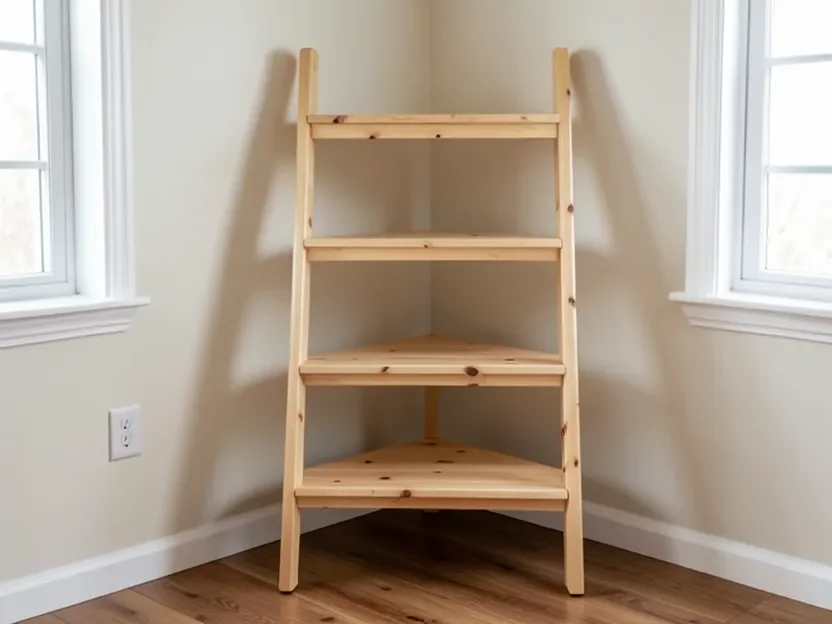
5. Pocket-Hole Ladder Bookshelf
A three-shelf leaning bookshelf, built with hidden pocket-hole joints instead of visible screws through the sides.
- Time investment: 5–7 hours, including finish drying time.
- Key technique: Pocket-hole joinery (see the jig above) for every shelf-to-side connection, which hides the fasteners entirely and is noticeably stronger than a face screw into end grain.
- Typical cost: $45–70, using roughly 12–14 board feet of 1×10 pine.
6. Mission-Style Step Stool
A two-step stool with through-tenon stretchers connecting the legs — sturdy enough to actually stand on, which is the point of the exercise.
- Time investment: 6–8 hours.
- Key technique: Mortise-and-tenon joints connecting the leg stretchers — your first real introduction to load-bearing joinery instead of fastener-dependent joints.
- Typical cost: $30–50, using about 8 board feet of poplar or oak.
7. Edge-Grain Cutting Board
Hardwood strips glued edge-to-edge, then planed and sanded flat. It’s a glue-up project more than a cutting project, and it teaches clamp pressure and grain-matching.
- Time investment: 4–5 hours of shop time, plus an overnight clamp cure before you can plane or sand the glue-up.
- Key technique: Edge-grain glue-up — alternating strips of maple and walnut clamped tight with an even, thin layer of food-safe wood glue, then flattened.
- Typical cost: $20–40 for a 12″x18″ board, depending on how much walnut versus maple you use.
Advanced Wood Projects (Hand-Cut Joinery, Multiple Clamps)
These assume you already own (or can borrow) a bandsaw or router and a full clamp set, and that a joint failing on the first try won’t discourage you from re-cutting it.
8. Dovetailed Jewelry Box
A small lidded box where the corner joints themselves are the visible design feature, not something to hide.
- Time investment: 10–14 hours, most of it in laying out and cutting the dovetails.
- Key technique: Hand-cut (or router-jig) through-dovetails at all four corners — the pins and tails need to be cut to fit each other individually, not to a fixed measurement.
- Typical cost: $35–55 for a small box in walnut or cherry, using 4–5 board feet.
9. Mortise-and-Tenon Coffee Table
A proper apron-and-leg table where the frame holds together on joinery alone, no metal fasteners inside the structure.
- Time investment: 15–20 hours across several sessions (glue-up alone needs its own day).
- Key technique: Draw-bored mortise-and-tenon joints at every leg-to-apron connection. The right chisel and mortising setup matters more here than on any other project on this list.
- Typical cost: $120–200 for a 40″x20″ top in oak or maple, using roughly 20 board feet.
10. Curved-Leg Side Table
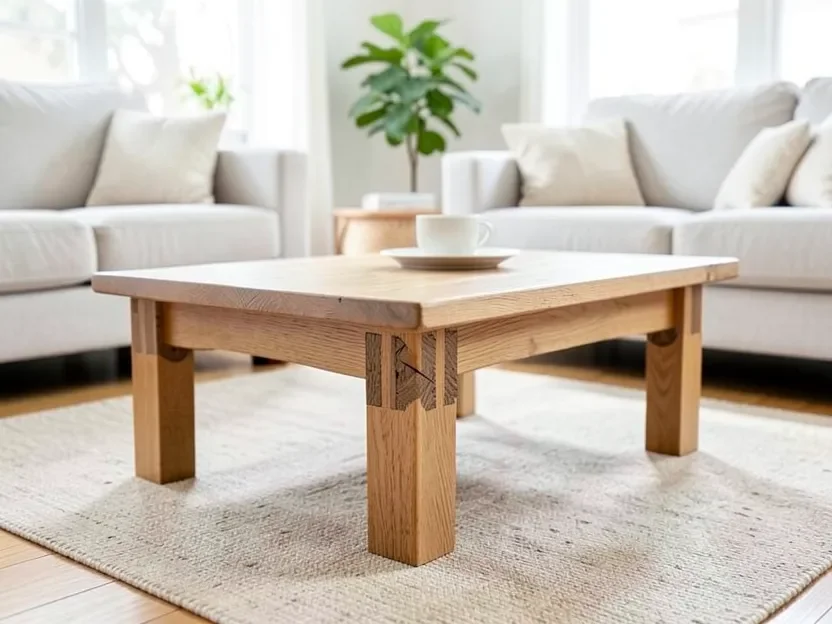
A small side table with tapered, gently curved legs, mortised into the apron and shaped by hand after the bandsaw cut.
- Time investment: 12–16 hours.
- Key technique: Bandsaw-cut curved legs, mortised into the apron, then refined with rasps and a spindle sander until the curve reads as intentional rather than rough.
- Typical cost: $70–110, using about 10 board feet of hardwood.
Tools You Actually Need, by Skill Level
You don’t need a full shop to start on the beginner list, and you don’t need everything below at once. This is roughly the order most people actually buy tools in as they move up the list.
| Tier | Core Tools | Used For |
|---|---|---|
| Beginner | Measuring tape, pencil, square, hand saw or circular saw, drill/driver, sandpaper, clamps | Projects 1–4: shelves, the crate, the birdhouse, the picture frame |
| Intermediate | Everything above, plus a pocket-hole jig, a hand plane or power planer, and a full bar-clamp set | Projects 5–7: the bookshelf, the stool’s stretcher joints, the cutting board glue-up |
| Advanced | Everything above, plus chisels for hand-cut joinery, a bandsaw, and a router with a dovetail or mortising jig | Projects 8–10: the dovetailed box, the coffee table’s mortise-and-tenon frame, the curved-leg table |
Wood species matters as much as tools once you’re past the beginner tier — see our types of wood guide if you’re not sure whether a project calls for pine, poplar, or a true hardwood like oak or walnut.
Safety Essentials
None of the time or cost estimates above account for an injury, so treat this list as non-negotiable regardless of which project you’re starting with.
- Safety glasses, every time: cutting, drilling, and sanding all throw debris, even on a “simple” project like the picture frame.
- Hearing protection for power tools: a circular saw or router used for more than a few minutes at a stretch is loud enough to warrant earplugs.
- Clamp the workpiece, not your hand: small pieces like birdhouse panels or picture-frame moulding should never be held freehand against a moving blade.
- Predrill near edges: pine and cedar both split easily; a pilot hole sized to the screw’s core diameter prevents most of the cracked crates and birdhouses beginners run into.
- Unplug before adjusting: changing a blade or bit with the tool plugged in is the single most avoidable shop injury.
- Watch for kickback: stand to the side of the blade path, never directly behind it, especially on the table-saw and bandsaw work in the advanced tier.
Finishing: Matching the Finish to the Project
The right finish depends more on where the piece lives than on your skill level. An indoor bookshelf and an outdoor birdhouse have almost opposite finishing needs.
- Indoor furniture (shelves, stools, tables): penetrating oil finishes like tung or linseed oil are the most forgiving for a first project, since a scratch is easier to spot-repair than with a film finish.
- Outdoor pieces (the birdhouse): stick to exterior-rated finishes or leave cedar unfinished — it weathers to a silver-gray on its own and doesn’t need a coating to survive outside.
- Cutting boards: food-safe mineral oil only — never polyurethane or standard varnish on anything that will touch food.
- Anything with visible joinery (the dovetailed box, the coffee table): a thin wipe-on oil or oil/varnish blend that doesn’t build up a thick film is what actually shows the joint work off instead of hiding it under a glossy coat.
Whatever finish you use, sand through the grits in order — 120, then 180 or 220 — and always sand with the grain, not across it. Skipping a grit is the most common reason a finish looks blotchy on an otherwise well-built project.
Related Wood Project Guides
This page is meant as the overview across all three skill tiers. If you want more depth at a specific tier, two of our other guides go further in one direction each: our 12 simple woodworking projects for true beginners covers only the beginner tier in more detail, and our woodworking projects for adults guide organizes its 18 projects by tool tier rather than by skill level.
Frequently Asked Questions
What’s the best wood project to start with if I’ve never built anything?
The floating wall shelf or the mitered picture frame — both are project #1 and #4 on the beginner list above. Neither requires a joint more complex than a drilled hole or a glued miter, and both are realistic to finish in one afternoon.
How do I know when I’m ready to move from beginner to intermediate projects?
When you can finish a beginner project (the crate or the birdhouse) with square corners and no split wood on the first attempt. At that point, pocket-hole joinery and basic mortise-and-tenon work, the two techniques the intermediate tier is built around, are a reasonable next step.
Do I need a pocket-hole jig, or can I use regular screws?
Regular screws work fine for the beginner tier. Once you’re building the bookshelf or the step stool, a pocket-hole jig noticeably improves both strength and appearance because the fasteners are hidden and the joint pulls tight during clamping instead of relying on the screw alone.
What’s the actual difference between a mortise-and-tenon joint and a pocket-hole joint?
A pocket-hole joint relies on a screw driven at an angle to pull two pieces together. A mortise-and-tenon joint cuts a matching peg-and-socket shape into the wood itself, so the joint has mechanical strength even before glue is added. Mortise-and-tenon takes longer and requires more precise layout, but it’s the stronger and more traditional joint for load-bearing furniture like the coffee table.
How much should I budget for my first three or four projects?
Expect $50–100 in lumber for the four beginner projects combined, plus a one-time tool investment of roughly $80–150 for a basic kit (saw, drill, square, clamps, sandpaper) if you don’t already own one. A pocket-hole jig, needed once you move to the intermediate tier, adds about $34 more.
Sponsored / affiliate links. As an Amazon Associate I earn from qualifying purchases. I may earn additional commission from eligible campaigns.